How to Wrap a Gift with Wrapping Paper
Wrap a box-shaped gift neatly: measure paper, tape a clean seam, fold envelope ends, and add optional ribbon. Read one step at a time. Start with preflight. Paper too short? Paper too short. Puffy ends? Puffy / messy ends. Soft gift? Soft / unboxed gift.
Tips for reading this guide
- One step at a time. Read the green caption, the Why line, then the bullets.
- Move on when the green done line is true — then go to the next step.
- Box soft gifts first.
- Paper short? Paper too short.
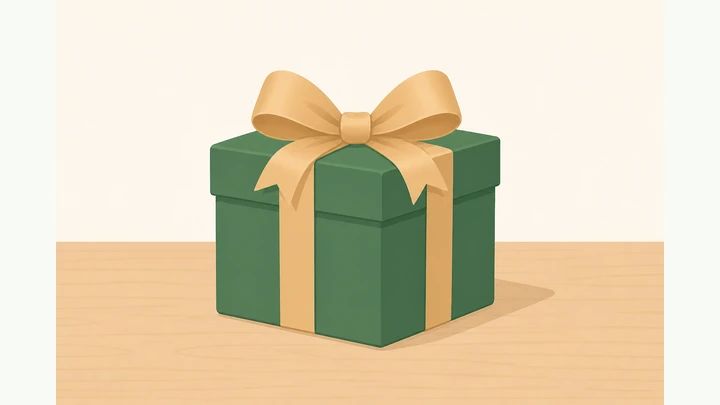
Things You'll Need
- Wrapping paper
- Clear tape (double-sided optional)
- Scissors
- Optional ribbon and gift tag
- A box for soft gifts
Where are you stuck?
Follow Start here to wrap a boxed gift. Jump to a branch for short paper, puffy ends, or soft gifts.
Start hereMeasure → cut → seam → envelope ends → ribbon/tag
Preflight — box-shaped gift (or box it), paper, tape, scissors, clear table.
Box-shaped gift · paper · tape · scissors · clear table.
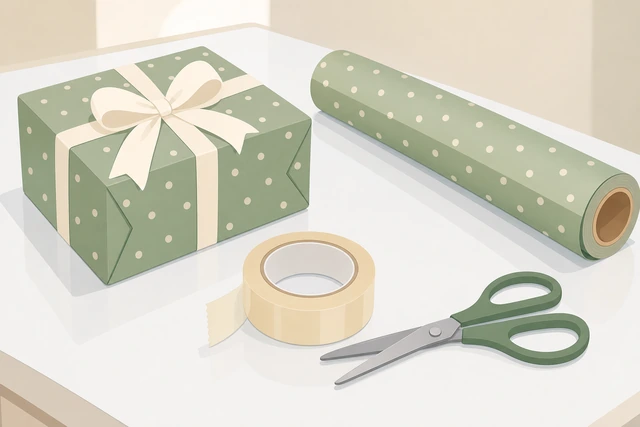
Soft shapeless gifts fight wrapping paper — box them first or use a bag method.
- Use a box when the gift is soft or odd-shaped.
- Clear a flat table.
- Gather paper, tape, and scissors.
- Soft unboxed gift? → Soft / unboxed gift.
Supplies and a box-shaped gift are ready.
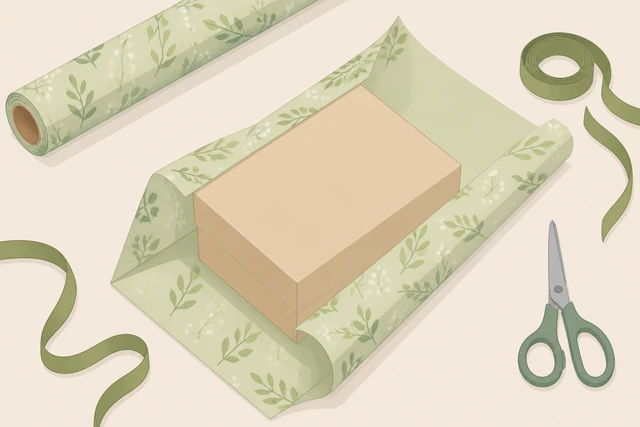
Measure paper: sides should meet over the box with about 1–2 inches overlap.
Pull sides up · ~1–2 inch overlap · mark length.
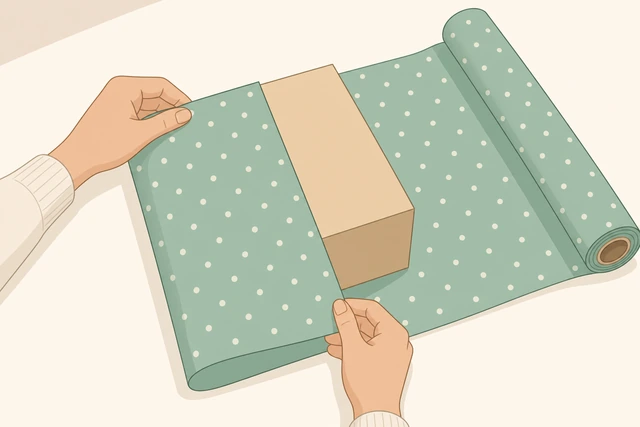
Too little paper cannot close; too much makes bulky ends.
- Place the box on the paper.
- Pull both long sides up to meet.
- Aim for about 1–2 inches of overlap.
- Paper too short? → Paper too short.
You know the paper is long enough for the long sides to meet with overlap.
Cut the paper to length and width with a little extra for the ends.
Cut length · cut width with end allowance · clean edges.
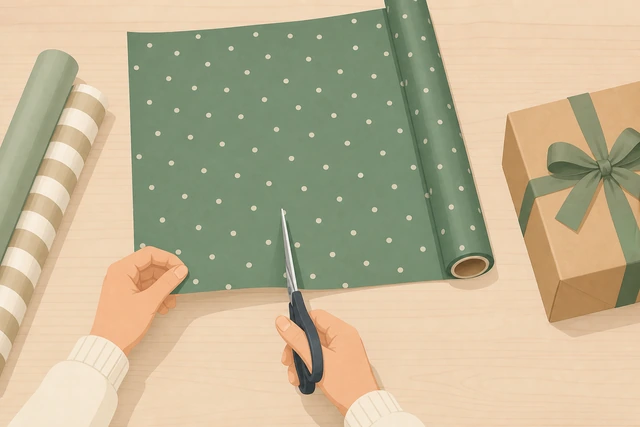
A deliberate cut beats tearing short and patching with tape.
- Cut the measured length.
- Leave enough width to cover both ends with fold room.
- Use sharp scissors for a clean edge.
Paper is cut to a workable size.
Center the gift on the paper, pattern side down.
Pattern down · box centered · ready to fold sides.
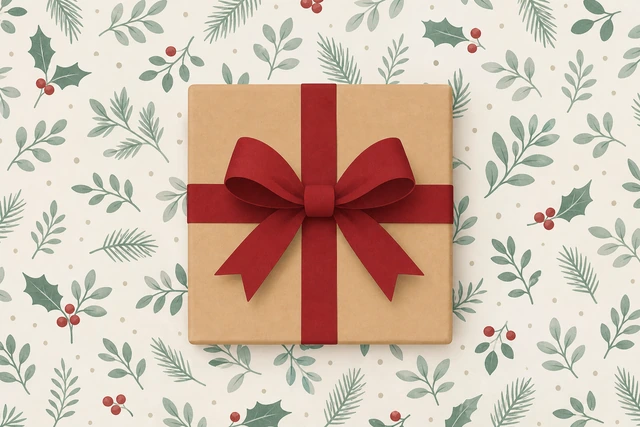
Centering keeps ends even so one side is not starved of paper.
- Lay paper pattern-side down.
- Center the box.
- Check both ends have similar paper left.
The box is centered on the paper.
Bring the long sides together on top, crease, and tape the seam.
Long sides meet · crease · tape the seam neat.
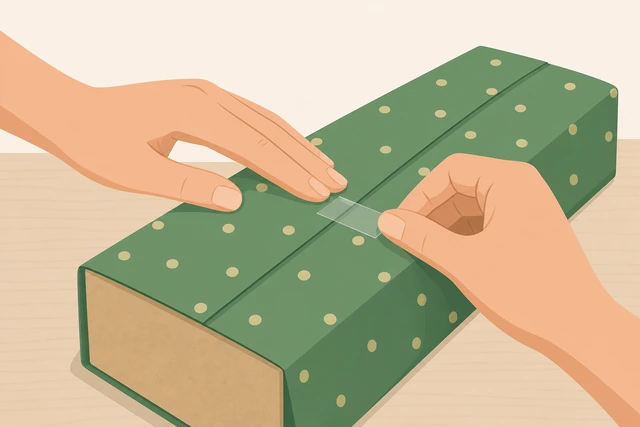
A single clean seam looks better than scattered tape patches.
- Bring long sides together on top of the box.
- Crease the paper flat.
- Tape along the seam.
The long seam is taped closed.
Fold one end: top flap down, sides in, bottom flap up; tape.
Top down · sides in · bottom up · tape · envelope fold.
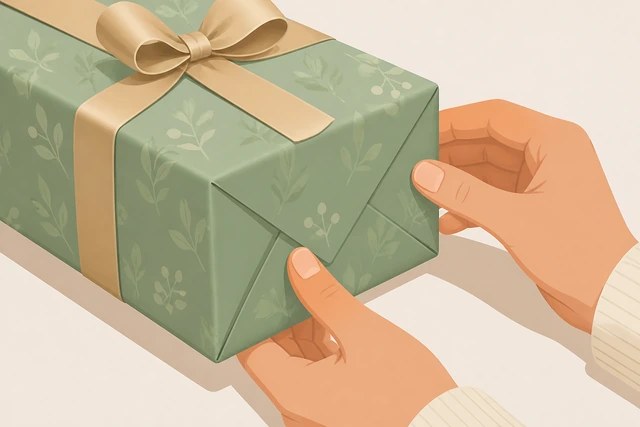
The envelope fold is what makes ends look store-bought instead of puffy.
- Fold the top end flap down.
- Crease side flaps inward.
- Fold the bottom flap up and tape.
- Ends look puffy? → Puffy / messy ends.
One end is folded neat and taped.
Repeat the same envelope fold on the other end.
Match the first end · crease · tape.
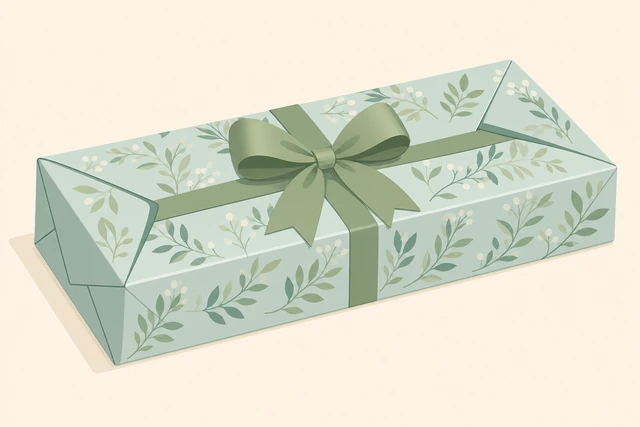
Symmetry makes the wrap look intentional.
- Fold the second end the same way.
- Keep flaps tight.
- Tape securely.
Both ends are folded and taped.
Smooth wrinkles and add tape only where needed.
Smooth · minimal tape · no wallpaper of tape strips.
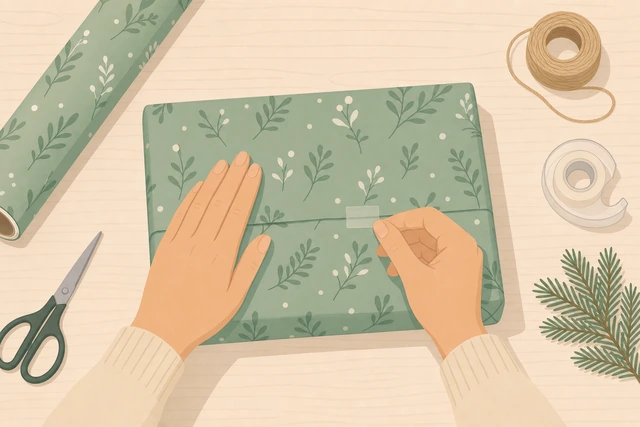
Extra tape draws the eye to mistakes; smooth paper first.
- Run a hand to smooth wrinkles.
- Add small tape pieces only on lifting edges.
- Avoid covering the whole face with tape.
The wrap is smooth with only necessary tape.
Optional: add ribbon under the box, cross on top, and tie a bow.
Optional ribbon · under box · cross · bow on top.
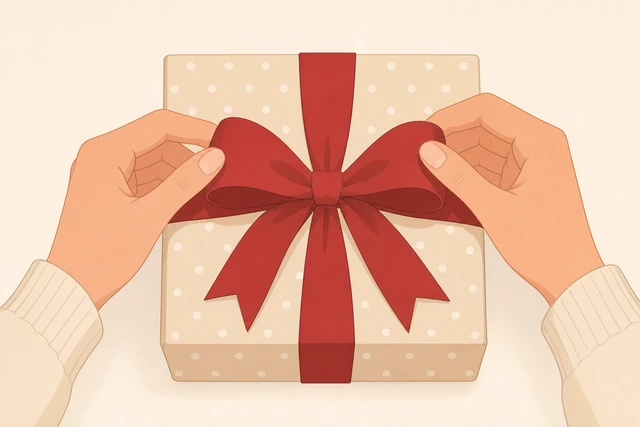
Ribbon hides a seam and finishes the look without more paper skill.
- Skip if you do not want ribbon.
- Slide ribbon under the box.
- Cross on top and tie a simple bow.
Ribbon is added, or you chose to skip it.
If you want the seam hidden, rotate so the seam sits on the bottom.
Seam on bottom · neat face up · optional preference.
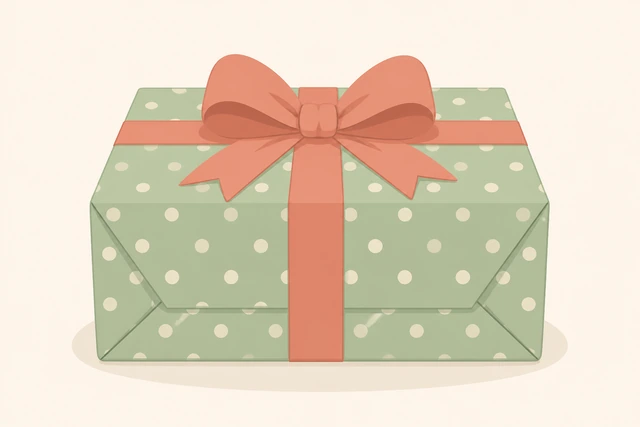
Hiding the seam is a simple pro touch once the wrap is done.
- Turn the gift so the taped seam is underneath.
- Keep the prettiest panel facing up.
- Adjust ribbon if needed.
The seam is hidden on the bottom if you chose that look.
Check corners for dog-ears and refold any loose flaps.
Check corners · refold loose flaps · retape if needed.
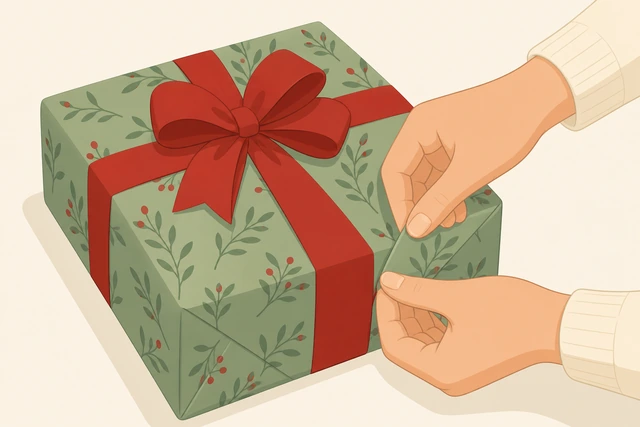
Loose corners unwrap themselves in a gift bag pile.
- Inspect each corner.
- Refold any dog-ear.
- Add a tiny tape piece if it lifts.
Corners are tight.
Add a gift tag.
Tag on · name written · tied or taped lightly.
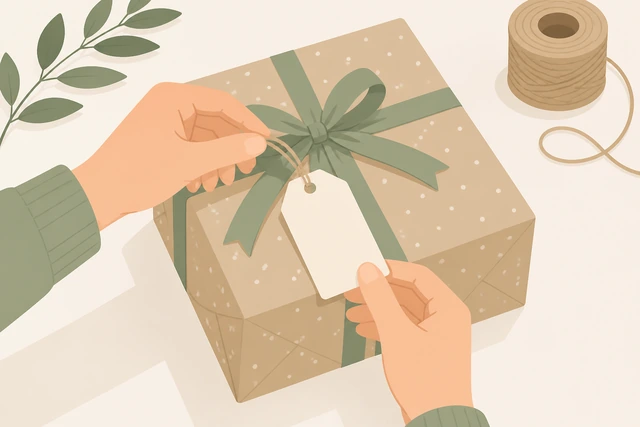
A tag prevents mix-ups and finishes the present.
- Write the name.
- Tie or tape the tag on.
- Keep it readable.
A gift tag is attached.
Final check: trim tape tails and look from all sides.
Trim tape tails · all-sides check · done.
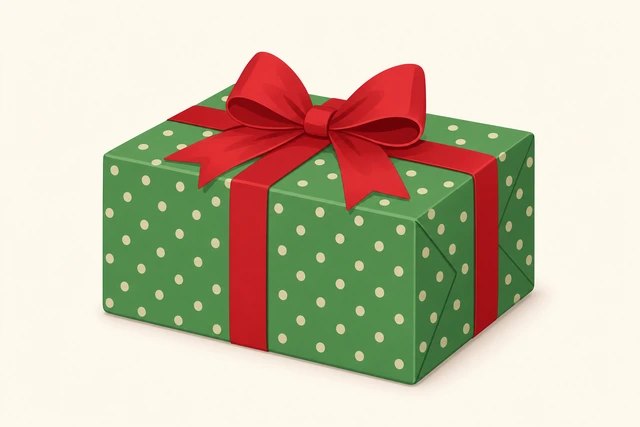
A 10-second once-over catches lifted flaps before gift time.
- Trim sticky tape tails.
- Look at all four sides.
- Fix anything that lifts.
The gift looks finished from every side.
Paper too shortSides will not meet with overlap
Stop cutting more scraps — measure again with overlap.
Re-measure · confirm overlap · then cut bigger piece.
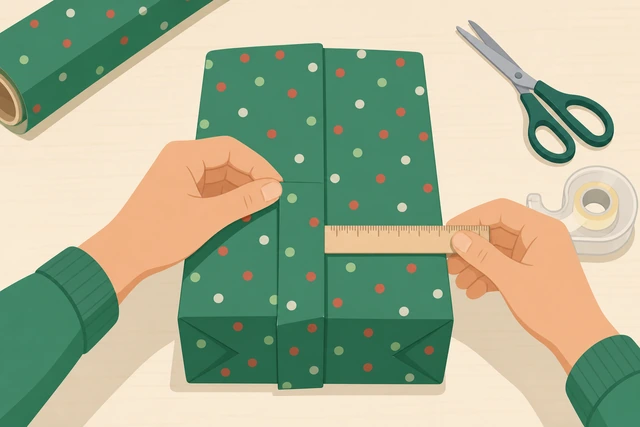
Guess-cutting smaller makes the shortfall worse.
- Place the box again.
- Confirm 1–2 inch overlap.
- Cut a larger sheet.
You have a larger measured sheet.
Rotate the box to use the paper's longer direction.
Rotate gift · use longer paper axis · recheck overlap.
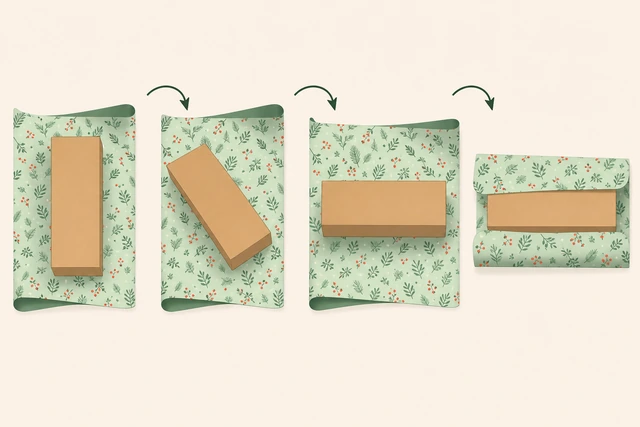
Orientation alone often saves a short sheet.
- Turn the box 90 degrees.
- Test the overlap again.
- Wrap if it now meets.
Overlap works after rotating, or you move to a new sheet.
Add a second paper strip as a belly band if only a little short.
Second strip · cover the gap · tape neatly.
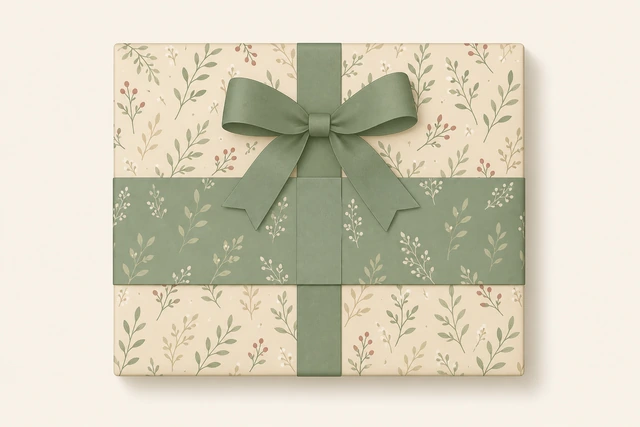
A belly band is honest and can look decorative.
- Cut a second strip.
- Wrap it around the short gap.
- Align patterns if you can.
The gap is covered neatly.
Switch to a gift bag + tissue if paper cannot close.
Bag bag · tissue · when paper will not close.
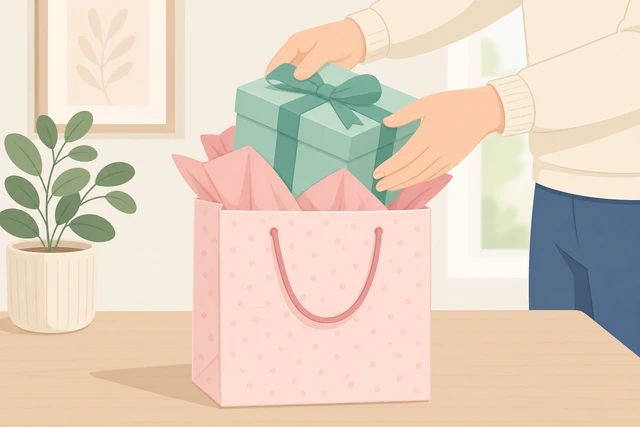
Bags beat ugly patchwork wraps.
- Choose a bag that fits.
- Add tissue.
- Put the gift in.
Gift is presentable in a bag.
For next time, keep a larger roll or pre-cut sheets.
Larger roll ready · measure twice next time.
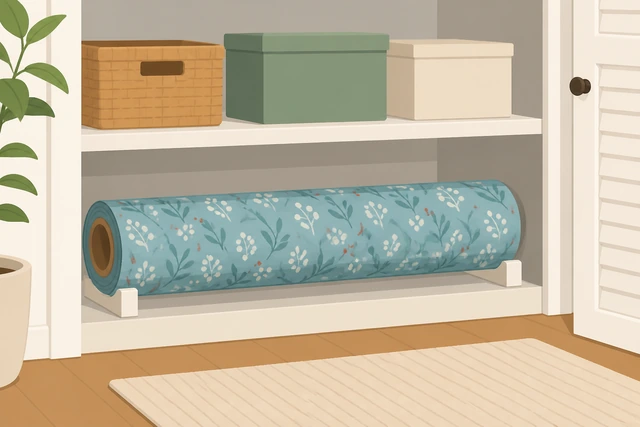
Most short-paper fails are a supplies problem.
- Store a bigger roll.
- Measure before cutting next time.
- Keep spare bags as backup.
You have a plan so short paper is less likely next time.
Puffy / messy endsEnds look ballooned or uneven
Open the messy end and start over while paper is still usable.
Undo puffy end · keep paper · refold tighter.
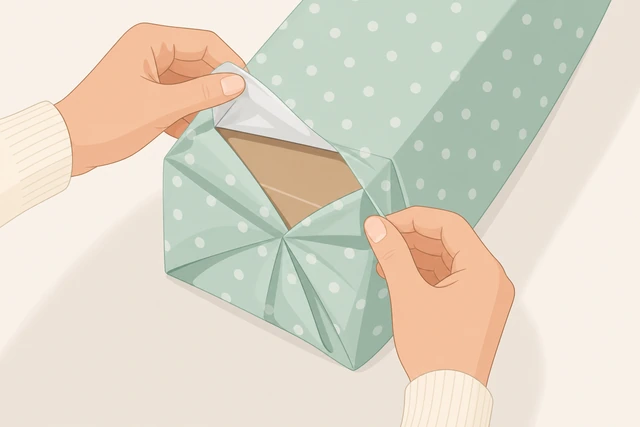
Puffy ends rarely fix with more tape alone.
- Peel tape carefully.
- Open the end.
- Prep to refold.
The end is open for a clean refold.
Make sharper creases on each flap.
Sharp creases · flat flaps · less bulk.
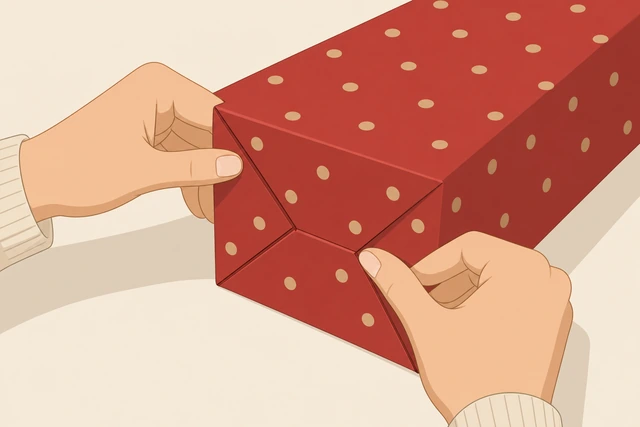
Soft uncreased flaps create balloon ends.
- Crease top flap.
- Crease side flaps hard.
- Crease bottom flap.
Flaps have sharp creases.
Push side flaps in tightly before the bottom flap goes up.
Sides in tight · then bottom up · tape.
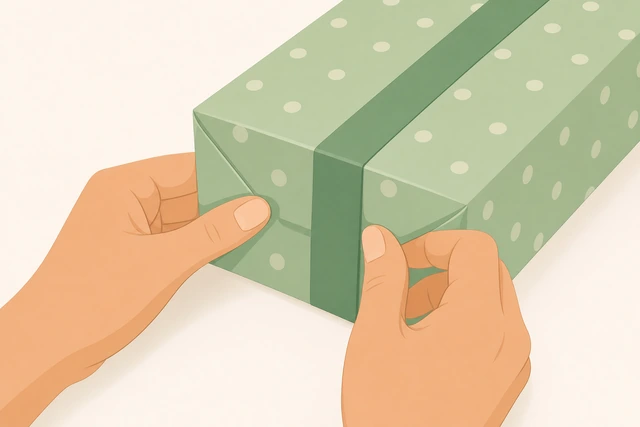
Order matters — bottom flap traps the sides.
- Tuck sides firmly.
- Fold bottom up.
- Tape flat.
The end sits flatter.
Trim a little excess paper if the end is overstuffed with folds.
Trim excess · then refold · less bulk.
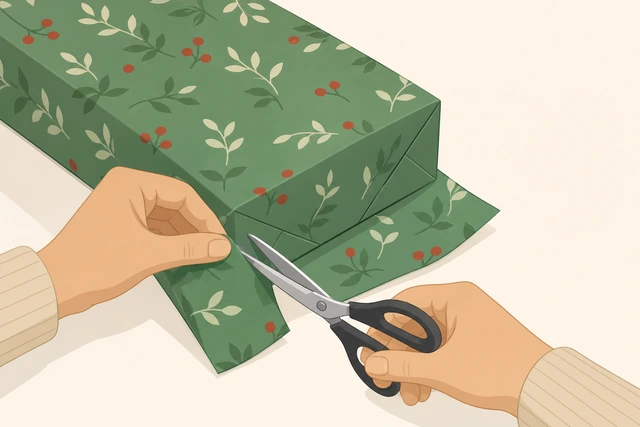
Too much paper at the ends creates pillows.
- Carefully trim excess.
- Do not cut into the face panel.
- Refold and tape.
Bulk is reduced.
Use double-sided tape on the final flap for a cleaner look.
Double-sided tape · hidden close · cleaner face.
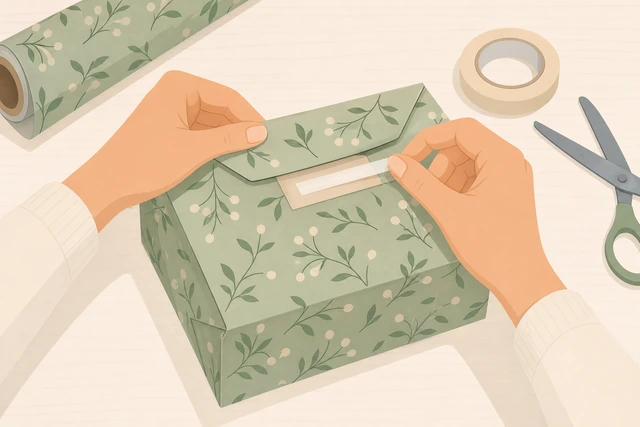
Visible tape clusters make ends look messier.
- Put double-sided tape on the last flap.
- Press closed.
- Smooth.
The end closes cleanly.
Soft / unboxed giftGift is soft or shapeless without a box
Put the soft gift into a box or sturdy mailer first.
Box it · then wrap paper around the box.
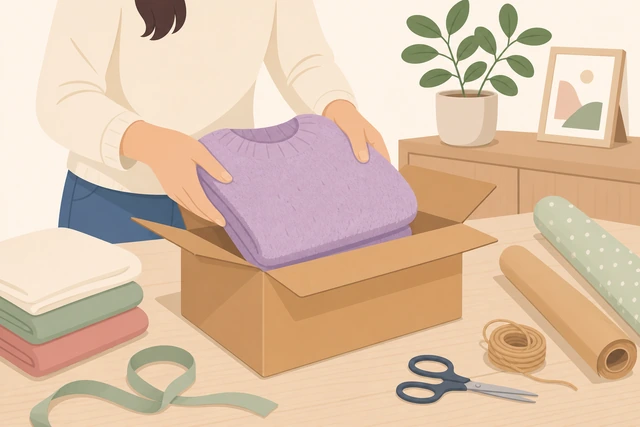
Paper needs flat faces — boxes create them.
- Find a box that fits.
- Add tissue if needed.
- Close the box.
The gift is boxed.
If no box, use a gift bag with tissue as the main wrap.
Bag bag + tissue · skip fighting the paper.
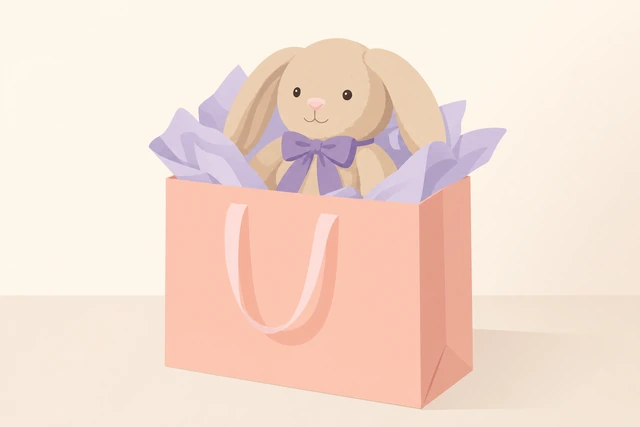
Bags are the right tool for soft shapes.
- Choose a bag.
- Add tissue fluff.
- Place the gift.
Soft gift is bagged presentably.
For fabric gifts, fold neatly before boxing or bagging.
Neat fold · less lump · easier wrap/bag.
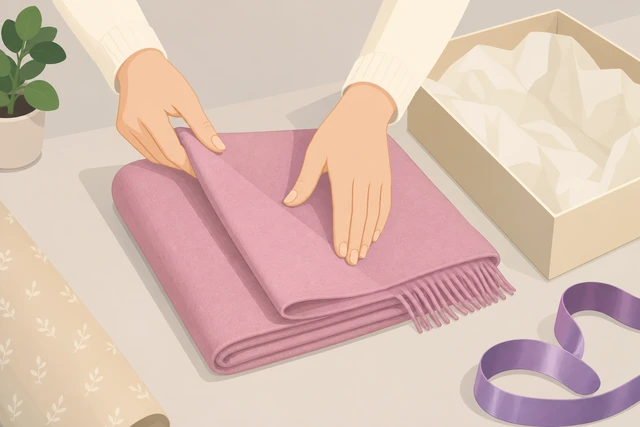
A lumpy fold makes every outer wrap look lumpy.
- Fold the fabric tidy.
- Smooth wrinkles.
- Then box or bag.
The soft gift is neatly folded.
Avoid trying to wrap clothing like a box without a form.
Do not force paper on shapeless clothes · box/bag instead.
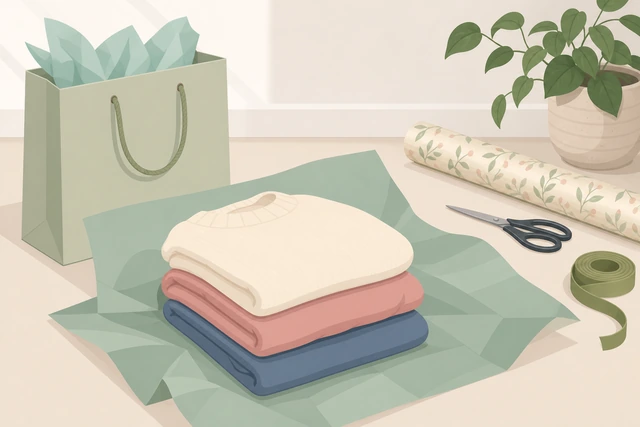
Forcing paper creates tears and tape disasters.
- Stop if paper will not hold a shape.
- Switch to box or bag.
- Save paper for boxed gifts.
You switched to a method that fits the soft gift.
Once boxed, return to the main wrapping steps.
Box ready · resume Start here from measuring.
Boxing unlocks the normal paper technique.
- Return to measuring paper.
- Wrap as a normal box.
- Add ribbon/tag.
You are back on the standard box wrap path.
When to get help
- Ask someone to hold the paper taut while you tape.
- Use a store gift-wrap service for large or fragile items.
When This Doesn't Work
- Odd-shaped hard gifts (balls, bottles). Use a bag, tissue, or specialty wrap.
- Very large boxes. Team-lift and use wider paper or two sheets carefully aligned.
- No paper available. Use a gift bag or reusable fabric wrap.
Warnings
- Mind scissors around kids and pets.
- Do not tape over delicate gift surfaces if the wrap will be torn off roughly.
- Not a guide for shipping fragile items.
Tips
- Double-sided tape hides seams.
- Keep a gift-bag backup for emergencies.
- Practice on a cereal box once.
FAQ
How much overlap do I need?
About 1–2 inches on the long seam is enough for most boxes.
What if my gift is soft?
Box it first, or use a gift bag with tissue.
Do I need ribbon?
No. Ribbon is optional finishing.
Comments
Questions, corrections, and what worked for you. Comments are reviewed before they appear.