How to Remove a Splinter
Remove a visible splinter with clean tweezers: wash, find the tip, pull along the entry angle, then clean and cover. Read one step at a time. Start with preflight. Stuck? Will not come out. Broke? Broke off. Dangerous spot? Seek care now.
Tips for reading this guide
- One step at a time. Read the green caption, the Why line, then the bullets.
- Move on when the green done line is true — then go to the next step.
- Pull along the entry angle — don’t yank sideways.
- Eye or deep puncture? Seek care now.
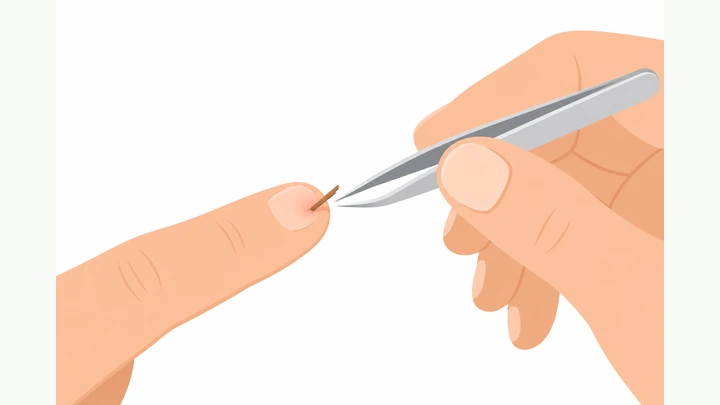
Things You'll Need
- Fine-point tweezers
- Soap and clean water
- Rubbing alcohol or antiseptic
- Adhesive bandage
- Bright light
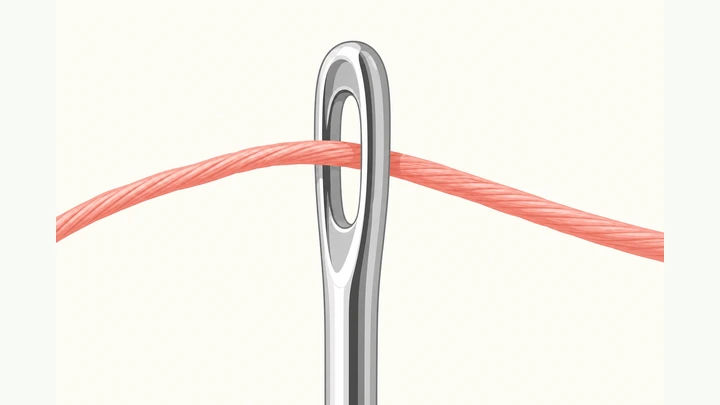
- Optional: sewing needle for exposing a tip only
Where are you stuck?
Start hereClean · light · tweeze along the path · aftercare.
Preflight — soap, clean water, fine tweezers, antiseptic or alcohol, bandage, bright light; optional sterilized needle. Skip DIY for eye or deep puncture.
Soap · tweezers · antiseptic · light · optional needle · know when NOT to DIY.
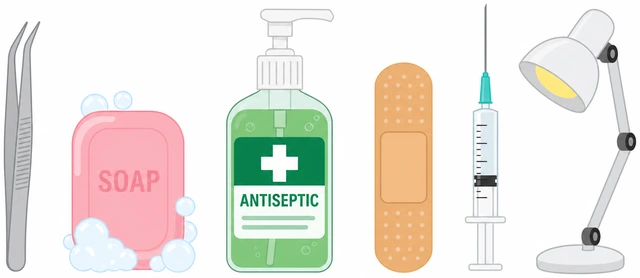
Dirty tools and blind digging push bacteria deeper with the splinter.
- Wash a clear workspace.
- Use fine-point tweezers if you have them.
- Good light beats squinting.
- Eye, deep puncture, or won’t stop bleeding? → Seek care now.
Kit is ready and the injury is appropriate for home removal.
Wash your hands and gently wash the skin around the splinter with soap and water.
Wash hands · wash around splinter · pat dry.
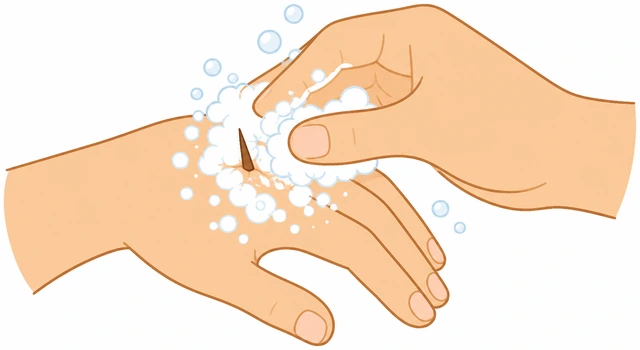
Clean hands cut the chance you add more germs while gripping.
- Soap and water 20 seconds on hands.
- Clean around the site — don’t scrub the splinter deeper.
- Pat dry with a clean towel/tissue.
Hands and surrounding skin are clean and dry.
Inspect under bright light. Find the exposed tip and the angle it entered.
Bright light · find tip · note entry angle.
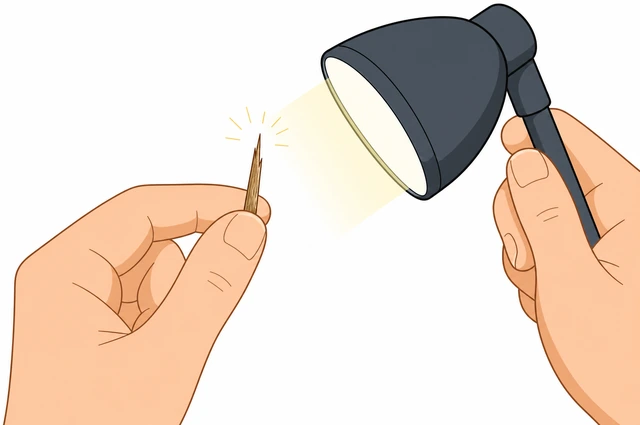
Pulling against the entry angle snaps splinters under the skin.
- Use a lamp or phone light from the side.
- Look for the shiny/dark tip.
- Note which way it went in.
- Do not squeeze the area hard.
You can see (or clearly feel) the tip direction.
Wipe tweezers with alcohol. Grip the exposed end and pull out slowly along the entry path.
Sterilize tweezers · grip tip · pull along entry path slowly.
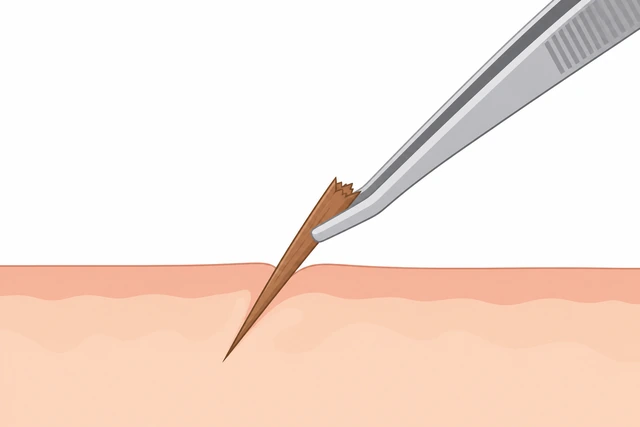
Slow, aligned pulls remove whole splinters; sideways yanks break them.
- Alcohol on tweezers tips.
- Grip as close to the skin as you can.
- Pull gently in the same direction it entered.
- Stop if it won’t move after a careful try.
- Won’t budge? → Will not come out.
- Broke under the skin? → Broke off.
The splinter is out in one piece, or you stopped cleanly to use a branch.
If the tip is buried: sterilize a needle, gently lift the skin to expose the tip, then tweeze it out.
Sterile needle to expose tip only · then tweeze · no deep digging.
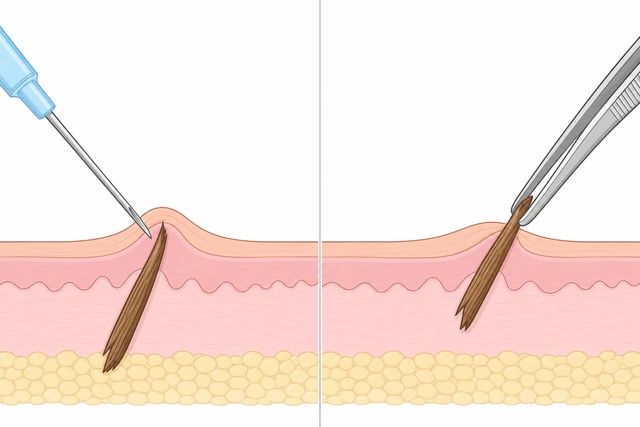
Needles are for exposing an end, not excavating a tunnel.
- Alcohol or flame-sterilize then cool the needle.
- Lift the skin flap over the tip slightly.
- Switch to tweezers for the pull.
- Do not carve a hole.
Tip was exposed and removed, or you stopped without deep digging.
Wash the site again, blot dry, and apply antiseptic.
Wash again · blot dry · antiseptic.
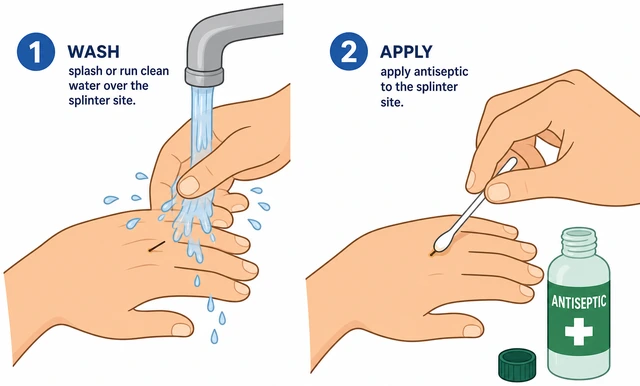
Removal can leave a tiny open track that needs cleaning.
- Soap and water gently.
- Blot dry.
- Antiseptic wipe or ointment per label.
Site is clean with antiseptic applied.
Bandage if the spot will get dirty; watch 24–48 hours for spreading redness, pus, or red streaks.
Bandage if needed · watch 24–48h for infection signs.
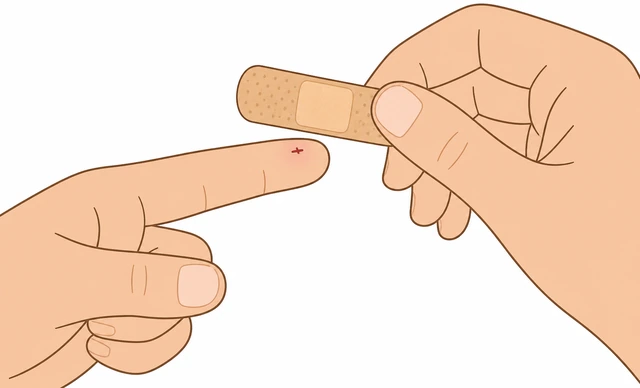
Early infection is easier than waiting until it throbs.
- Adhesive bandage for dirty work/play.
- Leave open if clean and dry preferred.
- Seek care for fever, red streaks, or worsening pain.
You have a cover plan and know infection warning signs.
Throw the splinter away, wash tools, and wash your hands again.
Dispose splinter · wash tools · wash hands.
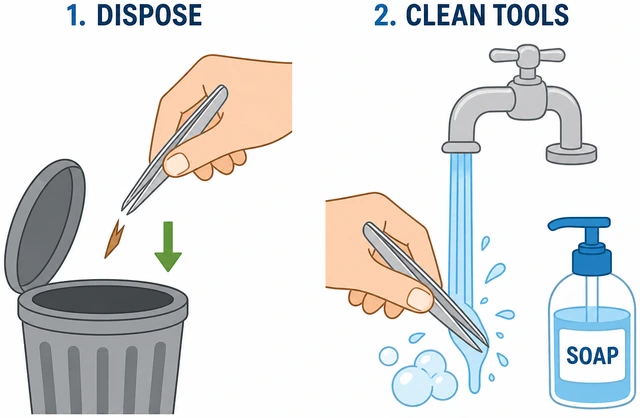
Leaving a dirty splinter on the counter invites a second poke.
- Tissue + trash.
- Wash tweezers/needle.
- Hands again.
Area and tools are clean; job is finished.
Will not come outYou cannot get a secure grip after careful tries.
Soak the area in warm clean water for 10–15 minutes to soften skin.
Warm soak 10–15 minutes.
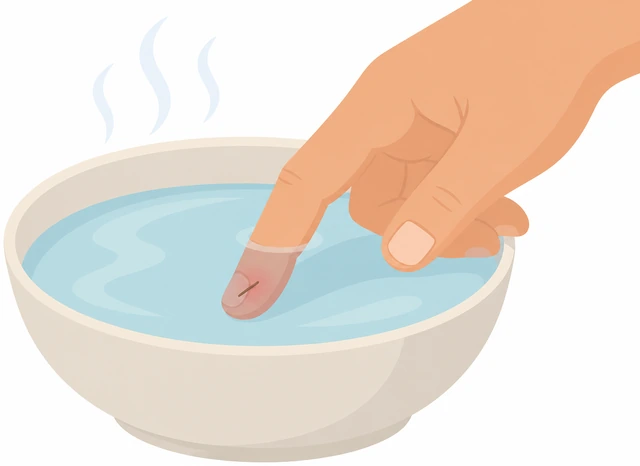
Soft skin can reveal a tip that was flush.
- Warm water bowl.
- 10–15 minutes.
- Pat dry; re-inspect.
Skin is softened and rechecked.
Re-sterilize tweezers; try one more slow aligned pull.
One more careful aligned pull.
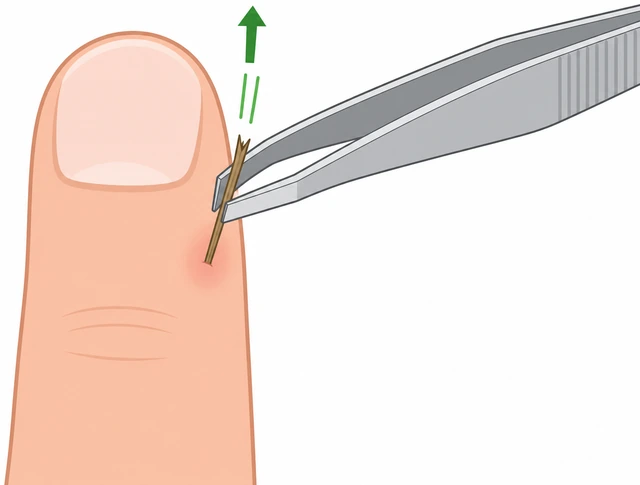
Repeated stabbing attempts tear tissue.
- Alcohol tweezers.
- Grip tip.
- Slow pull along path.
Second attempt done carefully.
If still flush, use sterilized needle only to lift the tip into view — then tweeze.
Needle to lift tip into view · then tweeze.
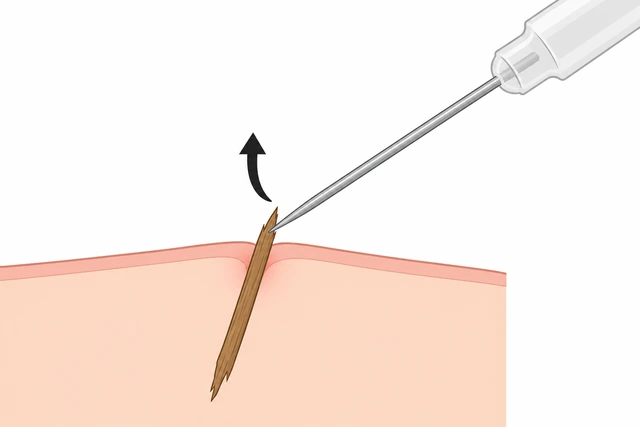
Expose, don’t excavate.
- Sterile needle.
- Lift tip.
- Tweeze out.
Tip exposed or attempt stopped.
Stop after two or three careful tries — more digging raises infection risk.
Stop after 2–3 careful tries.
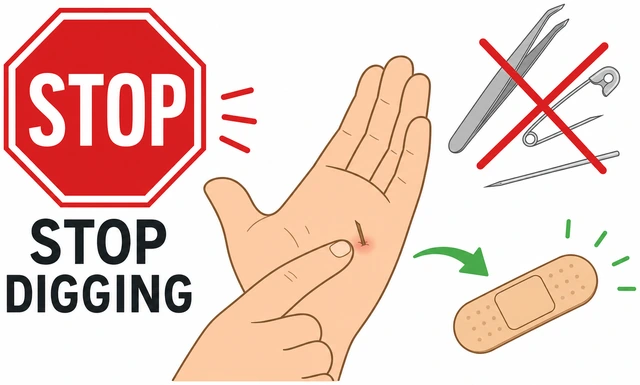
Heroic digging creates a worse wound than the splinter.
- Clean the area.
- Bandage.
- Plan clinic visit.
DIY attempts stopped.
See a clinician for removal if it remains — especially on hands used for work.
Clinic for remaining splinter.
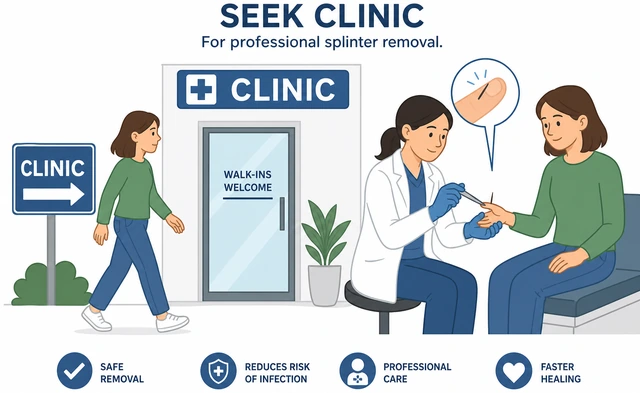
Pros have better light, tools, and numbing if needed.
- Urgent care / primary care.
- Describe material (wood/glass/metal).
- Bring tetanus status if asked.
Professional care arranged.
Broke offPart of the splinter remains under the skin.
Stop digging immediately — do not chase fragments blindly.
Stop digging · no blind chase.
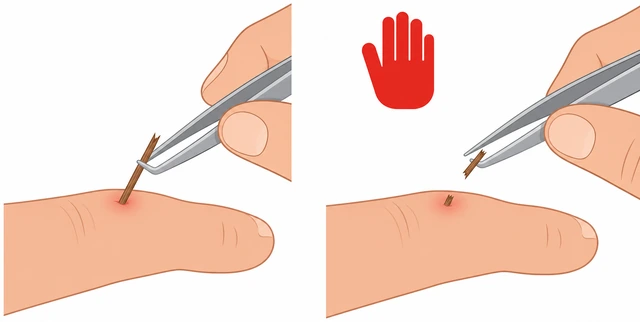
Chasing fragments shreds tissue and drives dirt deeper.
- Put tools down.
- Wash gently.
- Look once with light.
Digging stopped.
Clean the site and apply antiseptic; bandage lightly.
Clean · antiseptic · light bandage.
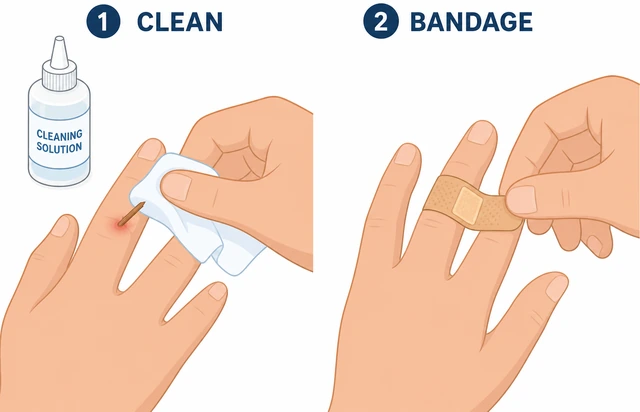
Open track + fragment = infection risk.
- Wash.
- Antiseptic.
- Bandage.
Site is protected.
If you can clearly see a new tip with no digging, one careful tweeze is OK — otherwise leave it.
Only try if a tip is clearly visible without digging.
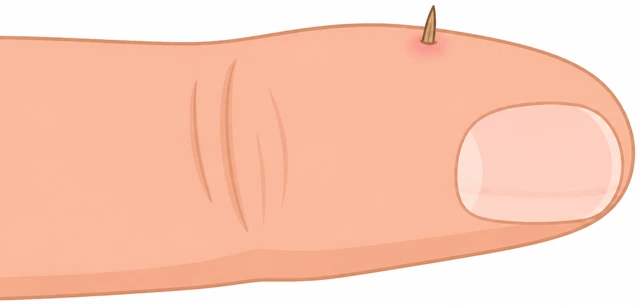
Maybe-I-see-it guesses cause damage.
- Visible tip only.
- Sterile tweezers.
- Else leave for clinic.
Either removed visible tip or left alone.
Watch closely for redness, swelling, pus, or red streaks over 24–48 hours.
Watch 24–48h for infection signs.
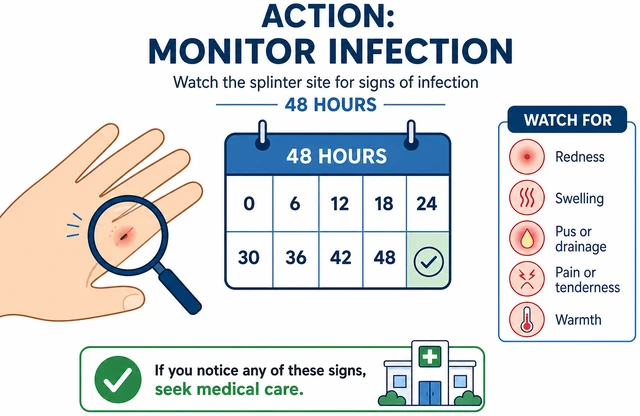
Retained organic splinters (wood/thorn) infect more often.
- Check twice daily.
- Note spreading redness.
- Fever = escalate.
Monitoring plan is clear.
Get medical care for deep fragments, severe pain, or any infection signs.
Deep / painful / infected · medical care.
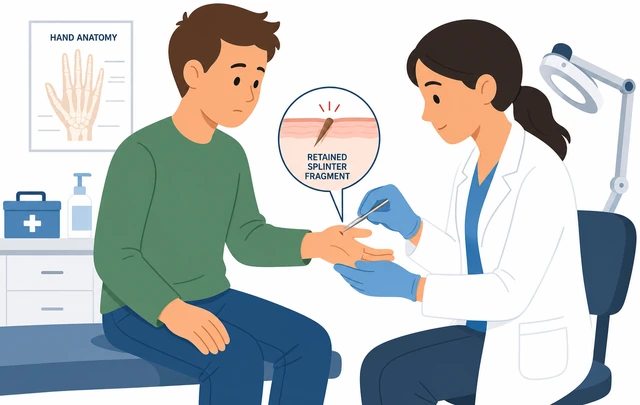
Some fragments need minor procedure under clean conditions.
- Clinic/urgent care.
- Describe breakage.
- Don’t wait on streaks/fever.
Care sought when needed.
Seek care nowDo not DIY — go to a clinician or urgent care.
Stop all probing. Do not rinse with harsh chemicals in an eye injury.
Stop probing · no harsh chemicals in eyes.
DIY near eyes risks vision.
- Tools down.
- Don’t rub.
- For eye: seek emergency/urgent eye care.
Probing stopped.
For bleeding that won’t stop with gentle pressure in 10 minutes, get urgent care.
Ongoing bleeding · urgent care.
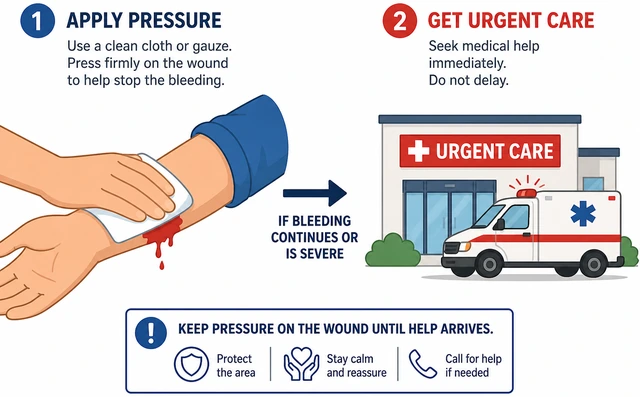
Deep punctures can hit vessels.
- Clean cloth pressure.
- 10 minutes.
- Escalate if still bleeding.
Bleeding plan followed.
Deep puncture with dirty thorn/soil: clean lightly and go in — tetanus risk matters.
Dirty deep puncture · clinic + tetanus check.
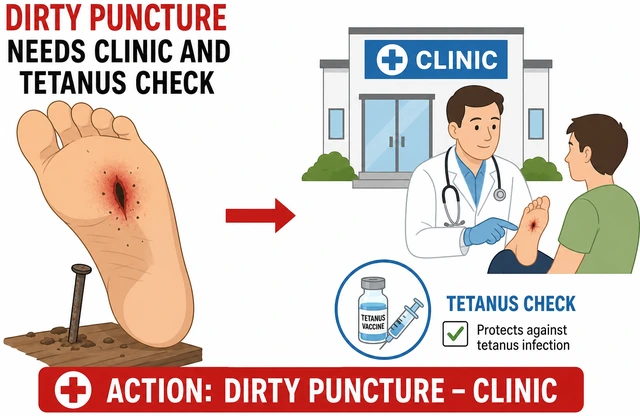
Soil + deep wound is a classic tetanus risk scenario.
- Light clean only.
- Go to care.
- Know last tetanus shot if possible.
Clinic visit started.
Numbness, inability to move a finger, or severe pain out of proportion: urgent evaluation.
Numb / can’t move / severe pain · urgent eval.
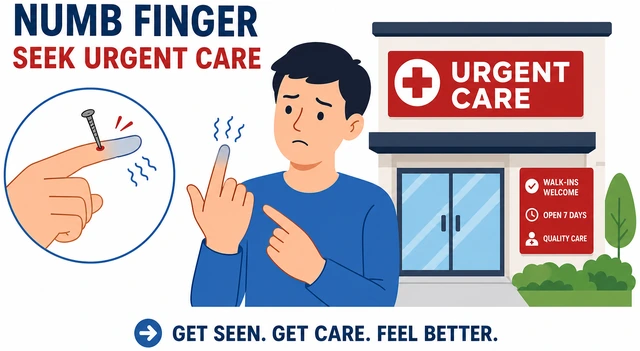
Nerve or tendon injury needs pros, not tweezers.
- Protect the area.
- Don’t keep testing motion painfully.
- Urgent care/ER as appropriate.
Urgent evaluation arranged.
Bring a photo of the object if known (glass vs wood) and when it happened.
Tell material + timing · photo if helpful.
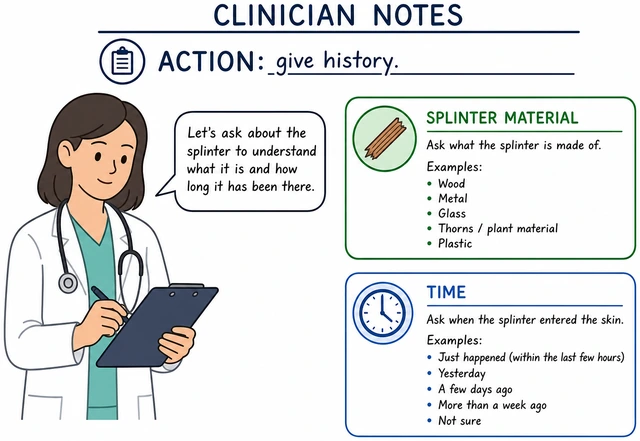
Clinicians remove faster with good history.
- Material.
- Time.
- What you already tried.
History is ready for the clinician.
When This Doesn't Work
- You can’t see anything but it hurts — It may be under the surface. Soak, recheck with side light, then stop and see a clinician rather than guessing with a needle.
- Glass vs wood — Same method, but glass tips can be sharper and easier to miss. Use excellent light; seek care if you can’t see a tip clearly.
- Child won’t hold still — One adult stabilizes the hand; another removes. If unsafe, go to urgent care rather than wrestling.
Warnings
- Do not dig blindly or squeeze the splinter deeper.
- Do not DIY splinters in the eye.
- Stop after a few careful tries — seek care rather than carving.
- Seek care for red streaks, pus, fever, or deep dirty punctures.
Tips
- Side lighting — Light from the side makes a flush tip cast a tiny shadow you can aim at.
FAQ
Should I use glue or tape to pull it out?
Not as your first method — glue can leave residue and miss deep tips. Tweezers under light are more controlled for visible splinters.
Do I need a tetanus shot?
Ask a clinician if the wound is deep/dirty or your shots are not up to date — especially with soil and punctures.

Comments
Questions, corrections, and what worked for you. Comments are reviewed before they appear.