How to Thread a Sewing Needle
Thread a hand-sewing needle without the usual struggle: clean cut, bright contrast light, stiffen the tip, push through (or use a threader), set length, knot if needed. Read one step at a time. Start with preflight. Cannot see the eye? Cannot see the eye. Tip frays? Tip frays / will not enter. No threader? No needle threader.
Tips for reading this guide
- One step at a time. Read the green caption, the Why line, then the bullets.
- Move on when the green done line is true — then go to the next step.
- Light and contrast first.
- Cannot see the eye? Cannot see the eye.
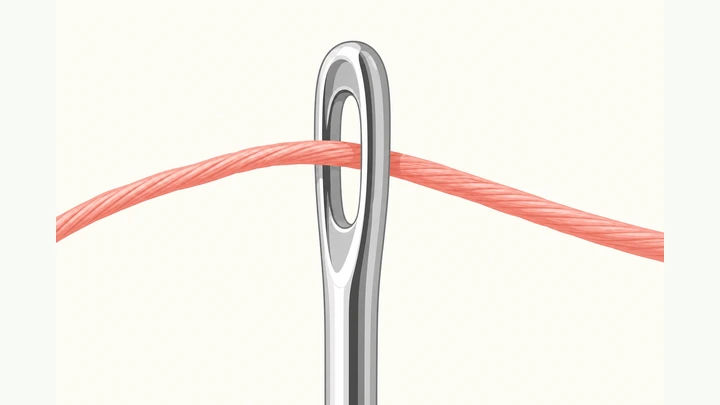
Things You'll Need
- Hand-sewing needle
- Sewing thread
- Sharp scissors
- Bright lamp or daylight
- Optional needle threader
- Optional white/black card for contrast
- Optional thread wax/conditioner
Where are you stuck?
Follow Start here to thread a needle. Jump to a branch for vision, frayed tips, or no threader.
- I want to thread a needle from scratch Clean cut · contrast · stiffen · through the eye
- I cannot see the needle eye More light · contrast card · magnifier · larger eye
- My tip frays and will not enter Recut · stiffen · threader · thinner thread
- I do not have a needle threader Paper funnel · brace eye · buy a threader
Start hereClean cut → contrast light → stiffen → through the eye → length → knot
Preflight — needle with a usable eye, thread, scissors, bright light, optional needle threader.
Needle · thread · scissors · bright light · optional threader.
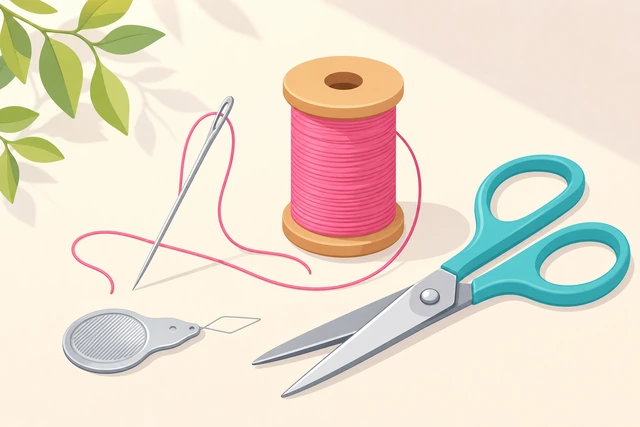
Dim light and a frayed tip cause most threading fails before skill even starts.
- Pick a hand-sewing needle with an eye that can fit your thread.
- Use bright light.
- Keep scissors and an optional needle threader nearby.
Supplies and bright light are ready.
Cut a clean fresh thread end — not a frayed tip.
Fresh clean cut · no fuzzy whiskers.
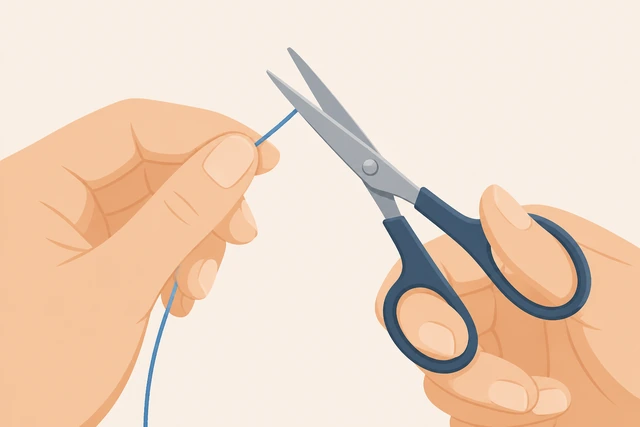
A frayed tip mushrooms and will not enter the eye.
- Cut a new end with sharp scissors.
- Aim for a clean tip.
- Do not use a previously frayed end.
- Tip still frays? → Tip frays / will not enter.
The thread end is freshly cut and clean.
Choose a needle eye large enough for the thread.
Eye fits thread · larger eye if struggling · match project.
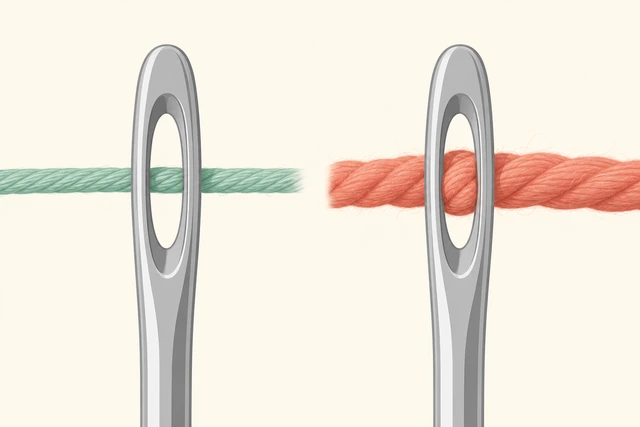
Forcing thick thread through a tiny eye wastes time.
- Hold thread against the eye.
- If it looks thicker than the opening, pick a larger-eyed needle.
- Keep the needle suitable for your fabric later.
The needle eye can accept the thread.
Sit in bright light; hold the eye against a contrasting background.
Bright light · contrasting card behind eye · steady hands.
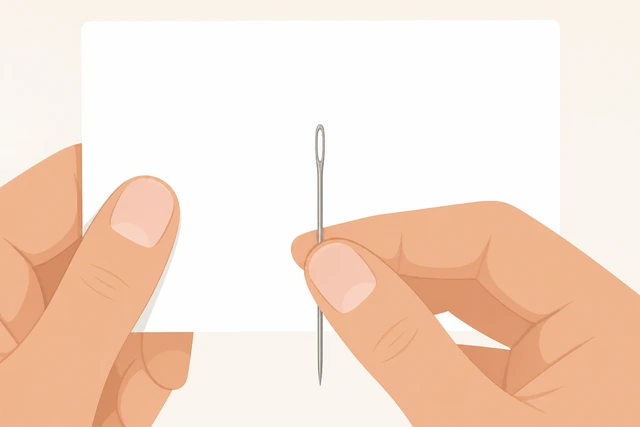
Contrast makes the eye visible instead of guessing at a silver blur.
- Face a lamp or window light.
- Hold a white or dark card behind the eye.
- Bring the eye to a comfortable viewing distance.
- Cannot see the eye? → Cannot see the eye.
You can see the eye opening clearly enough to aim.
Stiffen the tip slightly so it behaves like a point.
Stiffen tip · pinch near the end · ready to push.
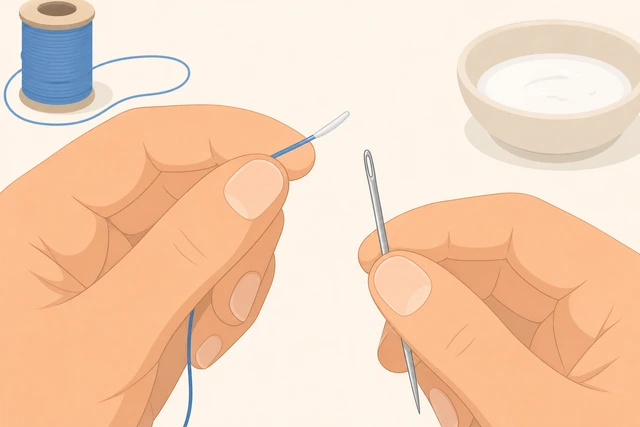
A floppy tip bends away from the eye instead of entering it.
- Lightly moisten or use thread conditioner/wax on the tip.
- Pinch flat close to the end.
- Keep it short and firm.
The tip feels slightly stiff and pointed.
Pinch close and push the tip through the eye — or use a needle threader.
Push tip through eye · or pull with threader wire/loop.
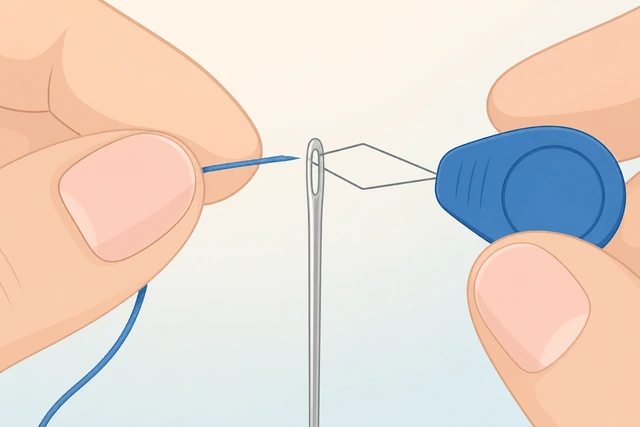
Close pinching gives control; a threader removes the aim problem entirely.
- Aim the stiffened tip into the eye and push through.
- Or insert a needle threader, hook the thread, and pull back through.
- Do not mash the eye with force.
- No threader and still stuck? → No needle threader.
Thread has passed through the eye.
Pull several inches of thread through the eye.
Pull through several inches · both sides free · no tiny loop stuck.
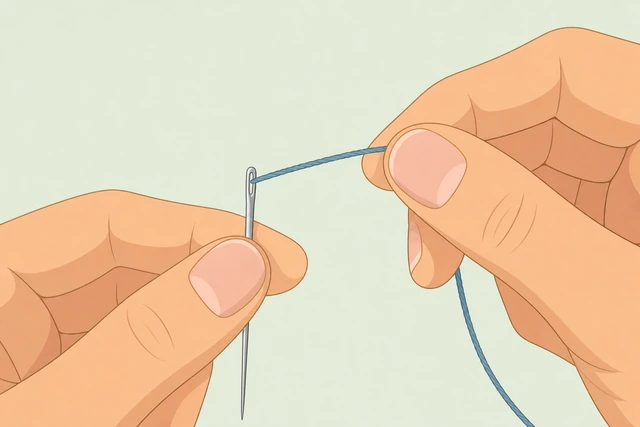
A tiny loop through the eye slips back out immediately.
- Pull enough thread that it will not pop back out.
- Hold the needle while you pull.
- Keep the tip from fraying again.
Several inches of thread are through the eye.
Set a working length of about 18–24 inches — not an arm-span.
Working length ~18–24 in · cut from spool · avoid extra-long.
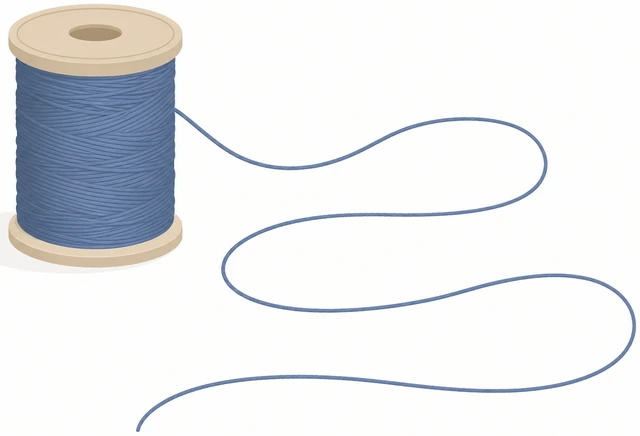
Extra-long thread tangles into knots mid-air.
- Pull about 18–24 inches total working length.
- Cut from the spool.
- Longer is not better for hand sewing.
Working length is about 18–24 inches.
Optional: double the thread for buttons and stronger repairs.
Optional double · even tails · for buttons/repairs.
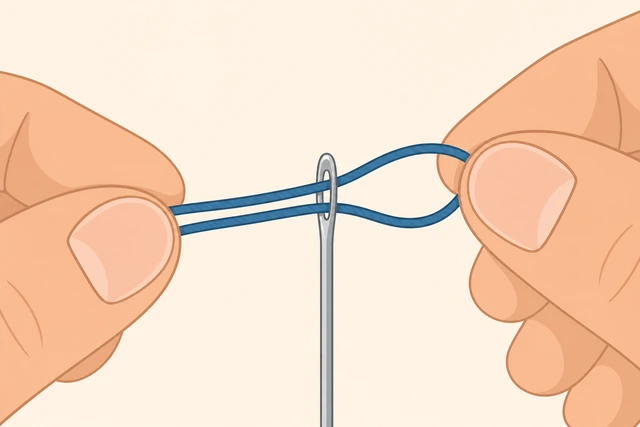
Doubling increases strength for fasteners without changing the threading skill.
- For buttons, match the ends to double the thread.
- For fine sewing, keep a single strand.
- Choose based on the job.
Thread is single or doubled on purpose for the job.
Tie a simple knot at the end(s) if your next stitch needs one.
Simple knot at end · snug · ready to sew.
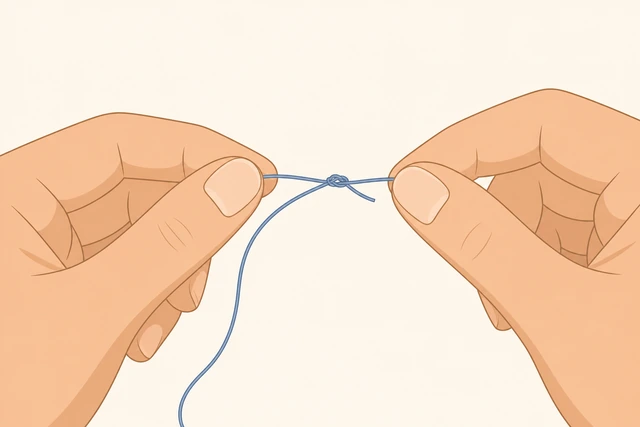
A knot keeps the first stitch from pulling out of the fabric.
- Tie a small overhand knot near the end.
- For double thread, knot both ends together.
- Trim a tiny whisker if needed.
A knot is tied if needed for the next sewing step.
Trim fuzzy whiskers near the eye if they catch.
Trim catchy whiskers · do not cut the working thread.
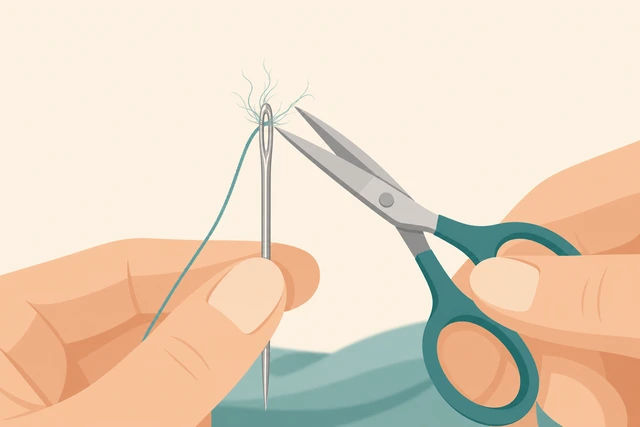
Whiskers snag on the eye and shred more each pull.
- Look near the eye for fuzzy bits.
- Trim carefully.
- Pull the thread to confirm it slides.
Thread slides through the eye without catching whiskers.
Confirm the thread slides freely without shredding.
Slide test · no shredding · ready for sewing.
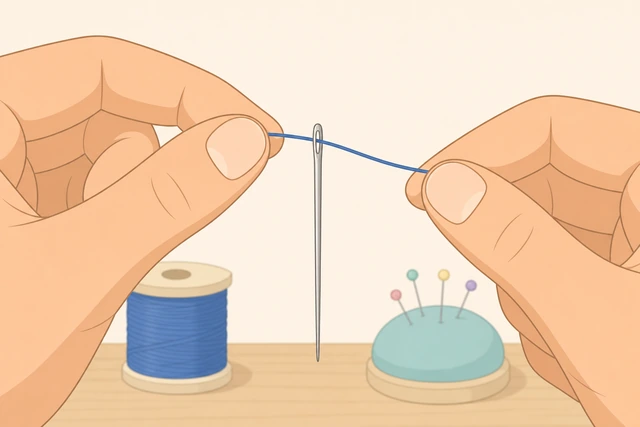
If it shreds now, it will fail mid-seam — fix before you start stitches.
- Pull a few inches back and forth gently.
- If it shreds, recut and rethread with a better eye/thread match.
- Then start your sewing task.
Thread moves freely and is ready to sew.
Cannot see the eyeEye is a blur; hard to aim
Add more light — move to a lamp or brighter window.
Brighter light · first fix for invisible eyes.
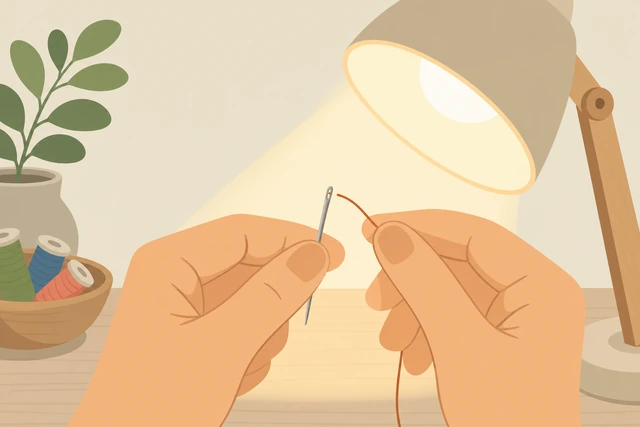
Most “I cannot see it” problems are lighting.
- Sit under a bright lamp.
- Avoid dim overhead-only light.
- Retry aiming.
The eye is easier to see in brighter light.
Hold a white or black card right behind the eye.
High contrast card · eye outline pops.
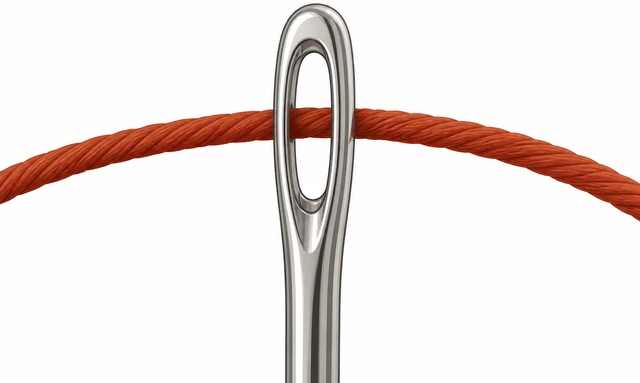
Contrast beats squinting at chrome-on-chrome.
- Place a card behind the eye.
- Align so the hole shows.
- Thread again.
Contrast makes the eye visible.
Use a magnifier or reading glasses if you have them.
Magnifier/readers · enlarge the eye · then thread.
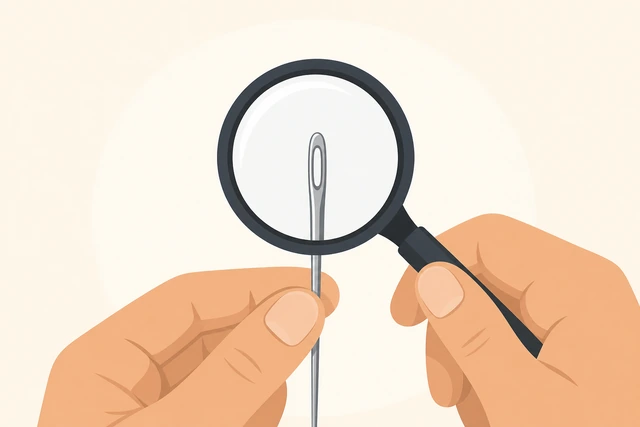
Optics are allowed — this is not a vision test.
- Use readers or a magnifier.
- Hold steady.
- Push the tip through.
Magnification is in use if needed.
Switch to a larger-eyed needle for practice.
Larger eye · learn the motion · downsize later.
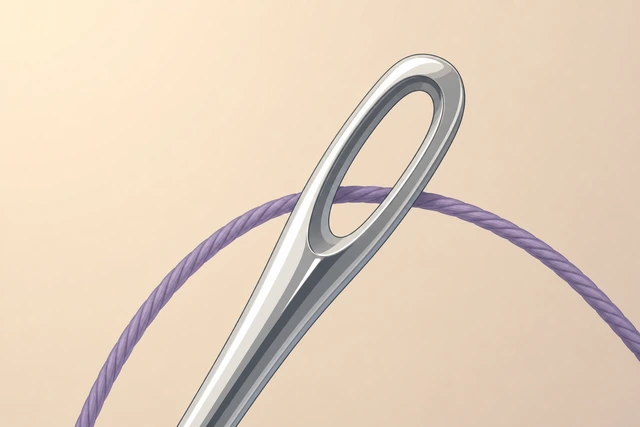
Skill first, tiny eyes later.
- Pick a larger-eyed needle.
- Thread it successfully.
- Return to finer needles when ready.
You can thread a larger-eyed needle.
Ask someone to steady the needle while you push the tip.
Helper holds needle · you push tip · teamwork OK.
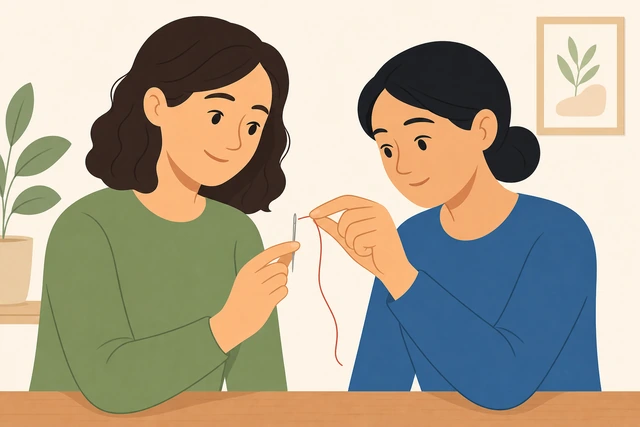
Four steady hands beat two shaky ones.
- Have a helper hold the needle still.
- You aim the tip.
- Pull through.
The needle is threaded with help if needed.
Tip frays / will not enterTip mushrooms or will not go into the eye
Recut the tip — make a fresh clean end.
Recut · discard frayed tip · try again.
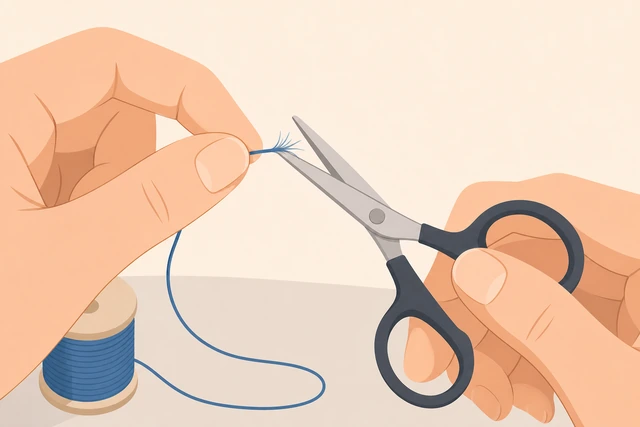
Fray multiplies if you keep poking the same tip.
- Cut above the fray.
- Make a clean end.
- Retry.
A new clean tip exists.
Stiffen more firmly with wax or conditioner.
More stiffener · firmer point · less mushrooming.
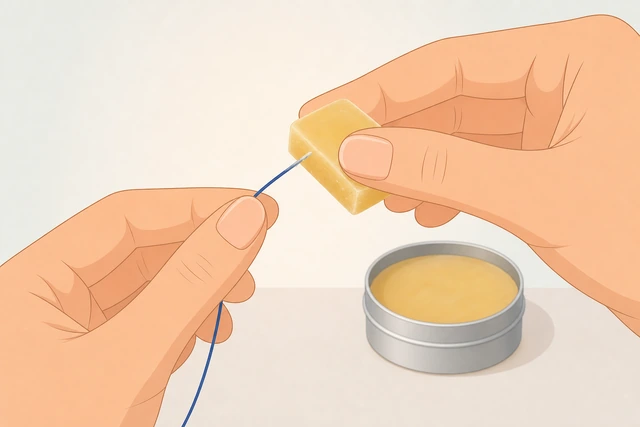
A firmer tip survives the push into the eye.
- Wax/condition the tip.
- Pinch flat.
- Push through.
The tip stays firm enough to enter.
Use a needle threader instead of freehand aiming.
Threader wire · hook thread · pull through eye.
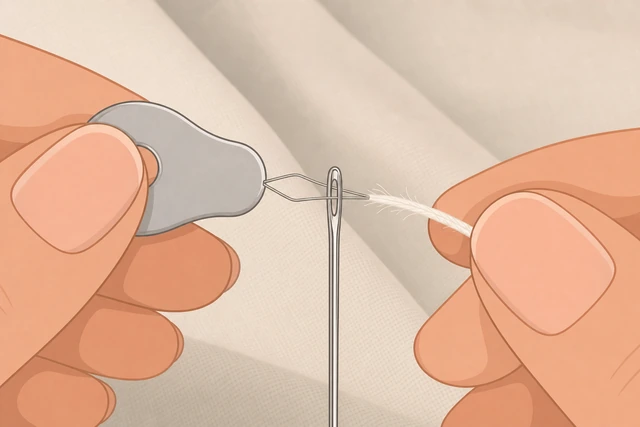
Threaders ignore tip perfection.
- Insert threader through the eye.
- Hook the thread.
- Pull back through.
Thread is through via a threader.
Try a slightly thinner thread if the project allows.
Thinner thread · easier entry · still strong enough.
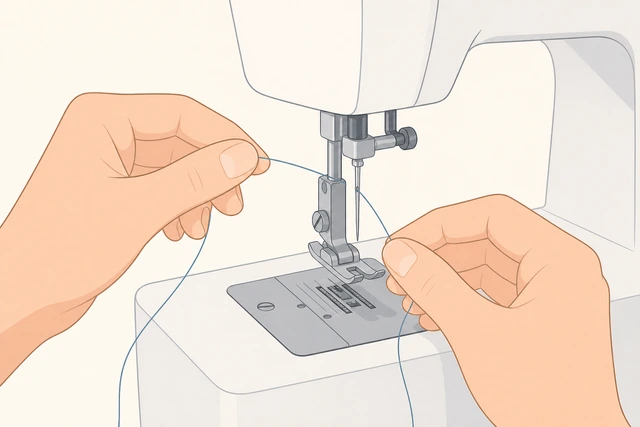
Oversized thread is a common silent blocker.
- Switch to a thinner all-purpose thread if OK.
- Recut.
- Rethread.
A workable thinner thread is threaded, or you kept the original with a threader.
Cut on a slight angle to create a sharper tip.
Angled cut · sharper tip · easier poke.
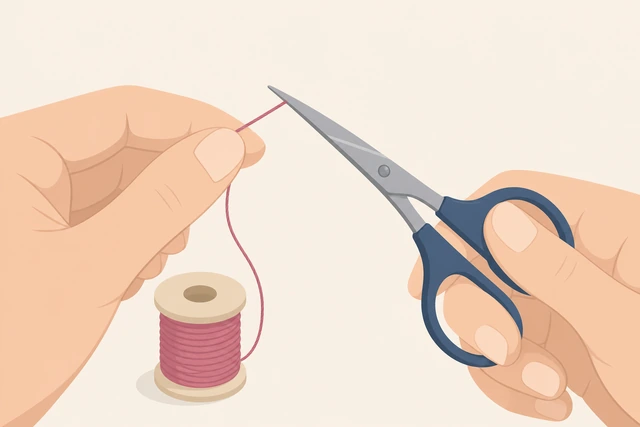
A tiny angle can help the tip find the hole.
- Cut on a slight angle.
- Stiffen.
- Push through carefully.
An angled tip enters the eye.
No needle threaderNo commercial threader available
Make a tiny paper funnel/crease to guide the tip.
Paper crease · tip rides the fold into the eye.
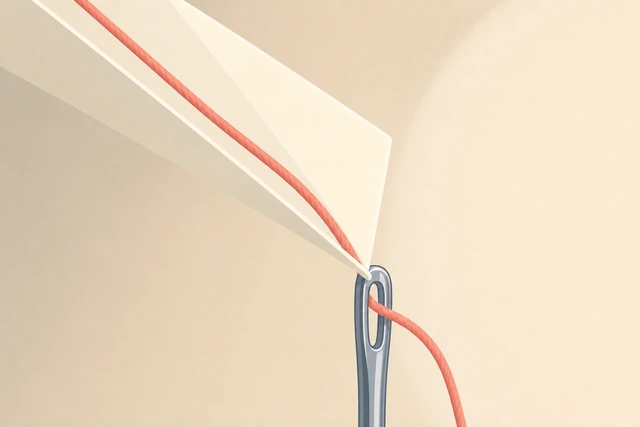
A paper guide replaces a metal threader in a pinch.
- Fold a tiny paper crease.
- Lay the tip in the crease.
- Push crease+tip toward the eye.
Thread enters using a paper guide.
Stiffen well and push slowly with the eye braced on a card.
Brace eye · stiff tip · slow push.
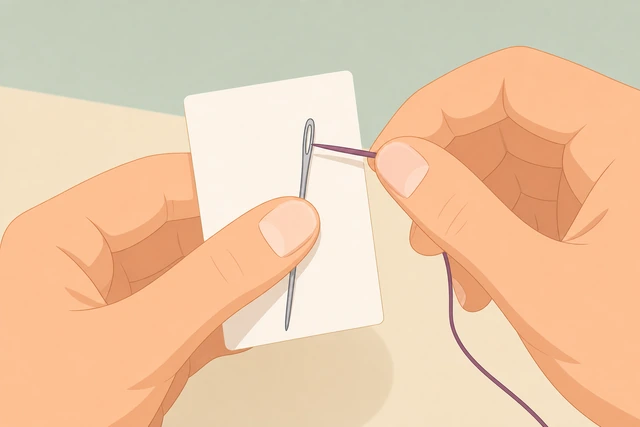
Stability helps when you have no threader.
- Brace the needle on a card.
- Stiffen the tip.
- Push slowly.
Thread passes without a commercial threader.
Hold the needle with pliers/clip very gently if hands shake (do not crush the eye).
Gentle stabilization · do not crush eye · then thread.
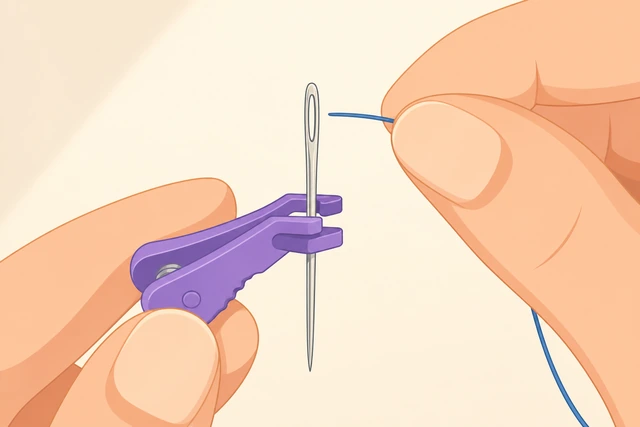
A light hold can stop the wiggle that misses the hole.
- Stabilize gently.
- Keep pressure away from crushing the eye.
- Thread carefully.
The needle is stable enough to thread.
Buy an inexpensive needle threader for next time.
Cheap threader · keeps in the sewing kit · future-proof.
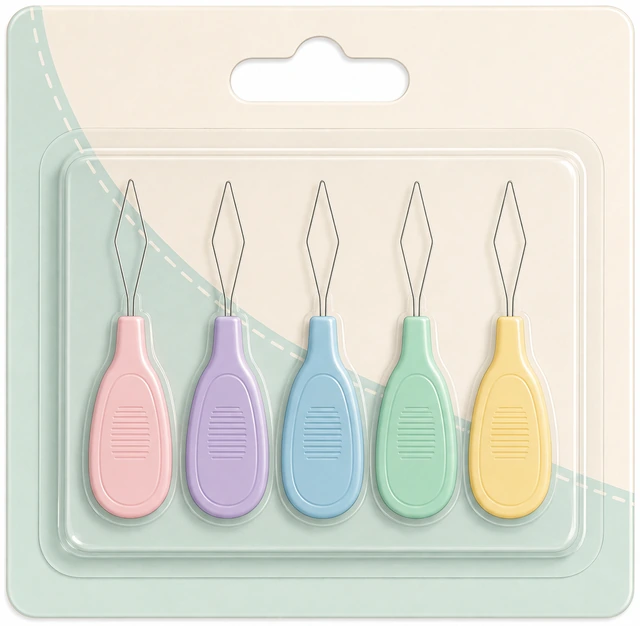
A dollar threader saves years of squinting.
- Add a threader to your kit.
- Practice once with it.
- Keep it with your needles.
You have a plan to keep a threader on hand.
If eyesight makes this unsafe/frustrating often, use pre-threaded needles when available.
Pre-threaded needles · valid accessibility option.
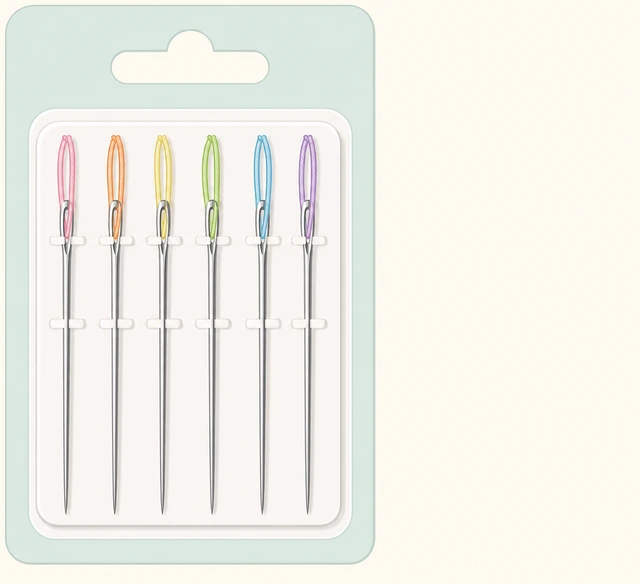
Getting the repair done matters more than freehand pride.
- Use pre-threaded needles if available.
- Or ask someone to pre-thread several.
- Then sew.
You have a workable threading alternative.
When to get help
- Ask someone with better near vision to pre-thread a few needles.
- Use pre-threaded needles if freehand threading is regularly unsafe or impossible.
When This Doesn't Work
- Machine needles with tiny eyes for thick topstitch thread. Use the matching machine needle/thread pairing.
- Severe vision limits. Pre-threaded needles or helper threading are valid.
- Specialty needles (leather, tapestry). Match eye size to the thread type.
Warnings
- Needles are sharp — keep away from eyes and children.
- Do not force and bend the needle eye.
- Not a machine-threading tutorial.
Tips
- Keep a needle threader in every sewing kit.
- White thread shows best against a dark card; dark thread against a white card.
- Thread several needles at once before a long repair session.
FAQ
How long should the thread be?
About 18–24 inches for most hand sewing. Longer tangles more.
Do I need a needle threader?
No, but it makes the job much easier, especially with small eyes.
Why does my tip keep fraying?
Recut, stiffen, and consider a threader or slightly thinner thread.

Comments
Questions, corrections, and what worked for you. Comments are reviewed before they appear.