How to Fold a Dress Shirt for Packing
Fold a button-down dress shirt into a flat suitcase rectangle with less collar crush: button it, lay it face-down, fold the sides and sleeves in, then fold the hem up. Read one step at a time. Start with preflight. Collar crushed? Collar crush. Thick uneven packet? Thick uneven packet. Linen or must-look-pressed? Wrinkle-prone fabric.
Tips for reading this guide
- One step at a time. Read the green caption, the Why line, then the bullets.
- Move on when the green done line is true — then go to the next step.
- Work on a clear table or bed — standing folds get crooked.
- Collar crushed? Collar crush.
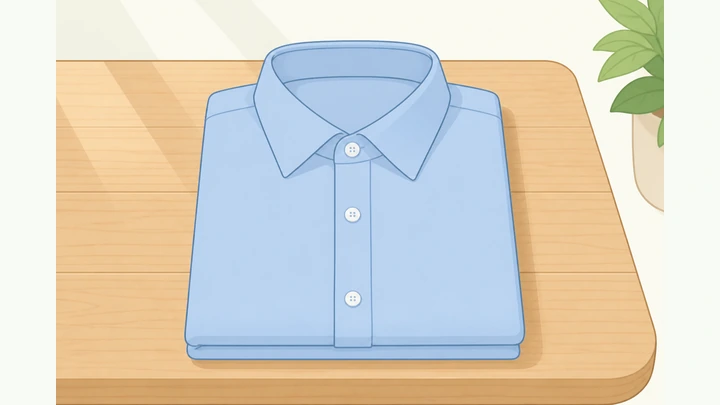
Things You'll Need
- Dress shirt (button-front)
- Clean flat surface (table or bed)
- Optional tissue paper or dry-cleaner bag
- Optional packing cube or garment folder
- Suitcase or soft bag
Where are you stuck?
Follow Start here to fold a dress shirt for packing. Jump to a branch for collar crush, uneven packets, or wrinkle-prone fabrics.
- I want to fold a dress shirt for packing from scratch Button · face-down · sides in · hem up · pack on top
- My collar is crushed or pops open Undo hem · rebuild face-down · stop short of collar · pack on top
- The packet is thick or uneven Rematch ⅓ folds · flat sleeves · more room
- It is linen/silk or must look pressed Tissue · top of bag · hang on arrival · steam plan
Start hereButton → face-down → sides in → sleeves back → hem up → pack on top
Preflight — dry shirt, clear flat surface, working buttons, optional tissue or packing cube.
Dry shirt · clear table · buttons OK · optional tissue/cube.
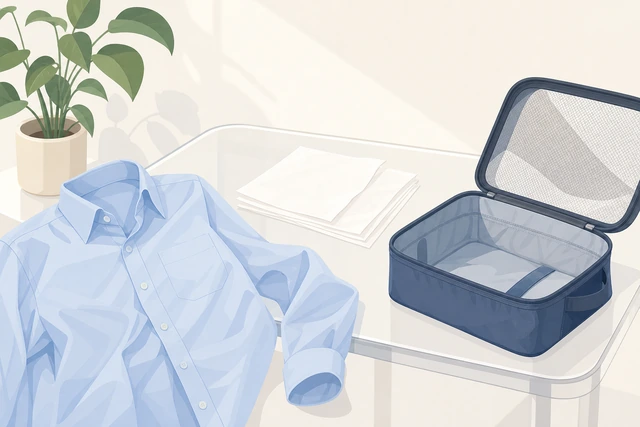
A damp shirt and a crowded floor are how collar creases get baked in before you fold.
- Confirm the shirt is fully dry — never fold damp.
- Clear a table or bed so the whole shirt can lie flat.
- Check that front buttons close; note linen/silk if the shirt must look pressed.
- Wrinkle-prone fabric? → Wrinkle-prone fabric.
Shirt is dry, surface is clear, and you know whether this shirt needs extra wrinkle protection.
Button the shirt fully — including the collar button.
All front buttons closed · collar button too · placket flat.
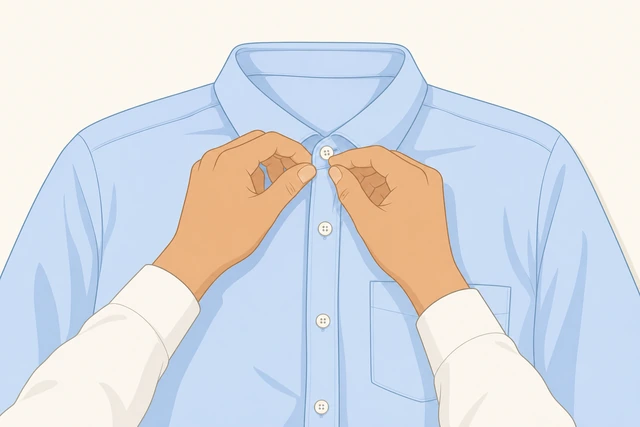
An open placket shifts while you fold and leaves a crooked front crease.
- Start at the collar button and work down the front.
- Button every front button you plan to wear closed.
- Optional: button cuffs for a neater pack rectangle.
- Smooth the placket so it lies flat.
Every intended front button is closed and the placket looks flat.
Smooth front and back; shake out major wrinkles.
Smooth fabric · seams aligned · shake out bunches.
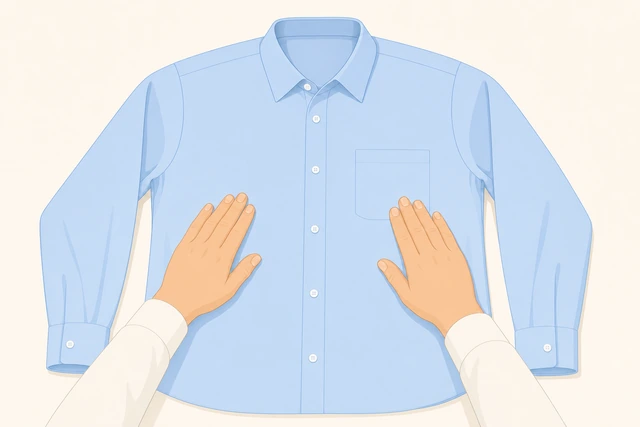
Folding over a bunch locks a permanent-looking crease into the chest.
- Hold the shoulders and give one firm shake.
- Lay the shirt flat and smooth the front panel with your palms.
- Flip briefly to smooth the back if it is bunched.
- Align side seams so left and right look even.
The shirt lies smooth with no obvious bunched fabric.
Lay the shirt face-down — buttons toward the table.
Buttons down · back facing up · collar at the top of the workspace.
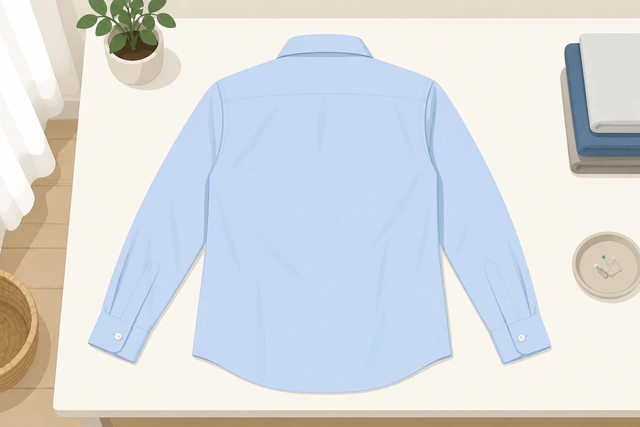
Face-down folding keeps the show side (front and collar) protected inside the packet.
- Flip the shirt so the button placket faces the table.
- Point the collar toward the top edge of your workspace.
- Center the shirt so both sleeves have room.
- Do not start folding while the shirt is face-up.
The back of the shirt faces you and the collar is at the top.
Straighten the collar and shoulder line.
Collar points even · shoulders square to the table edge.
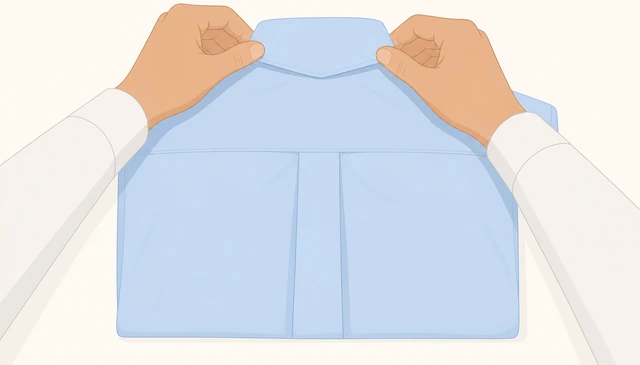
A skewed collar now becomes a crushed collar after the hem fold.
- Pinch both collar points and make them match.
- Line the shoulder seams up so they look level.
- Smooth under the collar band so it is not folded under itself.
- Collar already bent from past packs? → Collar crush.
Collar points look even and the shoulders form a straight line.
Fold one side panel in toward the center — about one-third of the width.
Left side in ~⅓ · straight vertical fold edge.
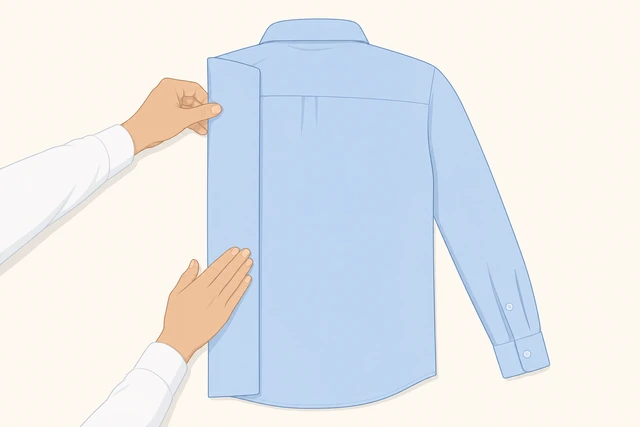
Even third-width folds build a rectangle instead of a wedge.
- Grab the left side seam (your left as you face the shirt).
- Fold it in until the fold edge sits about one-third across the back.
- Keep the fold straight from shoulder toward the hem.
- Do not pull the collar sideways while you fold.
One side forms a straight vertical edge near the one-third line.
Packet already looks lopsided? → Thick uneven packet.
Fold that sleeve back along the side fold so it lies flat.
Sleeve back onto the panel · flat · no spiral twist.
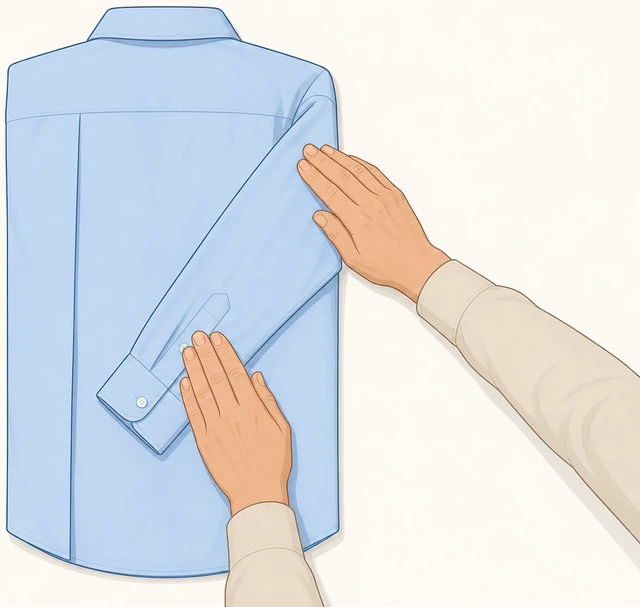
A twisted sleeve creates a thick lump that prints creases into the chest.
- Bring the sleeve down so it rests on the folded side panel.
- Smooth from shoulder to cuff so fabric is flat.
- Keep the cuff inside the eventual rectangle if you can.
- Check there is no spiral twist in the sleeve.
That sleeve lies flat on the folded panel with no twist.
Fold the other side panel in the same way.
Right side in ~⅓ · edges meet near the center.
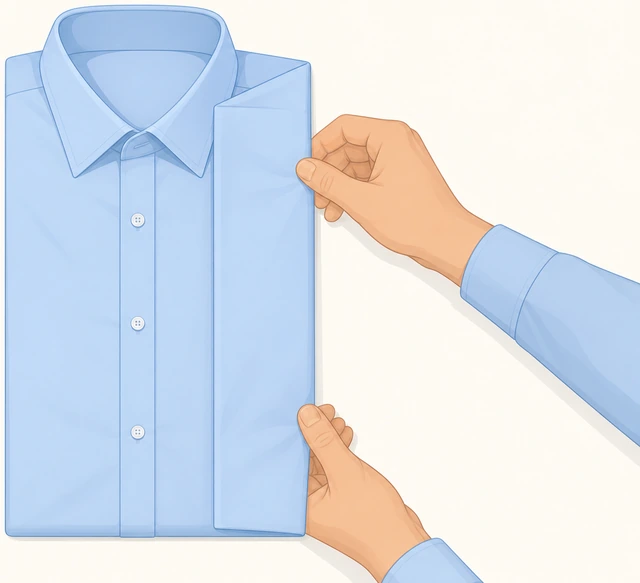
Matching the first fold keeps the packet the same thickness on both sides.
- Fold the right side in to about the same one-third width.
- Aim for the two vertical edges to meet near the center of the back.
- Smooth the new fold edge.
- If one side is much wider, unfold and rematch.
Both side panels are folded in and the shirt looks like a tall rectangle with sleeves still to finish.
Fold the other sleeve to match.
Second sleeve flat · parallel · cuff not past the hem.
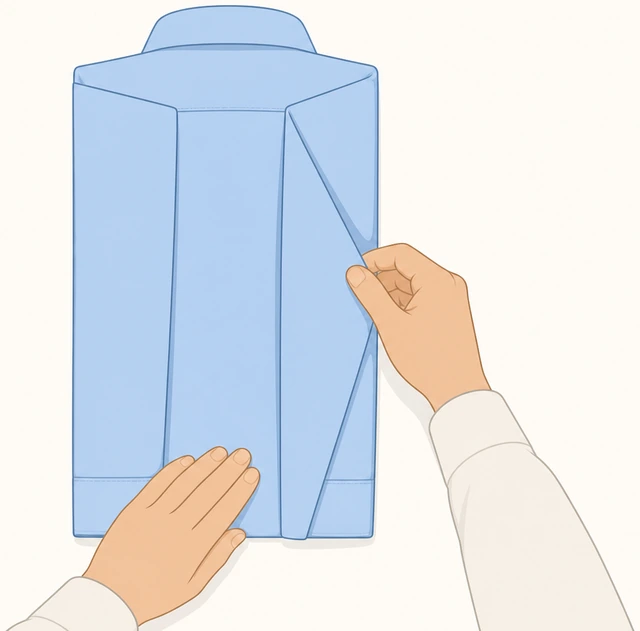
Matching sleeves prevent one cuff from escaping when you fold the hem.
- Fold the remaining sleeve onto its side panel.
- Smooth it flat and parallel to the first sleeve.
- Tuck or angle the cuff so it does not hang past the hem.
- Press gently with your palms — do not iron creases in.
Both sleeves lie flat and the long edges look even.
One side much thicker? → Thick uneven packet.
Fold the bottom hem up once toward the collar.
Hem up once · stop below the collar band · keep collar free.
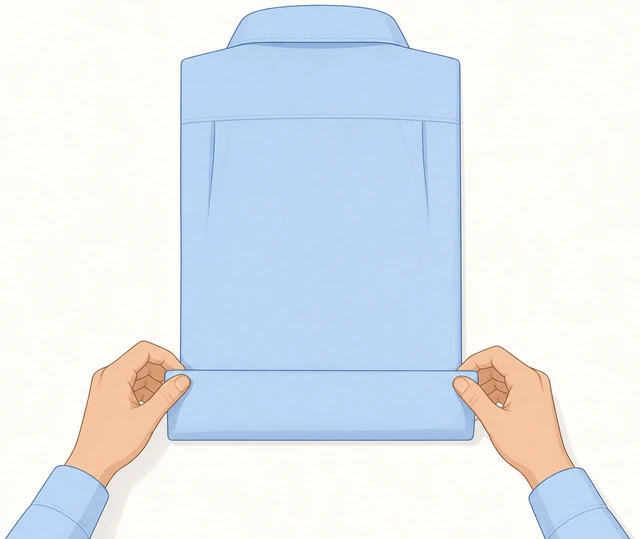
Stopping short of the collar protects the band that frames your neck.
- Grab the hem with both hands.
- Fold it up once so the fold lands on the mid-back or just below the collar band.
- Do not mash the hem into the collar itself.
- Smooth the new fold.
One clean bottom fold sits below the collar band.
Collar got folded under? → Collar crush.
Optional second fold if you need a shorter packing cube height.
Second fold only if needed · still keep the collar zone free.
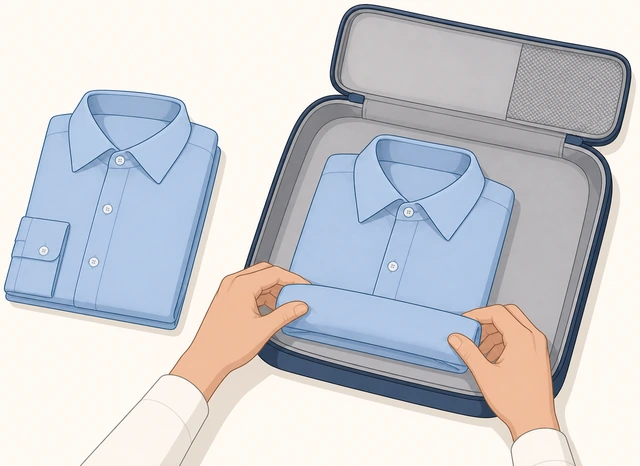
A forced short fold across the collar is worse than a slightly taller packet.
- Measure your packing cube or bag pocket height with your hand.
- If the packet is still too tall, fold once more from the hem end.
- Keep the fold away from crushing the collar points.
- If one fold already fits, skip this step.
Final packet height fits the space you need without pinching the collar.
Flip the packet button-side up and check the collar.
Button side up · collar closed · front panel smooth.
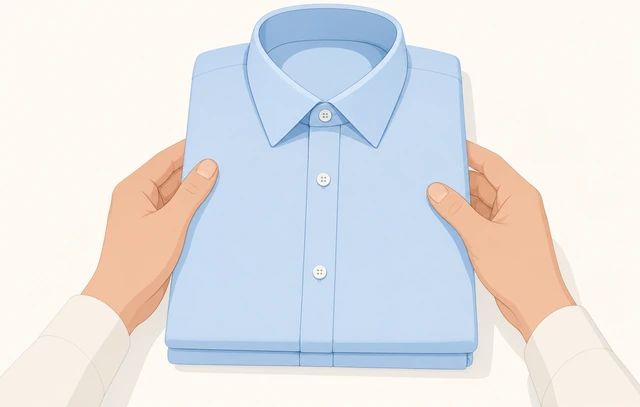
A quick check catches a popped collar before it spends hours crushed in the bag.
- Flip the packet so the buttons face up.
- Look at the collar — points should sit closed, not flared open.
- Smooth the front if a fold line looks harsh.
- Lift the packet — it should stay together as one rectangle.
The packet holds together button-side up with a closed, uncrushed collar.
Collar open or creased hard? → Collar crush.
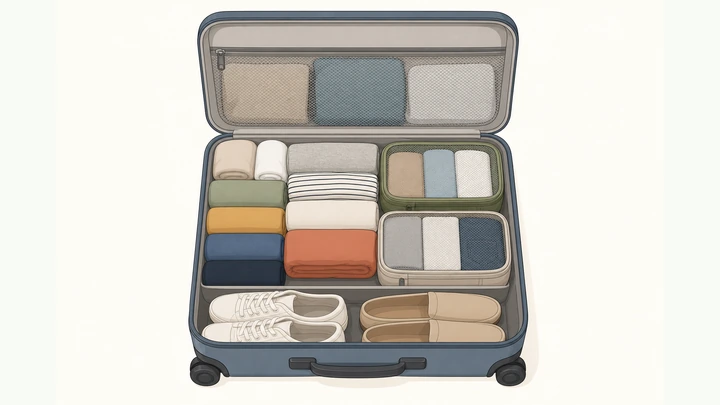
Place the shirt in the bag on top of soft items — never under shoes.
On top or in a folder · shoes elsewhere · nothing heavy on the collar.
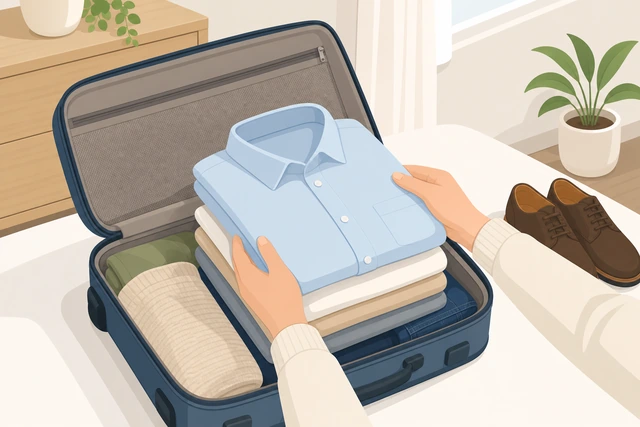
Weight on the collar and front panel undoes every careful fold.
- Put shoes, denser jeans, and toiletries away from this shirt.
- Nest the packet on top of softer clothes or in a garment folder.
- Optional: slip tissue or a dry-cleaner bag sleeve over the packet for slide protection.
- Close the bag without sitting on the collar area.
The shirt sits on top (or in a folder) with nothing heavy pressing the collar or front.
Collar crushWhen the collar is bent, popped open, or creased hard
Undo the bottom fold and free the collar band.
Undo hem fold · free the collar · do not yank points.
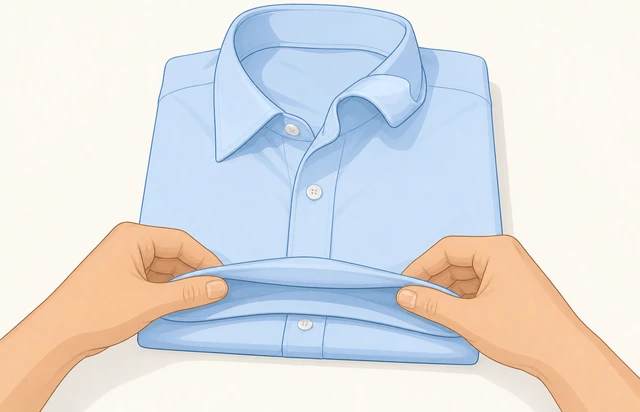
You cannot reshape a collar while it is still trapped under the hem fold.
- Unfold the hem fold(s).
- Gently open the collar so it lies natural.
- Do not twist the collar points hard.
The collar band is free and visible.
Rebuild face-down with the collar squared before any side folds.
Face-down · square collar first · then sides.
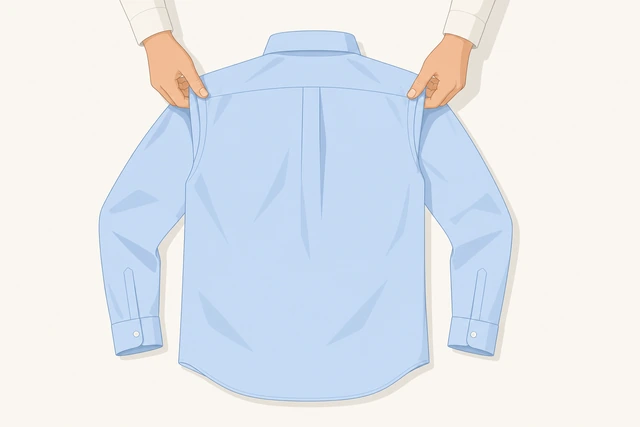
Collar alignment has to come before the packet is built.
- Return to face-down layout.
- Square the collar points and shoulders.
- Only then fold the sides again.
Collar is square before side folds begin.
Stop the hem fold short of the collar band.
Hem stops below collar band · gap visible.
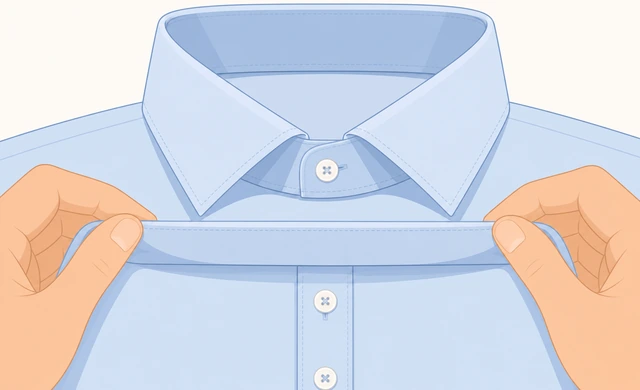
A visible gap under the collar prevents crush on the next pack.
- Fold the hem up once.
- Leave a clear gap under the collar band.
- Skip a second fold if it would hit the collar.
Hem fold does not touch the collar band.
Protect the collar in the bag with soft items beside it — not piled on it.
Soft filler beside collar · never a shoe on the collar.
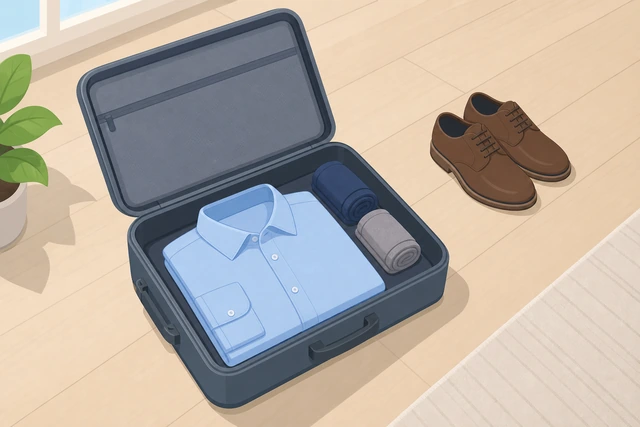
Side support stops shifting; top weight recreates the crush.
- Place rolled socks or soft fillers beside the collar zone if needed.
- Keep the shirt on top of the stack.
- Never put shoes on the collar.
Collar has side support and no weight on top.
If the shirt must look pressed today, hang it or use steam instead of hoping the fold recovers.
Hang on arrival · light steam · same-day events need hang space.
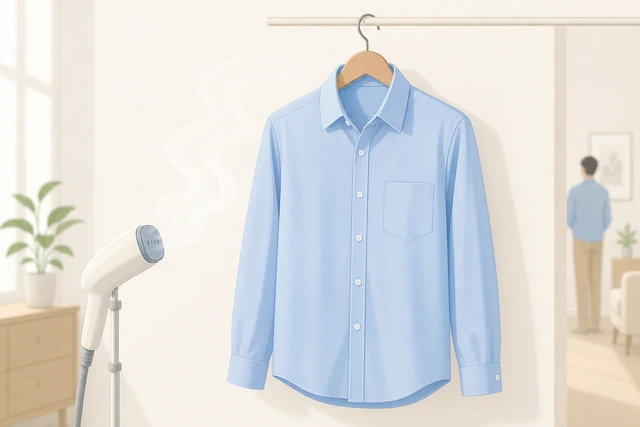
A deep collar crease will not relax in a closed suitcase.
- Hang the shirt as soon as you arrive.
- Use a steamer or bathroom steam carefully.
- For same-day formal events, bring a garment bag if you can.
You have a hang/steam plan when fold-only is not enough.
Thick uneven packetWhen one side is bulky or the packet will not sit flat
Unfold the sides and sleeves — keep the shirt buttoned.
Open side folds · buttons stay closed · start over on sides.
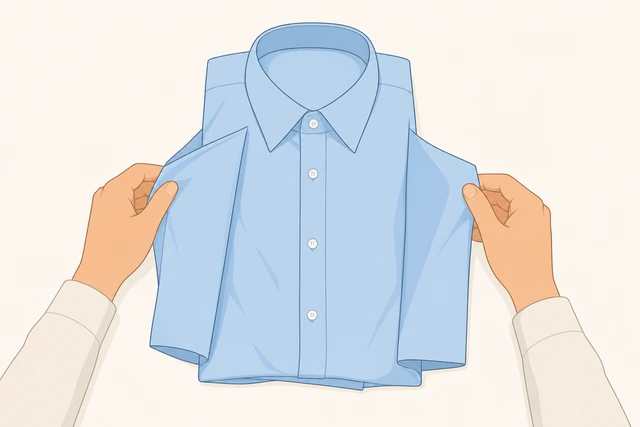
Unbuttoning now lets the placket drift; uneven sides are the real problem.
- Unfold both side panels and sleeves.
- Leave front buttons closed.
- Return to a flat face-down shirt.
Shirt is face-down, buttoned, and fully opened flat again.
Rematch both side folds to the same one-third width.
Equal ~⅓ folds · edges meet near center.
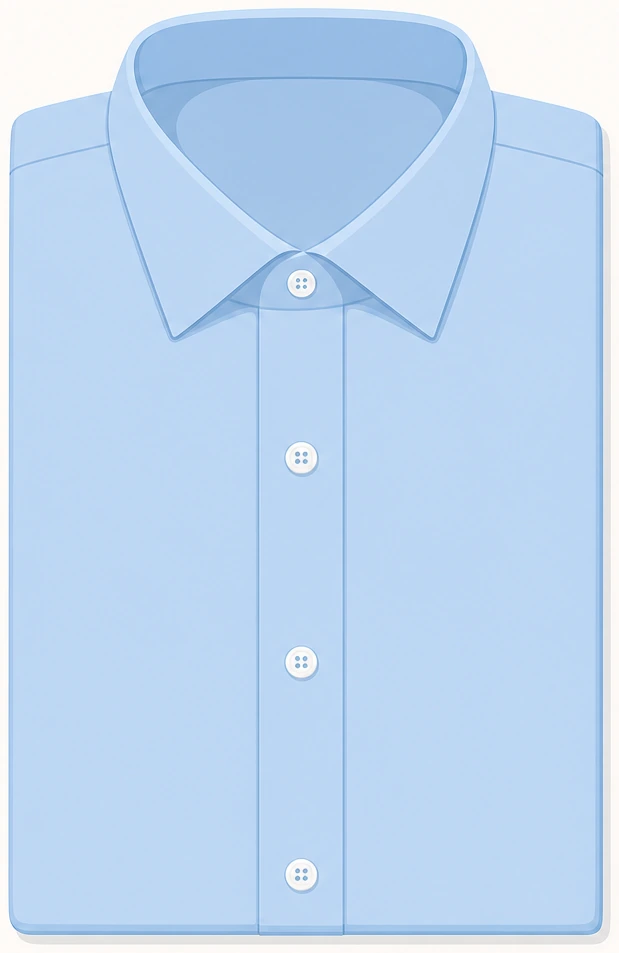
Equal widths are what make a suitcase-friendly rectangle.
- Fold left to ~⅓.
- Fold right to the same width.
- Check that both vertical edges look parallel.
Both side folds look the same width.
Stack sleeves flat — no rolled spirals.
Flat sleeves · no spiral · cuffs inside the rectangle.
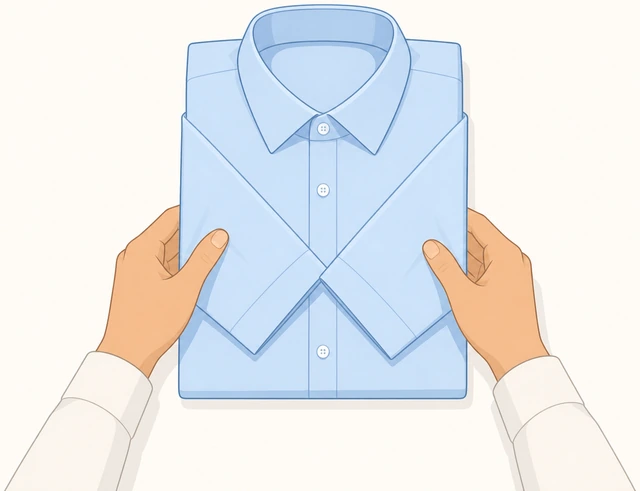
Spiral sleeves are the usual hidden thick spot.
- Lay each sleeve flat on its panel.
- Smooth from shoulder to cuff.
- Keep cuffs inside the long edges.
Sleeves are flat and parallel with no spiral bulk.
Refold the hem and press the packet gently with your palms.
Hem up · palm press · packet sits flat.
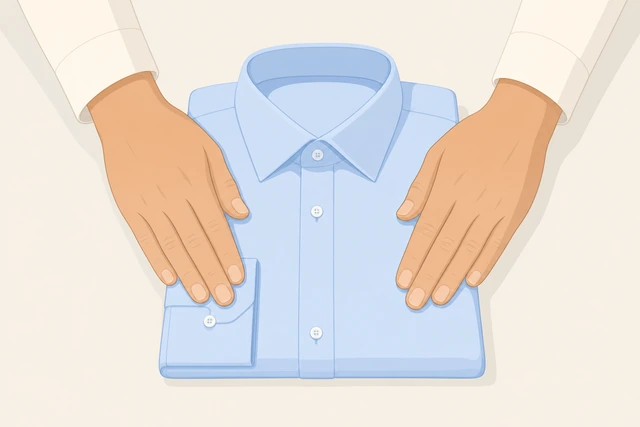
A light press sets the layers without ironing a hard crease across the chest.
- Fold the hem up once below the collar.
- Press gently with both palms.
- Flip and check thickness left vs right.
Packet sits flat with similar thickness on both sides.
If the shirt is still too bulky for the cube, use a garment folder or move soft layers elsewhere.
Garment folder · or give the shirt more room · do not crush harder.
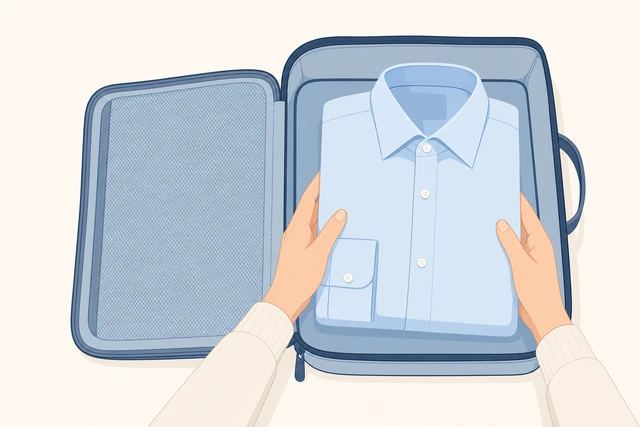
Forcing a thick shirt into a tiny cube only prints deeper creases.
- Try a garment folder if you have one.
- Or pack the shirt in a larger cube/zone.
- Roll T-shirts elsewhere to free space instead of over-compressing the dress shirt.
The shirt has enough space without being forced into a too-small cube.
Wrinkle-prone fabricLinen, silk, or shirts that must look pressed
Add tissue paper between the major folds.
Tissue between folds · reduces hard crease lines.
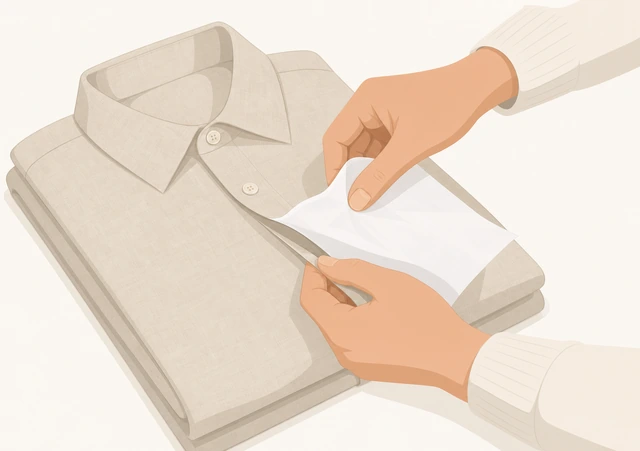
Tissue softens the fold edge so linen does not take a sharp set.
- Place tissue on the back before side folds.
- Add a sheet where the hem fold lands.
- Keep tissue smooth — no crumpled balls.
Tissue sits in the main fold lines.
Optional: slide the folded shirt into a thin dry-cleaner bag.
Thin plastic sleeve · helps layers slide · less grab-wrinkle.
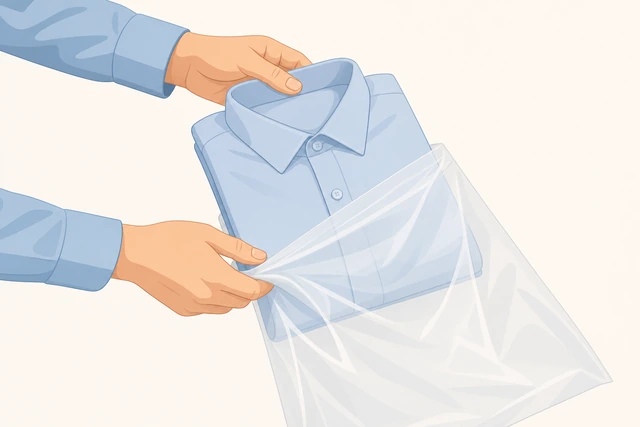
Plastic lets fabric slide instead of grabbing and twisting in transit.
- Use a thin cleaner's bag if you have one.
- Slide the packet in loosely — do not wrap tight like a bandage.
- Leave the bag open enough that air can move.
Shirt is in a loose plastic sleeve or you consciously skipped it.
Pack this shirt on the very top of the stack.
Top of stack only · no jeans or shoes above it.
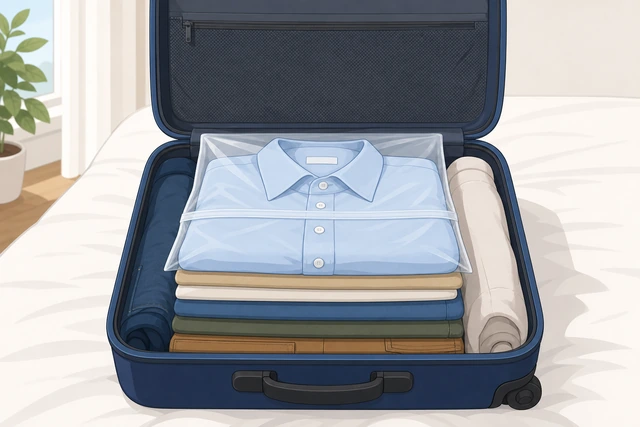
Wrinkle-prone cloth shows every pound of weight above it.
- Finish packing heavier items first.
- Place this shirt last on top.
- Close the lid gently.
Nothing sits on top of the wrinkle-prone shirt.
Hang it as soon as you arrive — before other unpacking.
Hang first · then unpack the rest.
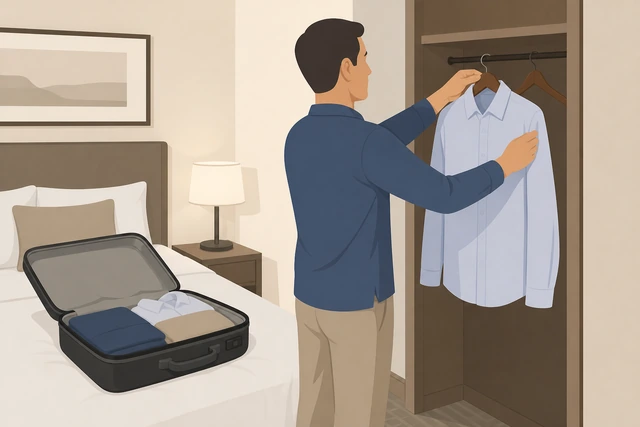
Gravity and air time recover more wrinkles than leaving it folded overnight.
- Open the bag and hang this shirt first.
- Button the collar if it helps the shape.
- Give it 20–30 minutes before judging wrinkles.
Shirt is hanging freely after arrival.
If there is no hang space or the event is immediate, plan steam — do not over-fold harder.
Steamer or bathroom steam · folding tighter will not help.
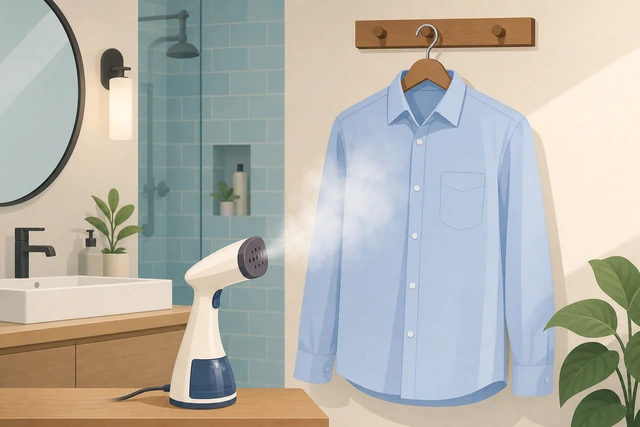
Extra compression makes linen worse, not better.
- Use a travel steamer if you have one.
- Or hang in a steamy bathroom with the shirt away from the water stream.
- For critical events, consider a garment bag from the start next trip.
You have a steam/hang fallback instead of tighter folding.
When to get help
- Same-day formal event with a crushed collar — hang and steam, or use a hotel laundry/press service.
- Broken collar stay or damaged collar — a tailor can replace stays; folding will not fix hardware.
When This Doesn't Work
- Non-iron or already heavily creased shirts. Hang and steam; folding will not invent a pressed look.
- Very thick flannel or double-layered shirts. Expect a bulkier packet — use a larger cube or garment folder.
- Shirts that must stay on a hanger for same-day formal wear. Bring a garment bag instead of suitcase-folding.
Warnings
- Never fold a damp dress shirt — moisture sets ugly creases.
- Do not put shoes or hard objects on the collar or front panel.
- This guide is for packing folds, not laundry folding for a drawer (method can differ).
Tips
- Pack the shirt you will wear first on top so you can hang it immediately.
- Buttoning cuffs makes a cleaner rectangle for packing cubes.
- A cheap garment folder helps if you travel with dress shirts often.
FAQ
Should I fold face-up or face-down?
Face-down (buttons toward the table). That keeps the front and collar more protected inside the packet.
Is rolling better than folding for dress shirts?
Rolling is great for T-shirts and soft knits. Structured dress shirts usually travel better folded flat or in a garment folder.
How do I stop the collar from opening?
Button the collar, fold face-down, stop the hem fold short of the collar band, and pack the shirt on top — see the Collar crush branch.

Comments
Questions, corrections, and what worked for you. Comments are reviewed before they appear.