How to Water Garden Plants Correctly
Water garden plants correctly in about 20 minutes a session, so roots grow deep and plants don't get over- or under-watered. Check the soil moisture first, water at the soil level in the morning, and go deep and slow rather than a light daily sprinkle. Read one step at a time. Start with the preflight. Leaves yellowing or soil always soggy? See Overwatered. Wilting that recovers once watered? See Underwatered. Brown or bleached patches after watering in the sun? See Leaf scorch.
Tips for reading this guide
- One step at a time. Read the green caption, the Why line, then the bullets.
- Move on when the green done line is true — then go to the next step.
- Check the soil first. Never water on a fixed schedule without checking if the plant actually needs it.
- Morning, at the base. Water the soil, not the leaves, and do it early in the day.
- Yellow leaves and soggy soil? See Overwatered. Wilting that perks up? See Underwatered. Brown patches after watering in the sun? See Leaf scorch.
- Need help? Ask someone to check the soil with you if you're not sure whether it feels moist or dry.
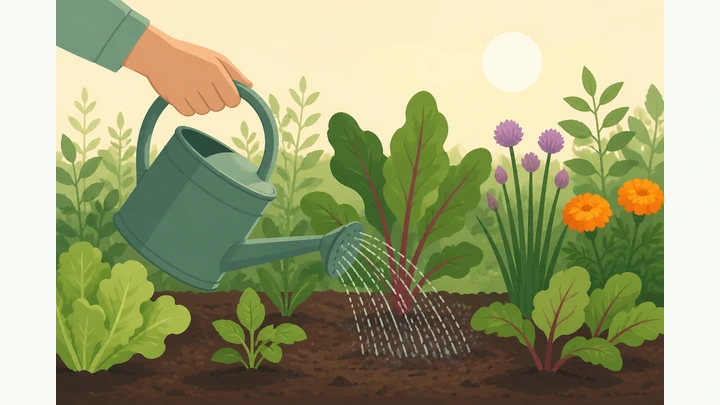
Things You'll Need
- Watering can or garden hose with a spray wand
- Soaker hose or drip line (optional, for beds)
- Soil moisture meter, or just your finger
- Mulch — bark, straw, or compost
- A tray or saucer for container plants
- About 20 quiet minutes, more for a large garden
Where are you stuck?
Follow Start here for a normal watering session. Jump to a branch if a plant looks overwatered, underwatered, or scorched.
- I need to water the garden from scratch Check soil · morning · soil-level · deep and slow
- Leaves yellowing or soil always soggy Stop watering · check drainage · reduce frequency
- Wilting, dry or crispy leaves Confirm dry soil · water deeply · bottom-water if very dry
- Brown or bleached patches after watering in the sun Switch to morning watering · trim dead tissue only · temporary shade
Start hereCheck soil → morning → soil-level → deep & slow → beds vs pots → mulch → read the plant
Preflight — gather tools, check the forecast, and group plants by water needs.
Watering can or hose ready · forecast checked · garden grouped by containers/in-ground and thirsty/drought-tolerant.
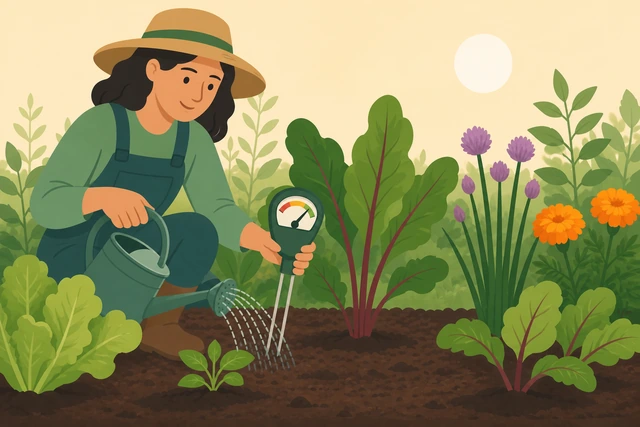
Knowing which plants are in pots versus in the ground, and which need more or less water, is what lets you water each one correctly instead of guessing the same amount for everything.
- Tools ready? Watering can, hose with a wand, or soaker hose/drip line, plus a moisture meter if you have one.
- Weather checked? Skip or reduce watering if rain already fell or is expected soon.
- Garden grouped? Note which plants are containers vs in-ground, and which are drought-tolerant vs thirsty.
Tools are on hand, the forecast is checked, and the garden is grouped by container/in-ground and water need before you start.
Check soil moisture before watering anything.
Finger test 2 inches down, or use a moisture meter · decide if today's watering is needed.
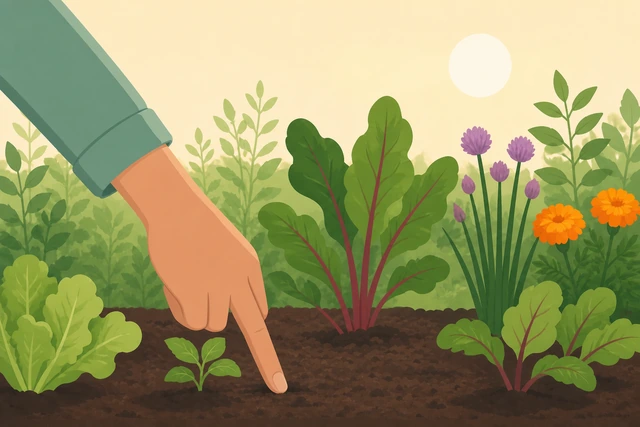
Watering on a fixed schedule without checking the soil is the single biggest reason gardens end up over- or under-watered — the soil itself tells you what's actually needed.
- Push a finger about 2 inches into the soil near the plant's base.
- Dry at that depth means water is needed; still moist means it can wait.
- Use a soil moisture meter instead of your finger if you have one.
You know, plant by plant or bed by bed, whether the soil already has enough moisture or genuinely needs water today.
Soil already feels soggy or waterlogged? → Overwatered. Soil is bone dry and the plant already looks wilted? → Underwatered.
Pick the best time of day to water.
Early morning preferred · avoid midday heat · keep evening watering occasional.
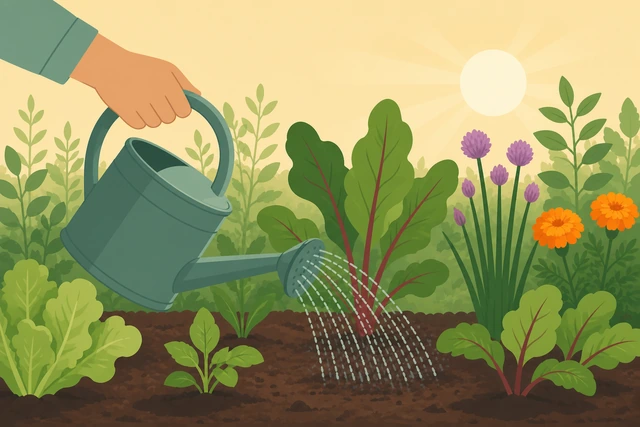
Morning watering gives plants time to take up water and dry off before nightfall, while midday sun burns off water before it reaches the roots and constant evening watering leaves foliage wet overnight, inviting fungal disease.
- Aim to water in the early morning, before the day heats up.
- Avoid watering in full midday sun whenever you can.
- Keep evening watering occasional, not a nightly routine.
Watering is scheduled for morning, not midday sun or a nightly habit.
Watering can't be avoided at midday and you notice droplets sitting on sun-hit leaves? → Leaf scorch.
Water at the soil level, not over the leaves.
Watering can spout or hose wand aimed at the base · foliage stays dry.
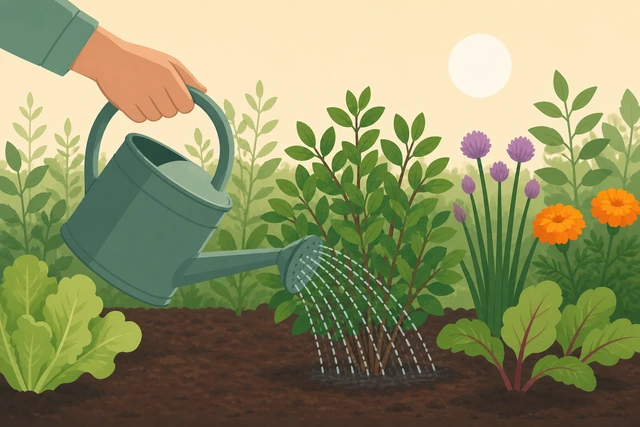
Wet leaves left standing — especially overnight — invite fungal disease like powdery mildew and blight, and water sprayed over foliage evaporates before much of it ever reaches the roots.
- Aim the watering can spout or hose wand at the soil around the base of the plant.
- Avoid spraying water directly over the leaves.
- For beds, a soaker hose or drip line laid along the soil works well too.
Water lands on the soil at the base of the plant, and the foliage stays dry.
Water slowly and deeply until it reaches the root zone.
Soak 6 to 8 inches down · pause if you see pooling before continuing.

A light surface wetting trains roots to stay shallow and weak, while a slow, deep soak encourages roots to grow down into the soil where moisture lasts longer between waterings.
- Water slowly enough that it soaks in rather than running off.
- Keep going until the soil is moist 6 to 8 inches down at the root zone.
- Pause and let water absorb if you see it pooling on the surface, then continue.
The soil is moist several inches down at the root zone, not just damp on the surface.
Water in-ground beds deeply, a few times a week.
Deep soak 2 to 3 times a week · adjust for soil and weather · not a daily sprinkle.
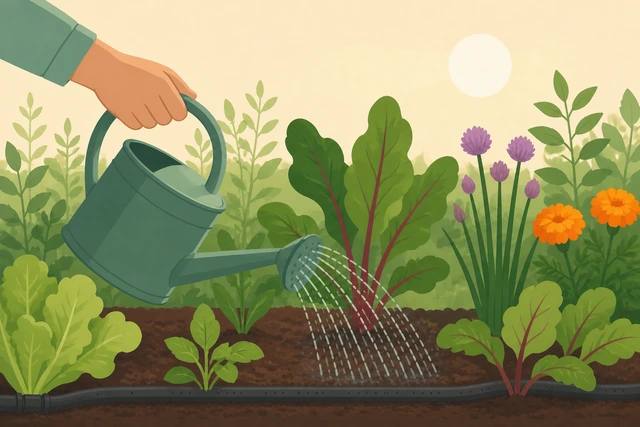
Deep, infrequent watering reaches established roots and encourages them to grow deeper, while a light daily sprinkle only wets the top layer and wastes water to evaporation.
- Water established in-ground beds deeply about 2 to 3 times a week as a starting point.
- Adjust up or down based on your soil type and the week's weather.
- Skip the temptation to water a little bit every single day instead.
Established in-ground plants are on a deep, infrequent schedule, not a shallow daily one.
Water containers until they drain from the bottom.
Check drainage holes are clear · water until it runs out the bottom · check pots more often.
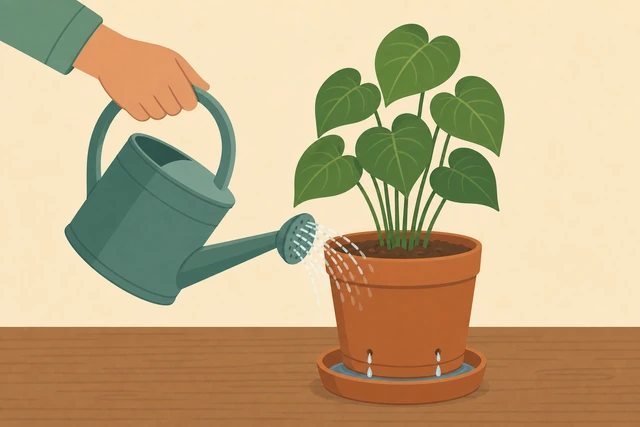
Blocked or missing drainage lets water pool around the roots and rot them even when the amount you added looked reasonable, and pots dry out faster than garden beds so they need more frequent checking.
- Check the pot's drainage holes aren't blocked before you start.
- Water slowly until you see it draining from the bottom.
- Check container soil moisture more often than in-ground beds — pots dry out faster.
Water is seen draining from the pot's bottom holes, and you know this container needs checking more often than the ground beds.
Group and water plants by their individual needs.
Less for drought-tolerant plants · more for thirsty ones · not one blanket amount.
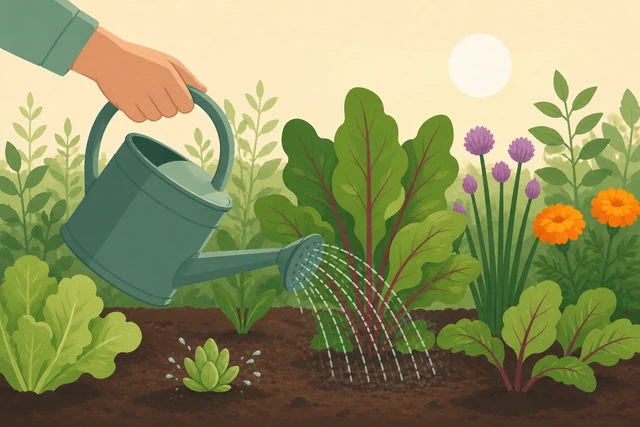
Giving every plant the same amount of water overwaters drought-tolerant plants like succulents while underwatering thirsty ones like leafy vegetables and seedlings.
- Water drought-tolerant plants (succulents, established natives) lightly and less often.
- Water thirsty plants (leafy vegetables, seedlings, ferns) more generously and more often.
- Keep these groups in mind as you move through the garden, not a single routine for all of them.
Each plant or group is watered to match its own need, not a single blanket amount for the whole garden.
Spread or refresh mulch around the base of plants.
2 to 3 inch layer · a few inches clear of stems · holds soil moisture in.
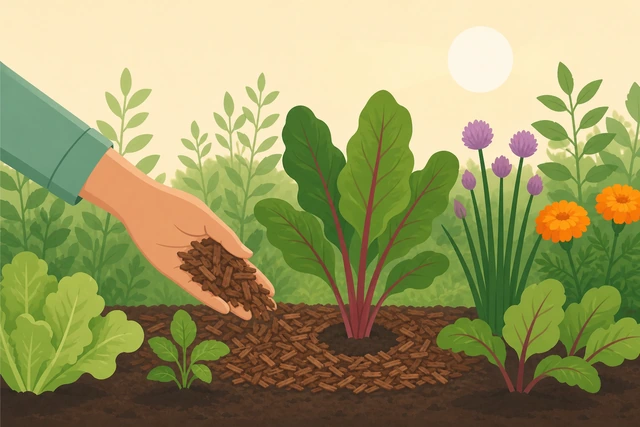
A mulch layer shades the soil and slows evaporation between waterings, but piled directly against a stem it traps moisture right where it can cause rot instead.
- Spread or refresh a 2 to 3 inch layer of mulch (bark, straw, or compost) over the soil.
- Keep the mulch pulled back a few inches from any stem or trunk.
- Top up thin spots rather than piling on a thick new layer every time.
A mulch layer covers the surrounding soil and is pulled back from direct contact with any stem.
Watch for pooling or runoff while you water.
Slow the flow · water in short pulses · shape a basin if needed.
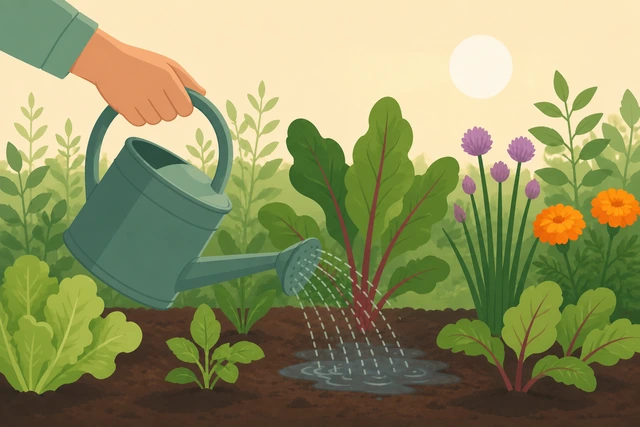
Water running off across dry, compacted soil before it can soak in wastes water and can erode soil away from roots instead of hydrating them.
- Watch the surface as you water for pooling or water running away from the plant.
- Slow the flow or water in short pulses so it has time to absorb.
- Shape a shallow soil basin around the base if runoff keeps happening in the same spot.
Water is absorbing into the soil at the root zone instead of running off across the surface.
Check for overwatering signs after watering.
Yellowing leaves · soggy soil · musty smell · fungus gnats.
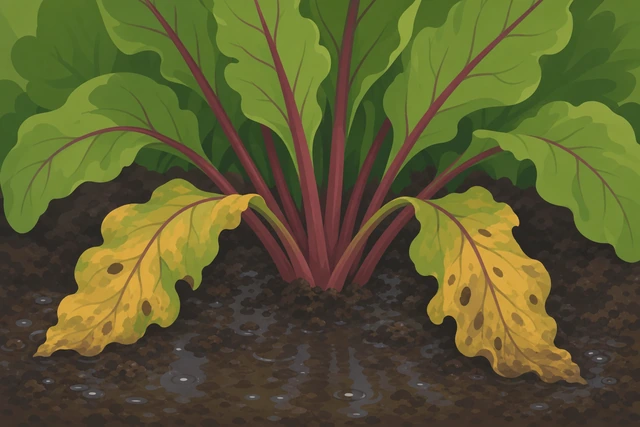
Catching overwatering early — before roots rot — is far easier to fix than waiting until the plant is already struggling to recover.
- Look at lower or older leaves for yellowing.
- Check whether the soil stays soggy well after watering instead of drying between waterings.
- Notice any musty smell or small flies (fungus gnats) around the soil.
You've checked for these signs and know whether this plant is being overwatered.
Seeing yellow leaves, soggy soil, a musty smell, or fungus gnats? → Overwatered.
Check for underwatering signs after watering.
Wilting that recovers · dry, crispy leaf edges · soil pulling from the pot.
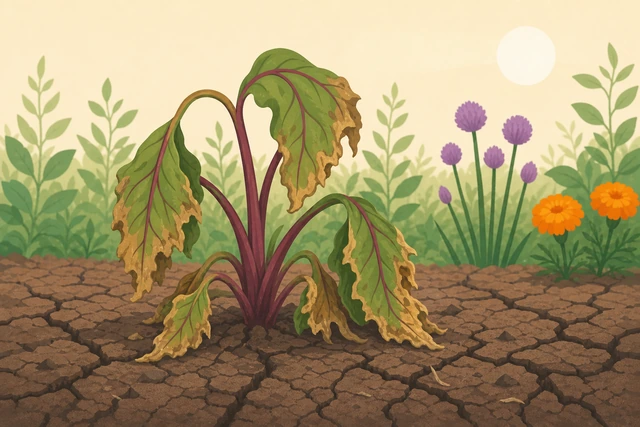
Underwatering is usually easy to reverse once caught, but it's worth confirming — a plant that stays wilted after a thorough watering may actually be overwatered instead.
- Notice if leaves were wilted before watering but perked back up afterward.
- Check leaf edges for a dry, crispy, or browning look.
- Look at container soil for pulling away from the pot's edge, or cracked soil in-ground.
You've checked for these signs and know whether this plant is being underwatered.
Seeing wilting that perks up after watering, dry crispy edges, or soil pulling from the pot? → Underwatered.
Adjust the schedule with the season and weather.
More in hot, dry, or windy spells and for new transplants · less in cool or rainy weather.
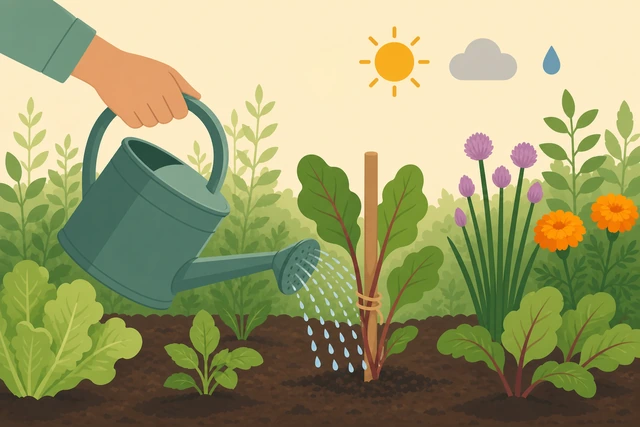
A watering routine that was right last month can quietly over- or under-water plants once the weather changes or a new transplant's roots are still shallow.
- Water more often during hot, dry, or windy stretches and for recently planted transplants.
- Water less often during cool or rainy weather and for dormant or well-established plants.
- Recheck this week's forecast before deciding on the next watering.
This week's watering plan reflects the current weather and each plant's stage, not a fixed year-round routine.
Wrap up and put equipment away.
Coil the hose · switch off timer/irrigation · check for leaks.
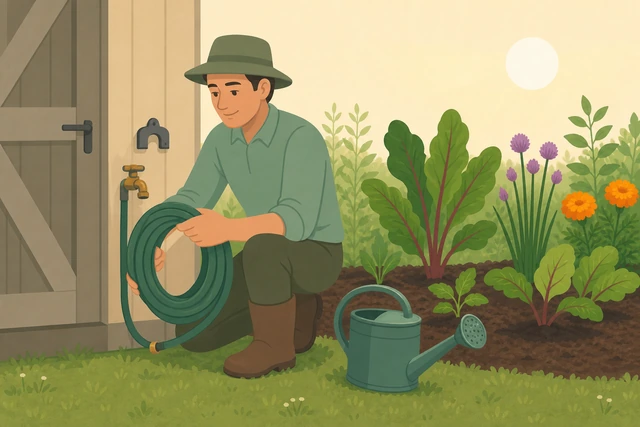
A dripping hose end or a timer left running is an easy way to quietly overwater a bed for days without noticing.
- Coil the hose and put the watering can away.
- Turn off any timer or drip irrigation system.
- Check for leaks or puddling that isn't explained by today's watering.
Equipment is put away, any irrigation is switched off, and no leaks or unexplained puddles remain.
OverwateredYellowing leaves, soggy soil that never dries, a musty smell, or fungus gnats
Stop watering and let the soil dry out.
Pause watering completely · check nothing else first.
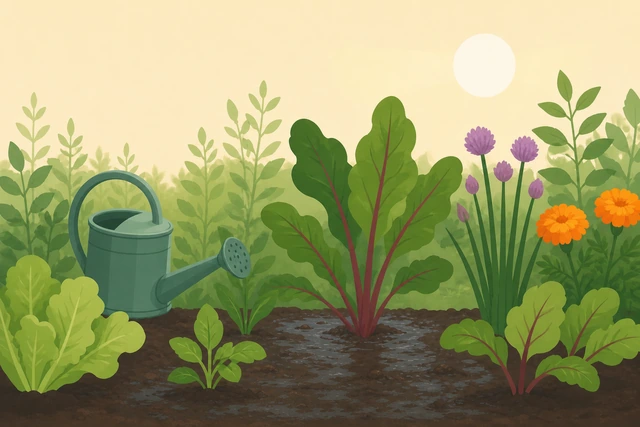
Adding more water to already-soggy soil only deepens the root damage — stopping and letting it dry is the first thing that has to happen before anything else helps.
- Stop watering this plant immediately.
- Don't add anything else (fertilizer, more soil) until the soil has had a chance to dry.
- Move a container out of rain if needed so it can actually dry out.
Watering is stopped and the plant is left to dry out before you check anything else.
Check drainage and clear any blockage.
Container: clear holes, empty saucer · in-ground: check for compacted soil or poor drainage.
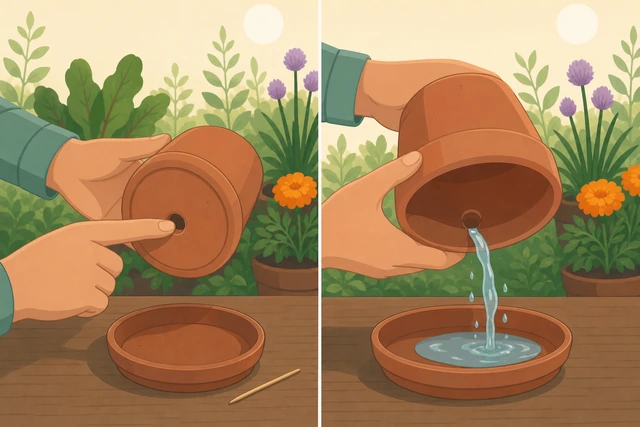
Water pools around the roots and causes rot even with a reasonable amount of watering if the drainage itself is blocked or poor.
- For containers, check the drainage holes aren't blocked and empty any saucer holding standing water.
- For in-ground beds, check for compacted soil or a low spot where water collects.
- Clear or improve whatever is blocking water from draining away.
Drainage is checked and any blockage or pooling water is cleared.
Cut back future watering and check soil before each one.
Reduce frequency · finger test or moisture meter before every watering.
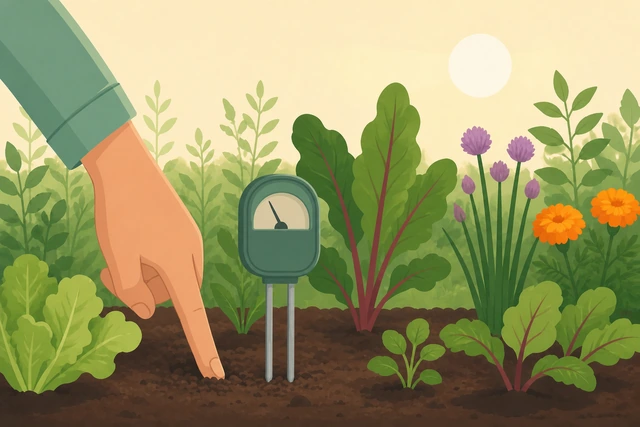
Overwatering usually comes from watering on a schedule instead of checking the soil — switching to a moisture check each time is what actually prevents it happening again.
- Reduce how often you plan to water this plant going forward.
- Check soil moisture with a finger test or meter before every future watering.
- Only water again once the soil has genuinely dried out at that depth.
Future watering frequency is reduced, and soil moisture is checked before each watering rather than watering on a fixed schedule.
If root rot is suspected, trim rotted roots and repot.
Unpot gently · trim mushy, dark, foul-smelling roots · fresh dry potting mix.
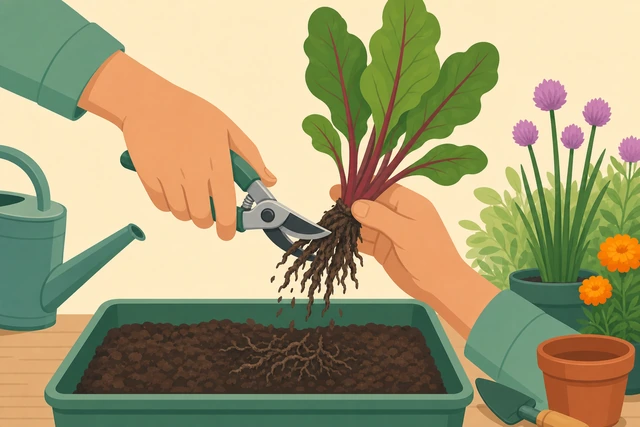
Rotted roots can't take up water properly no matter how you water afterward — removing the dead tissue and giving the plant fresh, well-draining soil is what gives the remaining healthy roots a chance to recover.
- Gently unpot the plant and look at the roots.
- Trim away any roots that are mushy, dark, or foul-smelling.
- Repot into fresh, dry potting mix in a pot with working drainage.
Rotted roots are trimmed away and the plant is repotted in fresh, dry mix with working drainage.
Most of the root mass is mushy, black, and foul-smelling, or the plant doesn't perk up after drying out and cutting back watering? It may not be salvageable — consider taking a healthy cutting instead. For a repeated in-ground drainage problem, consider a raised bed or working compost/perlite into the soil.
UnderwateredWilting that recovers once watered, or dry, crispy leaf edges
Confirm it's underwatering, not overwatering or disease.
Soil dry well below the surface · leaves wilted, not yellowed.
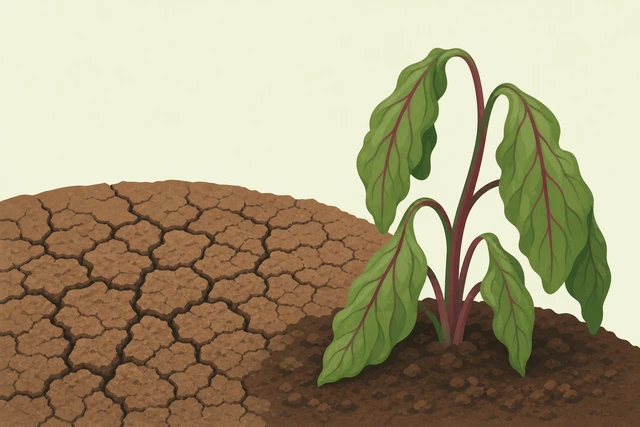
Wilting is also a symptom of overwatered, rotting roots — confirming the soil is actually dry first keeps you from watering more and making a root-rot problem worse.
- Check the soil is dry at least 2 inches down, not just on the surface.
- Confirm the leaves are wilted rather than yellowing or soggy at the base.
- If the soil is wet instead of dry, go to the overwatered branch instead.
The soil is confirmed dry well below the surface, and the leaves are wilted rather than yellowed.
Water deeply and slowly, in short pulses if needed.
Soil level only · short pulses on very dry, compacted soil to avoid runoff.
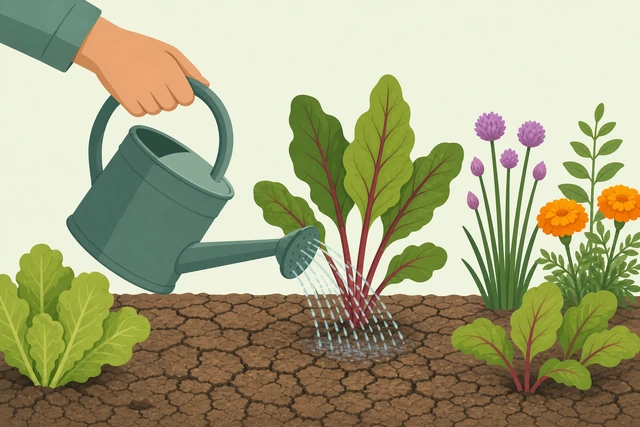
Very dry, compacted soil often sheds the first water that hits it — watering in short pulses gives each pulse time to soak in instead of running straight off the surface.
- Water at soil level, right at the base of the plant.
- If the soil is very dry and compacted, water in short pulses rather than one continuous pour.
- Keep going until the soil is moist well below the surface.
The plant has been watered deeply at soil level, with pulses used if the soil was too dry and compacted to absorb it all at once.
Bottom-water a badly dried-out container.
Set pot in a shallow tray of water · let it wick up until the surface feels moist.
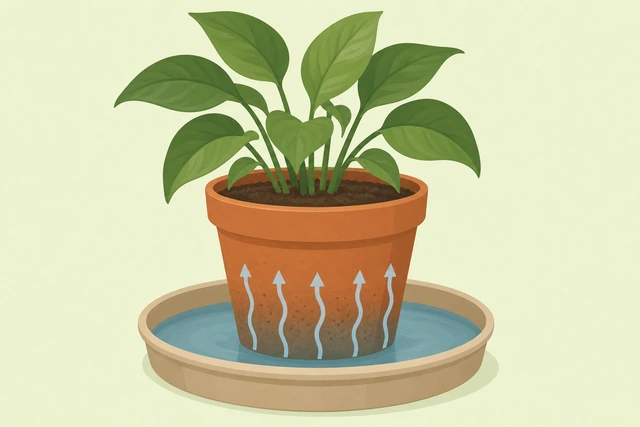
Potting mix that's dried out and shrunk away from the pot's sides can repel water poured from the top — soaking it from the bottom lets the whole root ball rehydrate evenly.
- Set the container in a shallow tray or basin of water.
- Let it sit until moisture wicks up and the surface of the soil feels moist.
- Remove it from the tray once it's evenly moist rather than leaving it soaking indefinitely.
The container has been bottom-watered and the potting mix is evenly moist, not just wet on top.
Adjust the ongoing schedule so it doesn't dry out again.
More frequent checks · add mulch · consider a larger pot.
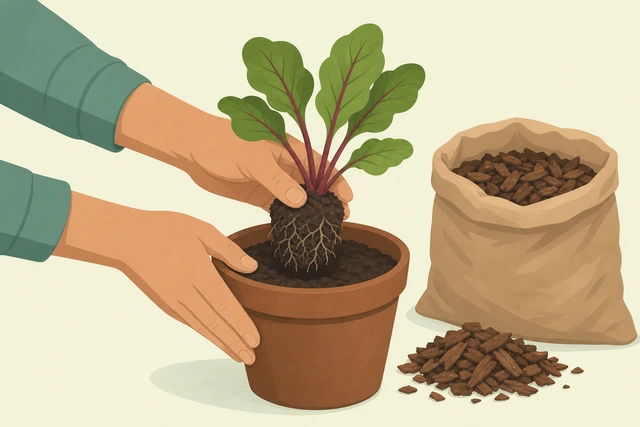
A plant that dried out once will likely dry out again on the same schedule — adjusting how often you check it, or giving it more soil volume or mulch, is what actually breaks the cycle.
- Check this plant's soil moisture more often going forward.
- Add or refresh a mulch layer if it's in the ground.
- Consider moving a container plant to a larger pot if it dries out repeatedly.
The ongoing watering check-in schedule for this plant is adjusted so it's less likely to dry out the same way again.
The plant hasn't perked up within about 24 hours of a thorough watering, or leaves are already crispy, brown, and dropping? That's likely lasting heat or drought damage — trim off the dead growth, keep monitoring, and consider a larger pot for more soil volume.
Leaf scorchPale, bleached, or brown patches on leaves after watering in full midday sun
Move future watering to morning and stop wetting the foliage.
Early morning (or light evening) · water at soil level only, not over leaves.
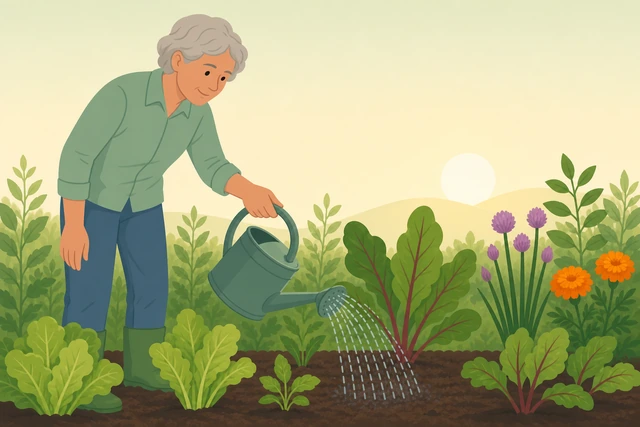
Watering at soil level instead of over the leaves, and doing it earlier in the day, removes the exact combination — sun plus water droplets on leaves — that causes this kind of scorch.
- Plan future watering for early morning instead of midday.
- If morning isn't possible, use a light evening watering instead.
- Keep water aimed at the soil, not sprayed over the leaves, going forward.
Future watering is planned for morning (or evening) and aimed at the soil, not the leaves.
Trim only the fully dead leaf tissue.
Remove brown/dead parts only · leave any leaf still partly green.
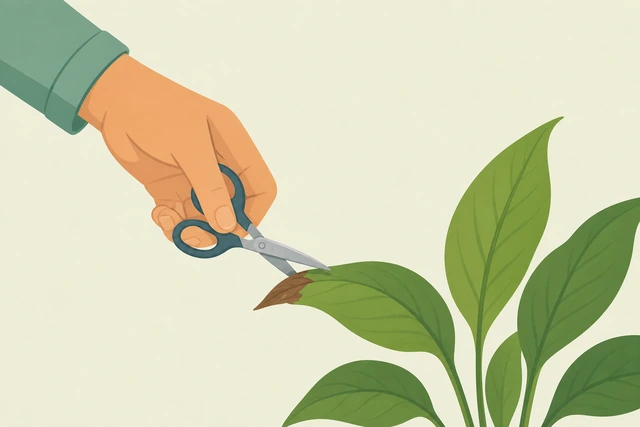
A leaf that's still partly green can keep photosynthesizing for the plant — removing only the fully dead tissue keeps that working leaf area instead of stripping the plant bare.
- Look over the scorched leaves and identify which parts are fully brown and dead.
- Trim away only that dead tissue with clean scissors or pruners.
- Leave any leaf that still has green tissue on the plant.
Only the fully dead leaf tissue has been trimmed, and any still-green leaf tissue is left on the plant.
Give a potted plant temporary shade while it recovers.
Move to partial shade or filtered light · not permanent, just while healing.
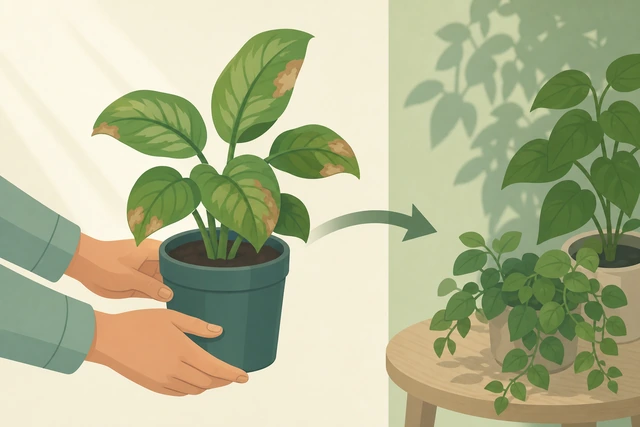
A short break from direct, intense sun reduces further stress on already-damaged leaves while the plant puts energy into recovering instead of coping with more sun.
- Move a container plant to partial shade or filtered light temporarily.
- Keep it there only until the plant looks recovered, not permanently.
- Move an in-ground plant's neighboring taller plant or a shade cloth over it if it can't be relocated.
The affected plant has temporary shade while it recovers, without being left there permanently.
If midday watering can't be avoided, keep it at soil level.
Emergency wilting only · water the soil, keep foliage dry.
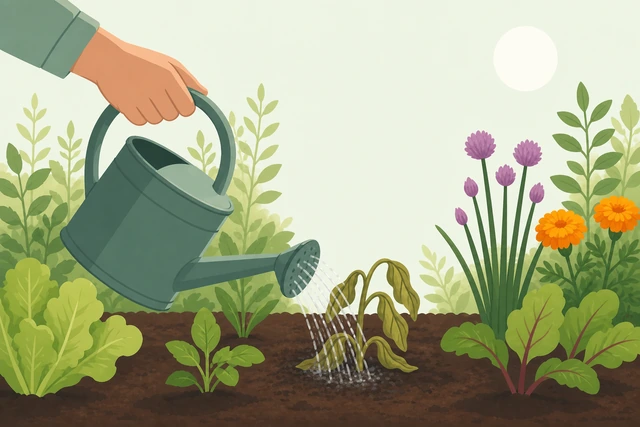
Sometimes a plant is wilting badly enough that watering can't wait for morning — keeping that emergency watering strictly at soil level still avoids adding fresh scorch damage on top.
- Reserve midday watering for genuine wilting emergencies only.
- Water directly at the soil, keeping the foliage completely dry.
- Return to a morning schedule as soon as the emergency has passed.
Any unavoidable midday watering is done at soil level with the foliage kept dry, and the morning schedule resumes afterward.
Scorch damage is spread across most of the plant's leaves, or you notice stem damage or stress beyond the leaves? That points to broader heat stress — give the plant temporary shade cloth or a shadier spot until it recovers.
When to get help
- Ask someone to check the soil with you if you're not sure whether it feels moist or dry.
- Most of the root mass is mushy, black, and foul-smelling, or the plant won't recover after drying out? It may not be salvageable — consider a cutting instead.
- A plant hasn't perked up within about 24 hours of a thorough watering? That's likely lasting damage — trim dead growth and keep monitoring rather than watering again immediately.
- Scorch or stress spread across most of a plant's leaves? Give it temporary shade cloth or a shadier spot until it recovers.
- Under a local watering ban or drought restriction? Follow those rules first and prioritize your most vulnerable plants within the allowance.
When This Doesn't Work
- Freshly germinated seeds or seedlings. They need light, frequent surface watering to stay evenly moist — the deep-and-infrequent approach is for established plants, not seed trays.
- Drought-adapted native or xeriscape plantings. Many are meant to rely on rainfall alone once established; extra watering can do more harm than good.
- Hydroponic or self-watering container systems. These follow the manufacturer's reservoir instructions instead of a hand-watering schedule.
- Heavy clay soil. It drains much slower than average garden soil, so watering deeply too often can waterlog it — check drainage and space out waterings more.
- An active watering ban or drought restriction. Follow local water restrictions first; prioritize the most vulnerable plants within whatever allowance you have.
Warnings
- Never water on a fixed schedule without checking the soil. That's the single most common cause of both over- and under-watering.
- Never pile mulch directly against a stem or trunk. Trapped moisture there invites rot right at the plant's most vulnerable point.
- Never assume wilting means underwatering. Overwatered, rotting roots cause wilting too — check the soil before adding more water.
- Avoid spraying water directly over leaves, especially late in the day — standing moisture on foliage overnight invites fungal disease.
- Avoid watering hard and fast on dry, compacted soil — it will run off before it can soak in.
Tips
- Say it out loud before watering: check the soil, water the base, do it in the morning.
- Keep a simple note of which plants are containers and which are drought-tolerant so you don't have to re-decide every time.
- A finger in the soil is free and works fine — a moisture meter is a nice-to-have, not a requirement.
- Top up mulch rather than piling on a thick new layer each time; a few inches is usually enough.
- When in doubt, water once deeply and check back in a day or two rather than watering again right away.
FAQ
How do I know if my soil actually needs water?
Push a finger about 2 inches into the soil near the plant's base. If it feels dry at that depth, water. If it still feels moist, wait and check again the next day.
Why is watering in the morning better than the evening?
Morning watering gives the plant all day to take up water and lets any moisture on the leaves dry off before nightfall. Watering every evening leaves foliage wet overnight, which invites fungal disease.
How often should I water established garden beds?
As a starting point, aim for a deep soak about 2 to 3 times a week rather than a light sprinkle every day, then adjust based on your soil type and the week's weather.
My plant is wilting — should I water it more?
Check the soil first. If it's dry, yes, water deeply. If the soil is already wet or soggy, more water will make things worse — see the overwatered branch instead, since rotting roots also cause wilting.
Is it true watering in the sun burns leaves?
Water droplets sitting on leaves in strong midday sun can concentrate light enough to scorch the leaf tissue underneath them. Watering at soil level, or watering in the morning, avoids this.
Comments
Questions, corrections, and what worked for you. Comments are reviewed before they appear.