How to Wash a Car by Hand
Wash a car by hand in about 45 minutes without leaving swirl marks or water spots. Wash in shade, do a full pre-rinse, clean the wheels first with separate tools, then use a two-bucket top-down wash and dry right away with microfiber. Read one step at a time. Start with the preflight. Seeing scratches? See Swirl marks. White spots? See Hard water spots. Soap drying before you can rinse it? See Soap dried on the paint.
Tips for reading this guide
- One step at a time. Read the green caption, the Why line, then the bullets.
- Move on when the green done line is true — then go to the next step.
- Rinse, wash, rinse. Never let soap sit on a panel before rinsing it off.
- Wheels first, always. Keep wheel tools and body tools physically separate.
- Swirl marks? See Swirl marks. Water spots? See Hard water spots. Soap dried mid-wash? See Soap dried on the paint.
- Need help? Ask someone to hold a light at an angle so you can both check for missed spots together.
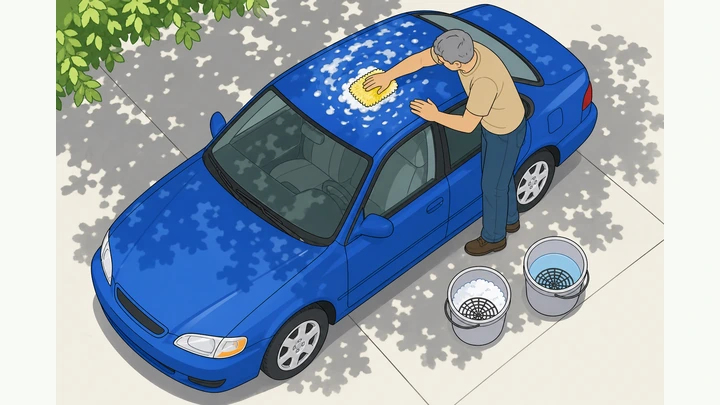
Things You'll Need
- pH-neutral car wash soap (not dish soap or household detergent)
- Wash mitt — lambswool or microfiber (not a sponge)
- Dedicated wheel brush and a separate wheel mitt or bucket
- Two buckets with grit guards (wash bucket + rinse bucket)
- Hose with a shut-off nozzle, or a pressure washer on a wide fan spray
- 2 or more clean microfiber towels for drying, plus a separate one for glass
- Shade and about 45 quiet minutes; a cool, shaded car matters more than good weather
Where are you stuck?
Follow Start here for a full wash. Jump to a branch if you see swirl marks, water spots, or soap dried before you could rinse it.
- I need to wash the car from scratch Shade · pre-rinse · wheels first · two-bucket · dry with microfiber
- I see fine circular scratches (swirl marks) Find the cause · rewash correctly · test-spot polish
- White or ring-shaped water spots Stop air-drying · vinegar rinse · check for etching
- Soap started drying on a panel mid-wash Re-wet now · rewash that section · check for damage
Start hereShade → pre-rinse → wheels first → two-bucket wash top-down → rinse → dry with microfiber
Preflight — shaded spot, two buckets, pH-neutral soap, and the right mitt.
Shady, cool spot · two buckets + grit guards · pH-neutral soap · wash mitt · wheel brush/mitt · microfiber towels.
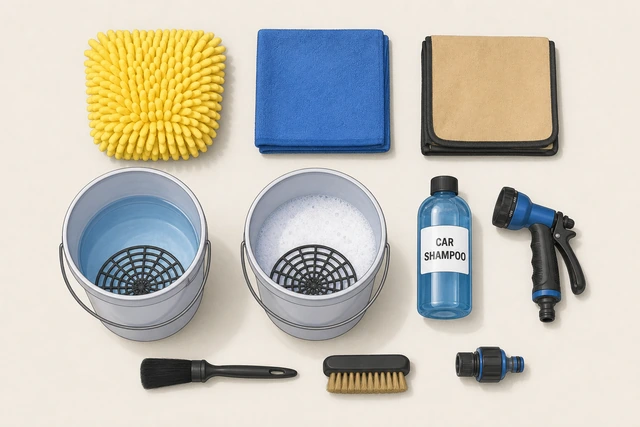
Dish soap strips wax, a dirty mitt causes swirl marks, and washing in the sun bakes soap onto the paint — the right spot and supplies prevent most common wash damage before you start.
- Right spot? Find shade with the car's surface cool to the touch — not parked in direct sun.
- Right soap and mitt? Use pH-neutral car wash soap (not dish soap) and a lambswool or microfiber wash mitt (not a sponge).
- Wheels separate? Have a dedicated wheel brush, a separate wheel mitt or bucket, two body-wash buckets with grit guards, and two or more clean microfiber towels.
You're in the shade on a cool car, with the right soap, mitt, wheel tools, two buckets, and towels laid out.
Only have one bucket or a sponge? Get grit guards and a mitt before you start — Step 8 explains why a dirty mitt causes swirl marks.
Confirm shade and a cool-to-the-touch surface; move the car if needed.
Park in shade · rest a hand on the hood · move if it's hot or in direct sun.
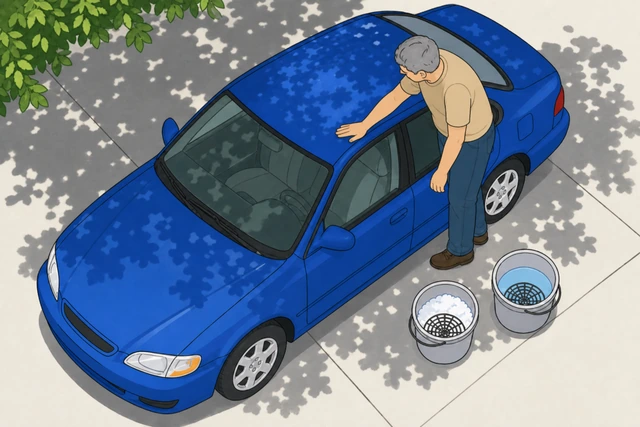
Washing in direct sun or on a hot panel dries soap and water before you can rinse it off, baking in spots and sometimes etching the clear coat.
- Park (or move) the car into shade, away from direct sunlight.
- Rest your hand flat on the hood or a body panel for a few seconds to check it isn't hot.
- If it's midday sun or the panels feel warm, wait for shade or a cooler time of day.
The car sits in shade and the panels feel cool, not warm, to the touch.
Full pre-rinse, top to bottom, before any soap touches the paint.
Hose or pressure washer · wide fan spray · roof to rocker panels · knock off loose dirt and dust.
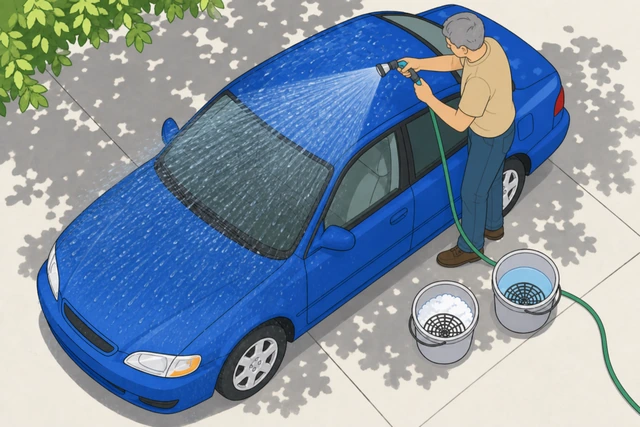
Rinsing off loose dirt and dust first means your mitt is only picking up what's left, not grinding a layer of grit straight into the paint.
- Set the hose nozzle or pressure washer to a wide fan spray, not a tight jet.
- Rinse the whole car top to bottom — roof, windows, body panels, then lower body.
- Keep rinsing until the water runs off clear, without an obvious layer of dust or mud left behind.
Loose dirt and dust are rinsed away and water is running clear off every panel.
Wash wheels and wheel wells first, with dedicated tools only.
Wheel brush + wheel mitt/bucket · all four wheels and wells · never the paint mitt.
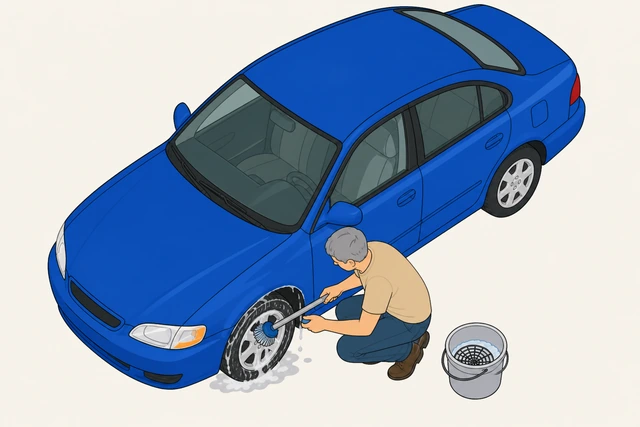
Brake dust is fine metal grit — one swipe from a wheel to the body with the same mitt can put deep, straight scratches into the clear coat.
- Use the wheel brush and a separate wheel mitt or bucket — never the body wash mitt or bucket.
- Scrub each wheel face, barrel, and the wheel well behind it until the water running off is clear of brake dust.
- Set the wheel tools aside completely before starting the body — don't mix them up later.
All four wheels and wheel wells are clean, and the wheel tools are set aside separately from the body-wash gear.
Wheels or brakes still hot from driving? Let them cool first — cold water on hot rotors can cause thermal stress.
Set up the two-bucket system with grit guards.
Wash bucket: soap + water · rinse bucket: plain water · grit guard in both.
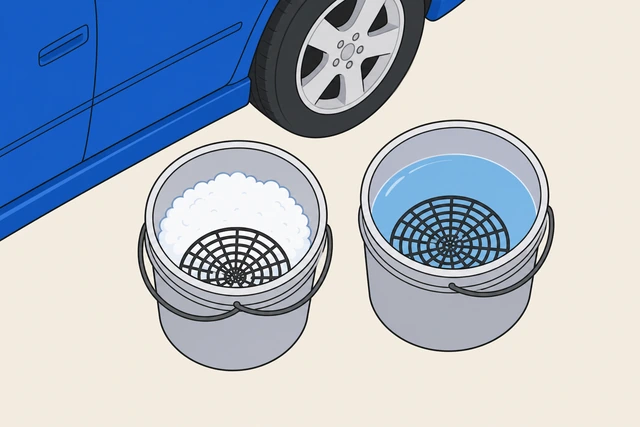
The rinse bucket and grit guard are what let you knock dirt off the mitt before it goes back into clean soapy water — skip them and every reload just spreads grit around.
- Fill one bucket with water and the correct amount of pH-neutral car wash soap — this is the wash bucket.
- Fill a second bucket with plain water only — this is the rinse bucket.
- Drop a grit guard into the bottom of each bucket.
Two buckets are filled and placed within reach, each with a grit guard seated in the bottom.
Load the wash mitt from the wash bucket only.
Dunk mitt in wash bucket · soak it through · not the rinse bucket.
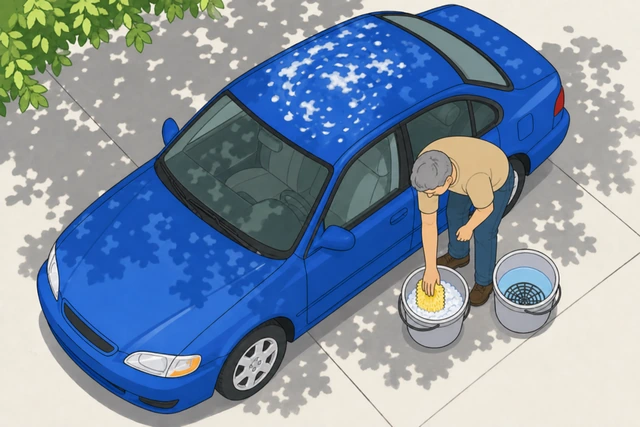
Starting every section with a fully soapy, saturated mitt is what actually lifts dirt off the paint instead of dragging it across the surface dry.
- Dunk the wash mitt fully into the wash bucket (soap + water).
- Squeeze gently so it's saturated with soapy water, not dripping.
- Keep the rinse bucket untouched for now — it's for after each section.
The mitt is fully soapy and wet, loaded only from the wash bucket.
Wash top-down starting with the roof, in straight lines, one section at a time.
Roof first · straight-line passes · one section, not circles, not the whole car at once.
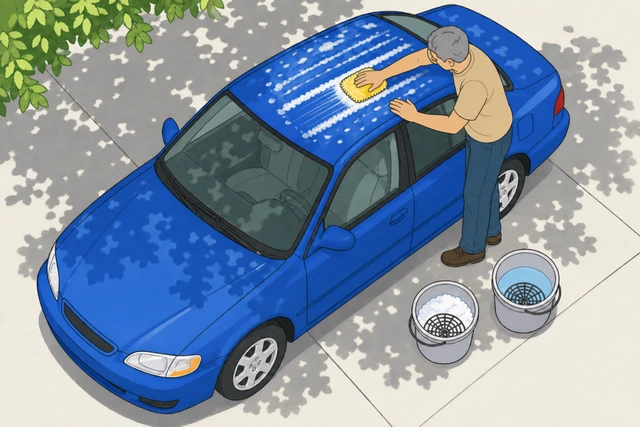
Circular scrubbing grinds any trapped grit around in the same spot instead of lifting it away, which is one of the main causes of fine swirl marks.
- Start at the roof and work one section at a time — roof, then hood, then upper doors.
- Use straight, overlapping passes with light pressure — never circular scrubbing motions.
- Only wash one section before moving to rinsing it (next step) — don't soap the whole car first.
The current section is washed in straight lines with the mitt, not circles, and no other section has been soaped yet.
Starting to see fine circular scratches as you wash? → Swirl marks.
Rinse that section with the hose before the soap has a chance to dry.
Rinse the just-washed section right away · before moving to the next panel.
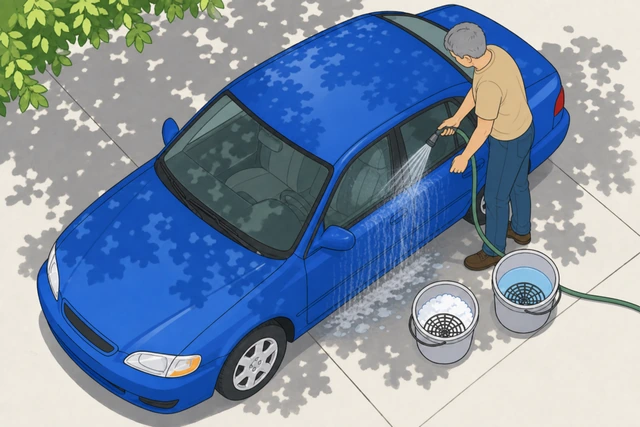
Soap left to sit dries into a film that's hard to remove cleanly and can spot or dull the clear coat — rinsing immediately is what keeps that from happening.
- Hose off the section you just washed right away, while it's still wet with suds.
- Check that no soap film or streaks are left before moving on.
- Only move to the next section once this one is fully rinsed.
The section is rinsed clean of suds while still wet — no soap has had time to film over or dry.
Soap already started drying on a panel? → Soap dried on the paint.
Rinse the mitt and scrape it on the grit guard before reloading.
Dunk & swirl in rinse bucket · drag over grit guard · then reload from wash bucket.
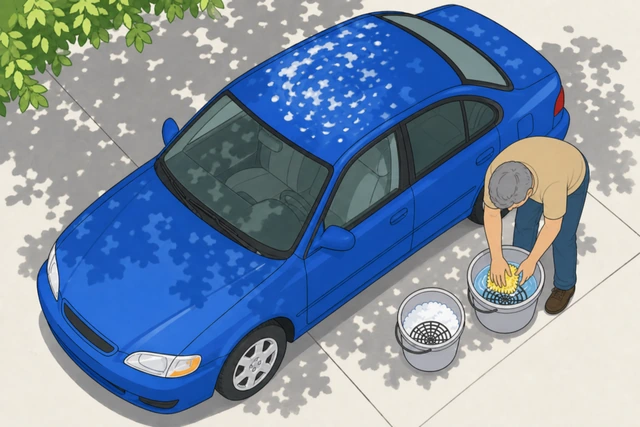
This is the step that actually keeps the wash bucket clean — skip it and you're just redipping a gritty mitt straight back into your soapy water.
- Dunk and swirl the mitt in the rinse bucket after finishing each section.
- Drag the mitt across the grit guard a few times to knock loose grit to the bottom.
- Only then reload the mitt from the wash bucket for the next section.
The mitt has been rinsed and scraped on the grit guard before touching the wash bucket again.
Work downward in dirt order — sides, then rocker panels and bumpers last.
Upper body first · doors and sides next · rocker panels/bumpers/lower body last.
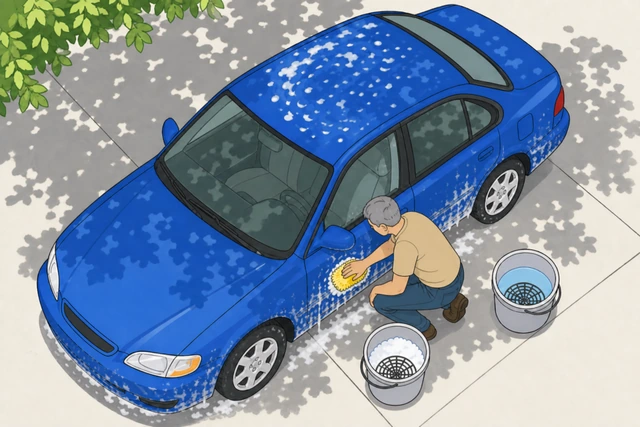
Rocker panels and lower bumpers carry the most road grime — washing them last, with a freshly rinsed mitt, keeps that heavier dirt from spreading onto cleaner panels above.
- After the roof and hood, wash the doors and body sides next, one section at a time.
- Rinse the mitt (Step 8) before starting the rocker panels, lower bumpers, and any visibly dirtiest areas.
- Wash those dirtiest, lowest panels last, in their own pass.
The lower, dirtiest panels were washed last, after everything above them, with a freshly rinsed mitt.
For stuck-on bugs or tar, let a cleaner dwell instead of scrubbing dry.
Spray soap or bug/tar remover · let it sit a minute or two · then wipe gently.
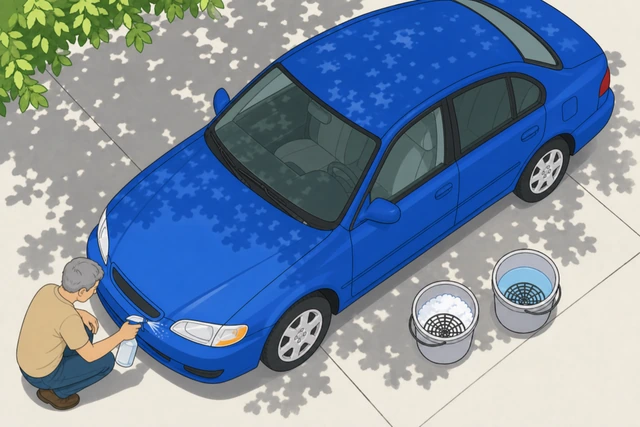
Scrubbing dry, caked-on grime grinds hard particles into the paint under pressure — letting a cleaner soften it first means it lifts away instead of scratching.
- Spray extra soapy water or a dedicated bug/tar remover directly on the stuck-on spot.
- Let it sit for a minute or two so it can soften the grime.
- Wipe gently with the mitt — if it's still not lifting, reapply and wait longer instead of scrubbing harder.
Stuck-on spots lift with a gentle wipe after dwell time — nothing was scrubbed while still dry and gritty.
Final full rinse, top to bottom, checking gaps and mirrors for leftover suds.
Rinse the whole car again · check door gaps, mirror housings, trim seams.
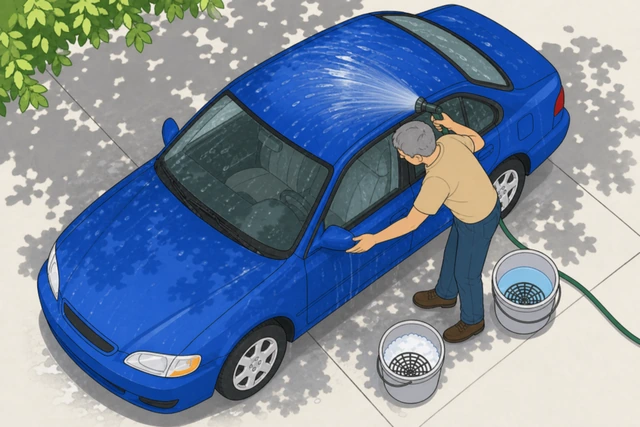
Suds trapped in gaps and seams will bleed out later and leave streaks right after you've dried the car — one last thorough rinse catches what a quick pass misses.
- Rinse the entire car top to bottom one more time, including wheels if any soap reached them.
- Check mirror housings, door and trunk gaps, and trim seams for hidden suds.
- Re-rinse any spot where you still see foam or a soap film.
No suds or soap film remain anywhere on the car, including gaps, seams, and mirrors.
Dry immediately with a clean microfiber towel — blot, don't drag.
Blot and lift · top-down again · dry fast before drips can spot.
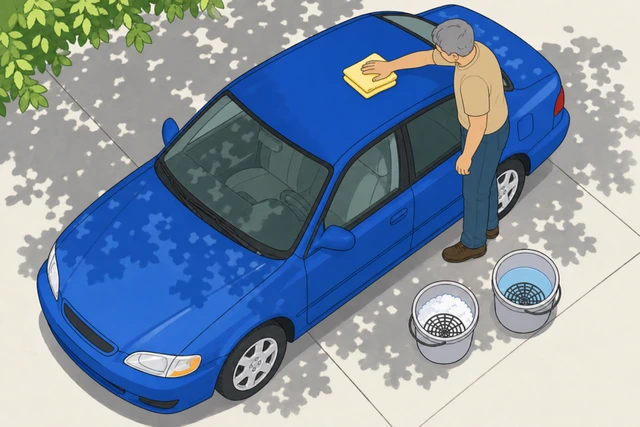
Letting water air-dry — even for a few minutes in the sun — is what leaves hard-water spots; toweling immediately is the only way to avoid them.
- Lay a clean, dry microfiber towel flat and blot/lift water off — don't drag or scrub it across the paint.
- Work top-down again: roof, hood, doors, then lower panels.
- Switch to a second dry towel partway through if the first one is soaked.
Every panel is visibly dry with no streaks or drips left standing on the paint.
Tempted to let it air-dry instead? → Hard water spots explains why that causes spotting.
Wipe glass and mirrors with a separate clean microfiber.
Different towel than the body · windows and mirror housings · streak-free.
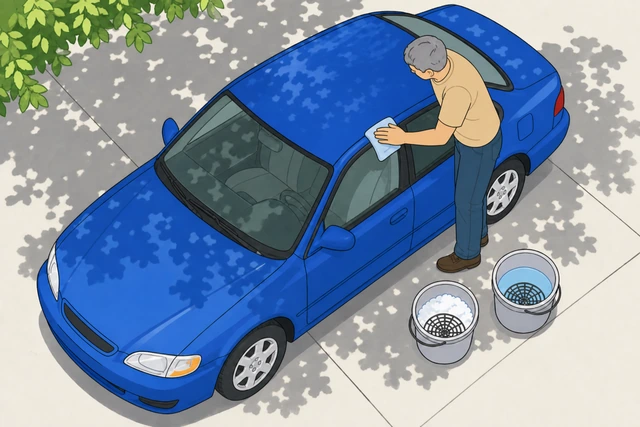
A towel that's already picked up wax residue or road grime from the body will smear streaks across glass instead of leaving it clear.
- Use a separate, clean microfiber towel just for glass and mirrors.
- Wipe windows, mirrors, and the windshield until no streaks or smears remain.
- Don't reuse this glass towel back on the body paint.
Windows and mirrors are streak-free, using a towel that never touched the body.
Final walk-around in good daylight; note anything for later.
Walk the full car in daylight · check for missed dirt, streaks, or scratches.
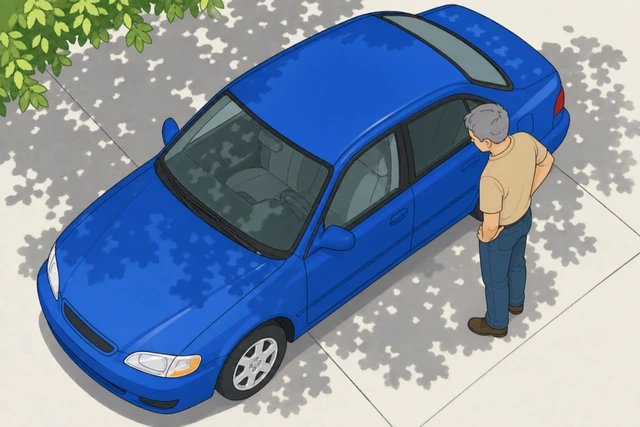
Fine swirl marks, missed dirt, and water spots are easiest to catch in direct daylight right after drying — not days later when you're already driving around with them.
- Walk slowly around the whole car in good daylight, checking each panel.
- Look for missed dirt, drip marks, streaks, or fine circular scratches catching the light.
- Note if wax, sealant, or a clay bar would be worth doing later — that's optional, not required to call the wash done.
You've walked the full car in daylight and either called it done or found one specific spot to fix now.
See fine swirl marks? → Swirl marks. White or etched spots? → Hard water spots.
Swirl marksFine circular scratches show up in sunlight, from a dirty mitt, circular scrubbing, or a sponge
Stop and identify the cause before continuing.
Dirty/reused mitt · circular motion · sponge instead of mitt — find which one, then swap it out.
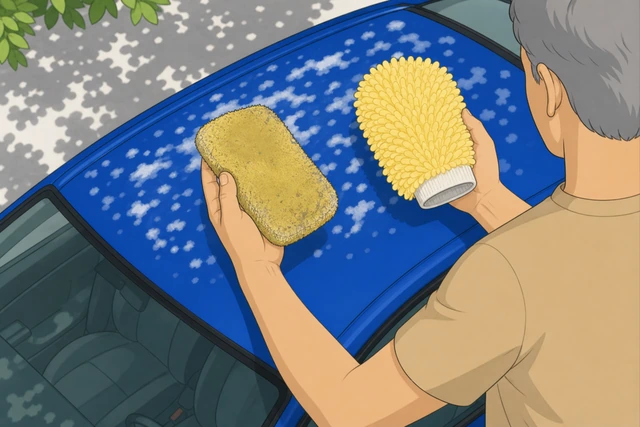
Continuing to wash the same way just adds more marks on top of the ones you're trying to fix.
- Check what caused it: an unrinsed mitt, circular scrubbing motions, or a sponge instead of a mitt.
- Swap out whatever caused it right now — get a clean mitt, or commit to straight-line passes only.
- If you're mid-wash, finish the remaining panels with the corrected technique.
You've identified the cause and switched to a clean mitt and straight-line passes going forward.
Rewash correctly, then test whether existing marks will polish out.
Two-bucket routine · rinse mitt every section · test a light swirl-polish on a small hidden spot.
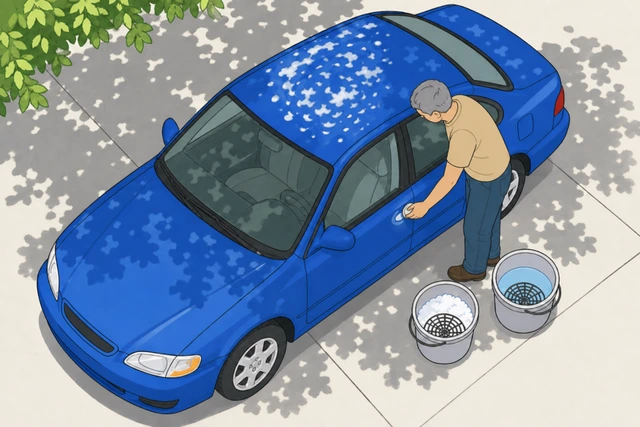
Correct technique going forward stops new marks — a small test spot tells you whether existing marks will polish out or need a professional.
- Rewash the car using the two-bucket routine, rinsing the mitt after every section, straight lines only.
- Once dry, if marks are still visible, try a light swirl-remover polish by hand on one small, hidden test spot.
- Only polish the rest of the panel if that test spot visibly lightens without adding more scratches.
Either the rewash alone solved it, or a test spot has shown whether polishing will help.
Marks deep enough to catch a fingernail, cover large panels, or don't lighten with the test spot? Book a professional paint correction instead of polishing the whole car yourself.
Hard water spotsWhite, ring-shaped, or etched-looking marks from air-drying, sprinklers, or evaporated rinse water
Stop air-drying — towel dry immediately from now on.
No more air-drying · towel-dry top-down right after every rinse.
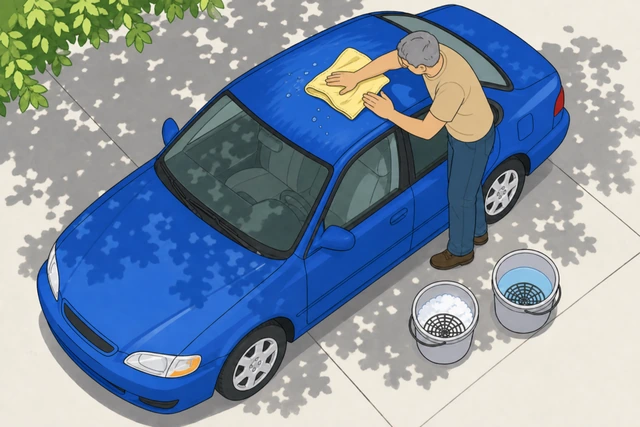
Air-drying is what causes new hard-water spots in the first place — the mineral-laden water evaporates and leaves deposits behind on the paint.
- Rinse the car (or the affected panel) once more with the hose.
- Immediately dry it with a clean microfiber towel, top-down, before any water can evaporate on its own.
- Make towel-drying every time, not just when it's convenient, part of the routine going forward.
The car is freshly rinsed and fully towel-dried, with no water left to air-dry.
Treat existing spots with a vinegar rinse or filtered water.
Equal parts white vinegar + distilled water · wipe gently · rinse and dry again.
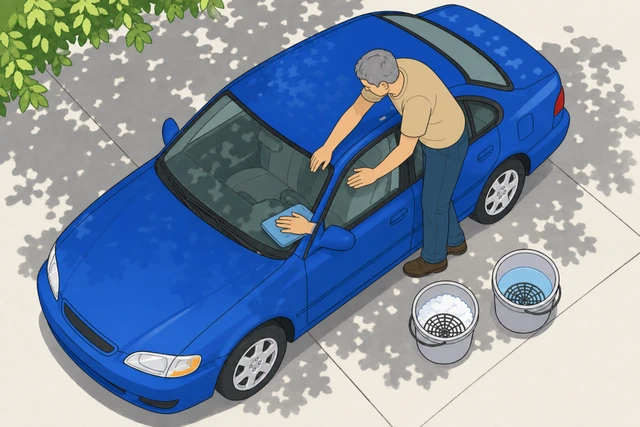
Fresh mineral deposits are mild enough that a dilute vinegar rinse can dissolve them before they etch permanently into the clear coat.
- Mix equal parts white vinegar and distilled water on a clean microfiber towel.
- Wipe the spotted area gently, then rinse that panel and dry it right away.
- If you have it, use distilled or filtered water for future final rinses — that's what mainly causes new spots.
Spots wipe away with the vinegar rinse and the panel is rinsed and dried clean.
Spots don't wipe off and feel rough or etched under a fingernail? That's mineral etching into the clear coat — it needs a clay bar and polish, or a professional detailer, not more vinegar.
Soap dried on the paintA section was left too long before rinsing — often in sun or heat — and soap started to film or dry
Re-wet the panel immediately — don't let it sit any longer.
Hose it down right now · don't wipe dry soap off as-is.
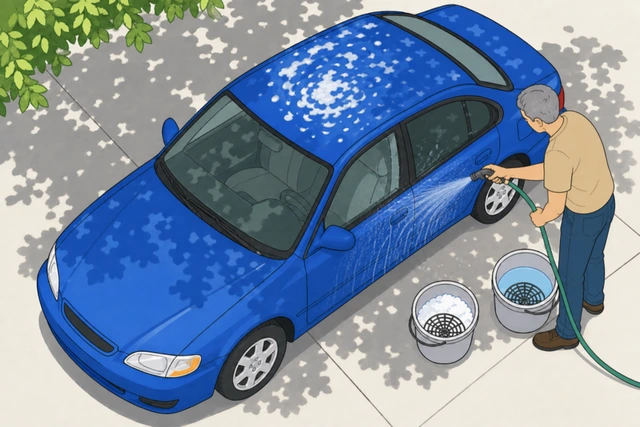
Wiping at soap that's already drying just smears and rubs it into the paint instead of rinsing it cleanly away.
- Hose down that panel immediately, before the soap dries any further.
- Don't try to wipe or towel off the dried film without rinsing it first.
- Move to a smaller section size for the rest of the wash so this doesn't repeat.
The panel is fully rewetted and no dried soap film remains on the surface.
Rewash, rinse, and dry that section, then check for damage once dry.
Fresh mitt and soap · rinse promptly · check for rough or dulled patches once dry.
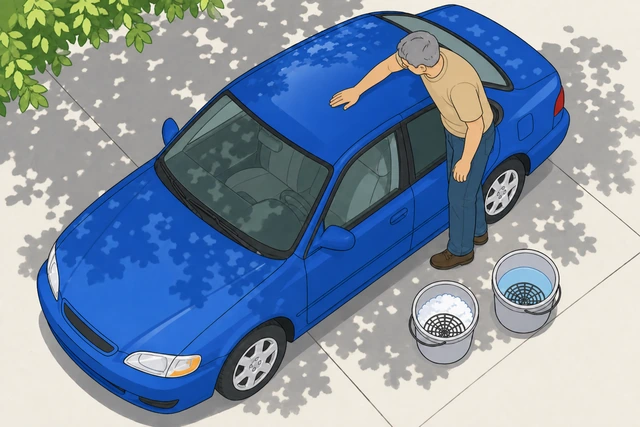
A quick rewash with a properly rinsed section usually undoes the problem — but checking once it's dry tells you if any etching already happened.
- Rewash just that section with a freshly rinsed mitt and fresh soap from the wash bucket.
- Rinse it promptly this time, then dry it right away with a clean microfiber towel.
- Once fully dry, run a fingertip over the spot to check for any rough or dulled texture.
The section is rewashed, rinsed, and dried, and you've checked it for any rough or dulled patch.
Panel feels rough or looks dulled/cloudy once dry? That's beyond a rewash — it needs polishing or a professional detailer to correct.
When to get help
- Ask someone to hold a light at an angle so you can both check for missed spots or swirl marks.
- Marks that catch a fingernail, or don't lighten with a test-spot polish → book a professional paint correction.
- Water spots that feel rough or etched after a vinegar rinse → need a clay bar and polish, or a professional detailer.
- A panel that feels rough or looks dulled after a soap-dried mishap → needs polishing, not another wash.
- No safe water access or a hose ban in your area → use a waterless wash product or a commercial car wash instead.
When This Doesn't Work
- Ceramic-coated or very fresh paint (under 30 days). Follow the coating or paint shop's care instructions — they may call for a gentler soap or a longer cure wait than this routine.
- Existing deep scratches, oxidation, or heavy swirl marks. A hand wash won't remove damage already in the clear coat — that needs polishing or professional correction, not another wash.
- No outdoor water access or a hose ban in your area. Consider a waterless wash product or a commercial car wash instead of this routine.
- Car was just driven and wheels or brakes are still hot. Wait for them to cool before washing — see Step 3's note.
- Heavy winter road-salt grime. Rinse the undercarriage extra thoroughly; salt left in wheel wells and seams causes rust faster than ordinary dirt does.
Warnings
- Never wash a hot car in direct sun. Soap will dry and bake in spots before you can rinse it off.
- Never use dish soap or household detergent. It strips wax and sealant and dries out rubber trim and gaskets.
- Never reuse the same mitt or bucket on wheels and paint. Brake dust grit scratches the clear coat.
- Never scrub dry, caked-on dirt. Soak it or let a cleaner dwell first.
- Let hot wheels and brakes cool before spraying cold water on them.
- Air-drying causes hard-water spots — always towel-dry immediately.
Tips
- Say it out loud: rinse, wash, rinse — never let soap sit on a panel.
- Keep the wheel tools and body tools physically separate so you never grab the wrong one.
- Straight lines, not circles — every single pass, every panel.
- Wash top-down, dirtiest panels last, every time.
- A quick spray detailer after drying adds shine but isn't required to call the wash done.
FAQ
Why do I need two buckets instead of one?
The rinse bucket and grit guard let you knock dirt off the mitt before reloading it with soap. A single bucket just puts that same dirt right back onto the paint with every dip.
Can I use dish soap if I don't have car wash soap?
No — dish soap strips wax and sealant and can dry out rubber trim. Use a pH-neutral car wash soap instead; it's inexpensive and widely available.
Why wash the wheels first instead of last?
Brake dust is metallic grit. Washing wheels first with separate tools means that grit never gets a chance to reach the mitt you use on the paint.
Is it okay to let the car air-dry in the sun to save time?
No — air-drying is the main cause of hard-water spots. Towel-dry immediately with microfiber instead, working top-down.
I see faint circular scratches after washing — did I ruin the paint?
Probably not permanently. See the swirl-marks branch — correcting your technique going forward and testing a light polish on one small spot usually fixes it. Only deep marks need a professional.
Comments
Questions, corrections, and what worked for you. Comments are reviewed before they appear.