How to Tie a Bow Tie
Tie a self-tie bow tie: set one end longer, cross, loop, fold a wing, open a tunnel, push the second wing through, then even it in the mirror. Read one step at a time. Start with preflight. Uneven wings? Uneven wings. Will not hold? Will not hold. Crooked? Crooked bow.
Tips for reading this guide
- One step at a time. Read the green caption, the Why line, then the bullets.
- Move on when the green done line is true — then go to the next step.
- Think shoelace start, then fold a wing and push a second wing through a tunnel.
- Uneven? Uneven wings.
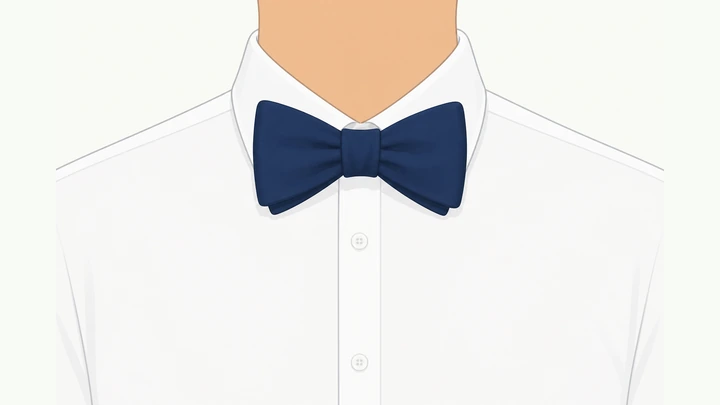
Things You'll Need
- Self-tie bow tie (adjustable strap)
- Button-front dress shirt
- Mirror
Where are you stuck?
Start hereLength → cross → loop → fold wing → tunnel → second wing → even
Preflight — dress shirt on, top button closed, collar up, self-tie bow ready.
Shirt on · top button closed · collar up · bow tie ready.
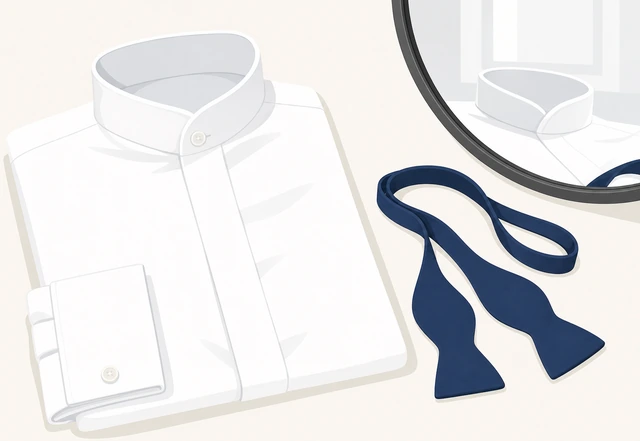
A closed collar band is the anchor the bow knot sits against.
- Put on the dress shirt and fasten the top button.
- Raise the collar wings.
- Have a self-tie (not clip-on) bow tie with the strap adjusted near your neck size.
- Stand at a mirror.
Collar is up, top button is closed, and the bow ends hang free in front of you.
Drape the bow around your neck and make one end about 1.5–2 inches longer.
Drape around neck · one end 1.5–2 in longer · that is your working end.
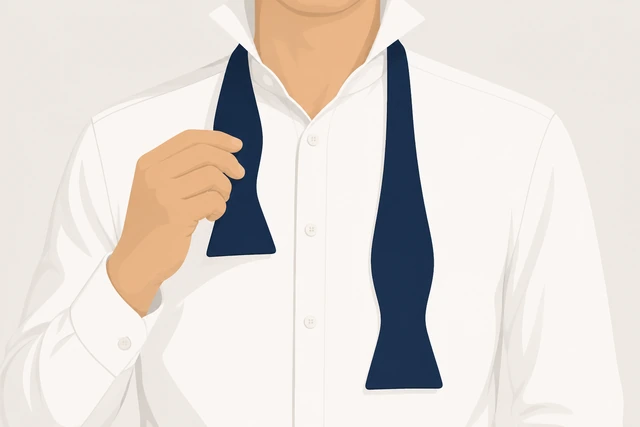
Uneven starting length is the main reason finished wings do not match.
- Place the bow around your neck under the raised collar.
- Pull so one end hangs clearly longer (about 1.5–2 inches).
- Remember which side is the longer working end.
- Wings end up uneven? → Uneven wings.
One end hangs noticeably longer before any knotting.
Cross the longer end over the shorter end at the collar.
Longer end crosses over shorter · X at the collar.
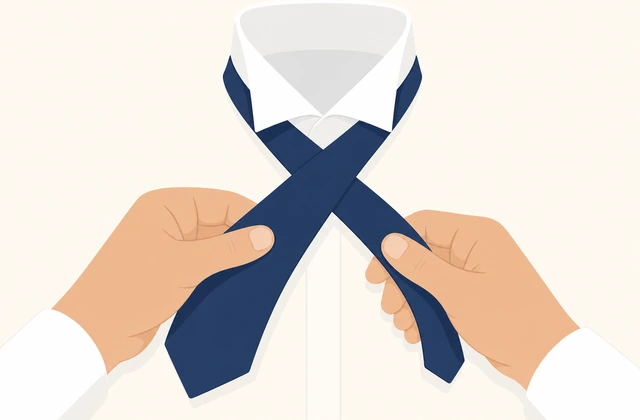
The cross starts the neck knot the same way a shoelace start does.
- Hold both ends near the collar.
- Bring the longer end across on top of the shorter end.
- Keep the cross close to the throat, not down on the chest.
A clear X sits at the collar with the longer end on top.
Pass the longer end up through the neck loop from below.
Longer end up through the neck loop · like starting a shoelace.
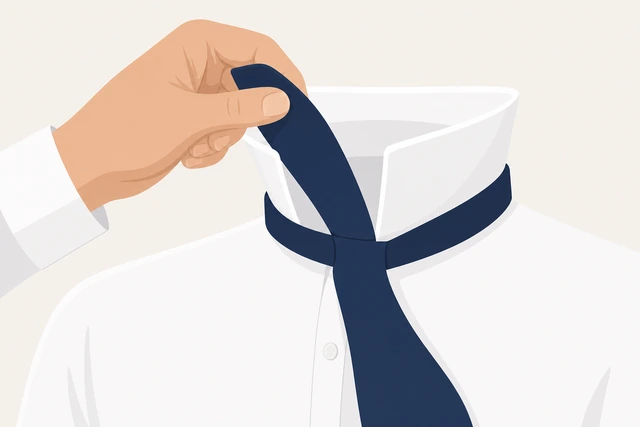
This locks a simple neck knot so the bow stages have an anchor.
- Pinch the cross.
- Push the longer tip up behind the cross and through the neck loop.
- Pull it up and let it hang for the next steps.
Longer end has come up through the neck loop and hangs in front.
Fold the shorter end into a bow-wing shape horizontally against the collar.
Fold shorter end into a horizontal wing · hold it at the collar.
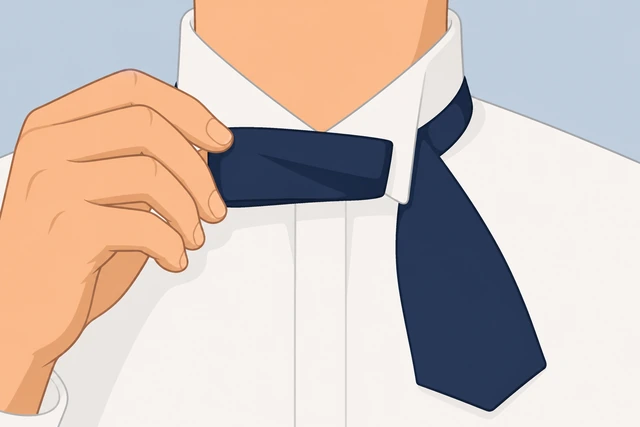
This folded piece becomes the front half of the finished bow.
- Take the hanging shorter end.
- Fold it left-to-right (or right-to-left) into a bow shape.
- Hold that folded wing flat against the collar knot area.
You are holding one neat horizontal wing made from the shorter end.
Drop the longer end straight down over the center of that folded wing.
Longer end drops over the middle of the folded wing.
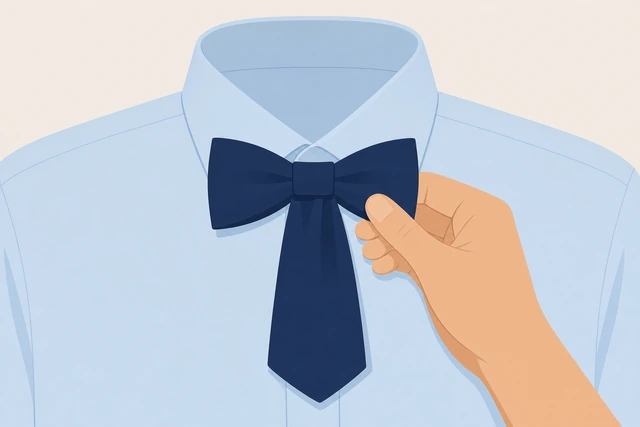
The draped longer end becomes the fabric you will poke through to make the second wing.
- Keep holding the folded wing steady.
- Bring the longer end down so it covers the center of the wing.
- Do not pull it tight yet — just drape it.
Longer end hangs over the center of the front wing.
Pinch the center of the folded bow to open a vertical tunnel behind it.
Pinch the bow center · open a vertical tunnel/slot behind it.
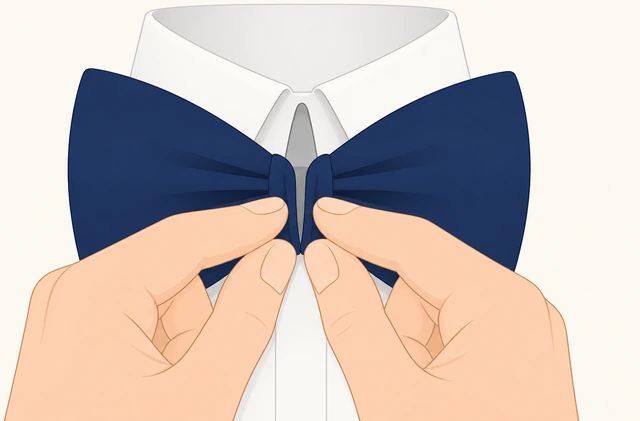
Without a real tunnel, the second wing has nowhere to lock and the bow falls open.
- Pinch the middle of the folded wing with thumb and finger.
- Feel or see a small vertical opening behind the front of the bow.
- No tunnel / bow will not hold? → Will not hold.
You can see or feel a slot behind the center of the front wing.
Push the middle of the hanging longer end through that tunnel front-to-back to form the second wing.
Push a fold of the longer end through the tunnel · second wing appears.
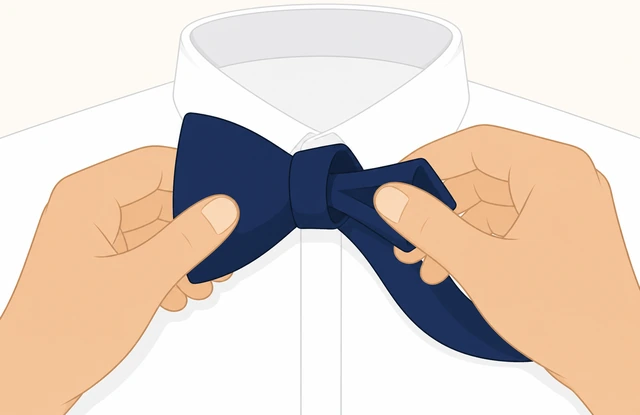
You are feeding a doubled bite of fabric, not the skinny tip alone.
- Fold a small horizontal bite in the hanging longer end.
- Push that bite through the tunnel from front toward the neck.
- Pull gently until a second wing sticks out the back/side.
Two wing shapes are visible with fabric through the center knot.
Pull both wings gently left and right to tighten the knot.
Pull both wings outward · knot cinches · bow holds.
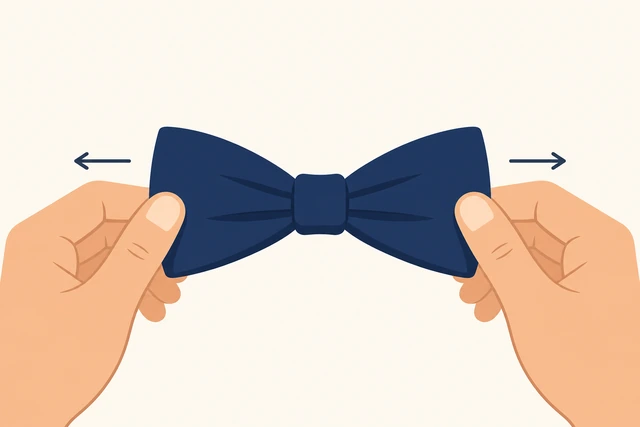
Tightening from the wings sets the knot; yanking only the tails skews it.
- Hold one wing in each hand.
- Pull gently apart to snug the center.
- Alternate small pulls until the bow feels secure.
- Still collapses? → Will not hold.
The bow stays tied when you let go for a moment.
Adjust wing lengths and height until the bow is even and horizontal.
Even the wings · level the bow · center the knot.
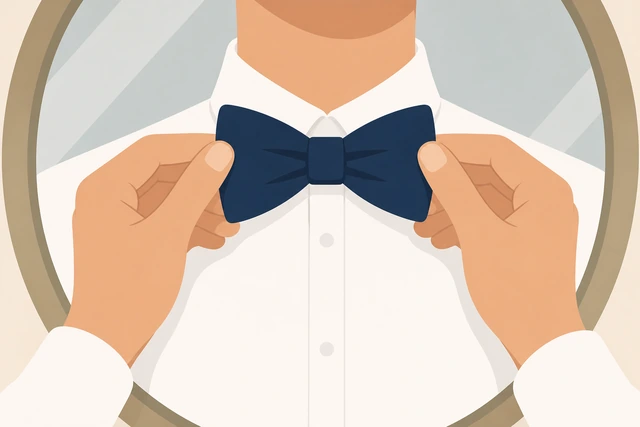
Small tugs on loops and tails fix most crooked or uneven bows without a full restart.
- Compare left and right wing lengths.
- Pull a longer wing’s loop carefully to shorten it, or feed fabric to lengthen the short side.
- Rotate the whole bow until it sits level.
- Still uneven? → Uneven wings. Crooked? → Crooked bow.
Wings look roughly equal and the bow is horizontal in the mirror.
Fold the collar down and do a final mirror check.
Collar down · smooth · final mirror check.
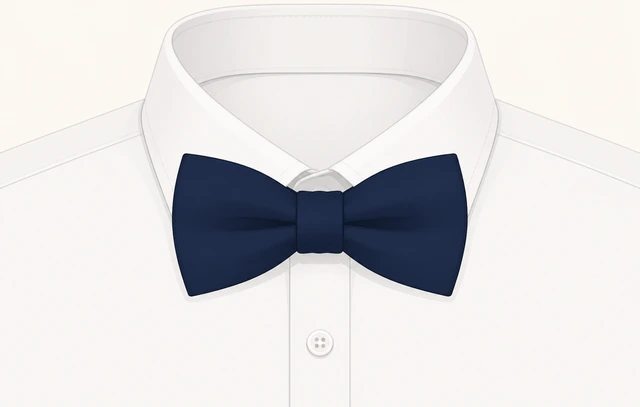
The collar frames the knot; checking now catches tilt before you leave.
- Lower both collar wings over the knot edges.
- Smooth the shirt front.
- Confirm the bow is centered on the top button line.
Bow looks level, even, and ready to wear with the collar down.
Uneven wingsOne wing much longer — reset starting length and equalize
Untie completely and start clean.
Untie fully · smooth both ends.
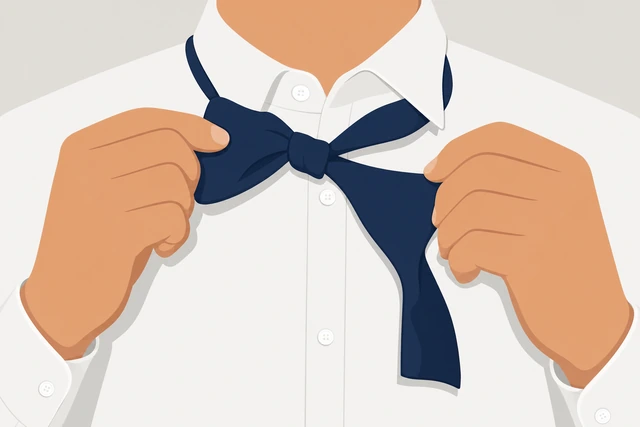
Adjusting on a failed knot usually makes asymmetry worse.
- Pull the bow open.
- Straighten both ends.
Bow is fully untied with two free ends.
Change the starting longer-end drop by about ½–1 inch.
Change longer-end start by ½–1 in.
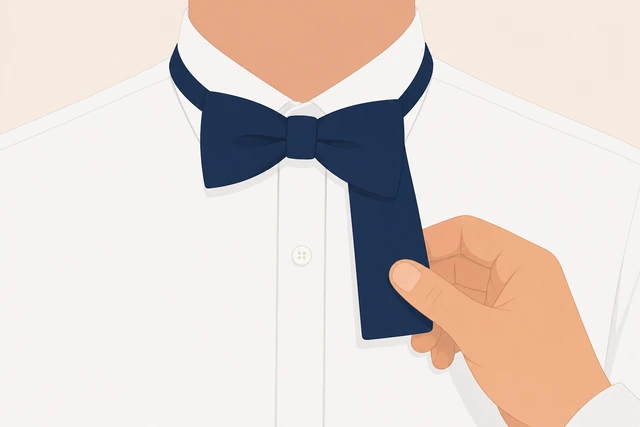
Most wing errors trace to the first length choice.
- If the finished right wing was long, shorten that starting side slightly (or the reverse).
- Keep a clear but smaller difference than last time.
One end is again longer, but the difference is adjusted.
Retie through the fold, tunnel, and second-wing steps.
Retie · fold · tunnel · second wing.
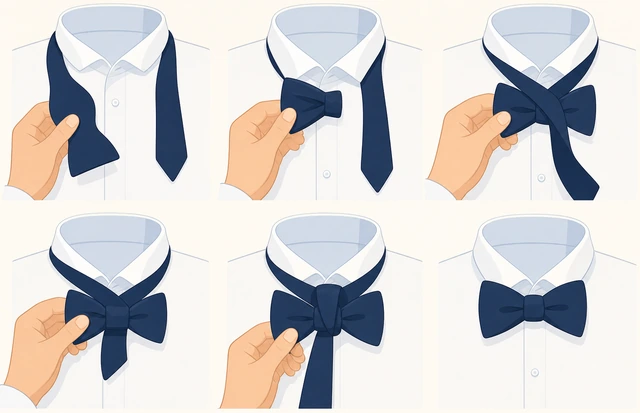
A clean rebuild beats endless tugging on a bad knot.
- Cross, loop, fold, drape, tunnel, push through.
- Stop when both wings exist.
A new bow is formed.
Equalize by pulling the wing loops, not only the skinny tails.
Pull loops to even · tiny moves.
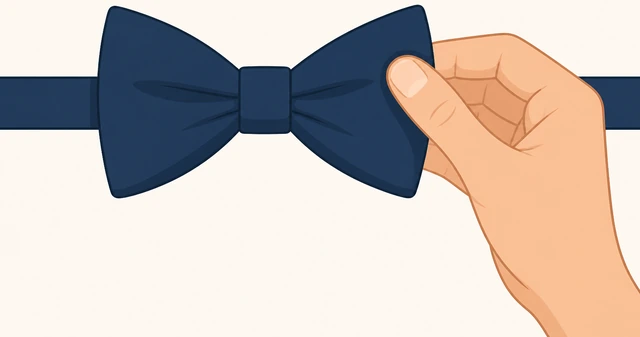
Tails alone rarely fix length; the loops hold the fabric reservoir.
- Compare wings.
- Shorten the long loop with a gentle pull.
- Feed fabric into the short loop if needed.
Wings are within a small visual match.
If three resets still fail before an event, use a pre-tied bow for now.
Still wild after 3 tries · pre-tied for the event · practice later.
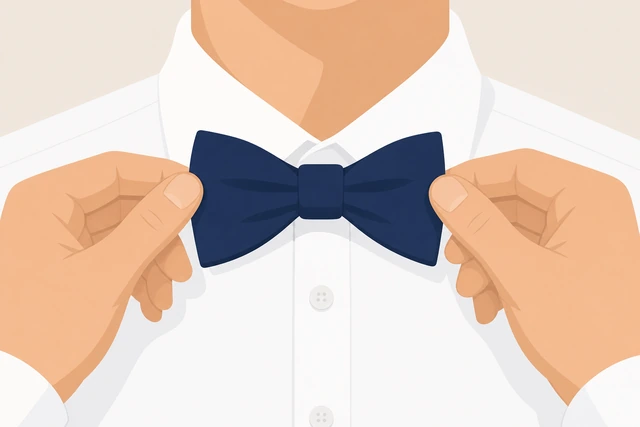
A deadline is not the time to fight slippery silk.
- Keep the self-tie for practice.
- Wear a quality pre-tied if you must leave now.
You have a wearable plan for today.
Bow will not holdFalls open — remake the tunnel and push a fuller bite through
Confirm you folded a real front wing before draping the long end.
Must have a folded front wing first.
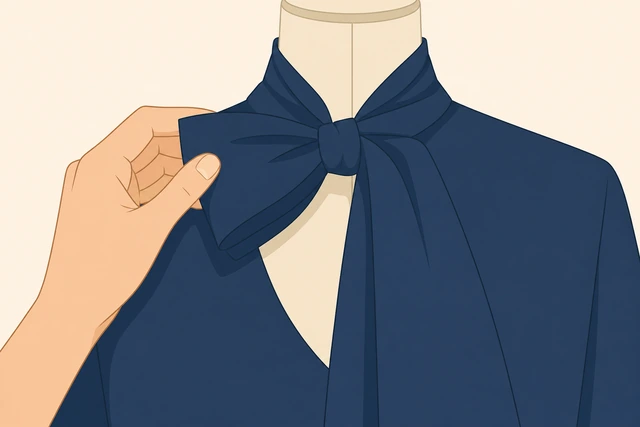
Skipping the fold leaves only a necktie-style knot that cannot make a bow.
- Undo if needed.
- Refold the shorter end into a wing.
- Hold it at the collar.
A clear front wing is in place.
Pinch a deeper vertical tunnel behind the wing.
Deeper pinch · clearer tunnel.
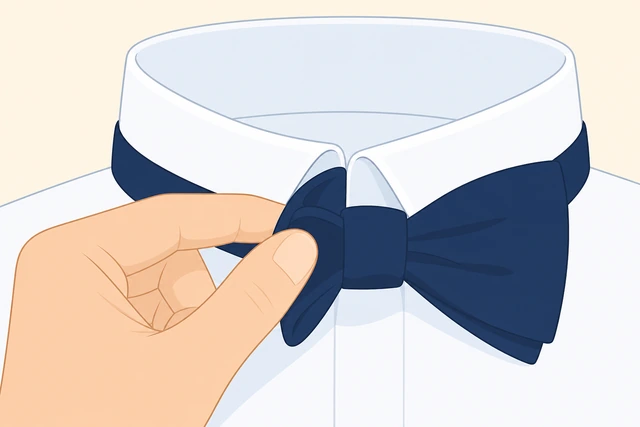
A shallow pinch closes as soon as you let go.
- Pinch firmly at center.
- Look for a visible slot.
- Keep it open with a finger if needed.
Tunnel stays open long enough to feed fabric.
Push a fuller doubled bite of the long end through — not just the tip.
Fuller bite through · not skinny tip only.
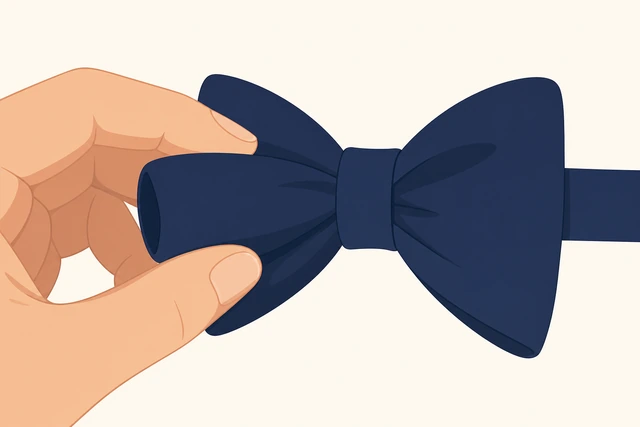
A thin tip slides out; a doubled wing locks.
- Fold a wider horizontal bite.
- Push it through.
- Pull until a real second wing appears.
Second wing is substantial, not a skinny stub.
Tighten by pulling both wings together, then recheck.
Pull both wings · snug center · recheck hold.
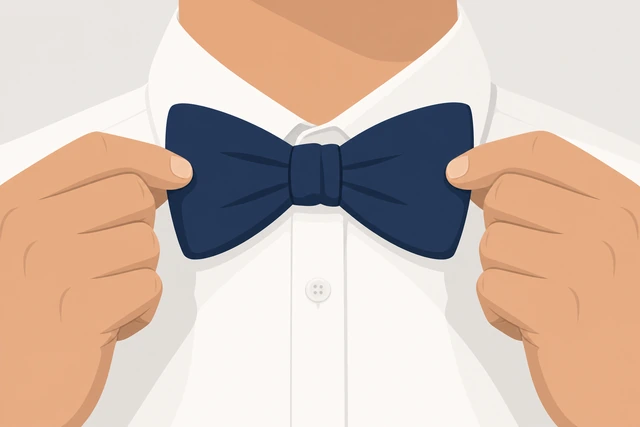
Even wings + snug center keeps the knot from walking open.
- Pull left and right.
- Release briefly.
- If it opens, repeat tunnel feed once.
Bow holds when released.
If silk is extremely slippery, choose a slightly textured bow or pre-tied.
Ultra-slippery silk · try textured fabric or pre-tied.
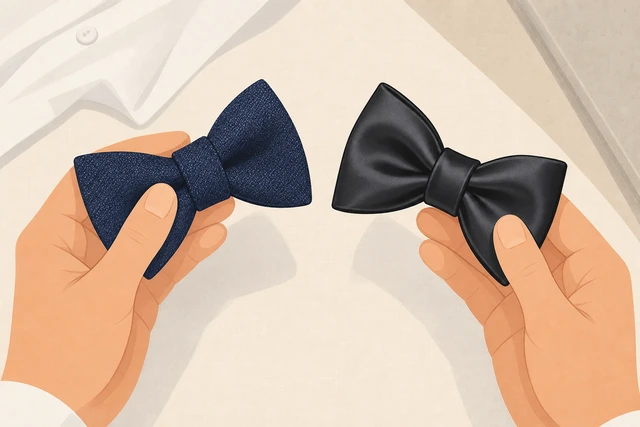
Some satins fight self-tie knots even with correct technique.
- Practice on a cotton/sample bow.
- Keep the silk for when you are fluent, or use pre-tied.
You have a fabric strategy that matches the event.
Crooked bowTilted or off-center — loosen, rotate, reseat on the collar
Loosen the wings slightly without fully untying.
Loosen a little · keep the knot.
Full restarts are optional; many tilts fix with rotation.
- Ease both wings.
- Keep the center knot intact.
Bow can rotate a little.
Rotate the whole bow so it sits horizontal.
Rotate until level · check in mirror.
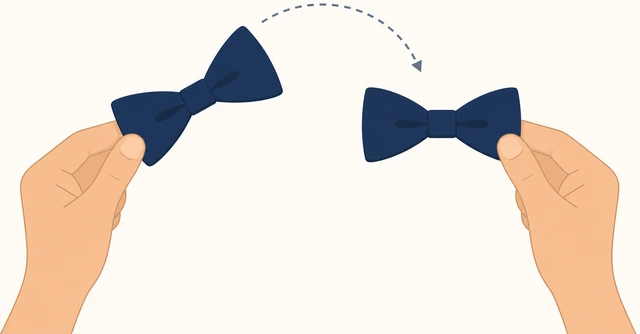
The knot can twist independently of wing length.
- Turn the bow as a unit.
- Stop when the top edges look level.
Bow looks horizontal.
Center the knot on the top button / throat midline.
Slide knot to midline · even left/right.
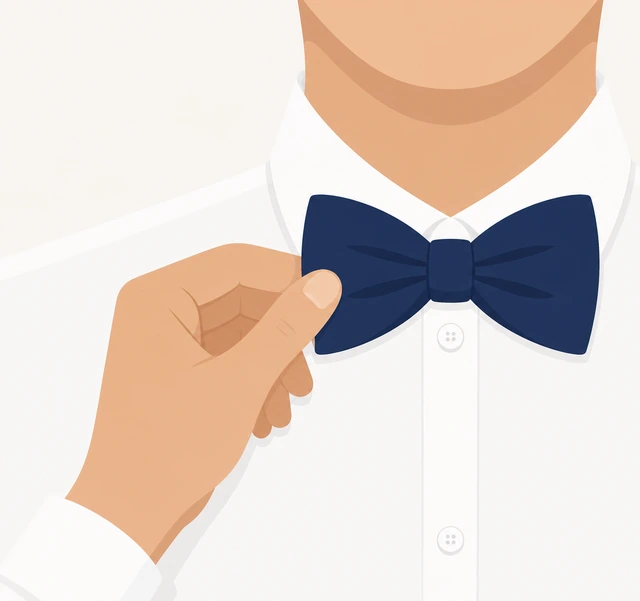
An off-center knot makes one wing look higher.
- Nudge left or right.
- Compare to the button placket line.
Knot sits on the centerline.
Pull left and right wings with equal tension.
Equal tension both sides · recheck level.
One hard pull reintroduces tilt.
- Small equal tugs.
- Stop when stable.
Bow stays level after equal pulls.
If the shirt collar or top button is wrong, fix the shirt first.
Broken button / wrong collar · fix shirt first.
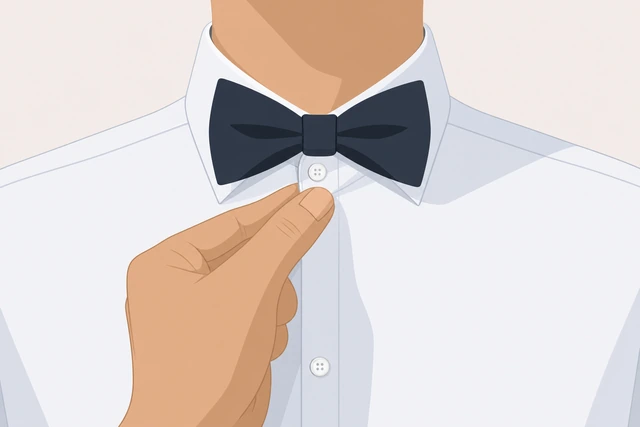
No bow sits well on a gaping or twisted collar band.
- Fasten or replace the top button.
- Confirm collar size fits your neck.
Shirt foundation is correct before another bow attempt.
When This Doesn't Work
- Pre-tied and clip-on bows skip this method — use their clasp instructions instead.
- Extremely stiff novelty bows may not fold into a tunnel cleanly.
- If the shirt top button will not close, fix the shirt before blaming the bow.
Warnings
- Do not cinch the neck strap so tight you cannot swallow comfortably.
- Practice once before an event when possible — first attempts take longer.
Tips
- Practice with a cotton or inexpensive bow before slippery silk.
- Think “shoelace start, then make a bow” — that mental model helps.
- Adjust strap length so the knot sits at the collar without choking.
FAQ
Is a bow tie tied like a necktie?
Only the first cross-and-loop is similar. After that you fold a wing and push a second wing through a tunnel — it is closer to tying a shoe bow.
Should both ends start even?
No. Start with one end about 1.5–2 inches longer so the finished wings can match.
Can I leave it tied between wears?
You can loosen and slip it off carefully, but most people untie and retie for a cleaner shape.
Comments
Questions, corrections, and what worked for you. Comments are reviewed before they appear.