How to Hem Pants by Hand
Shorten pants with a hand blind/slip hem: measure with shoes on, trim, press, then stitch so the outside stays clean. Read one step at a time. Start with preflight. Uneven? Uneven legs. Stitches show? Visible stitches. Knit? Knit pants.
Tips for reading this guide
- One step at a time. Read the green caption, the Why line, then the bullets.
- Move on when the green done line is true — then go to the next step.
- Measure with shoes on before you cut.
- Stitches showing? Visible stitches.
Things You'll Need
- Pants (pre-washed)
- Shoes you will wear with them
- Sewing needle and matching thread
- Straight pins
- Measuring tape
- Iron and ironing board
- Fabric scissors
- Seam ripper
- Optional: chalk, press cloth
Where are you stuck?
Start hereMeasure with shoes → trim → blind stitch both legs.
Preflight — wash and dry the pants first; gather shoes you’ll wear, pins, needle, matching thread, measuring tape, iron, and scissors.
Pre-wash pants · shoes ready · pins needle thread tape iron scissors.
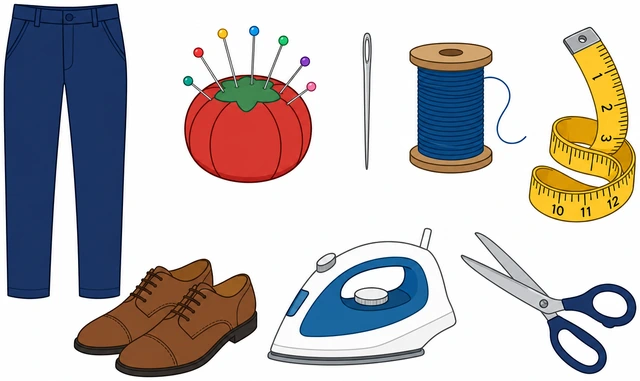
Unwashed fabric can shrink after you hem and ruin the length.
- Wash and dry as you normally will.
- Choose the shoes you’ll wear with these pants.
- Match thread color to the pant fabric.
- Stretchy knit pants? → Knit / stretch pants.
Pants are clean/dry and tools plus shoes are ready.
Put on the pants and shoes. Fold each cuff up to the length you want and pin temporarily.
Wear pants + shoes · fold to length · pin temporarily.
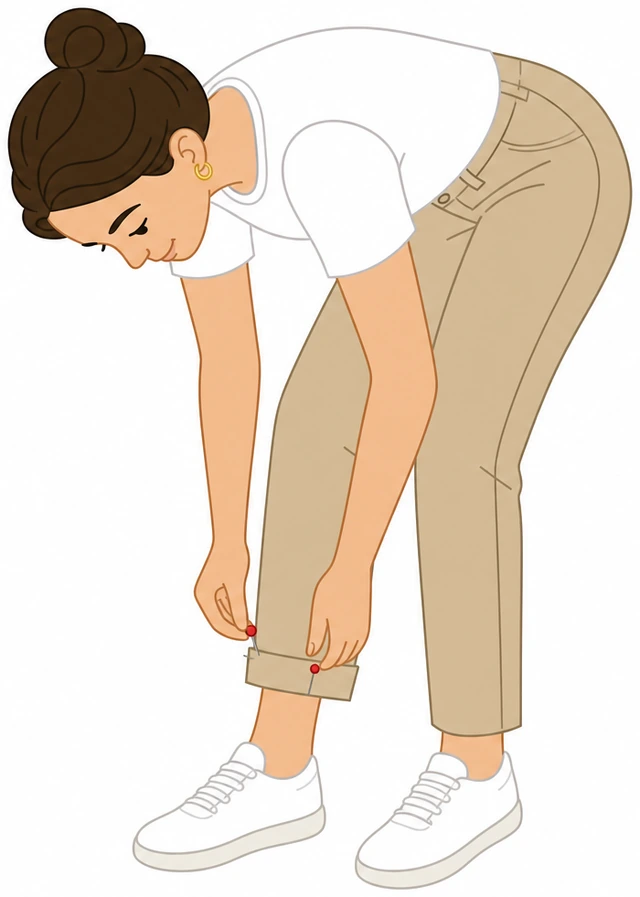
Hem length only looks right with the shoes that change how the fabric breaks.
- Stand straight on a hard floor.
- Fold excess under until the break/look you want.
- Pin through both layers so the fold holds.
- Have a helper pin if you cannot reach comfortably.
Both legs are pinned to a wearing length you like.
Take the pants off. Measure the fold depth on both legs and match them to the shorter mark.
Measure both folds · match to the shorter length.
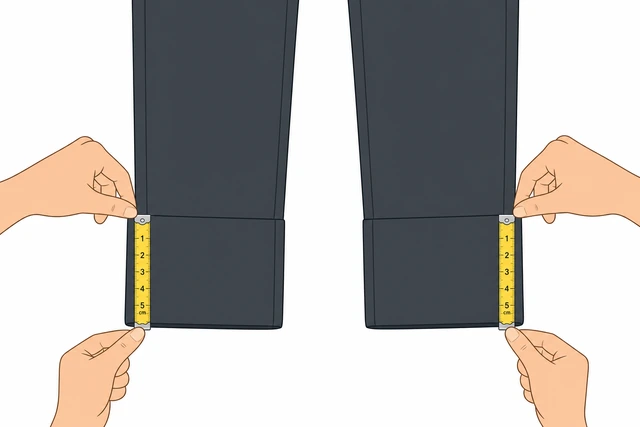
Eyes lie; tape makes legs equal.
- Measure from original hem edge or inseam mark to the new fold.
- Write both numbers.
- Re-pin the longer leg to match the shorter.
- Mark the fold line with chalk or a light pin line.
Both legs share one target length mark.
Remove the old hem stitches if there is a factory hem, then press the leg flat.
Pick out old hem · press fabric flat.
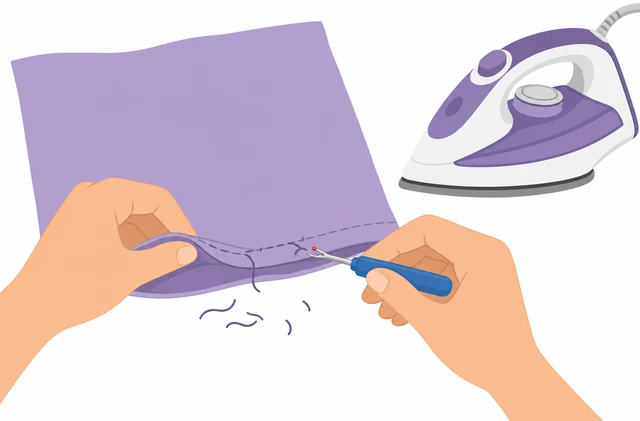
Sewing over a thick old hem makes a lumpy, short fold.
- Use a seam ripper carefully between stitches.
- Pull threads out.
- Press the crease out with an iron so the leg is flat.
Old hem is open and the fabric lies flat.
Trim excess length, leaving about 1–1.5 inches of fabric below your mark for the turn-up.
Trim excess · leave ~1–1.5 inch allowance below mark.
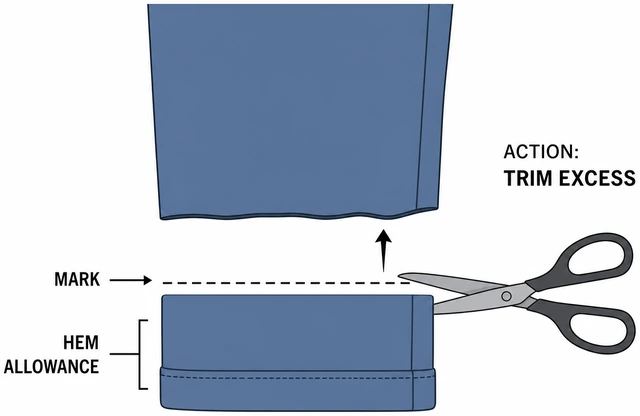
Too little allowance and the hem won’t turn cleanly; too much bulk stacks.
- Measure 1–1.5 inches below the mark all around.
- Cut slowly with fabric scissors.
- Keep the cut edge roughly even.
- Do not cut above the mark.
Allowance remains; excess is gone.
Turn the raw edge under about 1/4–1/2 inch and press.
Turn raw edge under 1/4–1/2 inch · press.
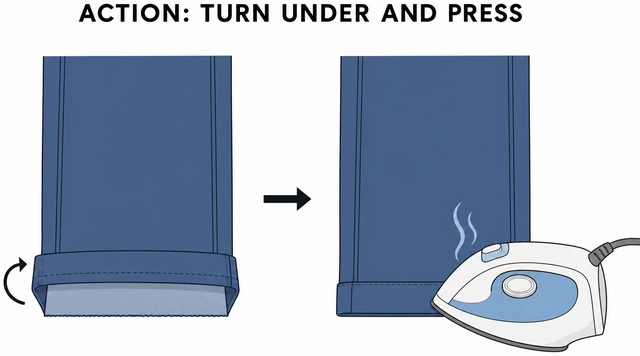
A turned edge hides fraying inside the hem.
- Fold the cut edge under once.
- Press with iron (use a press cloth if delicate).
- Keep the fold width even.
A clean pressed under-fold exists all around.
Fold the hem up to your length mark and pin every 1–2 inches, parallel to the edge.
Fold to mark · pin every 1–2 inches · pins parallel.
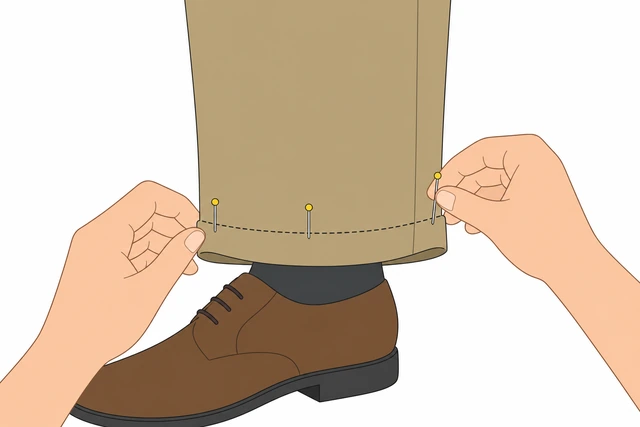
Even pins prevent a wavy hem while you sew.
- Bring the fold up to the mark.
- Pin from the inside.
- Check the outside length looks even.
- Adjust before you sew.
Hem is pinned evenly at the mark.
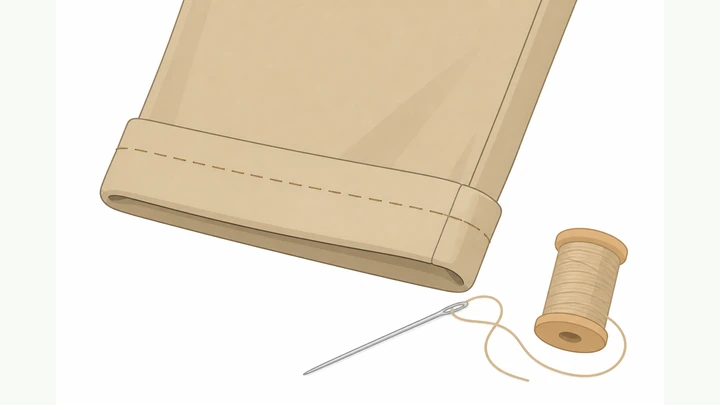
Thread the needle, knot the end, and start a blind/slip stitch from inside, catching only 1–2 threads of the outer fabric.
Knot · start inside · catch 1–2 outer threads only.
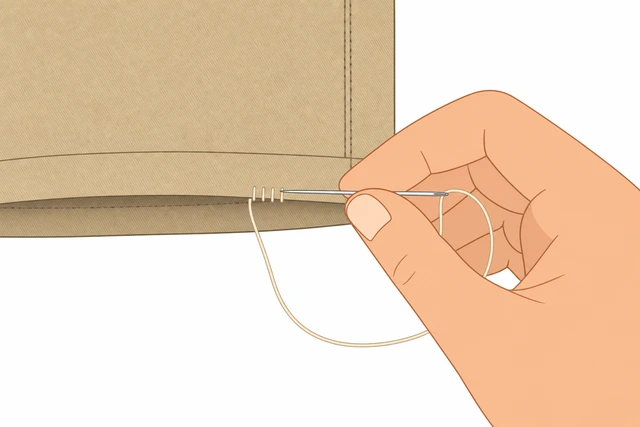
Tiny outer bites hide the stitch; big bites show a dashed line on the outside.
- Use a single or double thread; knot the end.
- Hide the knot inside the hem fold.
- Take a tiny bite of the pant body, then a bite in the hem fold.
- Stitches already obvious outside? → Visible stitches.
First few stitches look nearly invisible on the outside.
Continue around the leg with small even stitches; finish with a secure knot inside the hem.
Small even stitches around · knot inside to finish.
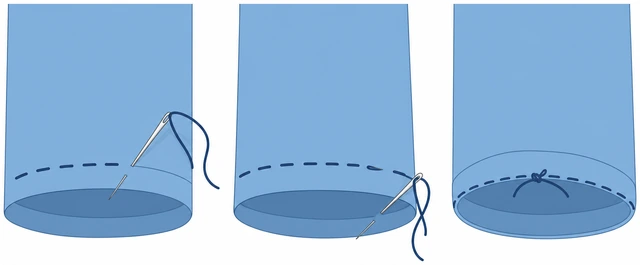
Long uneven stitches pull and open with wear.
- Keep stitch spacing about 1/4–3/8 inch.
- Do not yank thread tight enough to pucker.
- When you complete the circle, knot and bury the tail.
- Remove pins as you go.
One leg is fully hemmed and knotted.
Hem the second leg to match, then press both hems.
Second leg match first · press both hems.
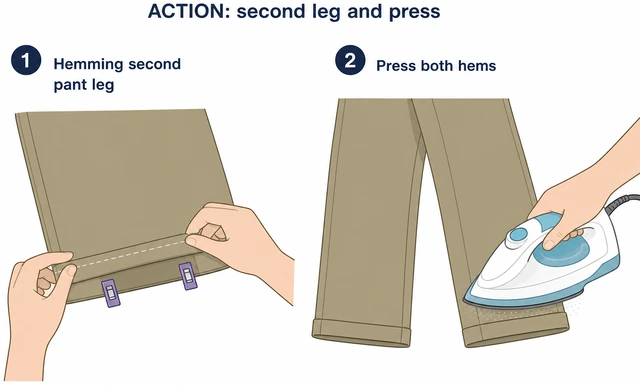
Pressing sets the crease so the hem hangs clean.
- Repeat Steps 6–8 on the other leg.
- Compare lengths flat on a table before the final try-on.
- Press from the inside with steam if the fabric allows.
Both legs are hemmed and pressed.
Try on with the same shoes; if one leg is long, fix only that leg.
Try on with shoes · fix only the long leg if needed.
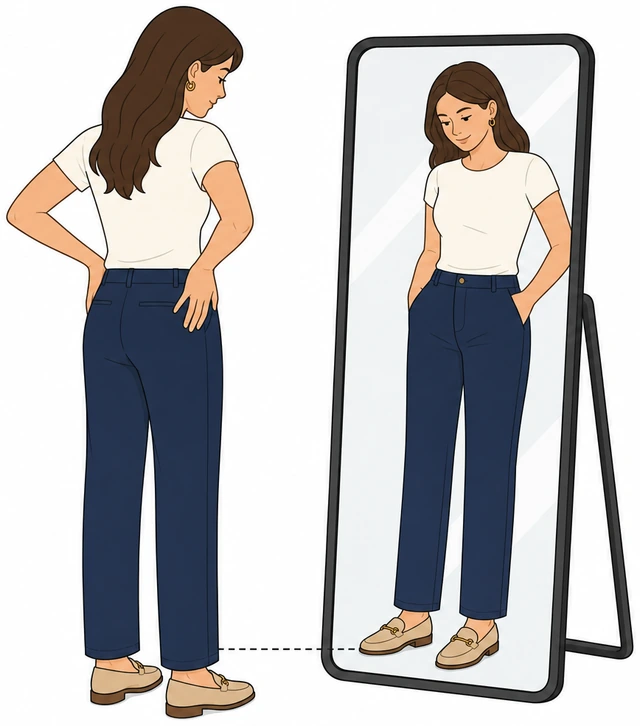
A final wear test catches a pin that slipped before sewing.
- Wear the same shoes.
- Look in a mirror from the side.
- If one side is long, open that hem and re-pin shorter.
- Uneven? → Uneven legs.
Both legs hang evenly in the shoes you chose.
Uneven legsOne leg hangs longer after the try-on.
Mark the longer leg only while wearing the shoes again.
Re-mark the long leg only with shoes on.
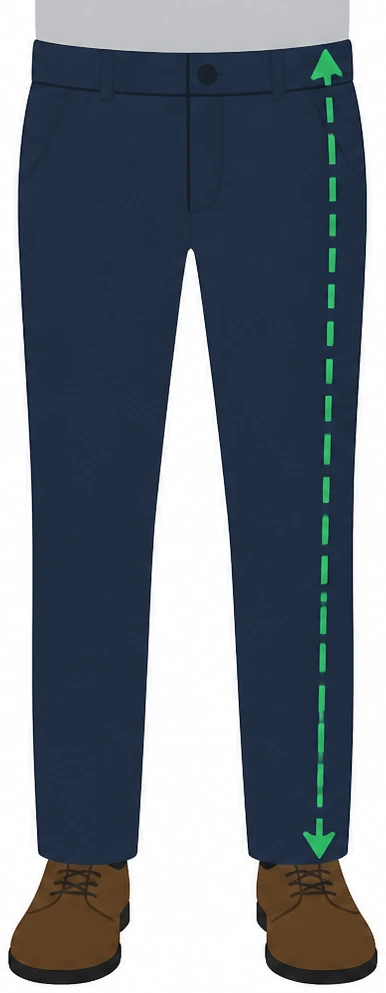
Changing both legs risks making them both wrong.
- Pin the long side to match the good side.
- Mark.
- Take off carefully.
Long leg has a new target mark.
Pick out stitches on the long leg only.
Open stitches on the long leg only.
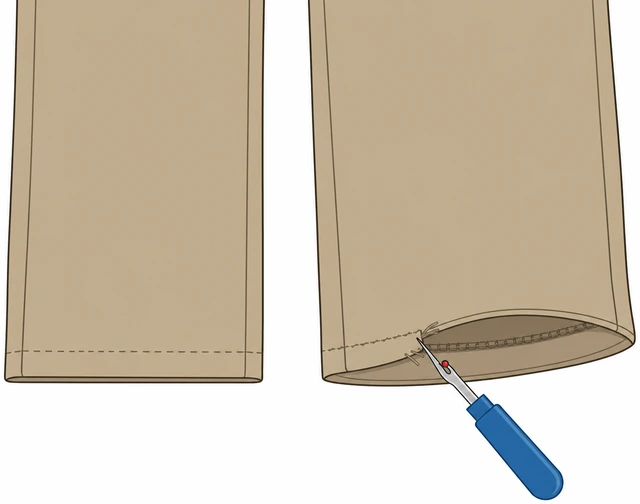
Leave the good leg alone.
- Seam ripper on that hem only.
- Press flat.
- Keep the other leg pinned/hemmed.
Long leg is open.
Re-pin to the new mark and re-sew with the same blind stitch.
Re-pin to mark · resew blind stitch.
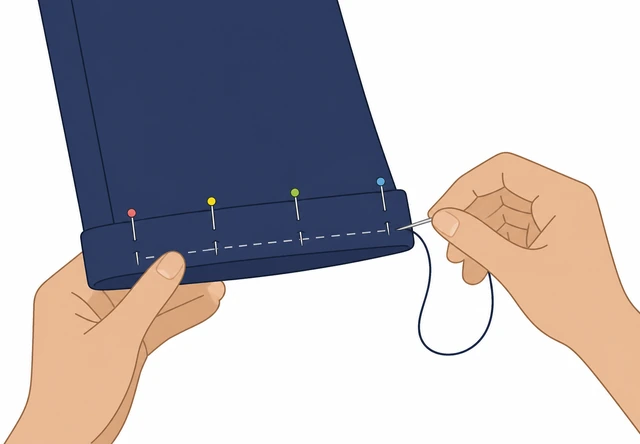
Same stitch style keeps both legs looking matched.
- Pin even.
- Blind stitch.
- Knot inside.
Long leg is resewn.
Press and try on again before you declare done.
Press · try on again.
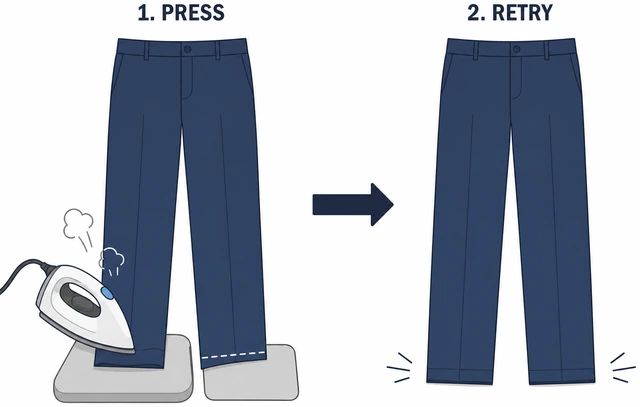
Skipping the second try-on repeats the same mistake.
- Press.
- Shoes on.
- Mirror check.
Legs match on try-on.
If you are still off by more than about an inch after two fixes, take them to a tailor.
Still >1 inch off after two fixes · tailor.
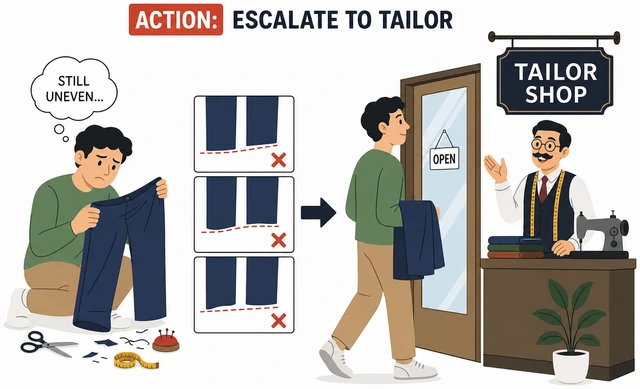
Patterned plaids and thick jeans can defeat beginner hand hems.
- Stop cutting more.
- Bring shoes to the tailor.
- Ask for a blind hem.
You escalated or you matched.
Visible stitchesDashed stitches show clearly on the outside of the pant.
Stop and pick out the obvious section before you continue around.
Pick out the visible section now.
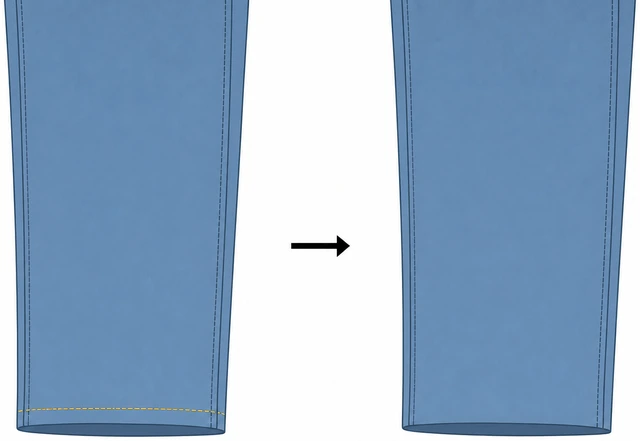
Sewing farther just creates more to remove.
- Seam rip carefully.
- Avoid cutting fashion fabric.
- Press flat.
Visible section is open.
Practice on a scrap: catch only 1–2 threads of the outer fabric.
Practice tiny outer bites on scrap.
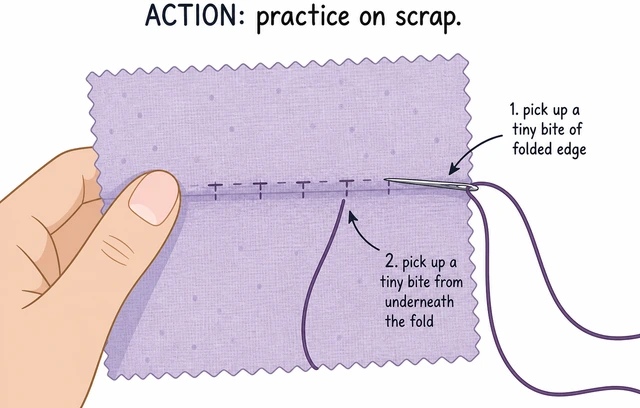
Muscle memory beats hoping on the good pant.
- Scrap of similar weight.
- Tiny bite.
- Check the right side.
Practice stitches look nearly invisible.
Resew with smaller bites and slightly looser tension.
Smaller bites · looser tension · resew.
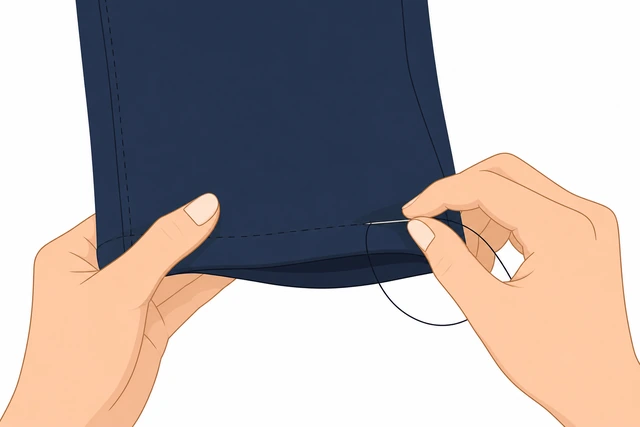
Tight thread pulls dimples that scream “handmade wrong.”
- 1–2 threads only.
- Don’t yank.
- Check outside every few stitches.
Outside looks clean again.
If the fabric is very smooth (gabardine), use a finer needle and matching thread.
Finer needle + better color match on dressy fabric.
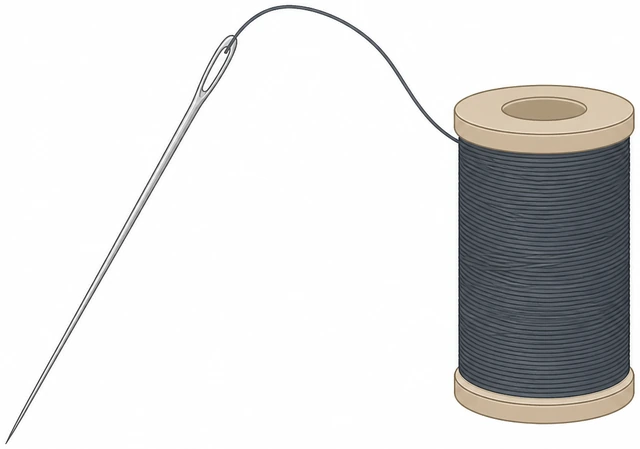
Thick needle holes stay visible forever on smooth cloth.
- Smaller needle.
- Closer thread color.
- Continue.
Tools match the fabric.
Escalate to a tailor blind hem if stitches still show after a careful pass.
Still obvious · professional blind hem.
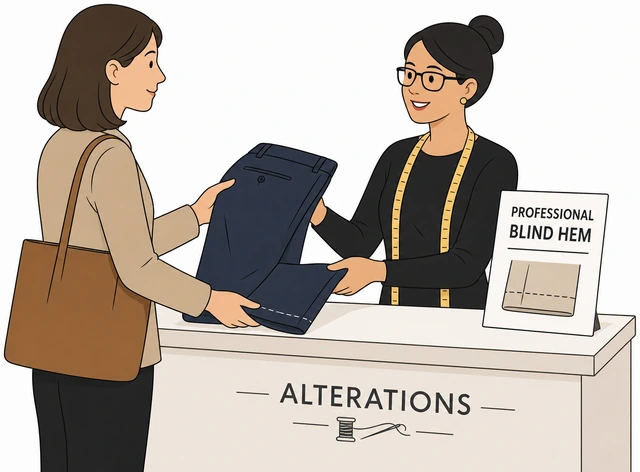
Some fabrics need a machine blind hem foot.
- Stop redoing the same area.
- Book alterations.
- Bring the shoes.
You know when DIY is enough.
Knit / stretch pantsThe pants are stretchy jersey or knit — adjust tools and tension.
Switch to a ballpoint/stretch needle and polyester thread.
Ballpoint needle · polyester thread.
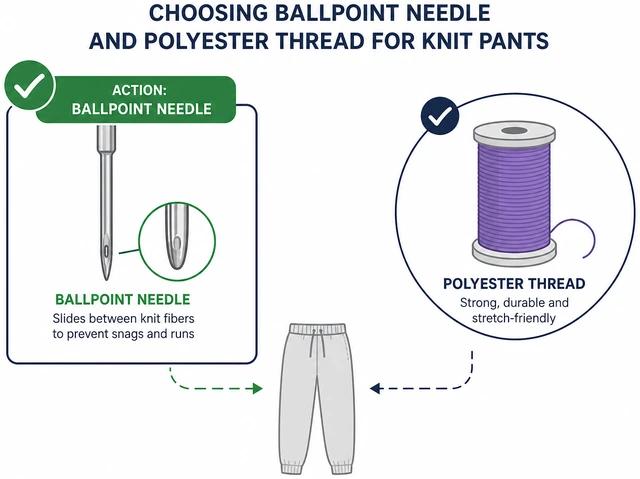
Sharp needles cut knit yarns and make runs.
- Ballpoint needle.
- Polyester thread.
- Test on seam allowance scrap.
Correct needle/thread are ready.
Do not stretch the hem flat like woven cloth while you sew.
Sew relaxed · don’t pull hem taut.
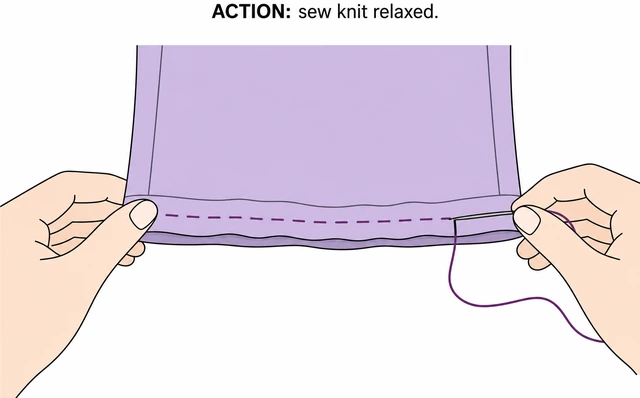
Stretched-then-released hems wavy forever.
- Let fabric sit natural.
- Slight ease OK.
- Avoid yanking.
Hem is sewn without stretch distortion.
Use slightly larger stitch spacing and catch tiny outer threads.
Slightly larger spacing · tiny outer bites.
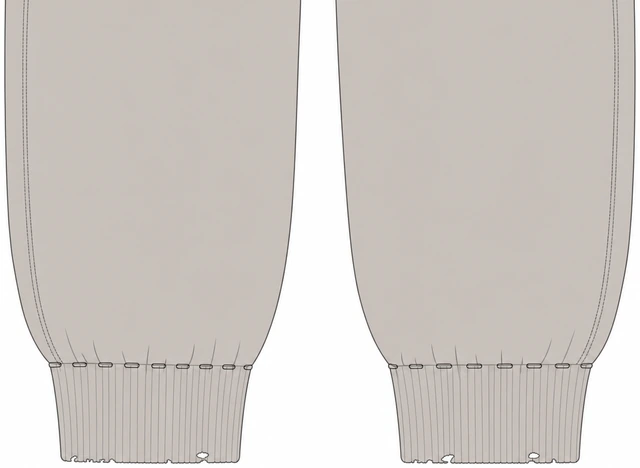
Dense stitches on knits can still look puckered.
- ~3/8 inch spacing.
- Tiny bites.
- Check stretch recovery.
Hem stretches a little without popping stitches.
If the knit ladders or holes appear, stop immediately.
Runs/holes · stop sewing.
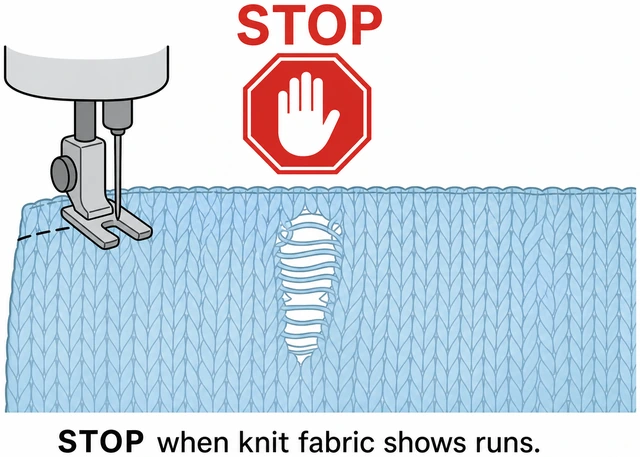
Continuing shreds the cuff.
- Stop.
- Do not cut more.
- Consider hem tape or tailor.
Damage stopped.
For yoga/leggings, consider taking them to a shop with a coverstitch machine.
Leggings/yoga · coverstitch shop often better.
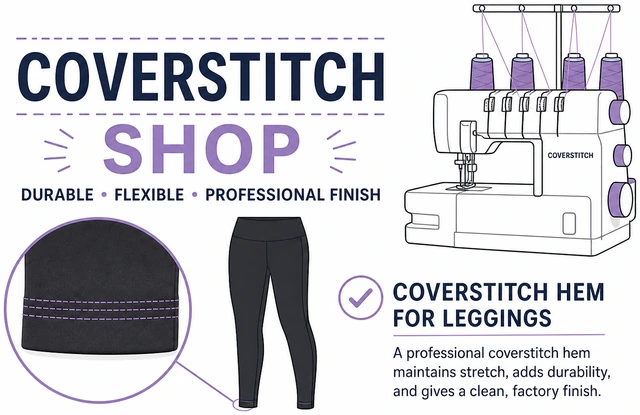
Hand hems on thin leggings rarely look factory-clean.
- Ask for coverstitch/blind stretch hem.
- Bring shoes.
- Worth it for cheap-looking DIY.
You chose shop help or finished carefully by hand.
When This Doesn't Work
- The hem looks bulky — You left too much allowance or didn’t press the raw edge under. Trim closer to 1 inch and press again before sewing.
- Thread keeps tangling — Use shorter thread (about 18 inches), wax or dampen slightly, and don’t double thick thread on fine fabric.
- Jeans are too thick to needle — Use a denim/sharp needle and pliers to pull through, or take jeans to a shop with a heavy machine.
Warnings
- Wash and dry pants before you hem — shrinkage after hemming shortens them permanently.
- Do not cut above your length mark.
- Stop if knit fabric starts to run or ladder.
Tips
- Match the original hem look — If the factory hem had a wide cuff, keep a similar finished width so the pant still looks intentional.
FAQ
Blind stitch or simple running stitch?
Blind/slip stitch for dress pants and anywhere you care about the outside. A neat running stitch inside is fine for casual joggers if you accept more visibility.
Can I use iron-on hem tape instead?
Yes for a quick fix on some fabrics, but tape can stiffen and fail in washers. This guide is the sew-it-once method.
Comments
Questions, corrections, and what worked for you. Comments are reviewed before they appear.