How to Throw a Frisbee
Learn a clean backhand frisbee throw: grip, sideways stance, flat disc, wrist snap, follow-through. Read one step at a time. Start with preflight. Wobbly? Wobbly / no spin. Stalls up? Nose-up stall. Dives? Dives into ground.
Tips for reading this guide
- One step at a time. Read the green caption, the Why line, then the bullets.
- Move on when the green done line is true — then go to the next step.
- Spin before distance.
- Wobbly? Wobbly / no spin.
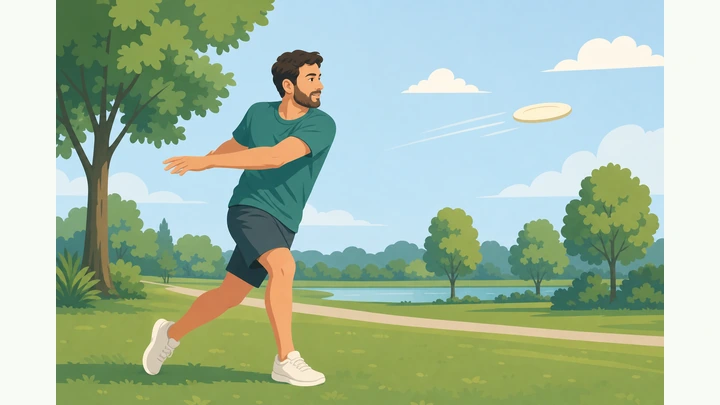
Things You'll Need
- A standard flying disc
- Open park or yard space
- A partner or soft target
- Optional cone markers for short-range practice
Where are you stuck?
Follow Start here for backhand throws. Jump to a branch for wobble, stall, or dive.
Start hereGrip → stance → flat → snap → follow-through
Preflight — open space, flying disc, wind check, target or partner.
Open space · standard disc · check wind · target ready.
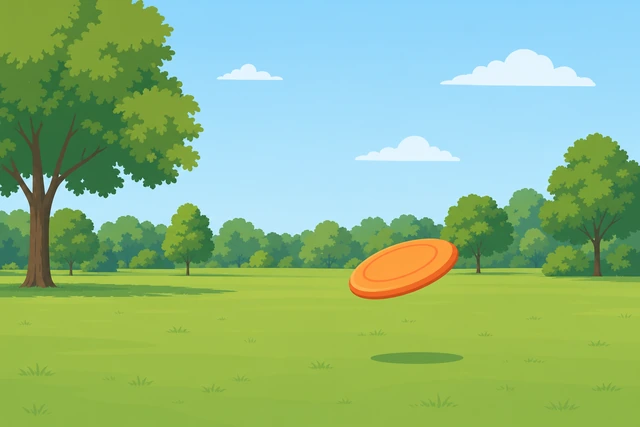
Crowded spaces and strong wind turn beginners into chase-the-disc sessions — clear space first.
- Pick a park or yard with room and no close windows.
- Use a standard flying disc (not a mini).
- Note wind; throw shorter if it is gusty.
Space, disc, and a target or partner are ready.
Use a backhand grip: fingers under the rim, thumb on top.
Fingers under rim · thumb on top · secure but not crushing.
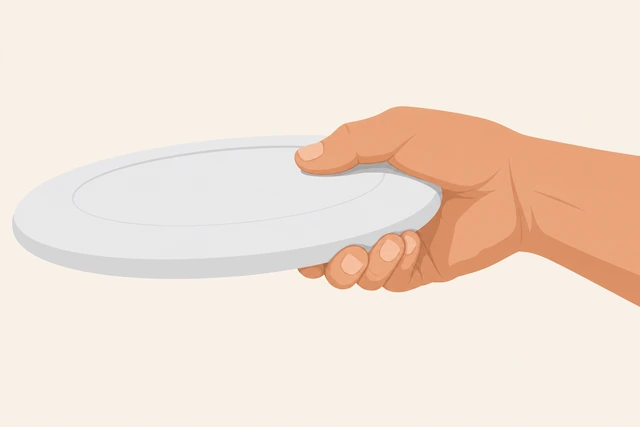
A mushy or fingertip-only grip kills spin at release.
- Place four fingers under the rim.
- Thumb rests on top.
- Hold firm enough that the disc cannot slip, not a death grip.
The grip feels secure with fingers under the rim.
Stand sideways to the target with the throwing shoulder back.
Sideways stance · throwing shoulder back · eyes on target.
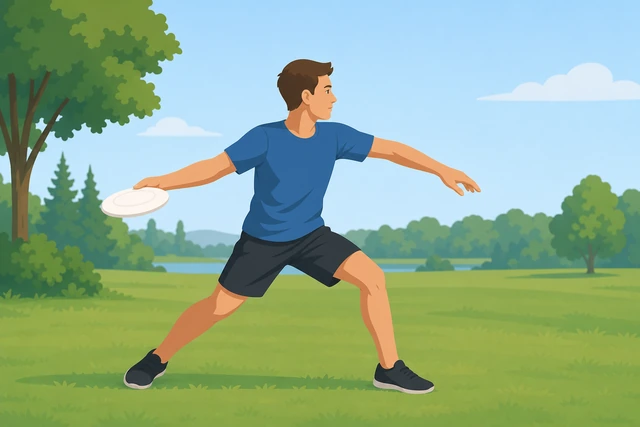
Facing the target square like a baseball throw fights the backhand path.
- Turn your body sideways to the target.
- Keep the throwing shoulder away.
- Glance at the target.
You are sideways with the throwing shoulder loaded back.
Hold the disc flat (or a slight hyzer tip) before you throw.
Disc flat/level · avoid vertical coin-flip angle.
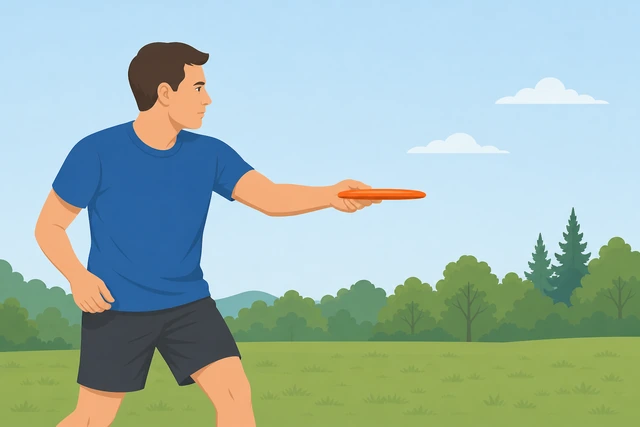
Starting vertical almost guarantees a wobbly flip instead of a flight.
- Keep the disc roughly parallel to the ground.
- Beginners: slight outer-edge-down (hyzer) is OK.
- Check the angle before the reach-back.
The disc is flat before the throw starts.
Reach back across your body while keeping the disc level.
Reach back · disc stays level · load the throw.
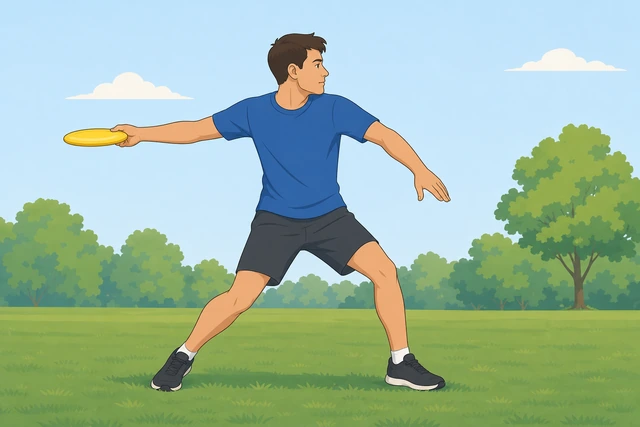
Tipping the nose up or down in the reach-back is where most stalls and dives begin.
- Reach the disc across your body.
- Keep it level as you load.
- Do not drop the nose toward the ground yet.
Reach-back is complete with the disc still level.
Step toward the target with your front foot.
Front foot steps · weight moves forward · still sideways.
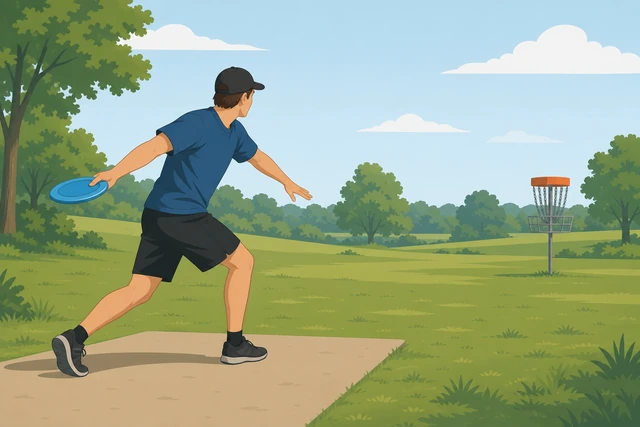
Arm-only throws lack power and timing — the step starts the kinetic chain.
- Step the front foot toward the target.
- Shift weight forward.
- Keep shoulders roughly sideways.
Weight has started moving toward the target.
Pull the disc forward on a flat plane and snap the wrist at release.
Flat pull · wrist snap · spin on release.
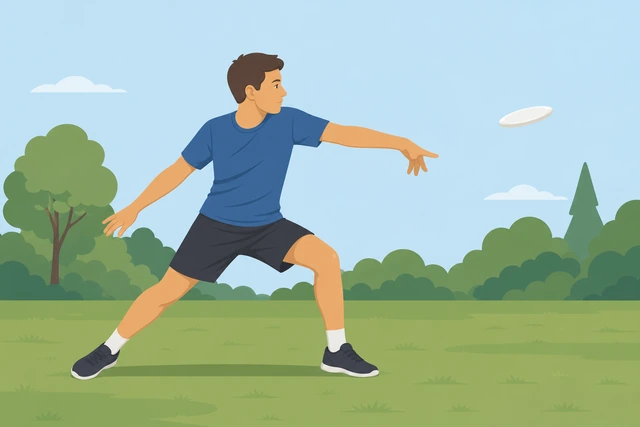
Spin is what stabilizes flight — a soft release without snap wobbles.
- Pull the disc forward level.
- Snap the wrist as you let go.
- Think spin first, distance second.
- Wobbly with no spin? → Wobbly / no spin.
The disc leaves with a clear spin on a flat path.
Release out front and follow through toward the target.
Release out front · point after the disc · finish tall.
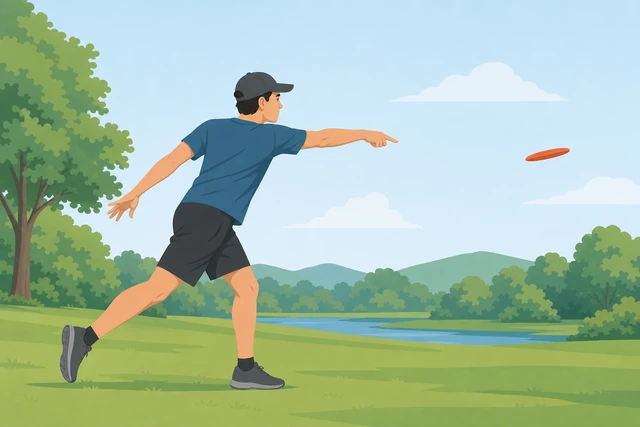
Stopping the hand at the hip cuts spin and dumps the nose.
- Let go when the disc is out in front.
- Follow through toward the target.
- Do not yank upward or chop down.
Follow-through finishes toward the target.
Watch the flight and name the miss: flat, stall, or dive.
Watch flight · flat OK · stall = nose up · dive = nose down.
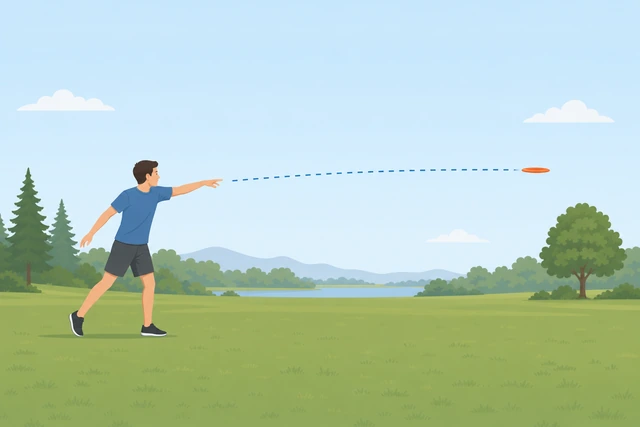
Naming the miss tells you which fix to use instead of throwing harder randomly.
- Watch the first seconds of flight.
- Stall/float then fall → nose up branch.
- Dive into ground → dive branch.
- Stall? → Nose-up stall. Dive? → Dives into ground.
You can name whether the throw was flat, stalled, or dived.
Practice short throws 10–15 times focusing on spin.
10–15 short throws · spin focus · ignore max distance.
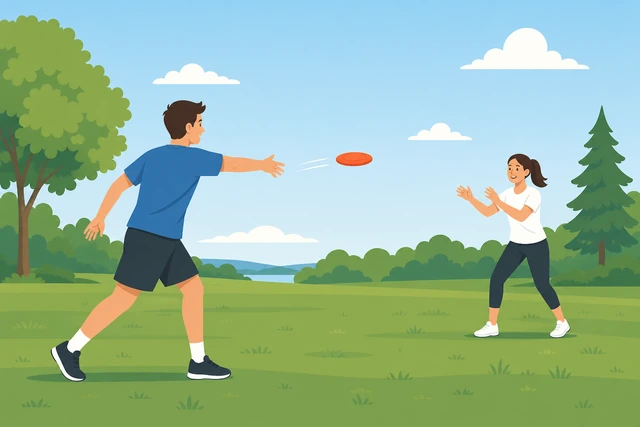
Short reps groove release mechanics before power amplifies errors.
- Throw to a partner or soft target 10–20 yards.
- Count 10–15 focused reps.
- Reset grip each time.
You completed 10–15 short throws with attention on spin.
Add distance only after short flat throws work.
Short throws flat · then step back · keep the same release.
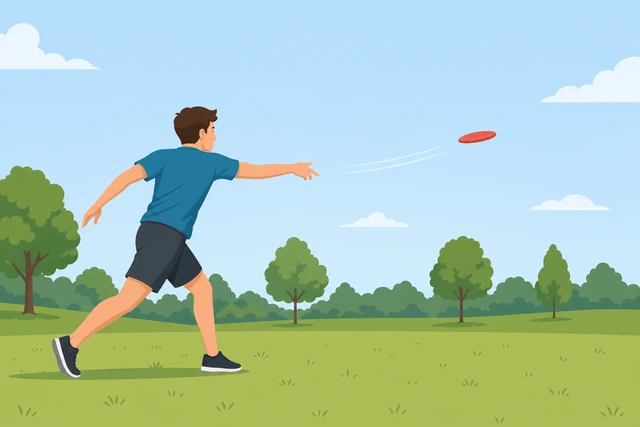
Adding distance too early just makes the same miss travel farther.
- Only increase range when shorts stay mostly flat.
- Keep the same wrist snap.
- Take a step back gradually.
Longer throws still look mostly flat.
Retrieve safely and watch for people, pets, and bikes.
Look both ways · retrieve calmly · do not throw near others.
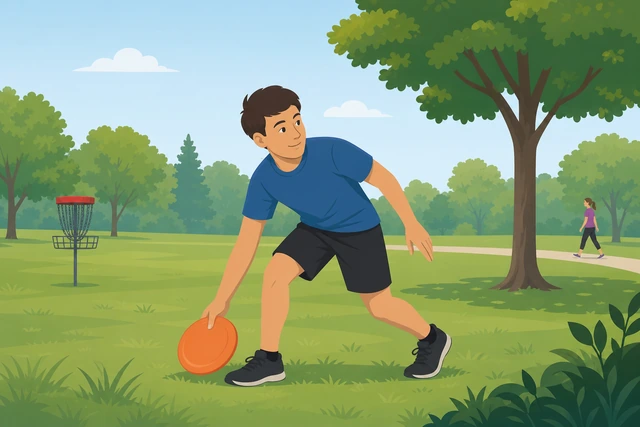
Park accidents happen when people chase discs into paths.
- Check surroundings before each throw.
- Walk to retrieve — do not dive into traffic.
- Pause if dogs or cyclists pass.
You threw and retrieved without endangering others.
Optional later: try forehand only after backhand feels solid.
Backhand first · forehand later · do not mix too soon.
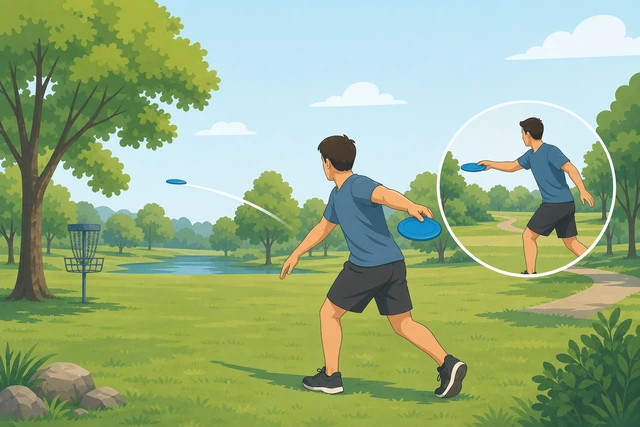
Learning both grips at once confuses release timing for beginners.
- Lock a workable backhand first.
- Add forehand in a later session if you want.
- Keep today's goal: flat backhands.
Backhand basics are the session win; forehand is optional later.
Wobbly / no spinDisc wobbles or flips with little spin
Regrip: fingers under rim, thumb on top, firm.
Regrip firm · fingers under · thumb on top.
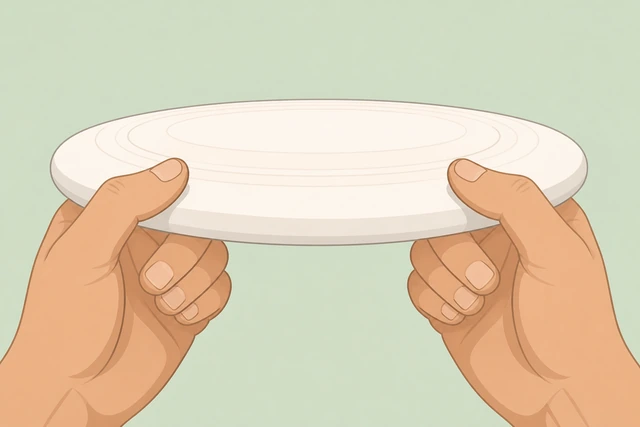
Loose grips bleed spin.
- Reset the grip.
- Squeeze enough to feel secure.
- Recheck before every throw.
Grip is firm and correct.
Slow the reach-back; keep the disc flat.
Slower reach · flat disc · then snap.
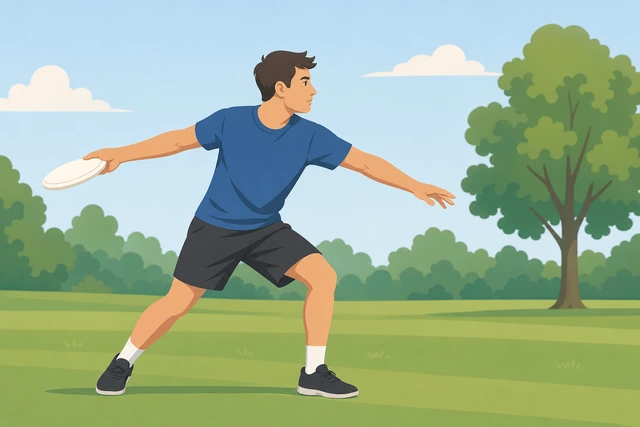
Rushing the load often flips the disc vertical.
- Slow down.
- Keep flat.
- Then accelerate at the end.
Reach-back stays flat and controlled.
Exaggerate the wrist snap on short throws.
Short range · big snap · hear/feel spin.
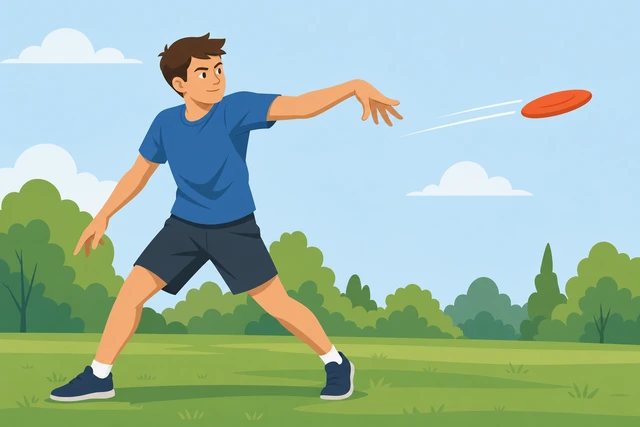
Spin fixes wobble more than arm speed.
- Throw short.
- Snap harder.
- Watch for cleaner spin.
Short throws show clearer spin.
Keep elbows from leading; pull on a flat plane.
Flat plane · disc leads · not elbow-first.
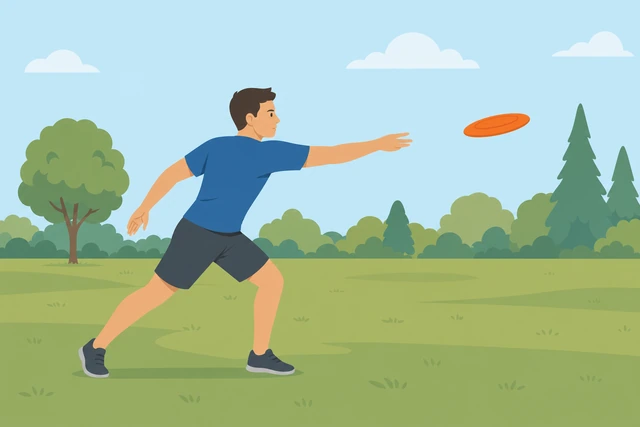
Elbow-led throws dump the nose and kill spin.
- Imagine sliding the disc on a table.
- Release level.
- Follow through.
Pull stays on a flat plane.
Try a slightly heavier beginner-friendly disc if needed.
Stable beginner disc · rebuild short throws.
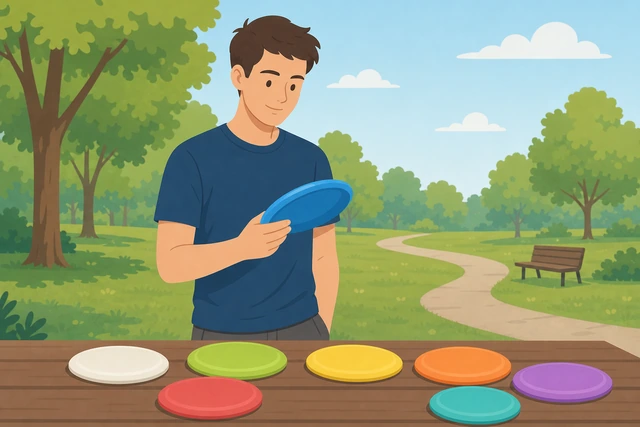
Ultra-light gimmick discs wobble more for new throwers.
- Use a standard recreational disc.
- Rebuild 10 short throws.
- Return to distance later.
Short throws stabilize on a standard disc.
Nose-up stallDisc floats up then falls
Lower the nose — aim the leading edge more level or slightly down.
Lower nose · less skyward tip · rethrow short.
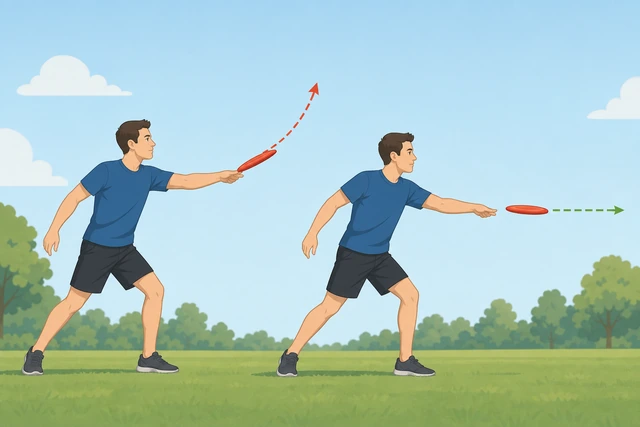
Nose-up throws climb then stall.
- Flatten or slightly lower the leading edge.
- Throw short.
- Watch for less float-and-fall.
Stall lessens with a lower nose.
Do not finish by yanking the hand upward.
Level finish · no upward scoop.
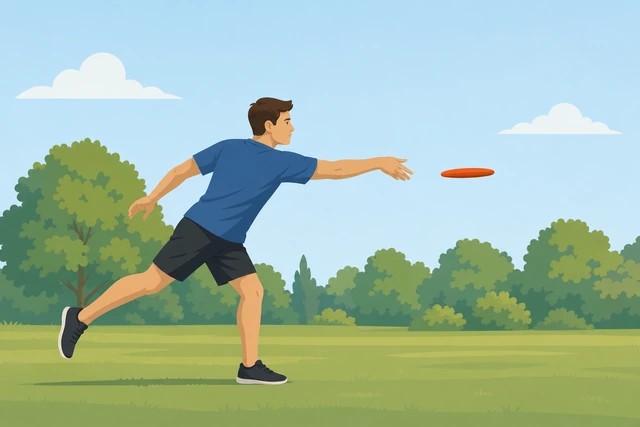
An upward finish adds nose-up after release.
- Follow through forward.
- Keep the hand path level.
- Avoid scooping up.
Follow-through stays level.
Shorten power; spin first.
Less power · more snap · flat flight.
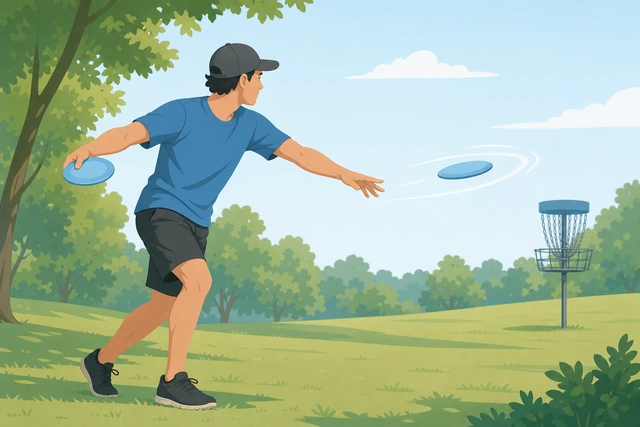
Power with nose-up makes dramatic stalls.
- Throw at 50% effort.
- Focus snap.
- Add power later.
Softer throws fly flatter.
Check wind — do not throw into a strong headwind at first.
Note wind · throw cross/short · avoid big headwind.
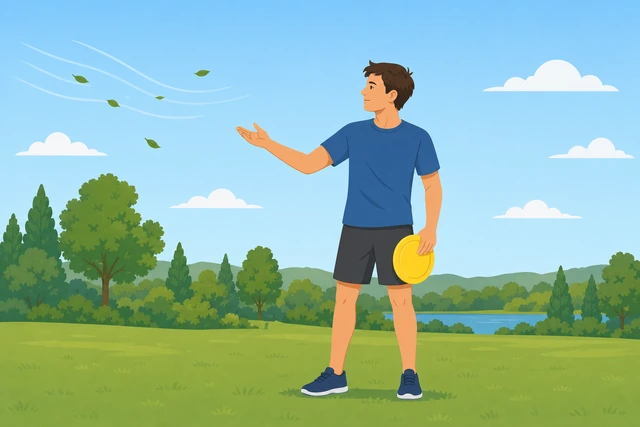
Headwind lifts a nose-up disc and exaggerates stall.
- Feel the wind.
- Turn or shorten throws.
- Keep nose level.
You adjusted for wind.
Rehearse release with a slow walk-through throw.
Walk-through · feel flat release · then normal speed.
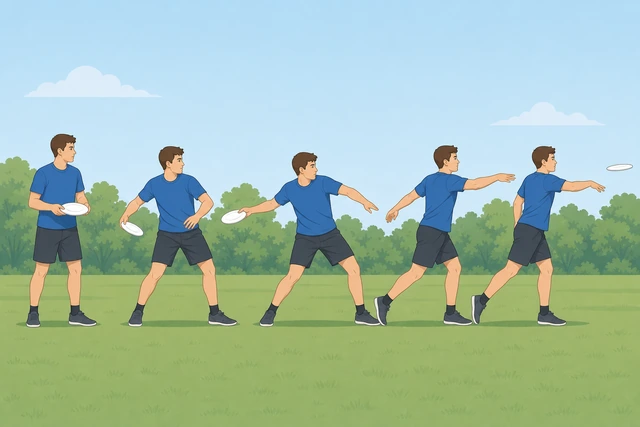
Slow rehearsal grooves the angle without ego power.
- Walk through the motion.
- Release flat.
- Then throw normally.
Walk-through release feels flat.
Dives into groundNose dive into the grass
Raise the release slightly — stop chopping downward.
Less downward chop · release more level.
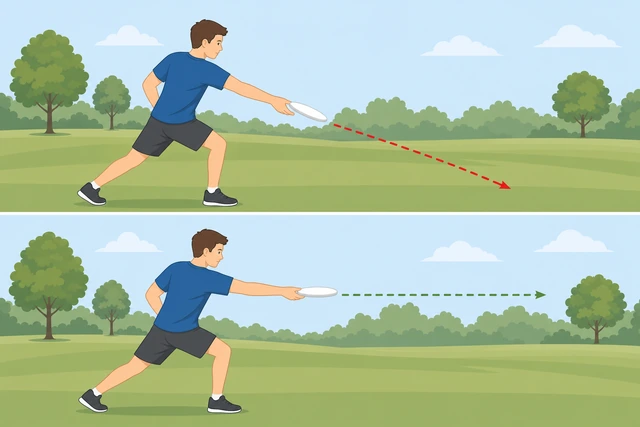
A downward chop drives the nose into the dirt.
- Think level table again.
- Release out front.
- Watch for less dive.
Dive reduces with a leveler release.
Keep the outer edge from tipping too far down at the start.
Start flatter · avoid extreme nose-down.
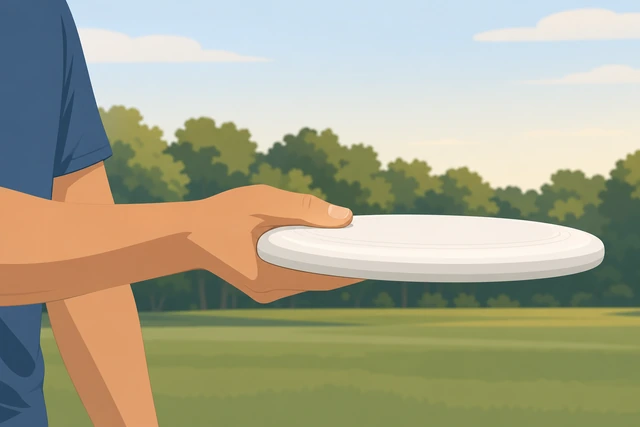
Extreme nose-down leaves no time to fly.
- Flatten the start angle.
- Short throws.
- Adjust gradually.
Start angle is flatter.
Add wrist spin; diving often pairs with low spin.
More snap · more spin · then distance.
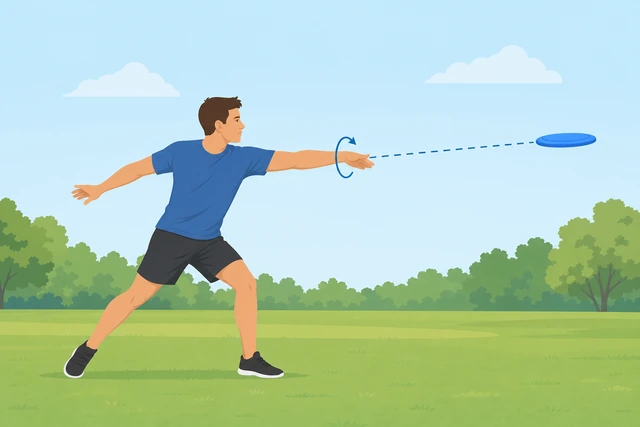
Low-spin discs cannot fight a dive.
- Snap more.
- Throw short.
- Look for longer float before ground.
Spin increases and dive lessens.
Step through instead of leaning the torso down.
Stay taller · step through · do not dive with the chest.
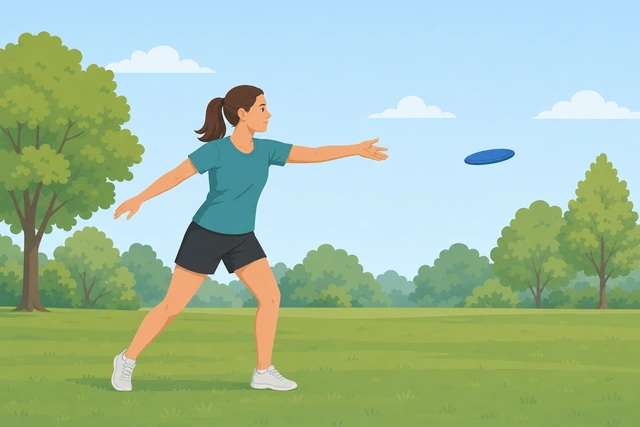
Leaning down aims the disc at the grass.
- Keep chest taller.
- Step forward.
- Release out front.
Body stays taller through release.
Aim at a partner's chest height as a visual target.
Aim chest-high · not at feet · adjust.
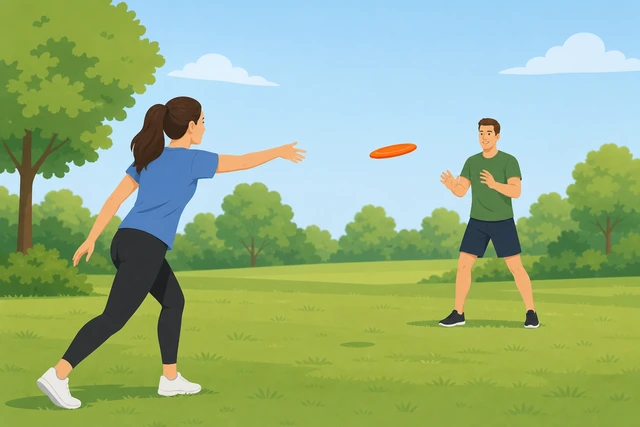
Aiming at feet teaches dive lines.
- Pick a chest-high target.
- Throw to it.
- Adjust if it still dives.
Throws aim toward chest height.
When to get help
- Ask a partner to watch nose angle from the side.
- Join a local disc club clinic for live feedback.
When This Doesn't Work
- Very strong wind. Practice indoors in a gym or wait for calmer air.
- You only want forehand flicks today. Finish backhand basics first.
- Tiny mini discs. Switch to a standard recreational disc.
Warnings
- Never throw at people, pets, or bikes.
- Watch windows and cars.
- Not a guide for ultimate competitive techniques.
Tips
- Count clean flat throws, not just distance.
- Film from the side to see nose angle.
- Practice with a patient partner.
FAQ
Backhand or forehand first?
Backhand first for most beginners — it is more stable to learn flat flight.
Why does my disc flip vertical?
Usually weak spin or a vertical starting angle. Use the wobble branch.
How far should I throw while learning?
Start around 10–20 yards. Add distance only after shorts stay flat.
Comments
Questions, corrections, and what worked for you. Comments are reviewed before they appear.