How to Stretch Before a Run
Learn a 5–10 minute pre-run warm-up that raises body temperature and moves joints through run-relevant ranges — not a long static stretch on cold muscles. Read one step at a time. Start with the preflight. Cold morning or only 3–4 minutes? See Cold morning / short on time. Calves or hamstrings feel wooden? See Tight calf or hamstring. Sharp knee or joint pain? See Knee or sharp pain.
Tips for reading this guide
- One step at a time. Read the green caption, the Why line, then the bullets.
- Move on when the green done line is true — then go to the next step.
- Dynamic beats long holds. This is a warm-up, not a floor yoga class on cold muscles.
- Cold or rushed? See Cold morning / short on time. Wooden calves? See Tight calf or hamstring.
- Sharp pain? Stop and see Knee or sharp pain — do not push through.
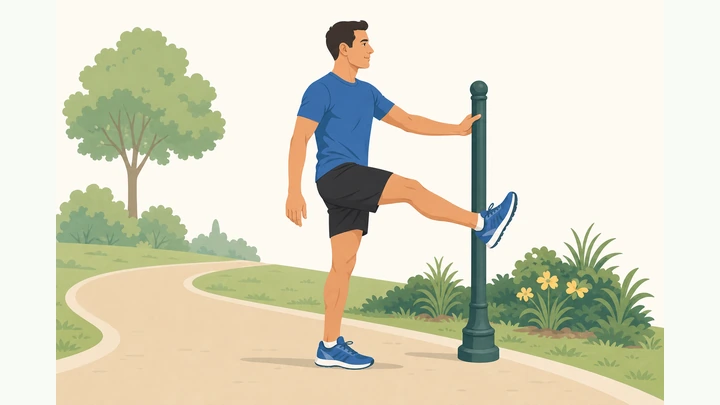
Things You'll Need
- Running shoes tied snug — not loose slip-ons
- Flat, non-slip surface (sidewalk, track, or firm grass)
- Wall, fence, or rail for light balance during leg swings
- 5–10 minutes before your planned run
- Weather-appropriate layers you can keep on while warming up
- Optional watch or phone for route and easy-pace check
Where are you stuck?
Follow Start here for the full dynamic warm-up. Jump to a branch for wooden calves, sharp pain, or a cold rushed morning.
- I want the full pre-run warm-up from scratch Walk · swings · marches · calf rocks · stride-outs · easy mile
- My calves or hamstrings feel wooden on stride-outs Extra walk · more calf rocks · gentle hinge · easier start
- Sharp knee, hip, or Achilles pain during a move Stop move · walk only · skip lunges · no run if pain stays
- Cold morning or only 3–4 minutes before I must go Layers on · 90-sec brisk walk · minimum swings · 2 stride-outs
Start hereEasy walk → ankles → swings → marches → calf rocks → hip openers → stride-outs → easy first mile
Preflight — shoes on, flat space, 5–10 min available, sharp-pain rule, easy first mile planned.
Shoes on · flat space · 5–10 min · sharp-pain rule · easy first mile.
A warm-up needs space, time, and a clear stop rule — starting cold on a slick floor or ignoring sharp pain turns a simple jog into an injury risk.
- Shoes? Lace running shoes snug — not loose slip-ons or stiff new shoes on a long run day.
- Space? Pick flat, non-slip ground (sidewalk, track, firm grass) with room for swings and a few stride-outs.
- Time? Block 5–10 minutes before the run — not a 25-minute yoga session that eats your run window.
- Pain rule? Dull stiffness can ease with gentle movement; sharp, stabbing, or unstable pain means stop — see Knee or sharp pain.
- Plan? Commit to an easy first mile — no sprinting straight out the door.
Shoes are on, space is safe, 5–10 minutes are available, the sharp-pain rule is clear, and the first mile is planned easy.
Cold morning or only 3–4 minutes? → Cold morning / short on time.
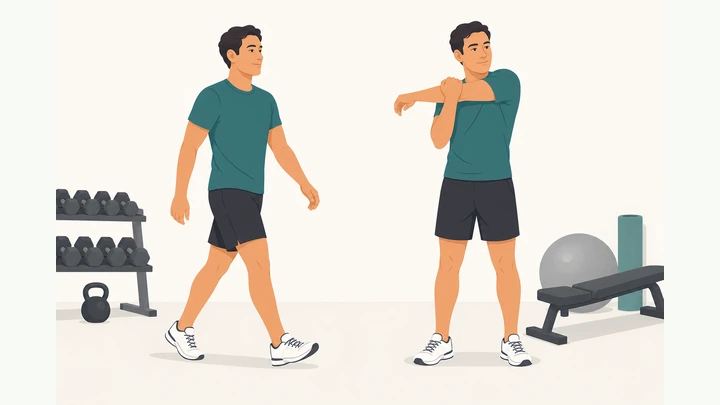
Start with 2–3 minutes easy walk (or very easy jog if already warm).
Easy pace · legs warming · breathing settles · not a sprint.
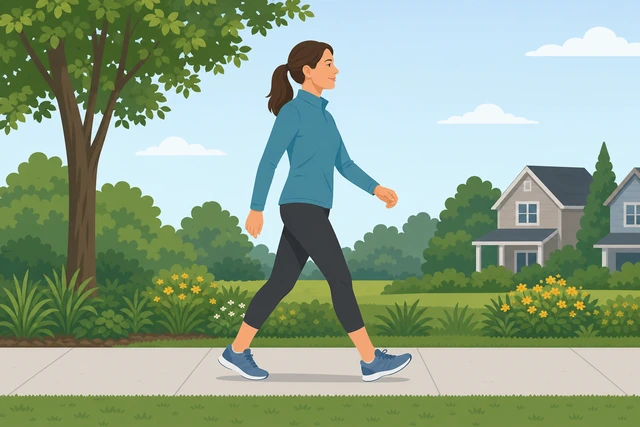
Cold muscles need a pulse-raiser first — an easy walk raises temperature and blood flow better than jumping into deep stretches.
- Walk at a comfortable pace for 2–3 minutes.
- If you already did another workout or it is hot, a very easy jog for 1–2 minutes is fine.
- You should feel slightly warmer — light sweat or looser legs — not out of breath.
- Keep layers on if it is cold; do not stand still doing static holds outdoors yet.
Breathing is easier and legs feel less stiff than when you stepped outside.
Still feel cold and rushed? → Cold morning / short on time.
Ankle circles both directions, 8–10 each side.
Lift one foot · slow circles each way · switch sides · no sharp pain.
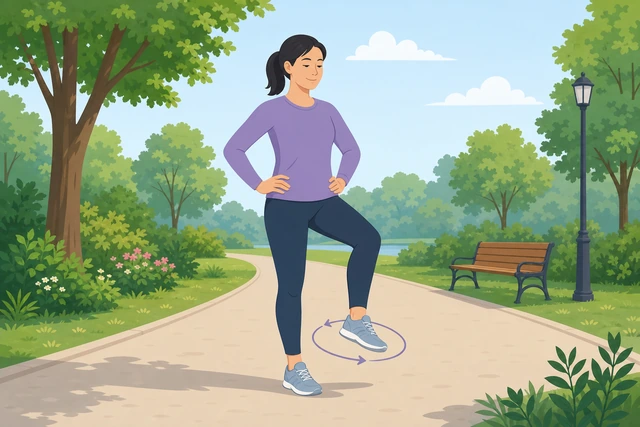
Ankles take thousands of steps per mile — gentle circles wake the joint without forcing range.
- Stand on one foot or lightly hold a wall for balance.
- Lift the other foot and draw slow circles with the ankle — 8–10 one direction.
- Reverse direction for 8–10 more.
- Switch feet and repeat.
- Stop if you feel sharp pain — that is not normal warm-up stiffness.
Both ankles moved smoothly through circles in both directions without sharp pain.
Sharp ankle pain? → Knee or sharp pain.
Leg swings front-to-back, light hold on wall/rail, 8–10 each leg.
Light wall touch · controlled swing · torso quiet · switch legs.
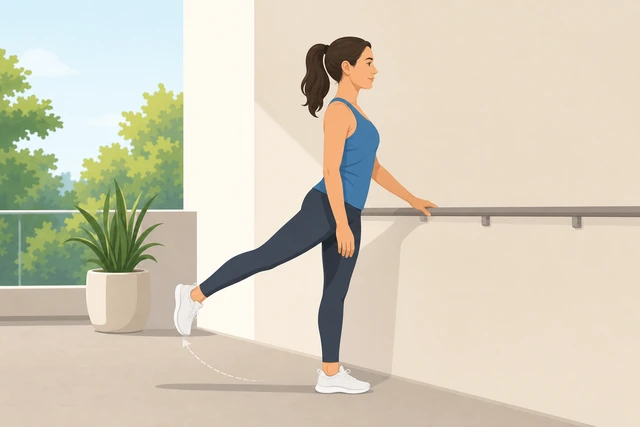
Front-to-back swings loosen hip flexors and hamstrings for your stride — controlled beats yanking for ego range.
- Face a wall or rail and touch it lightly with one hand — do not lean your weight on it.
- Swing one leg forward and back like a pendulum — 8–10 smooth swings.
- Keep your torso facing forward; let the leg move, not your whole body twisting.
- Switch legs and repeat.
- Increase range only as it feels natural — no bouncing at the end range.
Both legs swung front-to-back with a quiet torso and controlled motion.
Sharp hip or knee pain during swings? → Knee or sharp pain.
Leg swings side-to-side, 8–10 each leg.
Face wall · swing across body gently · no yanking · switch legs.
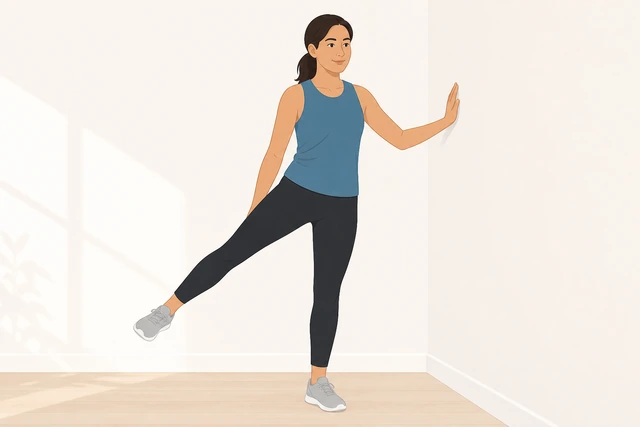
Side swings open the hips and groin for running gait — many runners stretch calves only and skip this.
- Still facing the wall with a light hand touch for balance.
- Swing one leg across your body and out to the side — 8–10 controlled swings.
- Do not yank the leg higher with your arm or twist your back.
- Switch legs and repeat.
- Use a non-slip surface — wet grass or polished tile can slide.
Both legs completed side-to-side swings with hips opening gently and no yanking.
Sharp groin or knee pain? → Knee or sharp pain.
Walking high knees or marching in place, 20–30 steps.
Knees lift comfortably · upright posture · no leaning back hard.
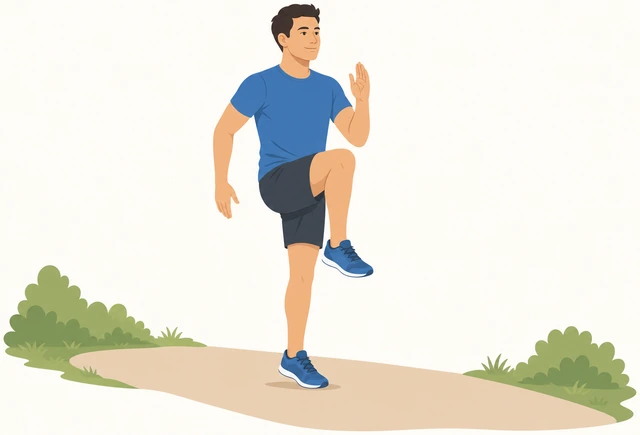
High knees or marching add hip flexion and wake the core without the impact of sprinting from cold.
- March in place or walk forward with moderately high knees.
- Count 20–30 total steps (both legs).
- Stay tall — do not lean backward to lift the knee higher.
- Pump arms naturally as if jogging slowly.
- Skip or shorten if balance is shaky — hold the wall and march in place instead.
Knees lifted through 20–30 marching steps without leaning back hard.
Walking butt kicks or gentle heel-to-glute marches, 20–30 steps.
Heels toward glutes · easy range · no forcing the stretch.
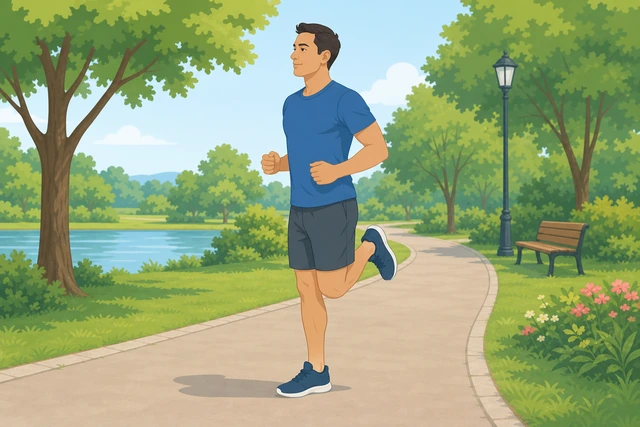
Butt kicks activate hamstrings and prepare the leg for the back part of your stride — gentle beats yanking the heel to touch.
- Walk forward or march in place, bringing heels toward your glutes.
- Count 20–30 total steps.
- It is fine if the heel does not touch — move within a comfortable range.
- Do not arch your lower back to force the heel higher.
- Keep the motion rhythmic, not bouncy.
Heels moved toward glutes through 20–30 easy steps without forcing range.
Calf rocks / wall calf pulses (dynamic), 10 each side.
Hands on wall · rock forward and back · calves warming · not a long static hang.
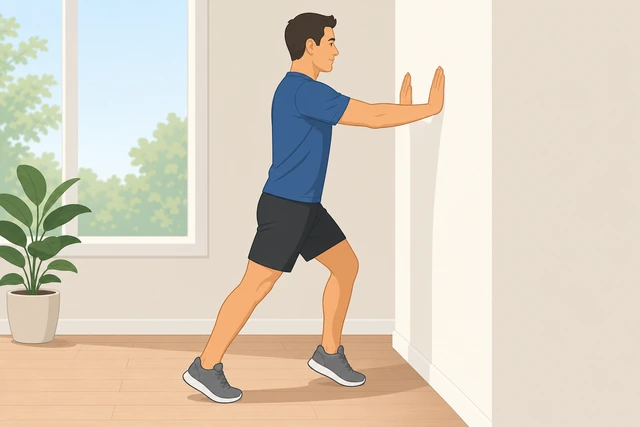
Dynamic calf rocks warm the Achilles and calf for push-off — a long static wall hang on cold calves is not the main pre-run plan.
- Place both hands on a wall, arms straight, one foot forward and one back.
- Keep the back heel down and rock gently forward and back — 10 pulses.
- Switch legs and repeat 10 on the other side.
- Feel the calf stretch and release with each rock — do not hold one position for 60 seconds.
- If calves still feel wooden, see the tight-calf branch after this step.
Calves feel warmer after 10 dynamic rocks on each side — not locked in a long static hang.
Calves or hamstrings still feel wooden? → Tight calf or hamstring.
Hip openers: world's greatest stretch walk-through or reverse lunges with reach, 4–6 per side.
Slow lunge or walk-through · gentle reach · hips and upper back looser.
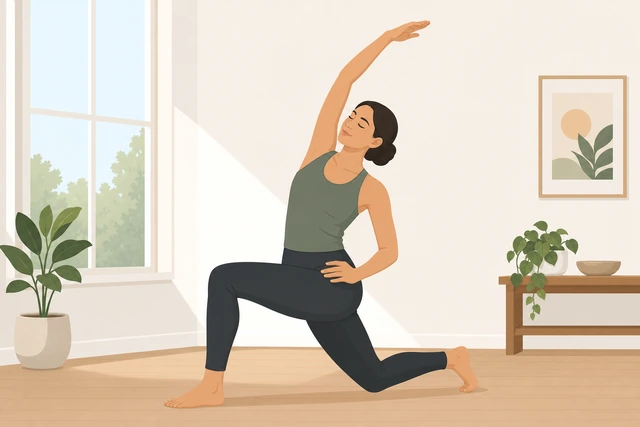
Running needs hip and thoracic mobility — a slow lunge with reach opens both without a floor yoga session.
- Option A: Step into a shallow reverse lunge, drop the back knee slightly, and reach the same-side arm overhead.
- Option B: Walk through a "world's greatest stretch" — lunge, place both hands inside the front foot briefly, rotate open, stand, switch sides.
- Do 4–6 reps per side at an easy depth — not your deepest ever lunge.
- Keep the front knee tracking over the foot; do not let it collapse inward.
- Skip loaded lunges if knees hurt — see the sharp-pain branch.
Hips and upper back feel looser after 4–6 openers per side.
Knee pain during lunges? → Knee or sharp pain.
Optional light quad pull (brief, standing) only if needed — 10–15 sec max, not the main warm-up.
Standing only · brief hold · skip if knees complain · not a floor yoga session.
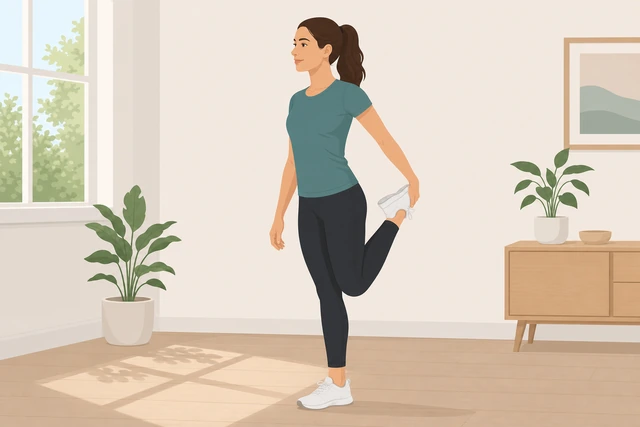
A short standing quad pull can help some runners — but long static floor stretching should not replace the dynamic warm-up you just did.
- Only do this if quads still feel tight after the dynamic drills.
- Stand tall, pull one foot toward your glute, keep knees close together.
- Hold 10–15 seconds — brief, not a minute-long hold.
- Switch sides once.
- Skip entirely if balance is poor or knees feel strained — it is optional.
Optional brief quad pull is done, or you skipped it because dynamic drills were enough.
2–4 short stride-outs (accelerations 10–20 seconds, walk back).
Build speed smoothly · 10–20 seconds · walk back · feel springy not wooden.
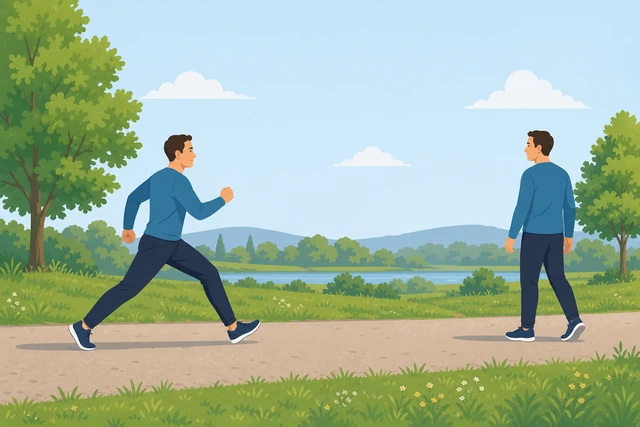
Stride-outs bridge warm-up and running — they wake fast-twitch fibers without sprinting cold from a standstill.
- Pick a straight 30–50 meter (yard) stretch if possible.
- Jog into the stride-out, build to about 80–90% effort over 10–20 seconds.
- Do not sprint all-out from zero — ease into the speed.
- Walk back to the start and recover fully.
- Repeat 2–4 times total.
First strides feel springy, not wooden, after 2–4 controlled stride-outs.
Calves or hamstrings still feel wooden on stride-outs? → Tight calf or hamstring.
Recheck: warmer, no sharp pain, shoes tied, watch/route ready.
Legs warmer · joints move easier · no sharp pain · ready to start.
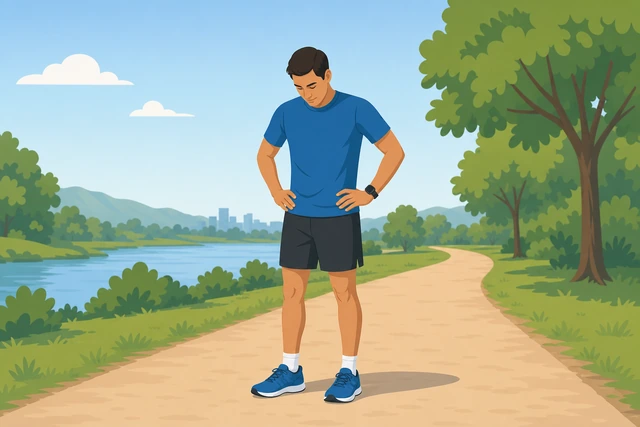
A quick checklist catches problems before mile one — warmer legs and no sharp pain are the green lights.
- Warm? Legs feel warmer than at the door; joints move more easily.
- Pain? No sharp, stabbing, or unstable pain — dull stiffness that eased is fine.
- Shoes? Laces snug, tongue flat, no hot spots from loose fit.
- Route? Watch or phone set if you use one; know your turn-around or loop.
- If sharp pain appeared during warm-up, do not start the run — see the sharp-pain branch.
You are warmer, pain-free enough to start, shoes are tied, and route or watch is ready.
Sharp pain on recheck? → Knee or sharp pain.
Start the run at easy pace for first 5–10 minutes.
Easy first mile · no sprint from cold · let pace build naturally.
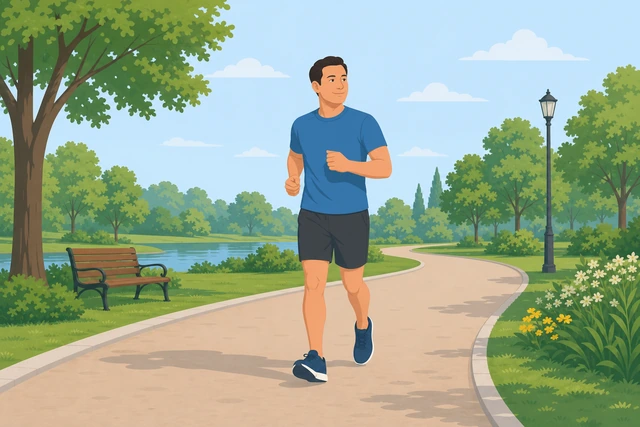
The warm-up is not permission to sprint — the first miles should feel conversational so tissues finish adapting.
- Begin the run at an easy, conversational pace.
- Hold easy effort for the first 5–10 minutes (often the first mile).
- Do not surge or race the first block — let pace build if you feel good later.
- If stiffness returns, slow down rather than forcing pace.
- Save long static stretching for after the run if you want more mobility work.
The run is underway at an easy, controlled pace for the first 5–10 minutes.
Tight calf or hamstringDominant tightness in calves or hamstrings — first strides feel wooden there
Add 1 more minute easy walk before anything else.
One more minute walk · temperature up · no new stretches yet.
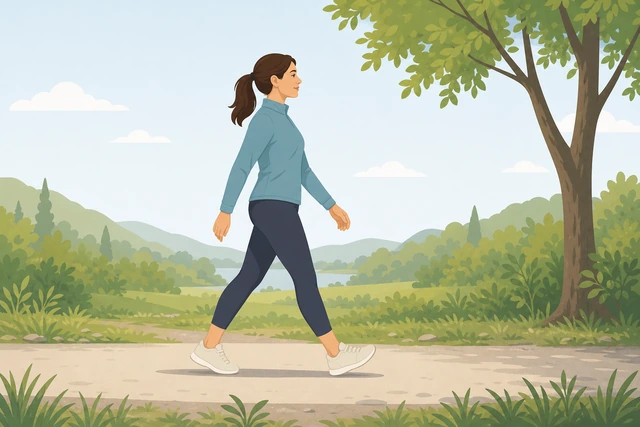
Posterior-chain tightness often means you are still cold — another minute of easy walking beats forcing deeper range.
- Keep walking at an easy pace for one full extra minute.
- Swing arms naturally; do not stop to stretch yet.
- Notice if calves and hamstrings start to feel less wooden.
- Stay on a flat surface with good footing.
One extra minute of easy walking is complete.
Double calf rocks: 15 dynamic pulses each side.
15 pulses per side · dynamic only · no long static hang.
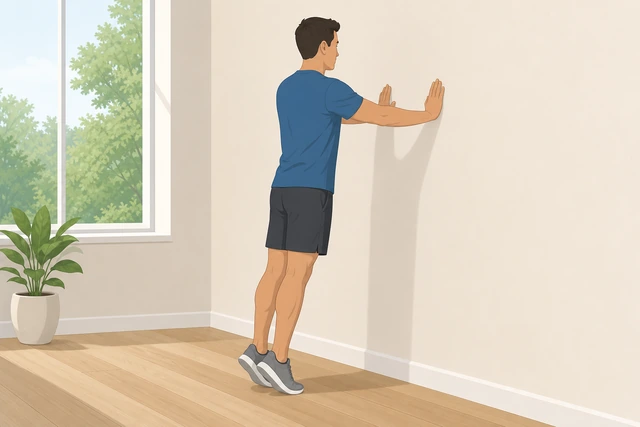
More dynamic calf work warms the Achilles and soleus without the risk of a long cold static hold.
- Return to the wall calf-rock position from the main path.
- Do 15 gentle forward-back pulses on the right calf.
- Switch to 15 on the left.
- Keep heels reaching toward the ground on each pulse.
- Still dynamic — do not hold the deepest stretch for 30+ seconds.
15 dynamic calf rocks are done on each side.
Gentle hinge with soft knees (no bounce), 8–10 slow reps.
Soft knees · hinge at hips · flat back · no bouncing.
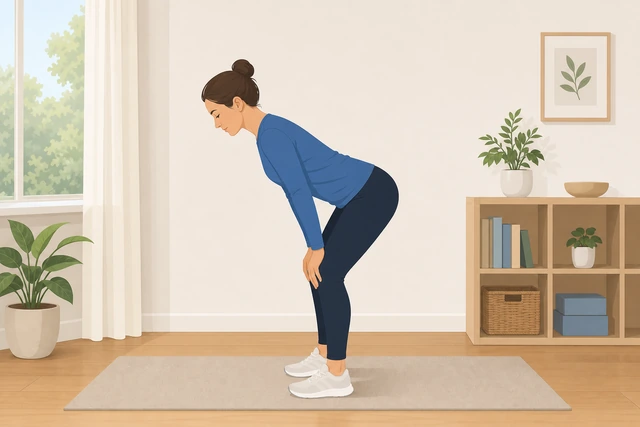
A controlled hip hinge lengthens hamstrings with movement — bouncing at the bottom risks a pull on cold tissue.
- Stand with feet hip-width, knees slightly bent.
- Hinge at the hips, sending your seat back as if closing a car door with your hip.
- Keep your back flat — stop when you feel a mild hamstring pull, not pain.
- Return to standing slowly; repeat 8–10 times.
- No bouncing at the bottom — slow in, slow out.
8–10 gentle hip hinges completed with soft knees and no bouncing.
Shorter stride-outs: 2 only, build to 70% effort.
Two stride-outs · 70% effort max · full walk-back recovery.
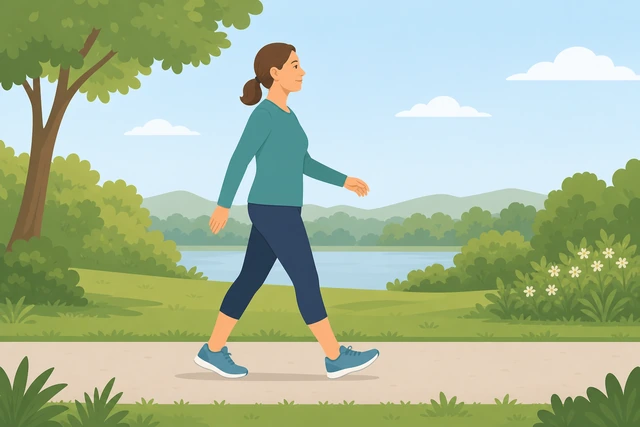
When the posterior chain is tight, aggressive stride-outs can snap something — shorter and slower still preps the stride.
- Do only 2 stride-outs instead of 4.
- Build to about 70% effort over 10–15 seconds — not all-out.
- Walk back fully between each one.
- Stop the set if calf or hamstring tightness turns sharp.
Two moderate stride-outs are done with full recovery between.
Start the run even easier — first 10 minutes very conversational.
Extra-easy start · 10 minutes · let tightness ease on the move.
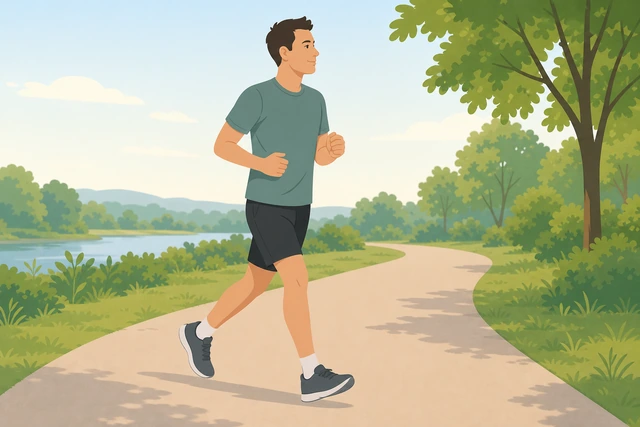
Tight calves and hamstrings often loosen in the first easy miles — starting slower protects them while that happens.
- Begin the run slower than your normal easy pace.
- Keep the first 10 minutes very conversational — you should be able to speak in full sentences.
- Shorten stride slightly if heels feel heavy.
- If tightness becomes sharp, tearing, or you hear a pop — stop and seek care.
The run started extra easy with a plan for 10 conversational minutes.
Sharp tear sensation, sudden pop, or swelling — stop running and seek medical care; this branch is not for acute injury.
Knee or sharp painSharp knee, hip, or Achilles pain during swings or lunges
Stop the move that caused the pain immediately.
Stop now · note which move · do not push through.
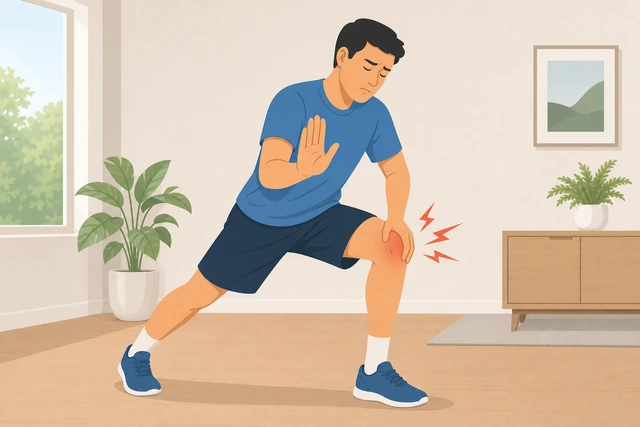
Sharp pain is a stop signal, not a warm-up challenge — pushing through can turn a niggle into a weeks-long layoff.
- Stop the current exercise right away.
- Note which move caused the pain (swing, lunge, calf rock, etc.).
- Do not try to stretch through sharp pain.
- Stand still for a moment and let the sensation settle.
The painful move is stopped and you know which one triggered it.
Switch to walk-only pulse-raiser for 2–3 minutes.
Walk only · flat ground · no swings or lunges.
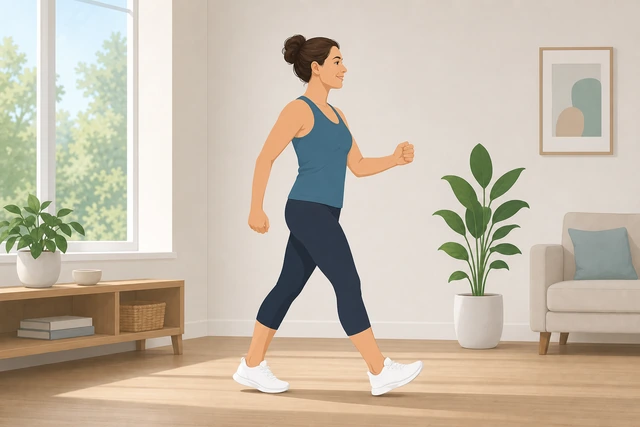
Walking is the safest way to keep blood moving while you test whether the pain was a one-off or a real problem.
- Walk at an easy pace for 2–3 minutes on flat ground.
- Keep arms relaxed; no leg swings or lunges.
- Pay attention to whether pain fades to dull stiffness or stays sharp.
- Skip stride-outs entirely for now.
2–3 minutes of walk-only pulse-raising is complete.
Skip loaded lunges and deep single-leg moves.
No lunges · no deep single-leg loads · ankles and marches only if painless.
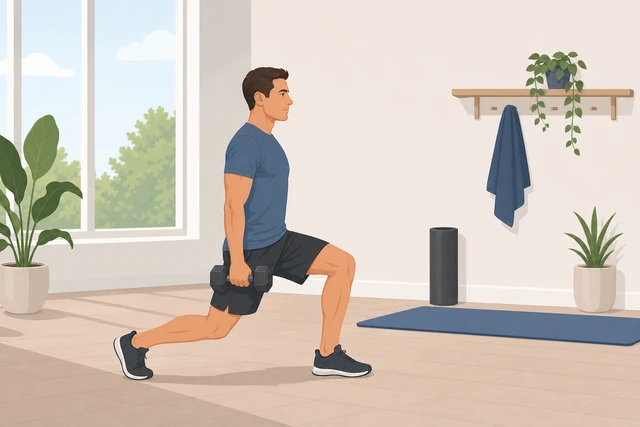
Loaded lunges stress knees and hips — if those joints flagged sharp pain, simpler moves are the only safe option.
- Do not return to lunges, deep squats, or aggressive leg swings.
- Ankle circles and gentle marching are OK only if they are pain-free.
- If even marching hurts, stay with walking only.
- Do not add new stretches to fix it on the spot.
Loaded lunges and deep single-leg moves are skipped; only pain-free simple moves remain.
Recheck pain at easy walk — sharp pain still there?
Walk test · sharp vs dull · honest answer before running.
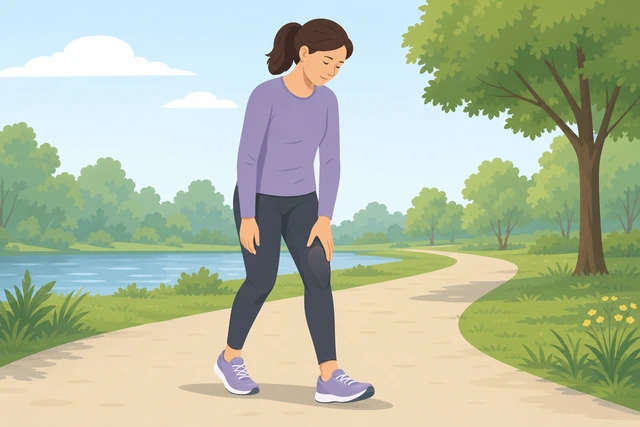
The walk test tells you if this was transient stiffness or a real injury — honest answers prevent a bad run.
- After 2–3 minutes of walking, pause and assess the painful spot.
- Dull stiffness that is easing may be OK to keep walking — not OK to sprint.
- Sharp, stabbing, or unstable pain that remains means do not run today.
- Pain that makes you limp means stop entirely.
You have an honest read: pain eased to dull stiffness, or sharp pain remains.
Do not start the run if sharp pain remains — walk home or rest.
Sharp pain = no run · walk home · clinician if it persists or follows injury.
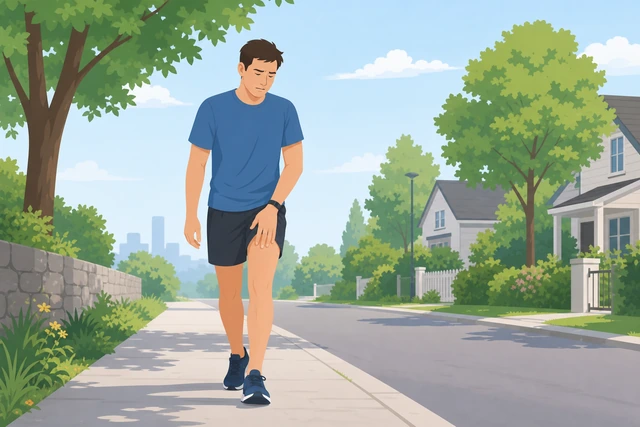
One missed run beats weeks off with a worse injury — if sharp pain stays, today is a rest or walk day.
- If sharp pain remains at easy walk, cancel the run.
- Walk home or back inside at an easy pace if needed.
- Ice and rest if swelling appears — this guide is not injury treatment.
- See a clinician or physical therapist if pain persists, the joint gives way, or this follows a recent injury.
You either skipped the run due to ongoing sharp pain, or pain fully eased and you may walk only — not sprint.
Pain persists at walk, joint gives way, or recent injury — see a clinician or PT; do not self-diagnose through pain.
Cold morning / short on timeCold day or only 3–4 minutes before you must start
Keep shoes and layers on — warm up indoors or on a porch if you can.
Layers stay on · indoor or porch if possible · do not strip and stand still in cold air.
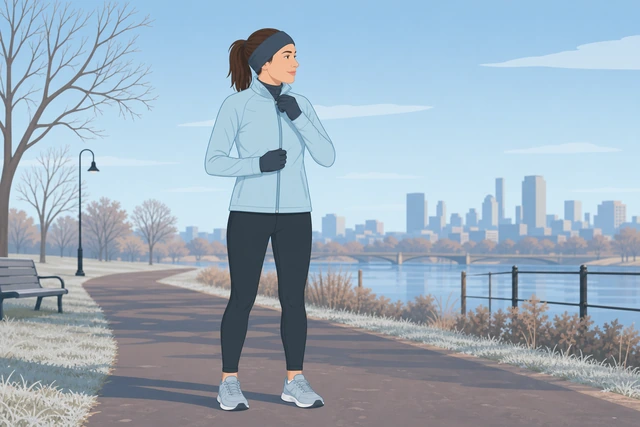
Cold weather static stretching outdoors can cool you back down — keep moving with layers on.
- Do not remove your jacket until you are already moving.
- If possible, start on a porch, garage, or hallway before heading into wind.
- Avoid long floor stretches on cold concrete.
- Tie shoes before you go out so you are not standing still in the cold.
Shoes and layers are on; you have a slightly sheltered spot to start moving.
Brisk walk 90 seconds indoors or up and down the block.
90 seconds brisk walk · temperature up fast · still not a jog yet.
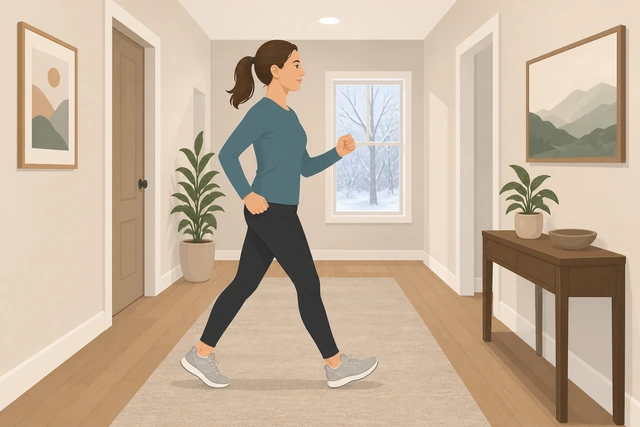
When time is short, a brisk 90-second walk is the highest-value move — it raises temperature faster than static stretching.
- Walk briskly for 90 seconds — indoors, on a porch, or one short block.
- Pump arms; take slightly longer steps than a stroll.
- You should feel noticeably warmer than when you started.
- Skip this only if walking itself causes sharp pain.
90 seconds of brisk walking raised your body temperature.
Minimum set: ankle circles + front swings + 2 side swings each leg.
Ankles · front swings · side swings · skip floor work.
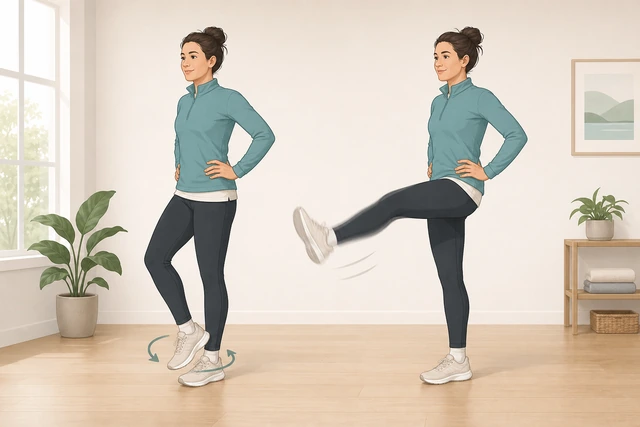
This 60-second mobility triplet hits ankles and hips — the joints most runners skip when rushed.
- 5 ankle circles each direction per foot — quick but controlled.
- 6 front-to-back leg swings per leg with a light wall touch.
- 6 side-to-side swings per leg.
- Skip marches, lunges, and floor work in the minimum version.
Minimum ankle and swing set is complete in about one minute.
2 stride-outs only, build to 75% effort, walk back fully.
Two stride-outs · 75% max · full recovery · then go.
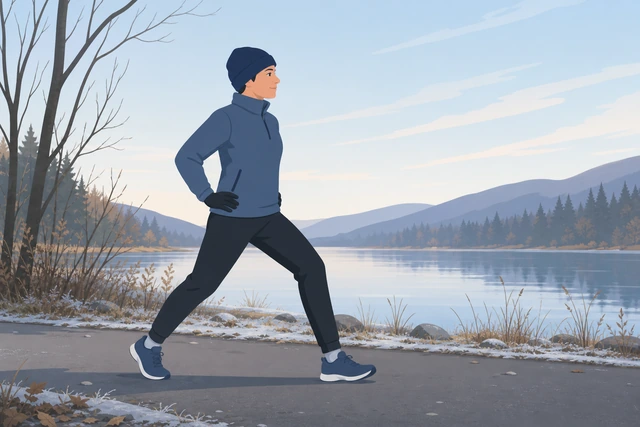
Two stride-outs bridge to running when time is tight — more than that eats your window without adding much on a cold day.
- Do exactly 2 stride-outs, building to about 75% effort over 10–15 seconds.
- Walk back fully between each.
- Do not sprint all-out — you are still finishing the warm-up.
- Skip stride-outs if any sharp pain appeared earlier.
Two controlled stride-outs are done with full walk-back recovery.
First mile extra easy — plan a non-negotiable 5-minute minimum tomorrow.
Extra-easy mile today · 5-minute minimum tomorrow · stop repeat niggles.
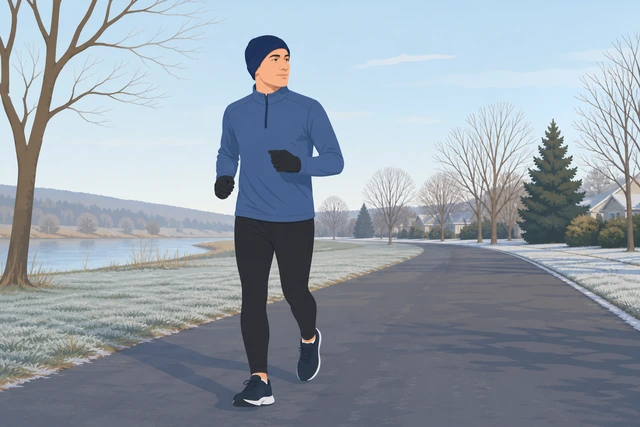
A rushed warm-up today can work once — chronically skipping it invites repeat calf, knee, and Achilles niggles.
- Start today's run extra easy for the full first mile.
- Do not make up for lost time by sprinting later in the run.
- Tomorrow, block a non-negotiable 5-minute warm-up before you lace up.
- If you keep skipping warm-ups and niggles repeat, rebuild the habit — the minimum branch is an emergency, not a plan.
Today's run started extra easy and tomorrow has a 5-minute warm-up blocked.
Chronically skipping warm-ups with repeat niggles — rebuild a non-negotiable 5-minute minimum; see a clinician if pain persists.
When to get help
- Sharp pain that persists at an easy walk — do not run; see a clinician or physical therapist.
- Sudden pop, tear sensation, or swelling — stop and seek medical care.
- Joint gives way or you cannot bear weight — urgent care, not a longer warm-up.
- Returning from injury — follow your PT or doctor plan instead of this general guide.
When This Doesn't Work
- You only have time for long static yoga on the floor. That is closer to post-run mobility — still do at least 90 seconds of walking before you run.
- Every surface near you is slippery. Warm up indoors or find firm ground; leg swings on wet tile are risky.
- You are returning from a recent injury or surgery. Follow your clinician or PT plan — this guide is for healthy beginners, not rehab protocols.
- You confuse this with post-run cool-down. Save long holds for after the run; pre-run is dynamic and brief.
Warnings
- Do not use long static stretching as your whole warm-up on cold muscles — walk first, move dynamically.
- Do not bounce or force range of motion — controlled swings and hinges only.
- Do not push through sharp, stabbing, or unstable pain — stop and see the sharp-pain branch.
- Do not sprint the first block after warm-up — easy first mile.
- This guide is not medical advice for joint injuries, heart conditions, or exercise clearance — ask your doctor if unsure.
Tips
- If one side feels much tighter, do one or two extra swings on that side — asymmetry ignored mid-run often becomes knee or IT-band complaints.
- In cold weather, keep moving between moves — do not stand still in static holds outdoors.
- Post-run is the better time for long calf or hip static stretches if you enjoy them.
- A 5-minute minimum every day beats a perfect 20-minute routine you skip half the time.
FAQ
Should I stretch before or after a run?
Before: dynamic warm-up (walk, swings, marches). After: longer static stretches if you want them. This guide is the before-run plan.
How long should a pre-run warm-up take?
Most runners need 5–10 minutes. On cold or rushed days, the minimum branch covers about 3–4 minutes — then an extra-easy first mile.
Is static stretching bad before running?
Long static holds on cold muscles should not be your whole warm-up. A brief standing quad pull (step 9) is optional; dynamic movement comes first.
What if I only have tight calves?
Follow the main path, then use the tight calf branch for extra calf rocks and an easier start. Do not bounce into deep hamstring stretches.
Can I skip warm-up if I run slow anyway?
Easy pace still loads joints thousands of times per mile. A short dynamic warm-up reduces cold-start stiffness even for slow runs.
Comments
Questions, corrections, and what worked for you. Comments are reviewed before they appear.