How to Shoot a Basketball Free Throw
Make free throws with a repeatable routine: feet, grip, target, dip, legs+arm, fingertip follow-through. Read one step at a time. Start with preflight. Short? Short. Left/right? Side. Rushing? Rushing.
Tips for reading this guide
- One step at a time. Read the green caption, the Why line, then the bullets.
- Move on when the green done line is true — then go to the next step.
- Same routine every shot beats random heaves.
- Always short? Short misses.
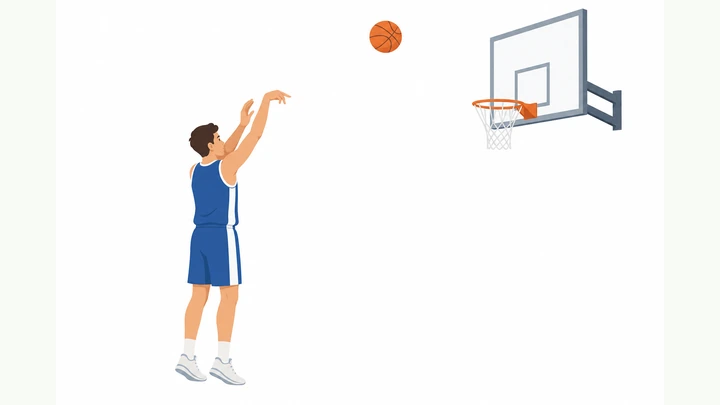
Things You'll Need
- Basketball (properly inflated)
- Hoop with free-throw line
- Optional: phone to film form
- Water
Where are you stuck?
Start hereStance · release · routine · diagnose misses.
Preflight — use a properly inflated basketball, a free-throw line 15 feet from the backboard, and a clear lane under a 10-foot rim.
Inflated ball · FT line · clear lane · 10-ft rim.
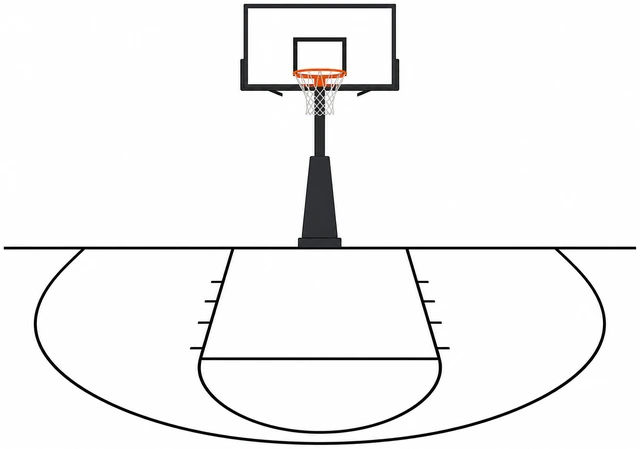
Practicing from the wrong distance trains the wrong power.
- Check the ball isn’t soft/flat.
- Stand behind the free-throw line.
- Clear people from the lane.
- Warm wrists/shoulders lightly if cold.
Court and ball are ready for free throws.
Set your feet: shooting-side foot slightly forward, toes aimed at the rim, weight balanced.
Shooting foot slightly forward · toes to rim · balanced.
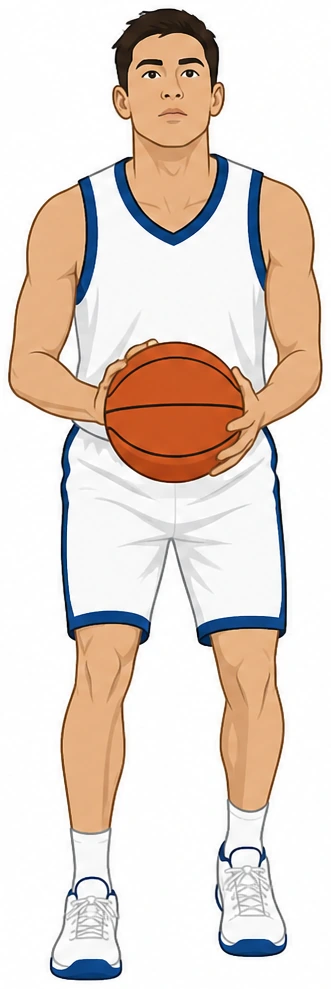
A twisted stance sends the ball left or right before you even release.
- Line your feet up behind the line (don’t step on it).
- Place shooting-side foot a bit ahead.
- Keep knees soft.
- Feel even balance — not leaning back.
Stance feels balanced and square to the hoop.
Place the shooting hand under/behind the ball on the pads; guide hand on the side — not under.
Shooting hand under/behind · guide hand on side.
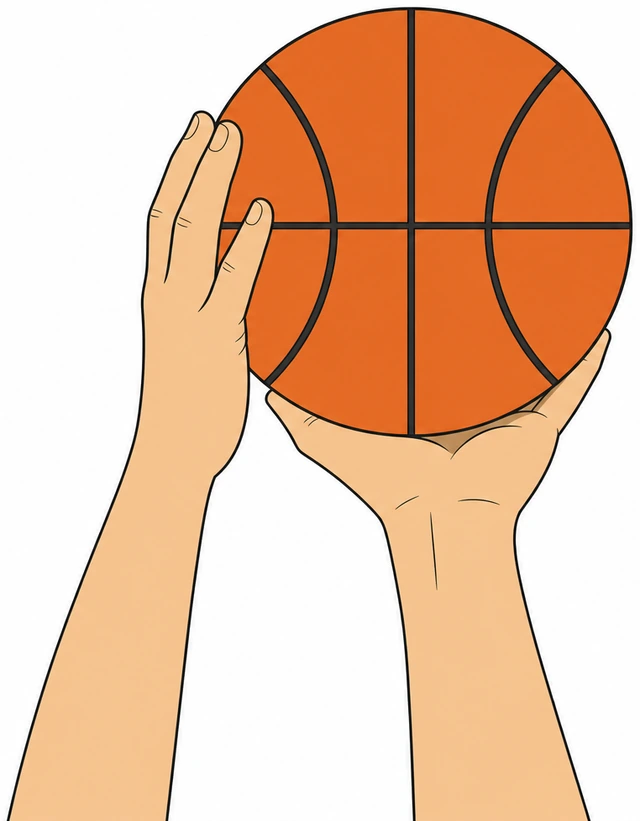
A pushing guide hand is the #1 side-spin miss for beginners.
- Spread shooting fingers comfortably.
- Ball rests on finger pads, not jammed in the palm.
- Guide hand stabilizes on the side.
- Thumbs can form a rough “T” gap.
Grip feels stable without the guide hand shoving.
Pick one target and keep your eyes there — back of the rim or center of the hoop.
Pick one target · eyes stay there.
Looking at the ball mid-shot breaks aim.
- Choose back rim or center.
- Keep the neck relaxed.
- Don’t watch your hands during the shot.
You have a single clear target.
Dip the ball to your set point (about chin to upper chest) in a straight line.
Dip to set point · straight path · ready to rise.
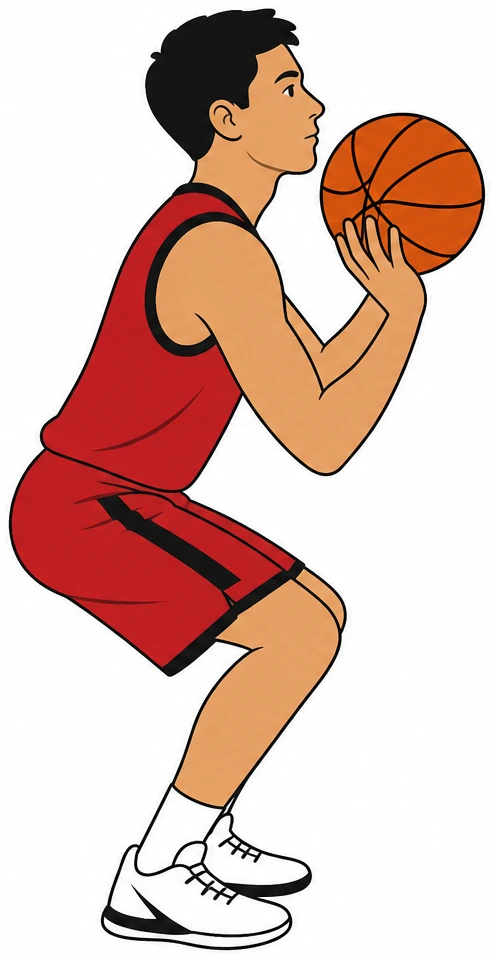
A consistent set point makes every free throw start the same.
- Bring the ball up smoothly.
- Elbow under the ball as you settle.
- Pause a beat at the set point.
- Stay balanced.
Ball is at your set point, ready to shoot.
Push up with your legs and extend your shooting arm together — one motion upward.
Legs + arm extend together · upward path.
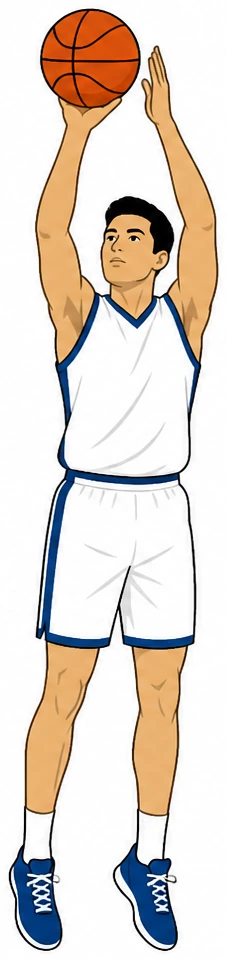
Arm-only shots go short; falling forward shots go long.
- Bend knees then rise.
- Elbow stays roughly under the ball.
- Extend toward the rim, not forward at the floor.
- Keep the guide hand quiet.
The shot rises on one connected motion.
Release off the fingertips with a wrist snap; hold the follow-through (gooseneck) until the ball hits.
Fingertip release · wrist snap · hold follow-through.
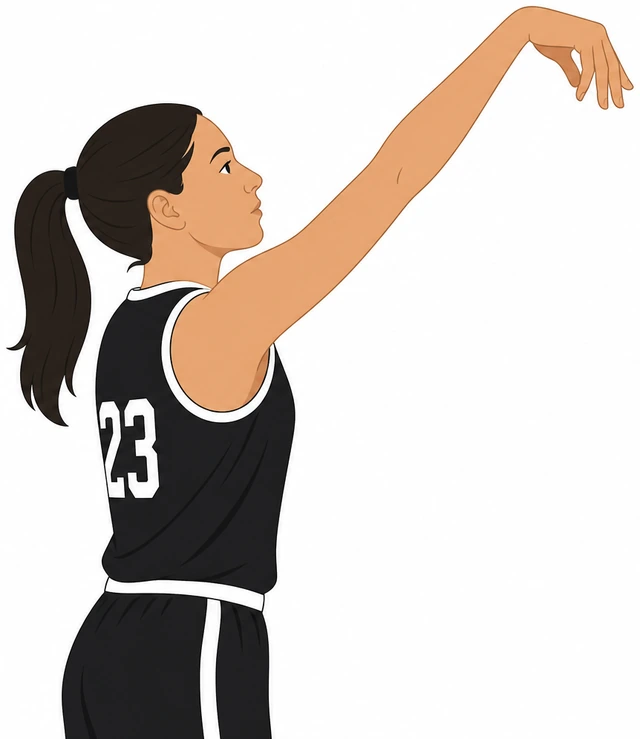
Cutting the follow-through early flattens the ball and shortens it.
- Let the ball roll off the index/middle fingers.
- Snap the wrist toward the rim.
- Freeze the follow-through until the make/miss.
- Land balanced — don’t hop forward hard.
You held a clean follow-through on the shot.
Build a tiny routine you repeat every time (e.g., 2 dribbles + one breath + shoot).
Same routine every shot · dribbles + breath + shoot.
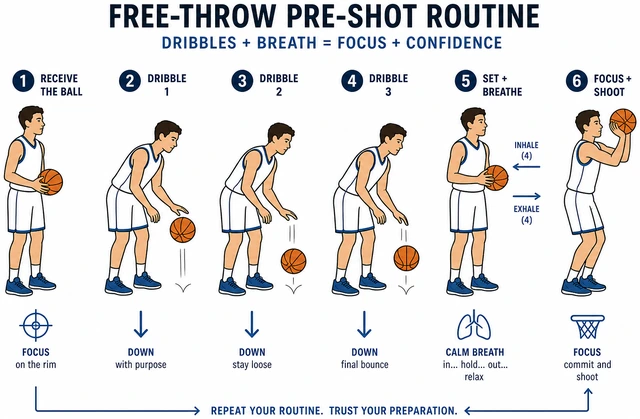
Routines remove decision noise so form stays consistent.
- Pick 2–3 dribbles max.
- One calm breath.
- Then shoot without rethinking.
- Rushing different every time? → Rushing.
You can say your routine out loud and repeat it.
Shoot 10 free throws with that routine. Tally short, long, and left/right misses.
10 shots · tally short / long / side misses.
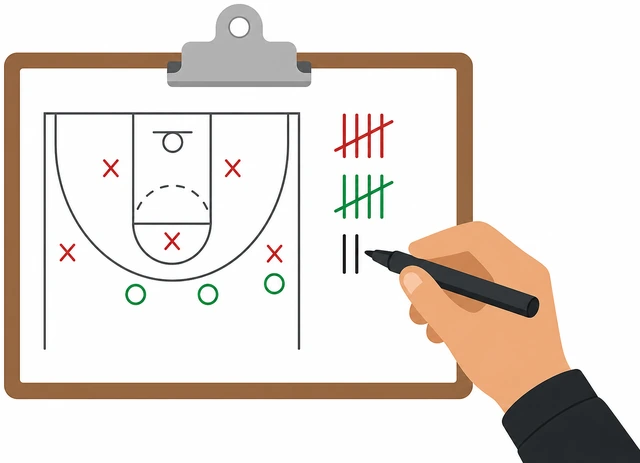
You can’t fix “random” — you fix a pattern.
- Use the same routine each shot.
- Mark results simply.
- Don’t change form mid-set yet.
- Mostly short? → Short misses.
- Mostly left/right? → Side misses.
You have a tally from 10 attempts.
Change only one thing based on the tally; shoot 5 more and check if the pattern improved.
One fix only · 5 more shots · recheck pattern.
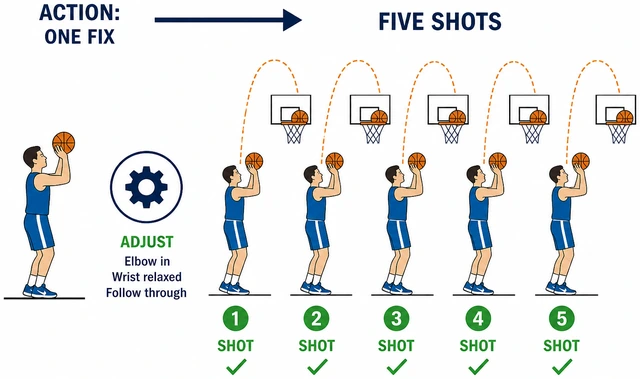
Changing three things at once teaches nothing.
- Pick one fix from your miss pattern.
- Keep the routine identical.
- Shoot 5.
- Keep the fix if misses shrink.
You tested one adjustment with evidence.
Short missesThe ball keeps hitting front rim or dying short.
Add more leg bend and a stronger upward push — power comes from the ground.
More legs · upward push.
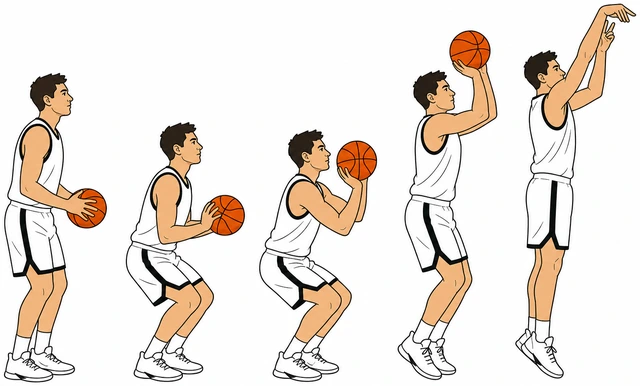
Arms alone rarely reach from the line for beginners.
- Deeper knee bend.
- Rise hard upward.
- Keep eyes on target.
Next shot uses more legs.
Aim for a higher arc — pretend to drop the ball in from above.
Higher arc · drop it in.
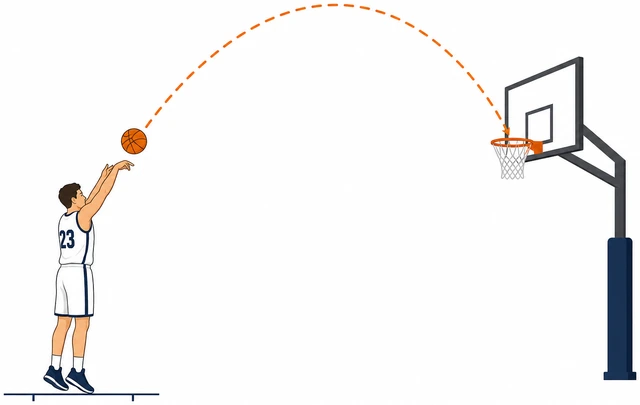
Flat line drives hit the front rim.
- Release a bit higher.
- Softer touch.
- Still hold follow-through.
Arc looks higher on the next make attempt.
Hold the follow-through until the ball lands — count “one-two” after release.
Hold follow-through two counts.
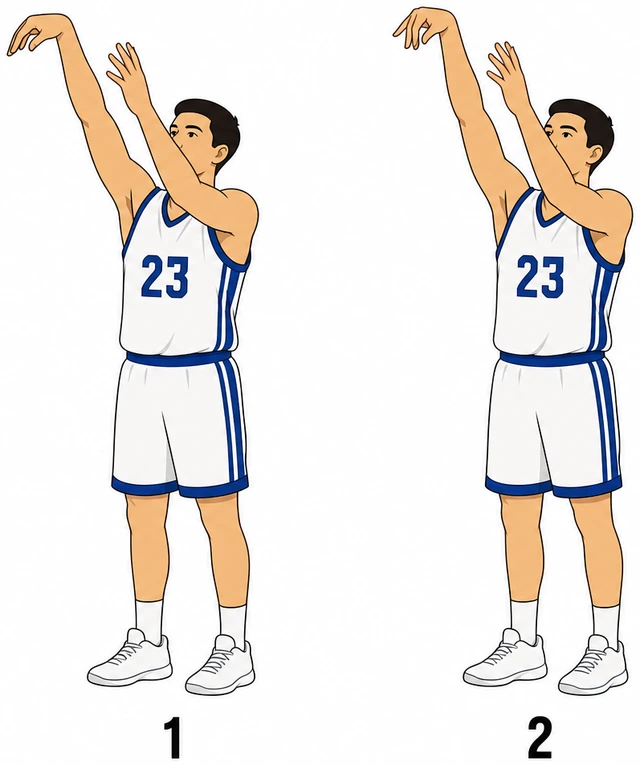
Early hand drop kills distance.
- Snap wrist.
- Freeze gooseneck.
- Count one-two.
Follow-through stayed up.
Practice 5 makes from a step closer, then step back to the line.
5 makes closer · then back to the line.
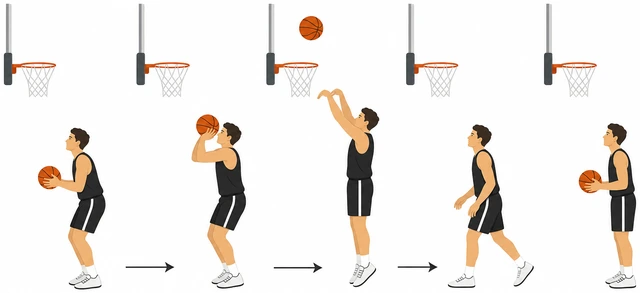
Confidence + form transfer better than grinding short misses.
- Move closer.
- 5 swishes/makes.
- Return to line with same form.
Closer makes completed; line attempt feels stronger.
If still short after form fixes, check ball inflation and fatigue — rest and retry.
Check inflation · rest if gassed.
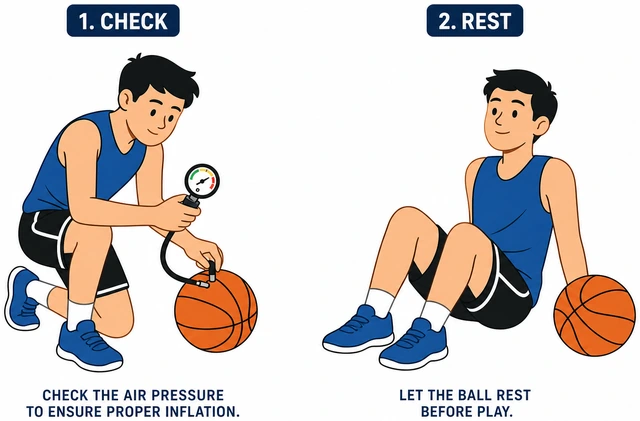
A soft ball and tired legs fake a form problem.
- Bounce-test the ball.
- Rest 2 minutes.
- Retry 5 shots.
Conditions checked; practice resumes fresh.
Side missesThe ball misses left or right repeatedly.
Recheck feet — toes should point at the rim, not angled open/closed.
Toes to rim · square stance.
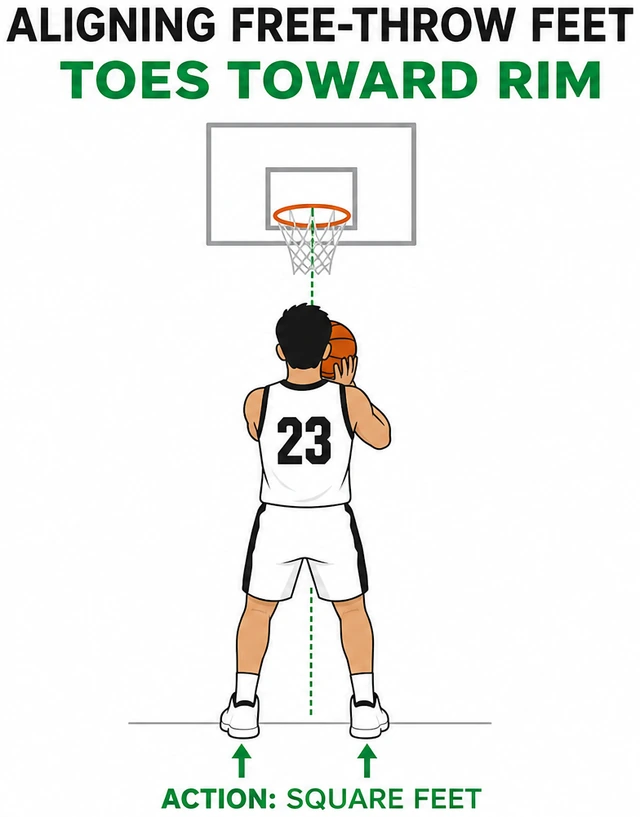
Angled feet aim the whole shot offline.
- Reset feet.
- Square hips.
- Try one shot.
Feet look square to the hoop.
Quiet the guide hand — it should not push through the ball.
Guide hand stays side · no shove.
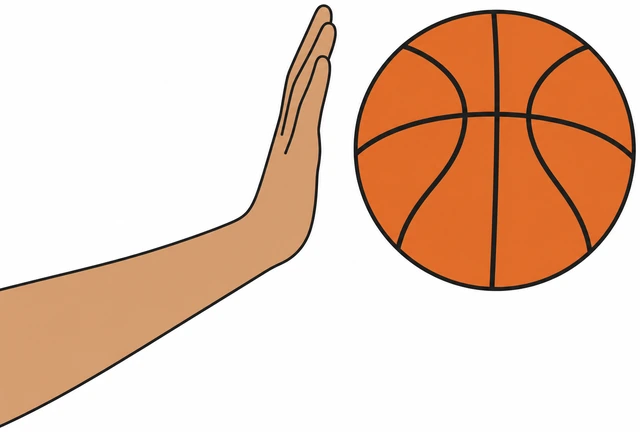
Guide-hand push creates side spin and left/right misses.
- Feel side contact only.
- Release without guide flick.
- Watch for side spin.
Guide hand feels quiet on release.
Tuck the shooting elbow more under the ball on the way up.
Elbow under the ball · not flared wide.
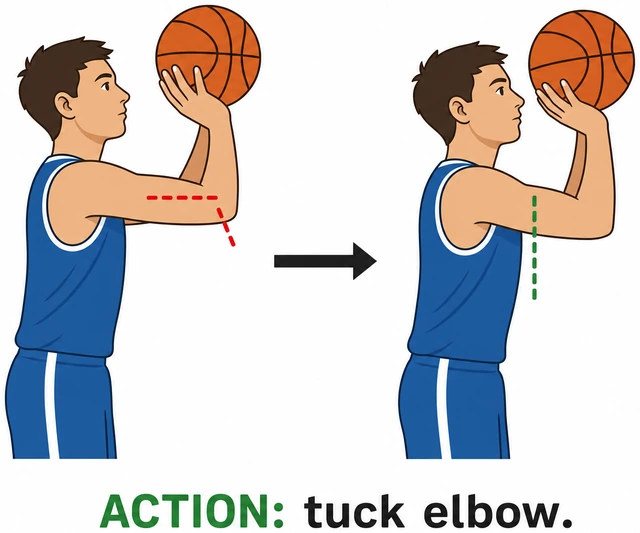
A flared elbow sprays shots sideways.
- Elbow points nearer the rim.
- Rise straight.
- Release.
Elbow path looks cleaner.
Film one shot from the front to spot lean or hand push.
Front-angle phone video · spot lean/push.
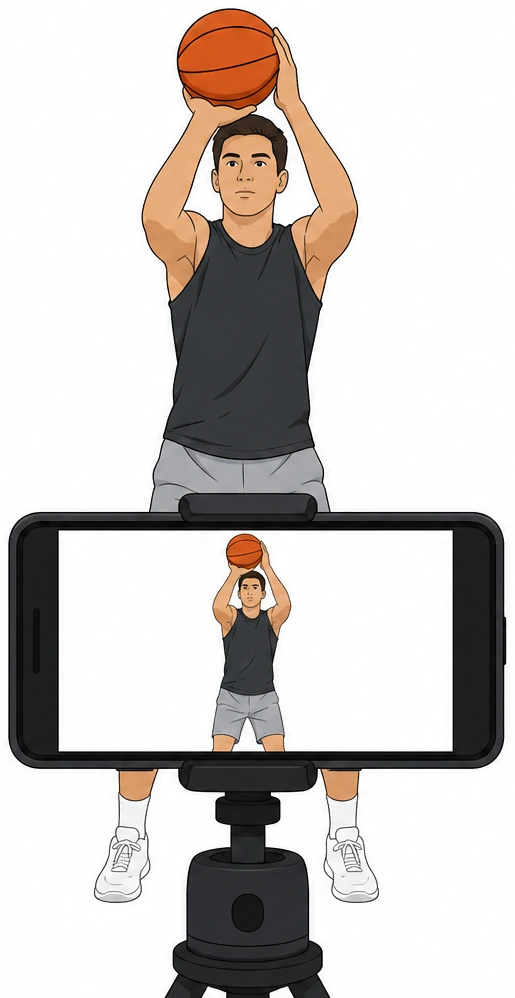
Feel lies; video shows the shove.
- Prop phone on the lane.
- One shot.
- Watch guide hand and feet.
You identified one visible side-miss cause.
If side misses persist, get a coach or experienced friend to watch one set.
Persistent side misses · second pair of eyes.
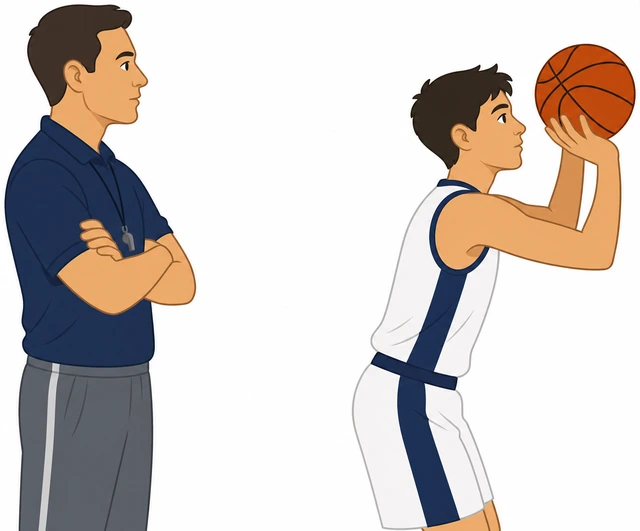
Some timing issues need external feedback.
- Ask for one cue only.
- Shoot 10.
- Keep the cue.
You got one external cue or booked help.
RushingYour routine changes every shot.
Write a 3-part routine: dribbles, breath, shoot — and say it before each attempt.
Write 3-part routine · say it every shot.
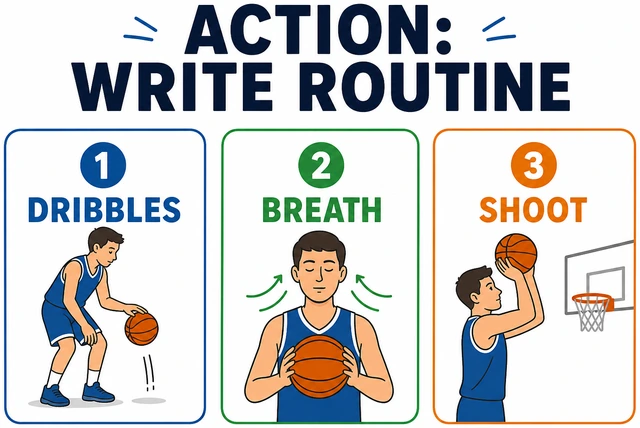
Spoken scripts beat vague “I’ll just shoot.”
- 2 dribbles.
- 1 breath.
- Shoot.
- Say it.
Routine is written and spoken.
Take 5 slow free throws from closer focusing only on routine sameness.
5 slow closer shots · identical routine.
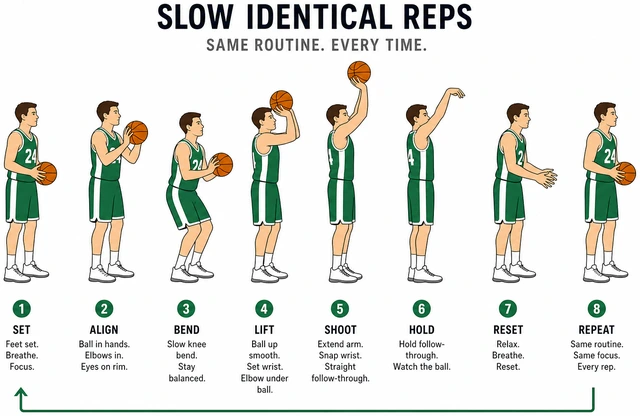
Speed comes after sameness.
- Step closer.
- Same script.
- No rushing the dip.
Five identical routines completed.
Return to the line; if you break routine, redo the shot setup — don’t heave.
Broken routine · reset · don’t heave.
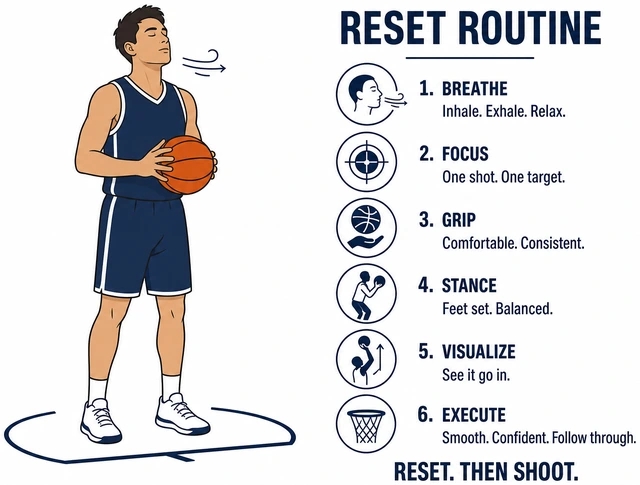
Saving a broken routine trains panic.
- Step back.
- Restart dribbles.
- Then shoot.
You reset at least once correctly.
Add one calm breath in the routine if game nerves show up.
Add one calm breath for nerves.
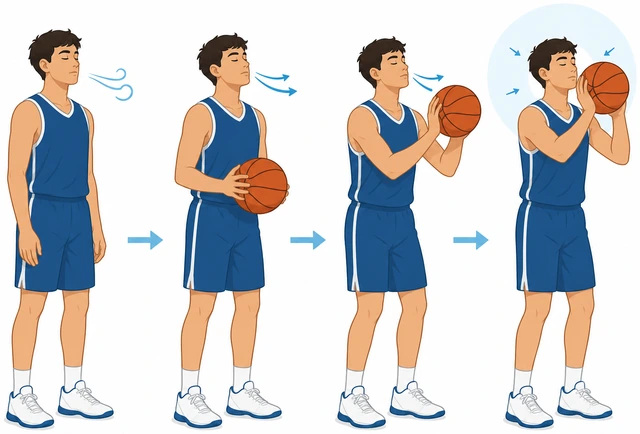
Breath is a portable calm cue under pressure.
- Inhale nose.
- Exhale soft.
- Then rise into the shot.
Breath is locked into the routine.
Cap practice at quality reps — stop when form falls apart from fatigue.
Stop when form gets sloppy.
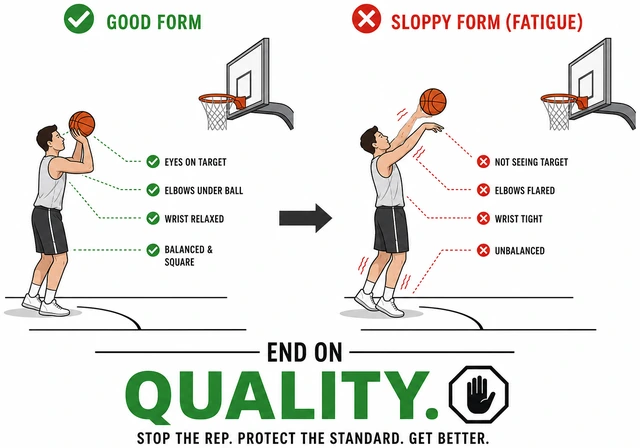
Tired heaves teach bad free throws.
- Notice fading follow-through.
- End on a good rep.
- Come back fresh.
Practice ended on quality, not exhaustion.
When This Doesn't Work
- You make warmups and miss “real” ones — Your routine is changing under pressure. Speak the 3-part script every time, including in scrimmages.
- The ball has weird side spin — Quiet the guide hand and check that the ball leaves off the shooting fingertips, not a two-hand shove.
- Kids keep stepping over the line — Start farther behind the line until balance is automatic, then inch forward.
Warnings
- Don’t practice under a crowded lane — call your shot.
- Stop if a wrist/shoulder injury flares — rest instead of grinding.
- Fatigue teaches bad form; end practice when follow-through collapses.
Tips
- Swish over rim-rock — Soft nets come from arc + fingertip follow-through, not muscling line drives.
FAQ
How many dribbles should I take?
Usually 2–3. More becomes stalling. Pick a number and lock it.
Should I jump on free throws?
A small rise is fine; a big hop forward usually sends the ball long. Stay balanced.
Comments
Questions, corrections, and what worked for you. Comments are reviewed before they appear.