How to Jump Rope for Beginners
Learn beginner jump rope: size the rope, keep elbows in, bounce low, and build short rounds. Read one step at a time. Start with preflight. Constant trips? See Rope length / trips. Shoulders burning? See Arms / shoulders tired. Shins complaining? See Shins / ankles hurt.
Tips for reading this guide
- One step at a time. Read the green caption, the Why line, then the bullets.
- Move on when the green done line is true — then go to the next step.
- Low and soft. High jumps tire you out and hurt more.
- Tripping? See Rope length / trips.
- Need help? Ask someone to watch your elbows and jump height for one round.
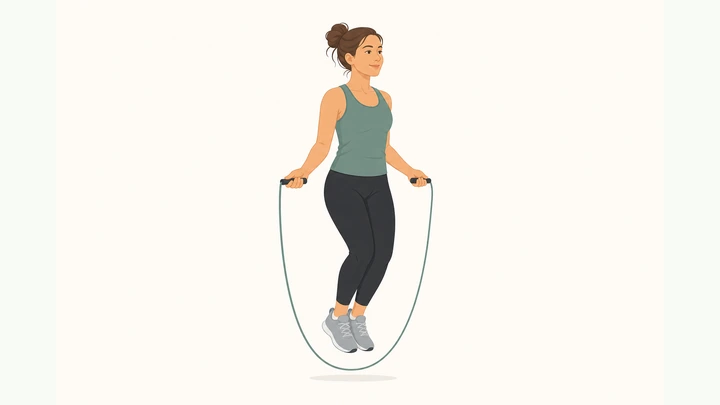
Things You'll Need
- A jump rope (beaded beginner rope or adjustable speed rope)
- Supportive athletic shoes
- Clear floor space with safe overhead clearance
- Optional mat or rubber gym floor for softer landings
- Water and a timer for short rounds
Where are you stuck?
Follow Start here to learn beginner jump rope. Jump to a branch for trips, tired shoulders, or shin pain.
- I want beginner jump rope from scratch Size · elbows in · soft singles · short rounds
- I keep tripping / rope hits my toes Recheck length · slow turns · jump sooner
- My shoulders and arms tire fast Elbows in · smaller wrists · shorter rounds
- My shins or ankles hurt Softer floor · lower jumps · less volume
Start hereSize rope → elbows in → soft bounce → singles → short rounds
Preflight — clear space, shoes on, rope ready, sharp-pain rule.
Clear overhead space · shoes on · rope ready · sharp-pain rule.
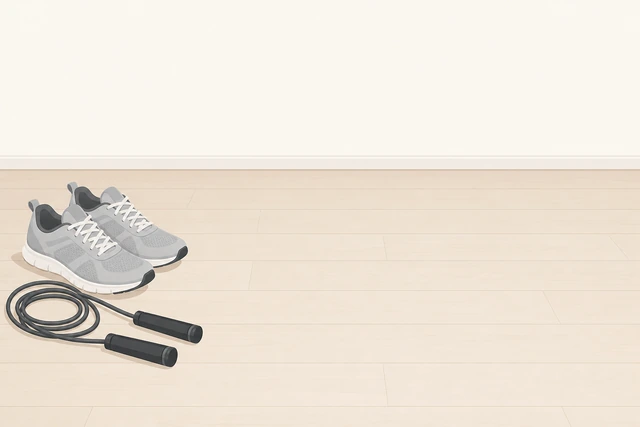
Trips and ceiling hits happen in cluttered rooms — clear space and shoes matter before the first jump.
- Clear space above and around you (lamps, fans, pets).
- Wear supportive athletic shoes on a non-slippery floor.
- Pick a speed rope or beaded beginner rope; know sharp pain means stop.
Space is clear, shoes are on, and a rope is ready.
Constant trips later? → Rope length / trips.
Size the rope: stand on the center; handles reach about the armpits.
Stand on center · handles to armpits · adjust length.
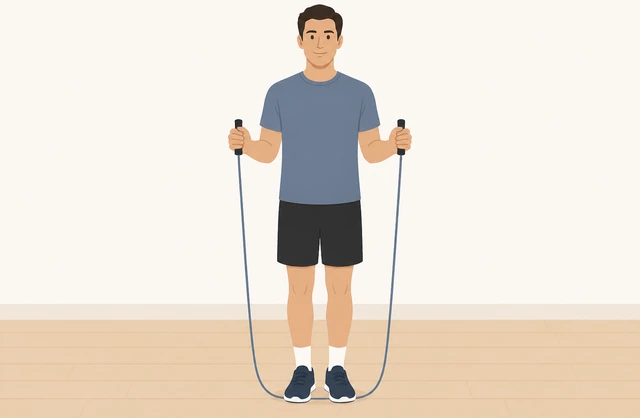
Wrong length causes toe hits or awkward shoulder work — size first.
- Stand with both feet on the rope center.
- Pull handles up along your sides.
- Handles should reach about armpit height; shorten if much higher.
Rope length is set so handles reach about the armpits.
Hold handles lightly; elbows near ribs; wrists turn the rope.
Soft grip · elbows in · wrists circle · shoulders quiet.
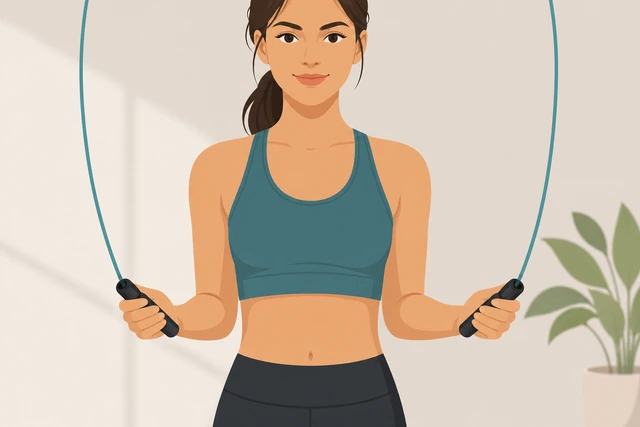
Wide arm flapping tires shoulders and ruins timing — wrists should drive the rope.
- Hold handles lightly.
- Keep elbows close to your ribs.
- Practice small wrist circles without jumping yet.
Elbows stay near the ribs and wrists can turn the rope smoothly.
Shoulders burning already? → Arms / shoulders tired.
Practice the bounce without a rope: small soft ankle hops.
Small hops · soft knees · quiet landings · low height.
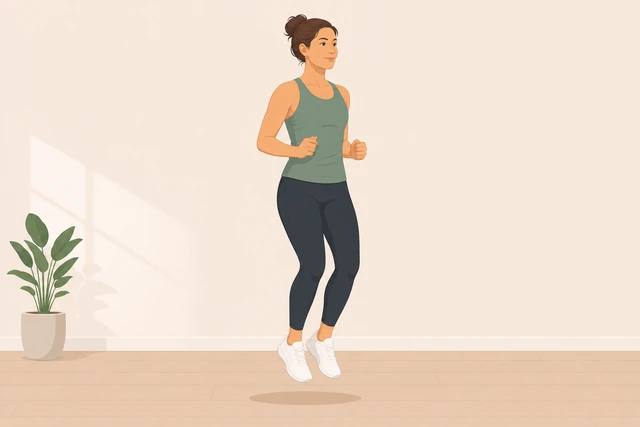
Learning the bounce without the rope builds timing before trips frustrate you.
- Hop lightly on both feet with soft knees.
- Stay low — do not tuck knees high.
- Land quietly for 20–30 soft hops.
You can hop softly and quietly for about 20–30 hops.
Shins or ankles hurt? → Shins / ankles hurt.
Turn the rope beside your body with one handle to feel the rhythm.
One handle circles · steady rhythm · watch the path.
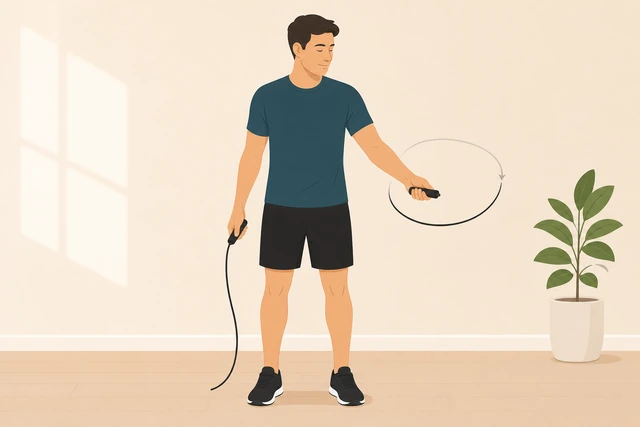
Feeling the turn speed beside you teaches when to jump before both feet are involved.
- Hold one handle and turn the rope in a steady circle beside you.
- Match a calm rhythm, not a frantic spin.
- Switch hands if helpful.
You can turn a steady circle beside the body without rushing.
Start with the rope behind your heels; swing overhead for the first jump.
Rope behind heels · swing overhead · prepare first jump.
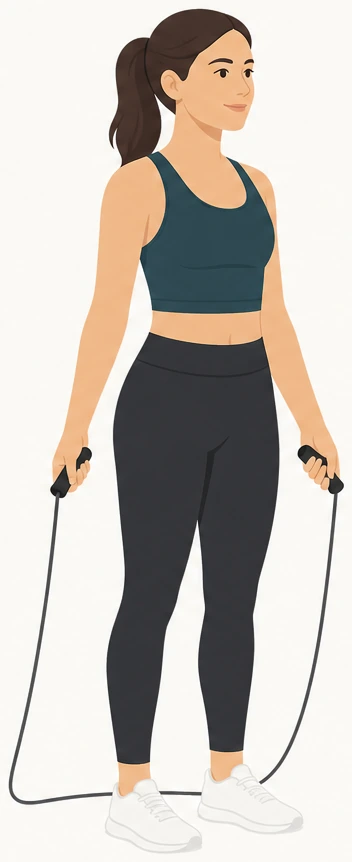
Starting behind the heels gives a full turn so you jump as the rope approaches the floor.
- Place the rope behind your heels.
- Swing it up and over your head.
- Bend knees slightly ready to hop as it comes down.
The rope clears your head once and you are ready to hop.
Do single-bounce jumps: one low jump per rope turn.
One jump per turn · low height · soft knees · keep going.
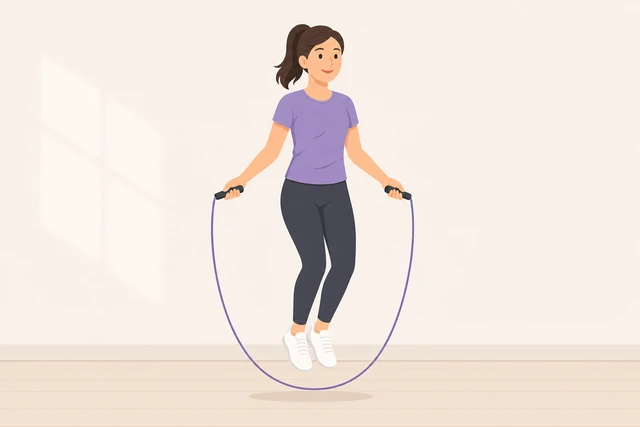
High jumps waste energy — low singles match the rope and build consecutive reps.
- Jump just high enough for the rope to pass.
- Land softly and jump again on the next turn.
- Reset calmly if you trip — do not thrash.
You complete several consecutive single jumps without panic-height hops.
Tripping every turn? → Rope length / trips.
Look forward, not down at your feet.
Eyes forward · chin level · trust the timing.
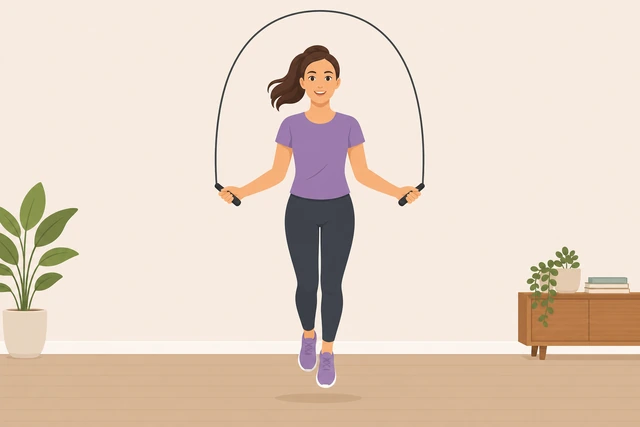
Looking down pulls your balance forward and increases trips.
- Pick a spot on the wall ahead at eye level.
- Keep your chin level.
- Feel the rope rather than watching your feet.
You can jump while looking forward for a full short set.
Breathe steady; after a trip, reset instead of rushing.
Steady breath · stop after trip · reset stance · restart.
Rushing after a miss stacks more misses — a calm reset keeps practice productive.
- Keep breathing through the nose/mouth comfortably.
- When you trip, stop and untangle.
- Reset rope behind heels and start again slowly.
You restart calmly after a trip without frantic catching-up.
Build a beginner set: 20–30 jumps or 20–30 seconds, rest, repeat.
20–30 jumps or seconds · rest · 3–5 rounds.
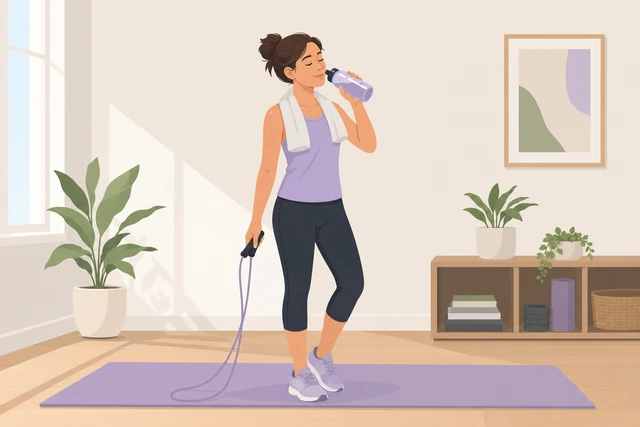
Short rounds with rest protect form better than one exhausted marathon set.
- Do 20–30 jumps or 20–30 seconds.
- Rest 30–60 seconds.
- Repeat for 3–5 rounds total.
You finished 3–5 short rounds with rests.
Shoulders cooked mid-set? → Arms / shoulders tired.
Optional: try an alternate-foot step if two-foot jumps feel harsh.
Optional · light jog step · one foot then the other.
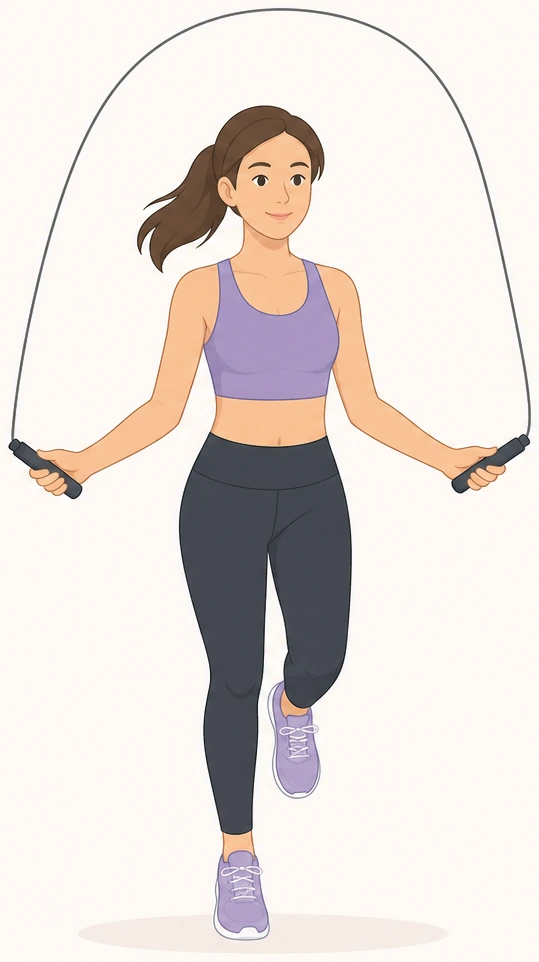
Alternate steps lower impact for some beginners once basic timing exists.
- Only after singles feel okay.
- Hop lightly right then left in rhythm with the rope.
- Return to two-foot jumps if coordination fails.
You either completed a few alternate-foot steps or chose to stay on two-foot jumps.
Cool down: walk 1–2 minutes; check shins and ankles.
Walk 1–2 minutes · notice shins/ankles · no sharp pain.
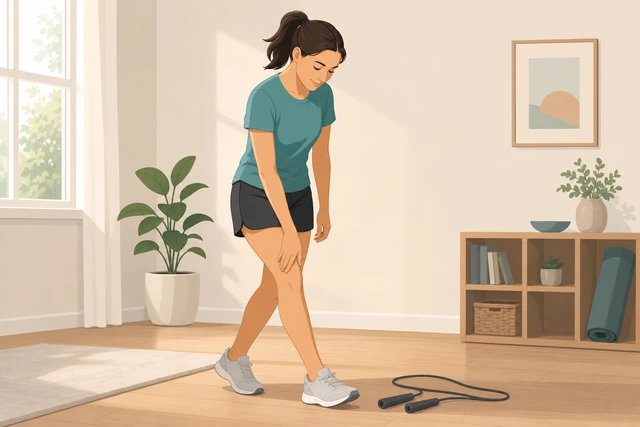
A short walk settles impact load and helps you notice warning pain early.
- Put the rope down and walk easily.
- Notice shins, ankles, and Achilles.
- Stop future sessions on that surface/shoes if sharp pain appeared.
You walked 1–2 minutes and have no sharp lower-leg pain.
Pain lingering? → Shins / ankles hurt.
Log what worked for next time.
Note length · surface · rounds · one tweak.
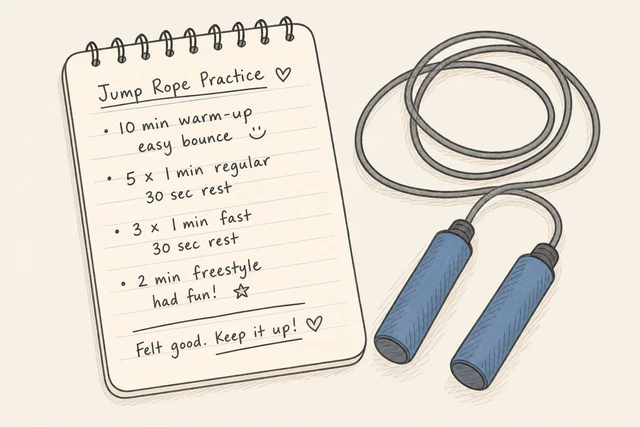
A one-line log makes the next session start from a working setup instead of guessing.
- Write rope length or handle mark.
- Note floor and shoe setup.
- Record rounds completed and one tweak.
A short session note exists for next time.
Rope length / tripsConstant trips; rope hits toes or feels wildly long/short
Stop and recheck rope length at the armpits.
Stand on center · recheck armpit height · adjust.
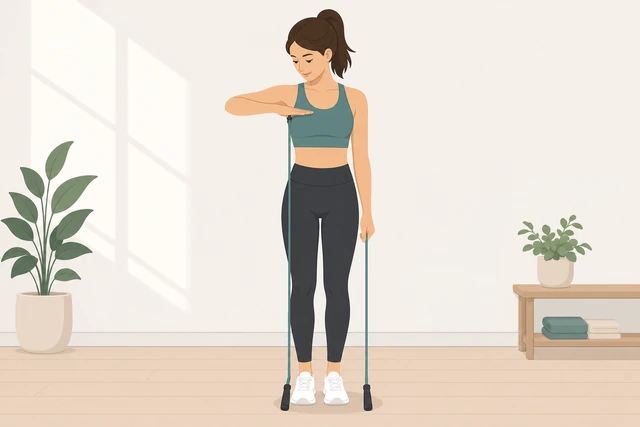
Most beginner trips are length problems pretending to be skill problems.
- Stand on the center again.
- Adjust toward armpit height.
- Mark the length if handles allow.
Length is rechecked and adjusted.
Shorten the rope slightly if it hits your toes late.
Shorten a little · test slow turns · retest jumps.
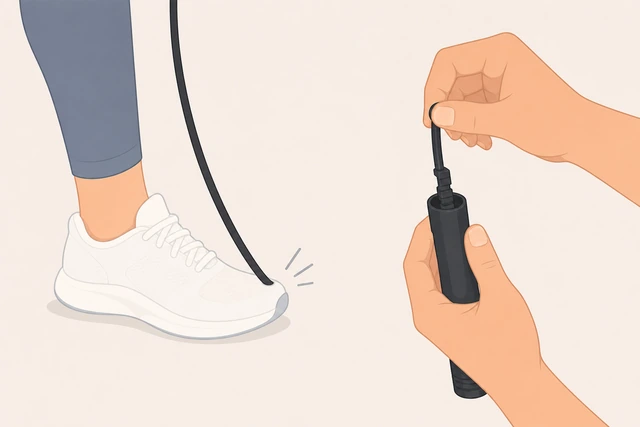
A slightly short beginner rope is easier than a long whip that arrives late.
- Shorten a small amount.
- Do slow practice turns.
- Try a few jumps.
Toe hits decrease after a small shorten.
Slow the turn speed; jump a bit sooner.
Slower wrists · earlier small jump · stay low.
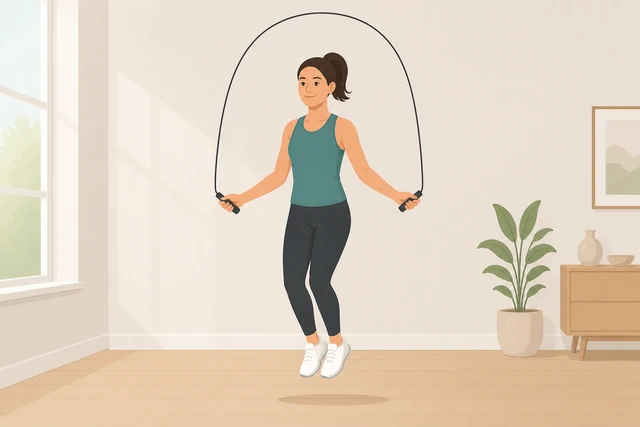
Late jumps let the rope catch toes even with good length.
- Turn slower than you think.
- Jump as the rope approaches the floor.
- Keep height low.
You complete a few jumps with slower turns.
Confirm clear floor space and no slippery socks.
Clear floor · shoes on · no socks-only wood.
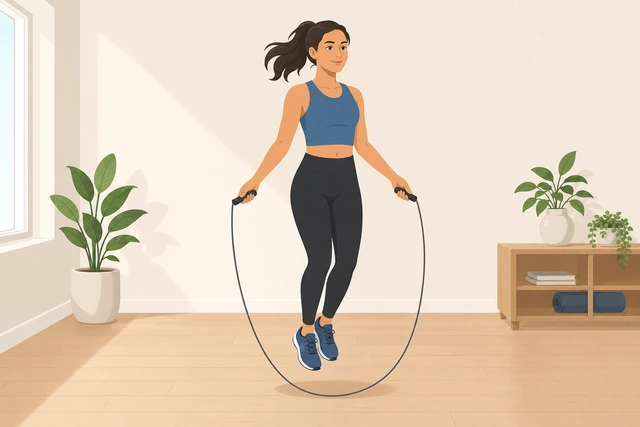
Space and traction failures look like rope timing failures.
- Move obstacles.
- Wear shoes.
- Avoid slick socks on hard floors.
Space is clear and traction is secure.
Try a beaded beginner rope if a thin speed rope still trips you.
Beaded rope option · slower feedback · rebuild singles.
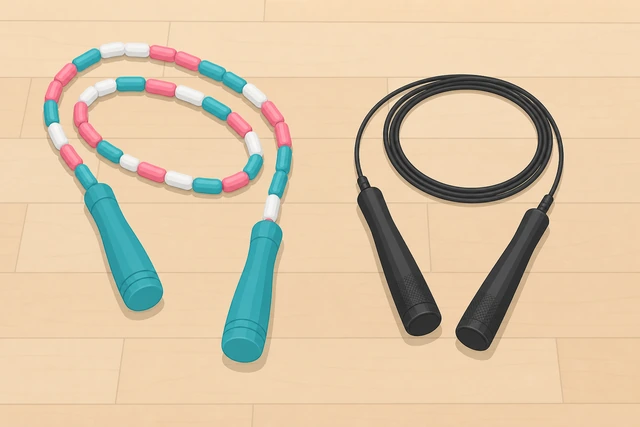
Beads give clearer feedback and slower turns for brand-new timing.
- Switch to a beaded rope if available.
- Rebuild 20-jump rounds.
- Return to speed rope later.
You either switched ropes or rebuilt singles successfully on the current rope.
Still cannot get 5 clean jumps after length and surface fixes — ask a coach for a live timing check.
Arms / shoulders tiredShoulders burn; elbows flare; arms do the spinning
Bring elbows back to your ribs.
Elbows in · soft grip · pause jumping.
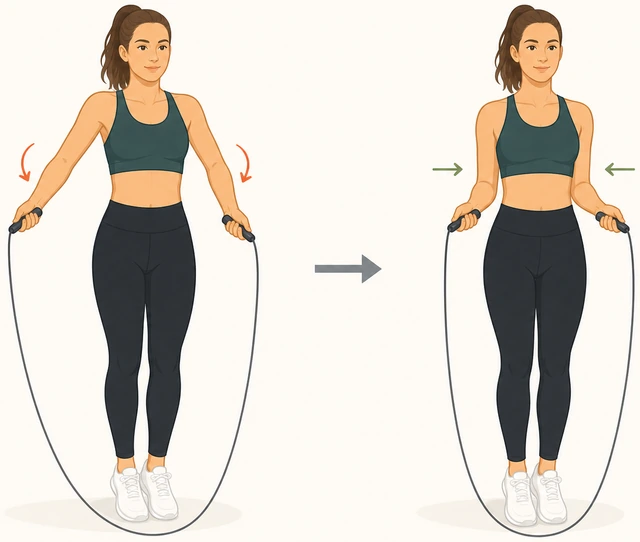
Flared elbows force shoulders to spin the rope — the main fatigue pattern.
- Stop jumping.
- Glue elbows near ribs.
- Regrip lightly.
Elbows are near the ribs again.
Make wrist circles smaller.
Smaller wrist circles · less shoulder motion.
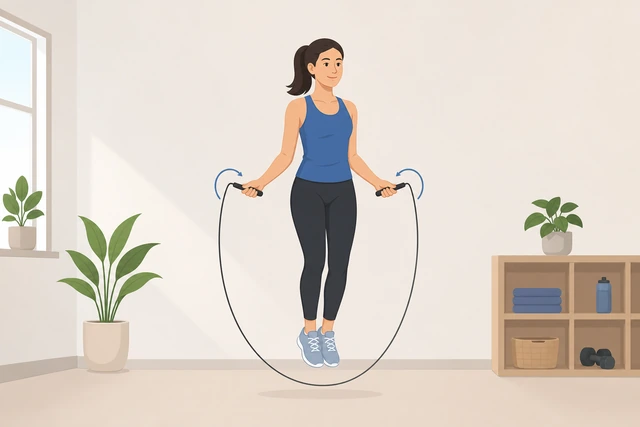
Huge arm circles recruit delts; tiny wrist circles are enough.
- Practice tiny circles with elbows pinned.
- Keep shoulders quiet.
- Add jumps only after circles feel easy.
Wrist circles are small and shoulders stay quieter.
Cut rounds shorter with more rest.
10–15 jumps · longer rest · protect form.
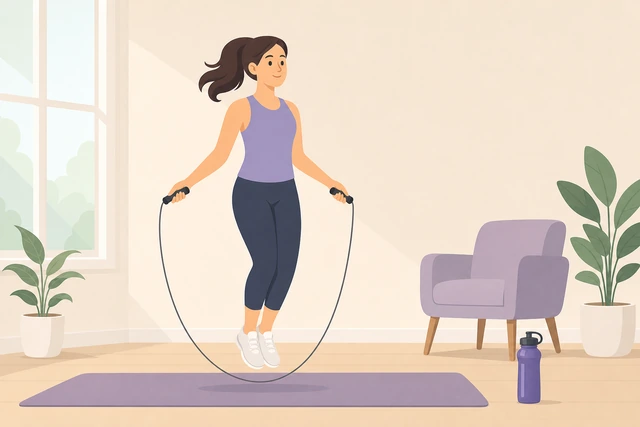
Fatigue makes arms flare — shorter sets keep technique.
- Do 10–15 jumps only.
- Rest a full minute.
- Repeat fewer rounds today.
You finished shorter rounds without shoulder burn taking over.
Return to shadow bounce without the rope.
No-rope hops · rest shoulders · keep bounce.
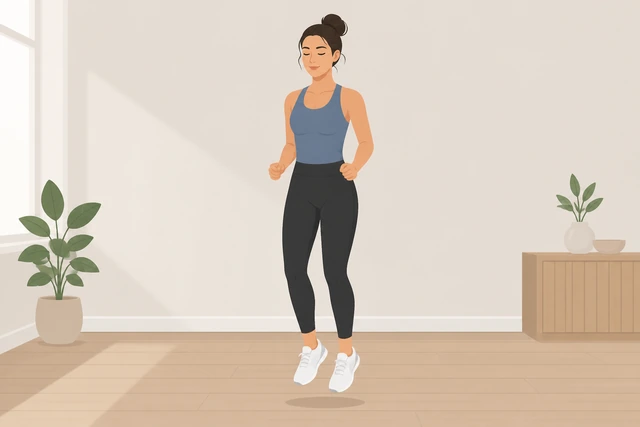
Shadow work maintains bounce practice while shoulders recover.
- Put rope down.
- Do soft hops 20–30 seconds.
- Shake out shoulders.
Shoulders feel calmer after shadow bounce.
Stop if joint pain (not tired muscles) appears.
Muscle fatigue OK · sharp joint pain stop.
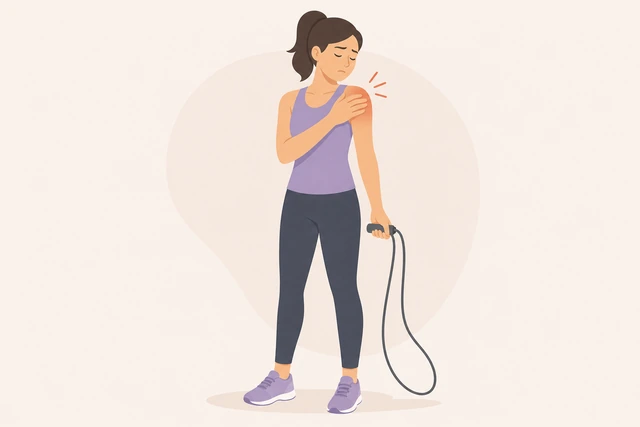
Burning muscles from work differs from sharp joint pain that needs rest/care.
- Distinguish tired muscle burn from sharp joint pain.
- Stop on sharp pain.
- Ice/rest and avoid overhead spinning.
You stopped appropriately if sharp joint pain appeared.
Shoulder joint pain lasting days — see a clinician.
Shins / ankles hurtShin-splint feel or ankle discomfort during/after jumps
Move to a softer surface if possible.
Softer floor · rubber mat or wood over concrete.
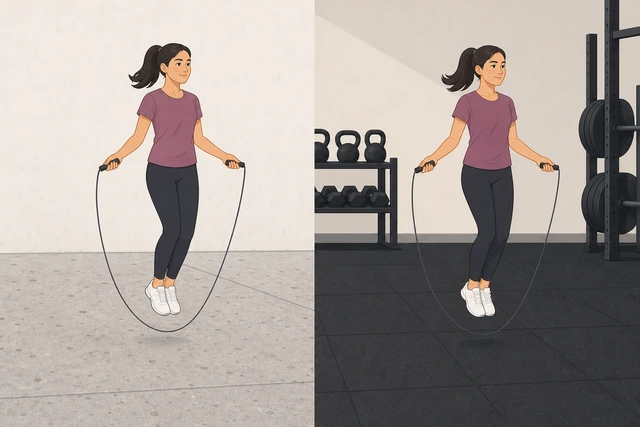
Concrete amplifies impact — surface change often removes beginner shin pain.
- Prefer rubber gym floor, track, or quality mat.
- Avoid long sessions on raw concrete.
- Keep shoes on.
You are practicing on a softer surface.
Lower jump height even more.
Lower hops · quiet landings · less impact.
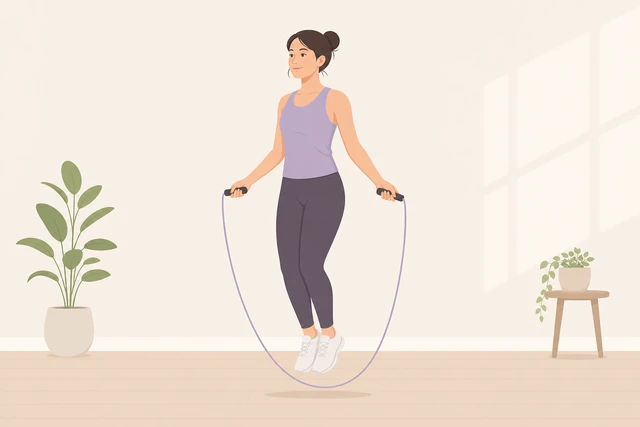
Extra air time multiplies landing force on shins.
- Jump only high enough for the rope.
- Land quietly.
- Shorten rounds.
Jumps are lower and quieter.
Add rest and cut total rounds today.
Fewer rounds · longer rest · stop if pain rises.
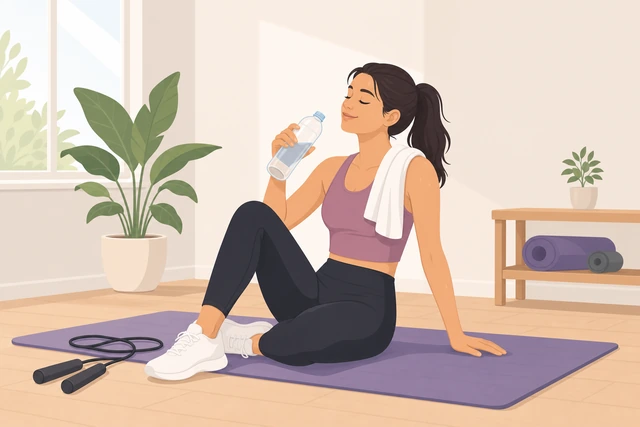
Volume on irritated tissue makes next day worse.
- Do half the planned rounds.
- Rest longer between sets.
- End early if pain climbs.
Today's volume is reduced.
Check shoe cushioning and fit.
Supportive shoes · not worn-flat · not socks only.
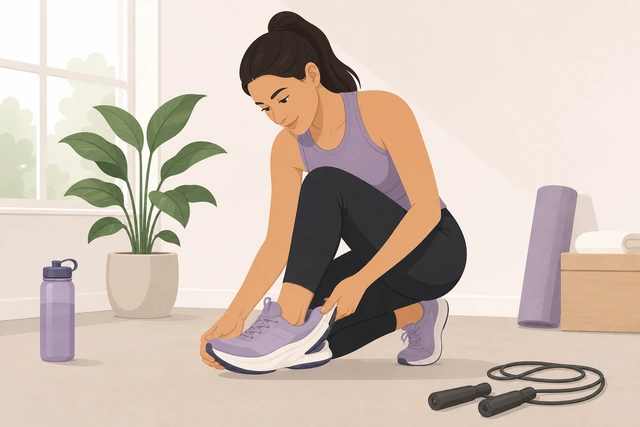
Dead cushioning turns every landing into a shin stressor.
- Use supportive trainers.
- Replace if midsoles are flattened.
- Never socks-only on hard floors.
Shoes are supportive and appropriate.
Switch to bounce practice without rope until pain settles.
Walk/march · pause rope days · ease back.
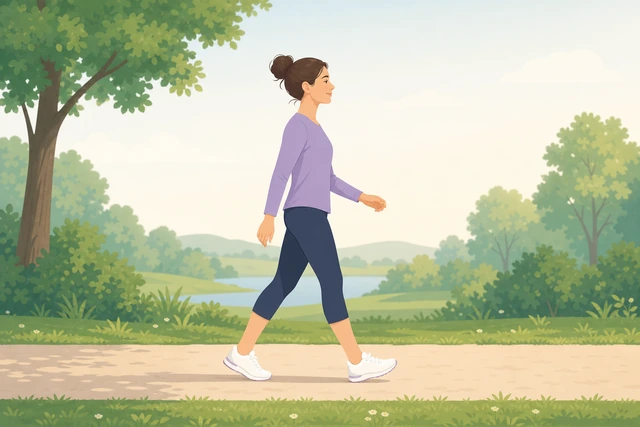
Continuing through sharp shin pain risks a longer layoff.
- Replace rope days with easy walks briefly.
- Return with shorter rounds on soft floor.
- Seek care if swelling or cannot walk.
Impact is reduced until lower legs feel better.
Cannot walk normally, swelling, or pain for days — clinician.
When to get help
- Ask someone to watch one round for elbow flare and jump height.
- See a clinician for sharp shin, Achilles, knee, or shoulder pain that lasts.
- If balance feels unsafe, stop hopping and get a professional screen first.
When This Doesn't Work
- Ceiling is too low. Practice outdoors or in a gym with clearance.
- Balance or joint issues make hopping unsafe. Use shadow marches and ask a clinician before jumping.
- You only want fancy crosses on day one. Master singles first — tricks come later.
Warnings
- Clear the space — hit lamps and fans are common beginner injuries.
- Do not jump high — low soft landings only.
- Stop for sharp pain in shins, Achilles, knees, or shoulders.
- This guide is not medical advice for stress fractures or tendon injuries.
Tips
- Beaded ropes forgive timing mistakes better than thin cables at first.
- Count out loud for the first rounds to keep a steady pace.
- Film one side view to check elbow position.
FAQ
How long should a beginner session be?
Start with 5–10 minutes of short rounds plus rests. Add time only after form stays clean.
Speed rope or beaded rope?
Beaded is often easier for absolute beginners. Speed ropes are fine if length is correct and turns stay slow.
Why do I keep hitting my toes?
Usually rope too long, jump too late, or looking down. Use the trips branch.
Can I jump rope every day?
Beginners do better with rest days, especially if shins feel irritated.
Comments
Questions, corrections, and what worked for you. Comments are reviewed before they appear.