How to Sew on a Button by Hand
Sew a button back on by hand: mark the spot, stitch through the holes, knot on the back, and tug-test. Read one step at a time. Start with preflight. Will not align? Button will not align. Thread tangles? Thread keeps tangling. Falls off again? Button falls off again.
Tips for reading this guide
- One step at a time. Read the green caption, the Why line, then the bullets.
- Move on when the green done line is true — then go to the next step.
- Mark before you sew.
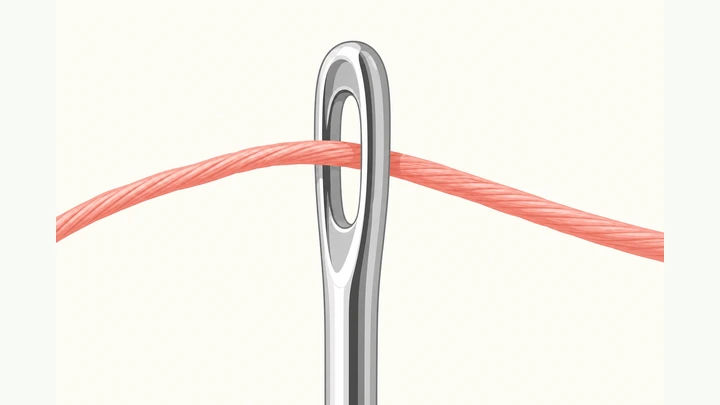
- Need threading help? See related guide how to thread a sewing needle after publish.
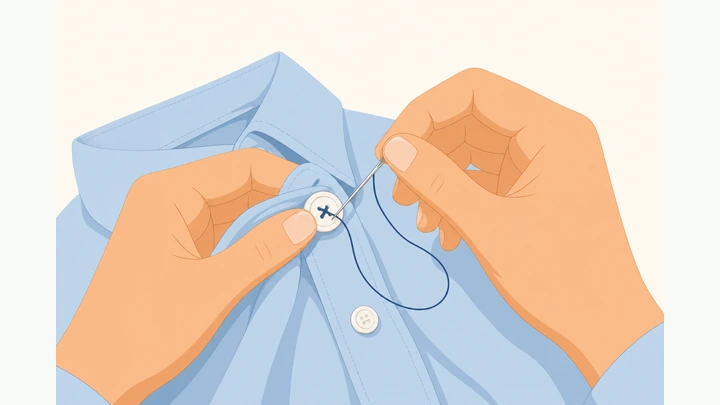
Things You'll Need
- Matching button
- Hand-sewing needle
- Strong sewing thread
- Scissors
- Optional chalk or pin for marking
- Good light
Where are you stuck?
Follow Start here to sew on a button. Jump to a branch for alignment, tangles, or repeat failures.
Start hereMark → stitch holes → knot → align → tug test
Preflight — matching button, thread, needle, scissors, good light; thread the needle.
Matching button · threaded needle · scissors · good light.
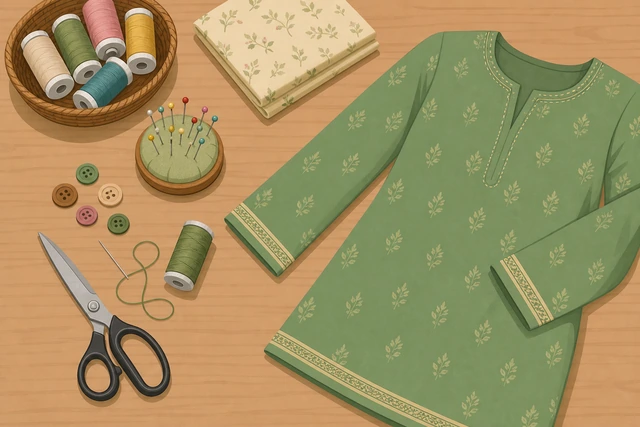
Missing the right button or an unthreaded needle stops the repair before it starts.
- Find a matching or close button (check the spare often sewn inside).
- Thread a needle with strong sewing thread.
- Sit in good light with scissors handy.
Button, threaded needle, and scissors are ready.
Mark the exact button position aligned with the buttonhole.
Mark through buttonhole alignment · exact spot · chalk or pin.
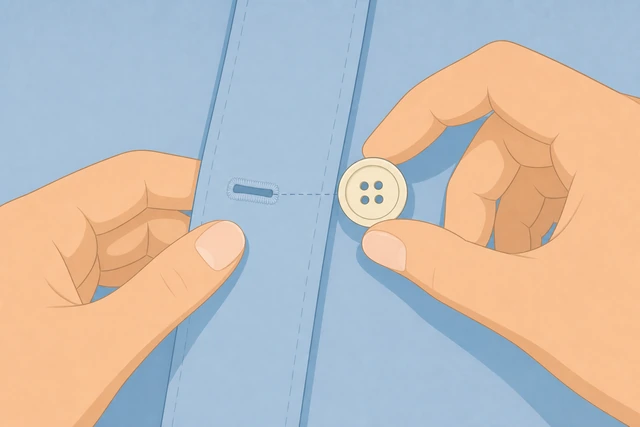
A beautiful sew in the wrong place still will not close the garment.
- Close the garment and mark through the buttonhole center.
- Or mark where the old button sat if holes remain.
- Confirm with a pin before sewing.
- Will not align later? → Button will not align.
The button position is marked in the correct spot.
Thread the needle and knot the end (double thread is fine for strength).
Thread needle · knot end · optional double thread.
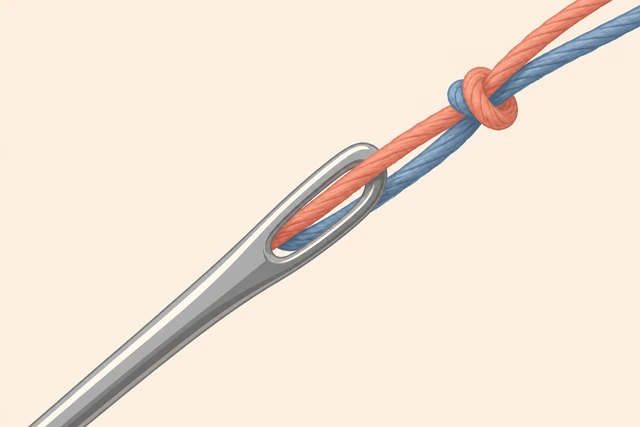
A knot stops the first stitch from pulling straight through.
- Use a comfortable working length (about 18–24 inches).
- Optional: double the thread for buttons.
- Tie a small knot at the end.
- Thread tangles? → Thread keeps tangling.
Needle is threaded and the end is knotted.
Anchor on the mark: needle from fabric back to front.
Up from back at the mark · anchor ready for the button.
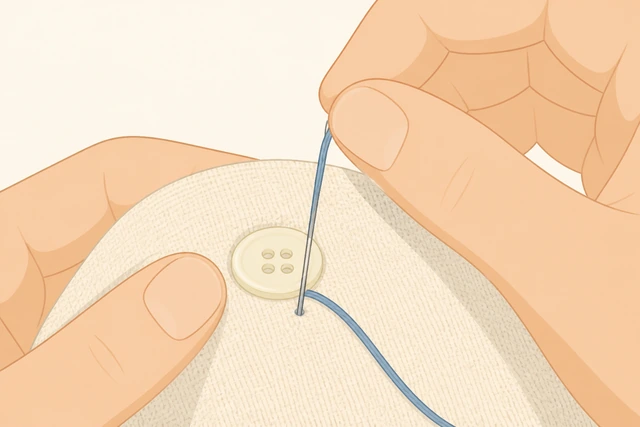
Starting from the back hides the knot and sets the position.
- Bring the needle up from the underside at the mark.
- Pull until the knot stops on the back.
- Keep the mark centered.
The first stitch is anchored at the mark.
Place the button and bring the needle up through the first hole.
Seat button · up through first hole · hold steady.
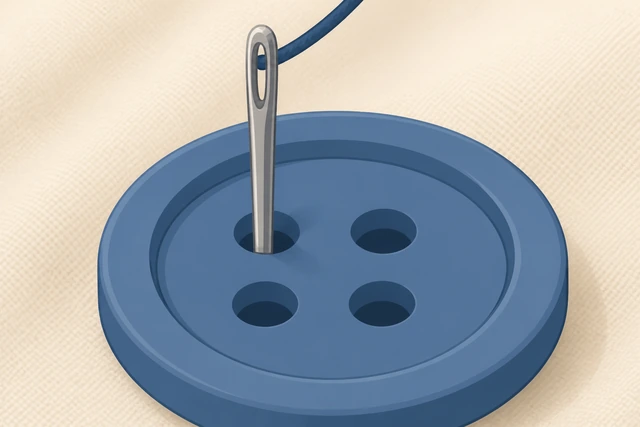
Holding the button still on the mark prevents drift while you sew.
- Set the button on the mark.
- Push the needle up through one hole.
- Hold the button so it does not slide.
The button is on the mark with the needle through the first hole.
Go down through the opposite hole; repeat several times (cross for 4-hole).
Down opposite hole · repeat 4–6 times · cross pattern on 4-hole.
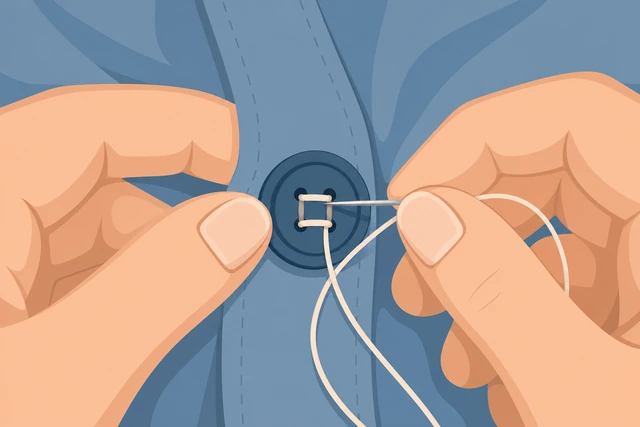
Multiple passes share the load so one thin loop does not cut through.
- Send the needle down the opposite hole.
- Repeat 4–6 times for a 2-hole button.
- On 4-hole buttons, make an X or two parallel pairs.
- Thread snarls while repeating? → Thread keeps tangling.
Several firm passes secure the button holes.
Keep stitches snug — leave a slight thread shank on thicker coats.
Snug not crushing · slight shank on coats · flat OK on thin shirts.
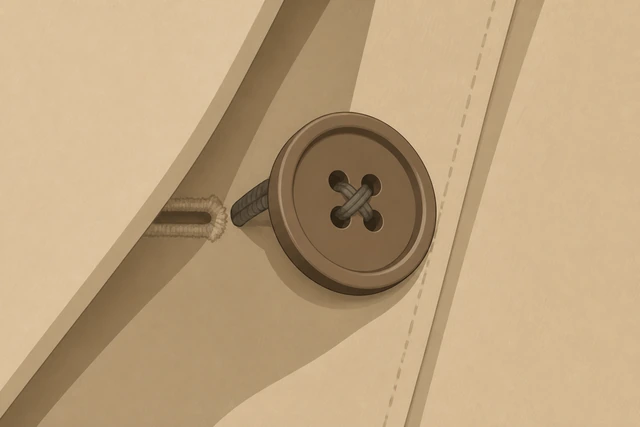
A button sewn pancake-flat on thick fabric cannot pass the buttonhole easily.
- Pull snug without puckering the fabric hard.
- For coats, keep a small thread stem under the button.
- On thin shirts, flatter is usually fine.
Tension looks snug and the button can still work with the fabric thickness.
For shank buttons: sew through the shank only and secure.
Shank button · stitches through shank · no forced flat holes.
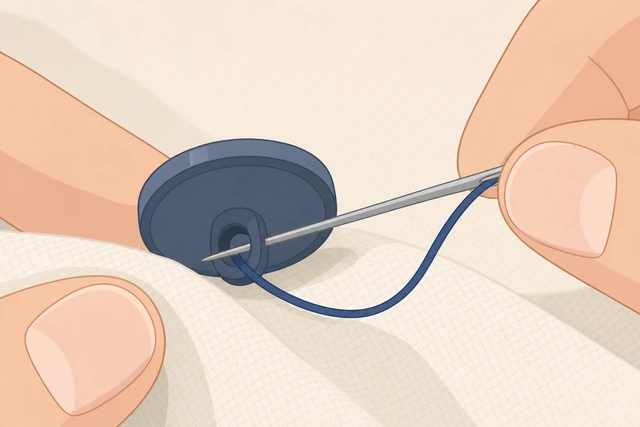
Shank buttons are meant to stand off the fabric — treat them differently from flat buttons.
- If your button has a shank loop on the back, stitch through that loop.
- Repeat several secure passes.
- Do not try to force hole stitches that are not there.
The shank button is secured through its shank, or you correctly used a flat button method.
Finish on the fabric back with a few small stitches.
Needle to the back · tiny stitches · prepare to knot.
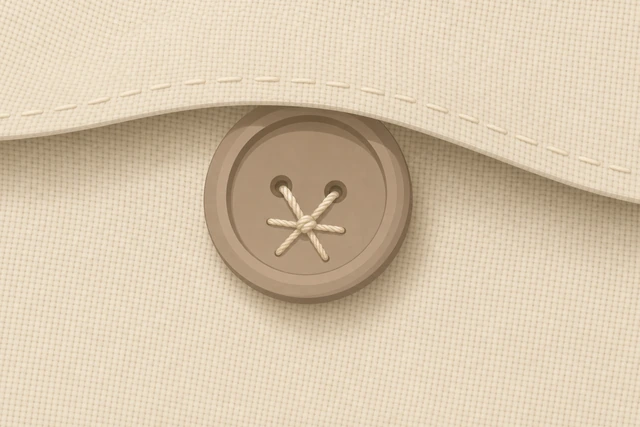
Back-side stitches lock the work before the final knot.
- Bring the needle to the underside.
- Make 2–3 tiny stitches in place.
- Keep them neat and small.
The back has small finishing stitches.
Tie a secure knot on the back; bury or trim the thread.
Knot on back · trim close · no long loose tail.
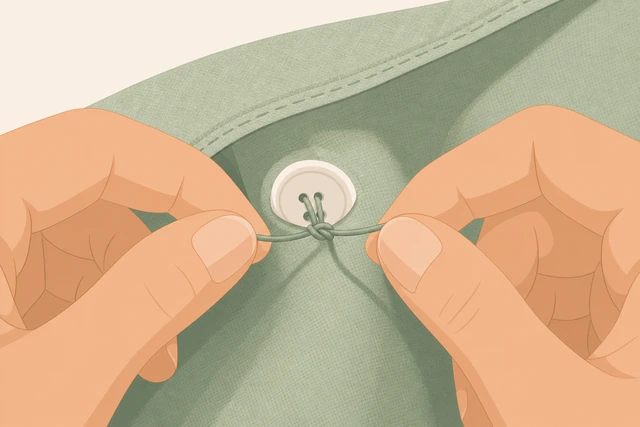
A weak knot is why buttons fall off after one wash.
- Tie a firm knot close to the fabric.
- Optional: bury the needle under nearby stitches.
- Trim the excess thread.
The back knot is secure and tails are trimmed.
Test alignment by fastening through the buttonhole.
Button through hole · closes smoothly · position OK.
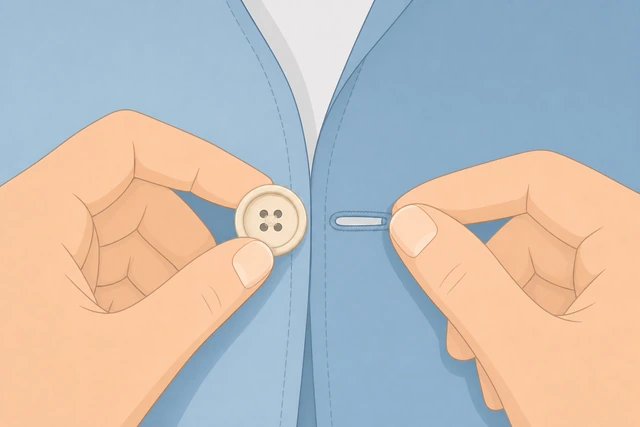
Alignment is the real pass/fail — not just how the stitches look.
- Button the garment.
- Check that it lines up with the placket.
- If it pulls oddly, plan to move it.
- Misaligned? → Button will not align.
The button aligns and closes through the buttonhole.
Do a gentle tug test.
Gentle tug · button stays · no fabric tear.
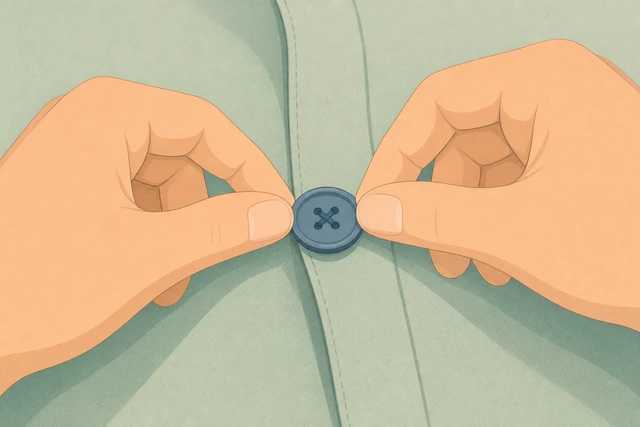
A tug now is better than losing the button outdoors later.
- Tug the button gently upward.
- It should stay put.
- If fabric tears, reinforce or move to stronger cloth.
- Falls off again? → Button falls off again.
The button passes a gentle tug test.
Snip loose ends and check both sides look neat.
Snip whiskers · neat front · neat back · done.
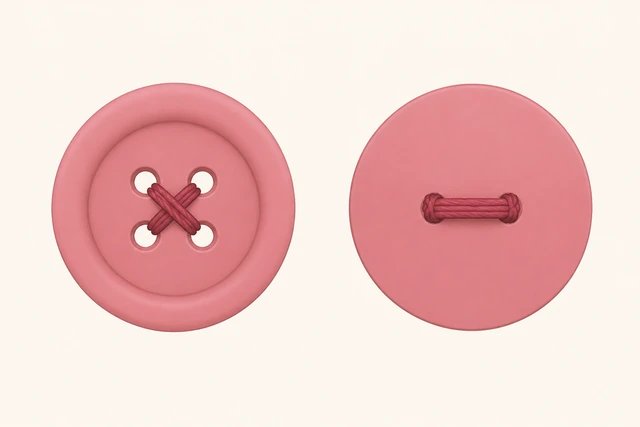
Loose whiskers catch and unravel the repair.
- Trim any remaining thread whiskers.
- Check the button face is straight.
- Check the back knot is tidy.
Both sides look neat and finished.
Button will not alignButton misses the buttonhole or pulls the placket
Unbutton and re-mark using the buttonhole as the guide.
Re-mark through hole · ignore the old wrong spot.
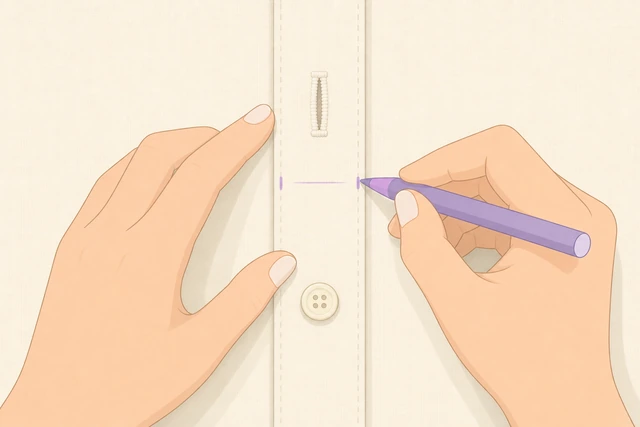
The buttonhole is the truth — not the old off-center sew.
- Close the garment carefully.
- Mark the true center through the hole.
- Pin the new mark.
A corrected mark exists.
Remove the misplaced stitches carefully.
Seam rip or snip old stitches · avoid cutting fabric.
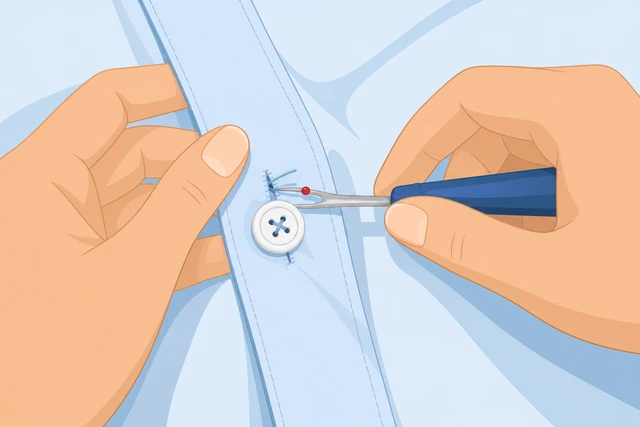
You cannot fix alignment by sewing a second button beside the first.
- Snip threads carefully.
- Pull out the button.
- Clear leftover thread.
The wrong sew is removed.
Sew again on the corrected mark.
Resew on new mark · same stitch method.
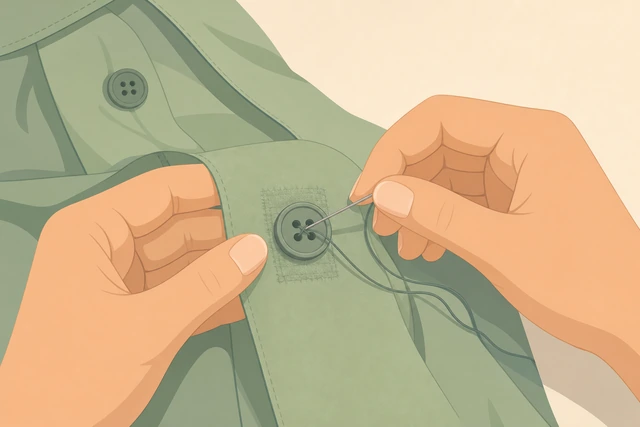
Correct position beats prettier stitches in the wrong place.
- Anchor on the new mark.
- Sew the button as in Start here.
- Knot on the back.
Button is resewn on the corrected mark.
Recheck through the buttonhole before final knot if unsure.
Test align before locking the final knot.
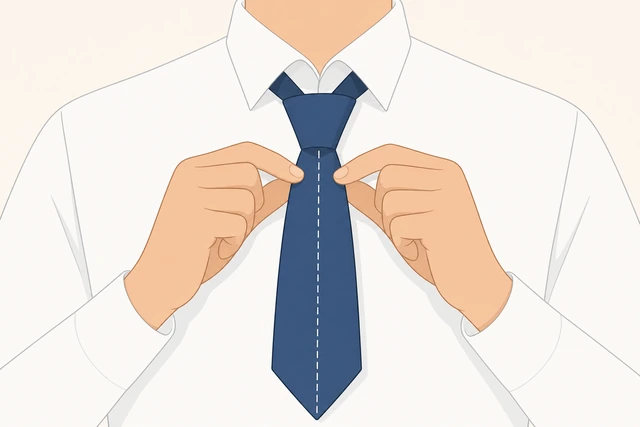
A temporary hold lets you nudge before you commit.
- Hold with a few stitches.
- Test the buttonhole.
- Then finish the knot.
Alignment is confirmed before the final knot.
If the fabric is distorted, ease nearby seams or get tailor help.
Distorted placket · tailor if it will not line up.
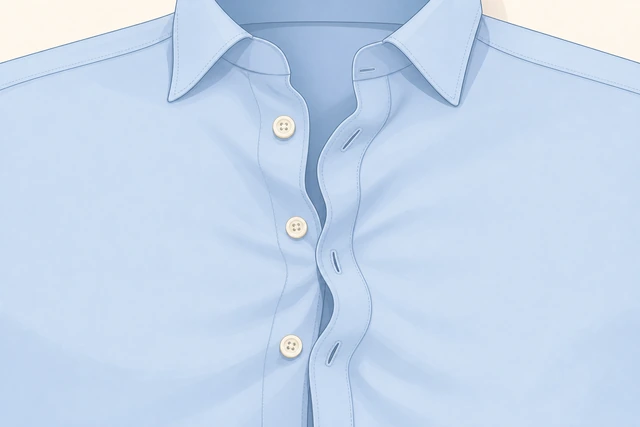
Some garments need more than a button move.
- Check if the placket warped in the wash.
- Try a nearby stronger spot if cloth tore.
- See a tailor for structural issues.
You either aligned the button or escalated correctly.
Thread keeps tanglingThread knots and snarls while sewing
Use a shorter thread length.
Shorter thread · fewer mid-air knots.
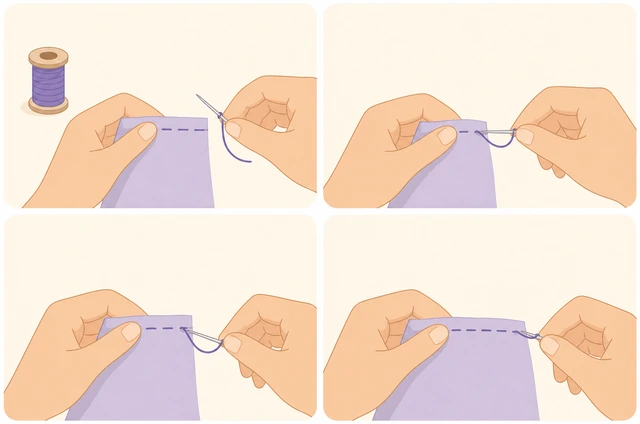
Long thread is the main tangle cause.
- Cut to about 18 inches.
- Rethread if needed.
- Sew slower.
Working thread is shorter.
Condition the thread (beeswax or thread conditioner) if you have it.
Wax/condition · smoother pulls · less fray.
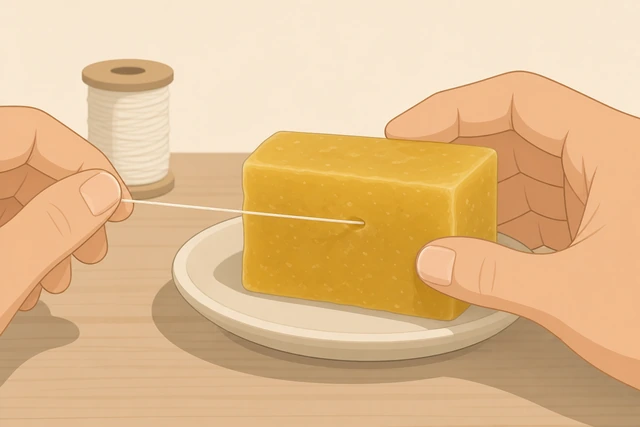
Conditioned thread fights tangles and fray.
- Pull thread through wax/conditioner.
- Smooth it.
- Continue sewing.
Thread is conditioned, or you skip if you have none.
Let the needle hang to untwist every few stitches.
Hang needle · let thread untwist · resume.
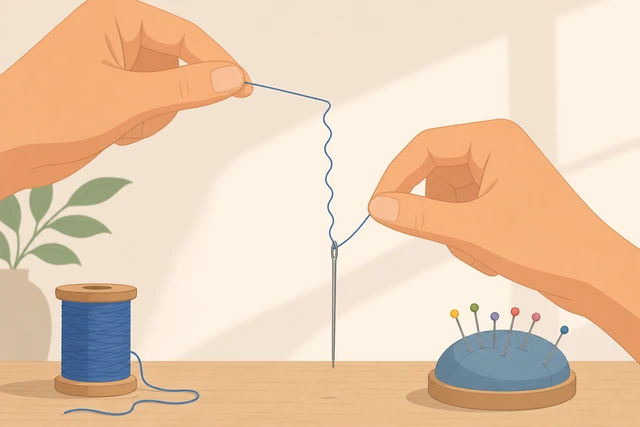
Thread twist builds knots if ignored.
- Pause.
- Let the needle dangle.
- Smooth the thread and continue.
Twist is released.
Sew more slowly and keep the thread from looping under the button.
Slow stitches · no loose loops under button.
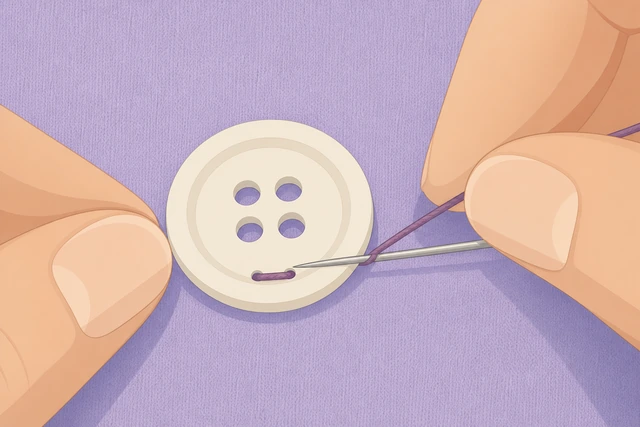
Rushed loops become knots against the button.
- Pull each stitch fully.
- Keep thread path clean.
- Do not yank suddenly.
Stitches stay clean without snarls.
Rethread with a fresh cut end if the tip is shredded.
Fresh cut · rethread · restart passes.
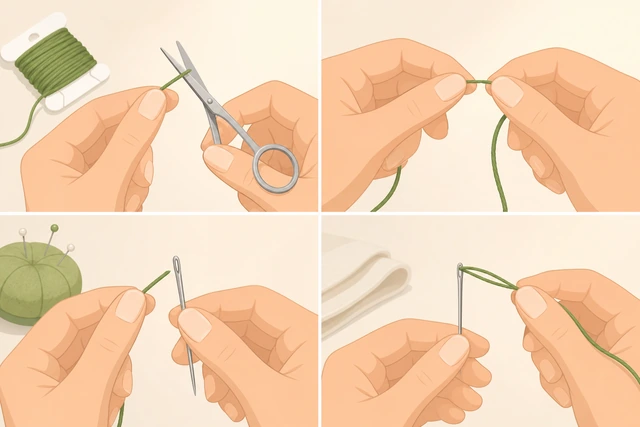
A shredded tip catches everything.
- Cut a clean end.
- Rethread.
- Continue remaining passes.
Needle is rethreaded with a clean tip.
Button falls off againButton will not stay after sewing
Sew more passes with stronger thread.
More passes · stronger thread · rebuild.
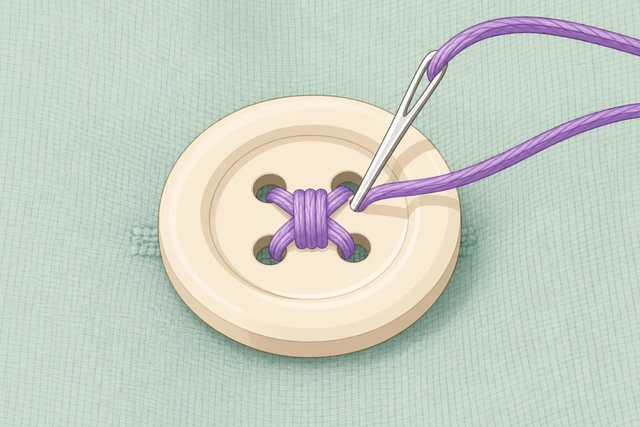
Too few loops is the most common repeat failure.
- Use all-purpose or button/craft stronger thread.
- Do 6+ passes.
- Knot firmly.
The button has more securing passes.
Add a small reinforcement (extra fabric or patch) on the back if cloth is weak.
Back reinforcement · spreads stress · stops tear-out.
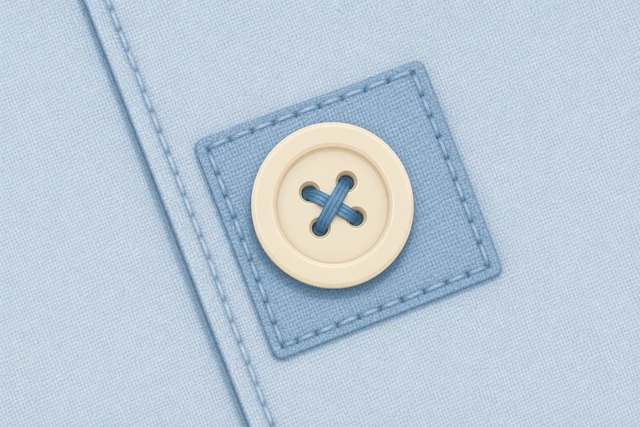
Buttons tear out of rotten cloth even with good stitches.
- Place a small scrap behind the sew area if fabric is thin/torn.
- Sew through both layers.
- Knot on the back.
Weak fabric is reinforced, or was already sound.
Check you are not sewing only into a few broken yarns.
Solid cloth under button · not a frayed hole only.
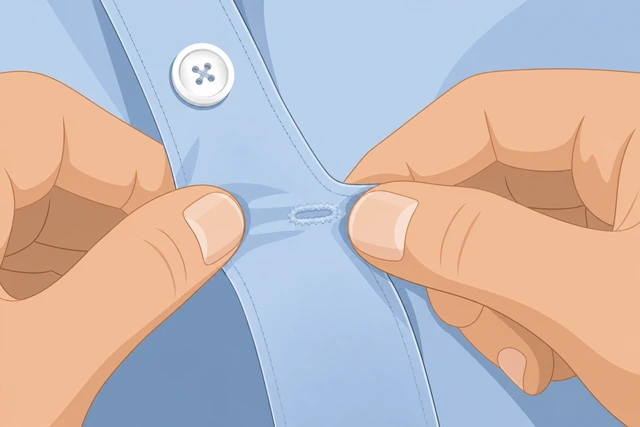
Sewing into a hole rim fails again immediately.
- Inspect the cloth.
- Move slightly if it is shredded.
- Then resew.
The sew lands in sound fabric.
Build a proper thread shank on thick garments.
Wrap shank · then knot · button can clear thick layers.
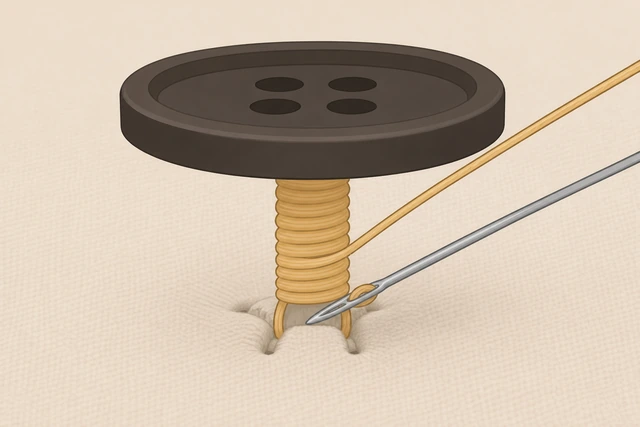
Coat buttons need stand-off or they rip out from leverage.
- After hole passes, wrap thread under the button to make a stem.
- Secure.
- Test the buttonhole.
A shank exists on thick garments, or is not needed on thin ones.
Replace a cracked button; stop reusing a damaged one.
New button if cracked · old damage causes repeat loss.
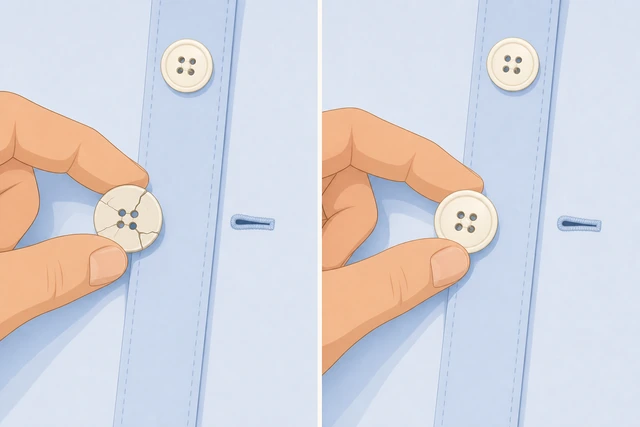
Cracked buttons shred thread.
- Swap to an intact button.
- Resew.
- Keep a spare.
The button itself is sound.
If fabric keeps tearing, a tailor may need to rebuild the area.
When to get help
- Ask someone with better near vision to help with the eye of the needle.
- See a tailor if the fabric under the button is torn or rotten.
When This Doesn't Work
- Fabric is shredded under the button. Reinforce or see a tailor.
- Specialty shank/covered buttons. Match the original hardware style.
- Leather or coated fabrics. May need an awl and stronger methods.
Warnings
- Do not sew through your finger — keep digits clear under the fabric.
- Unplug or put away kids' reach for needles.
- Not a guide for industrial machines.
Tips
- Keep spare buttons in a small bag.
- Match thread color as close as you can.
- A toothpick under the button while sewing can help create a shank.
FAQ
How many times should I stitch through?
Usually 4–6 passes for a 2-hole button is enough if the knot is solid.
Double thread or single?
Double thread is common for buttons because it is stronger.
What if I lost the original button?
Check inside the garment for a spare, or buy the closest match.
Comments
Questions, corrections, and what worked for you. Comments are reviewed before they appear.