How to Do a Proper Push-Up
Learn a proper push-up: brace a plank, track elbows, lower with control, and use regressions when form breaks. Read one step at a time. Start with preflight. Hips sag? Hips sag / pike. Elbows flare? Elbows flare. Cannot do one? Cannot do one.
Tips for reading this guide
- One step at a time. Read the green caption, the Why line, then the bullets.
- Move on when the green done line is true — then go to the next step.
- Regress early. Clean knee/elevated beats ugly floor reps.
- Cannot do one? See Cannot do one.
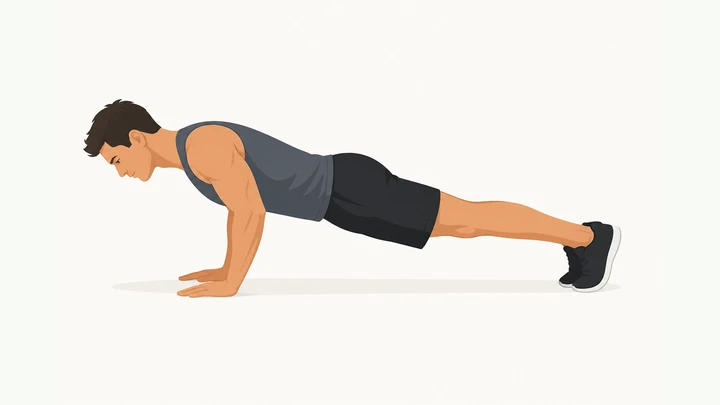
Things You'll Need
- Clear floor space
- Optional sturdy bench or box for elevated push-ups
- Comfortable athletic clothes
- Optional phone to film a side-view form check
Where are you stuck?
Follow Start here for a proper push-up. Jump to a branch for hip line, elbow flare, or progressions.
Start herePlank → brace → elbows → lower → lockout → quality sets
Preflight — clear floor, wrists OK, pick floor / knee / elevated start.
Clear floor · wrists OK · choose floor, knee, or elevated start.
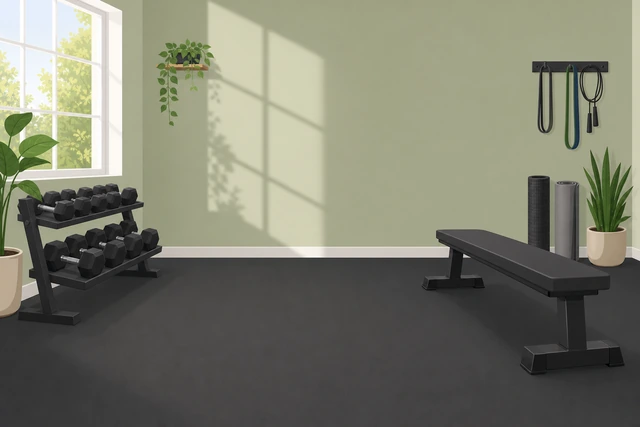
Choosing an honest starting version prevents grinding broken reps that teach bad form.
- Clear floor space.
- If wrists bother you, try fists or parallettes later — start pain-free.
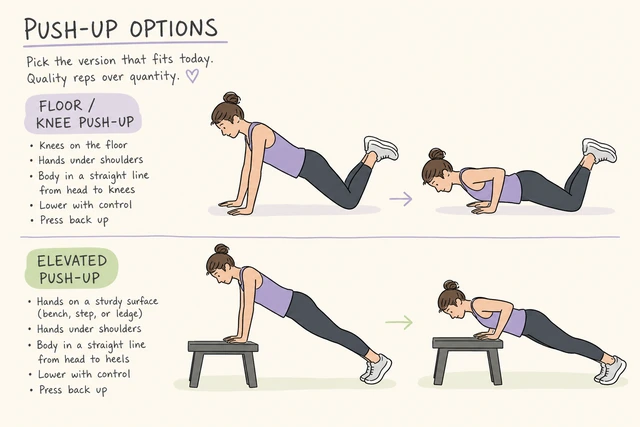
- Pick floor, knee, or elevated hands based on whether you can do one clean rep.
- Cannot do one yet? → Cannot do one.
Setup is chosen and the floor is clear.
Set a high plank: hands under shoulders, body long.
Hands under shoulders · feet set · hold a straight line.
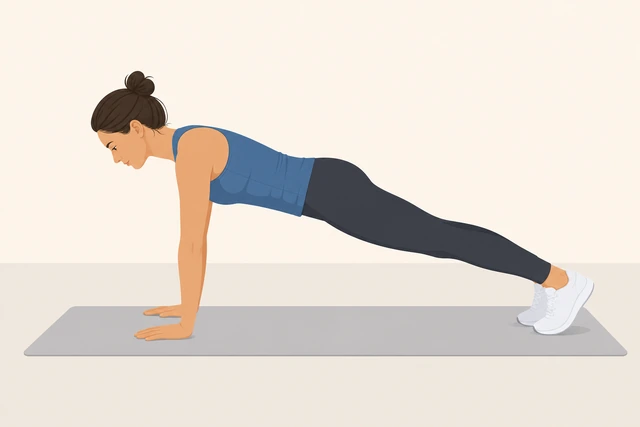
Push-ups are moving planks — a crooked start guarantees a crooked rep.
- Place hands under shoulders.
- Extend legs; feet about hip-width.
- Hold 5–10 seconds without hips sagging.
You hold a straight high plank for 5–10 seconds.
Brace: squeeze glutes and keep ribs down; neck neutral.
Glutes on · ribs down · neck neutral · board-like body.
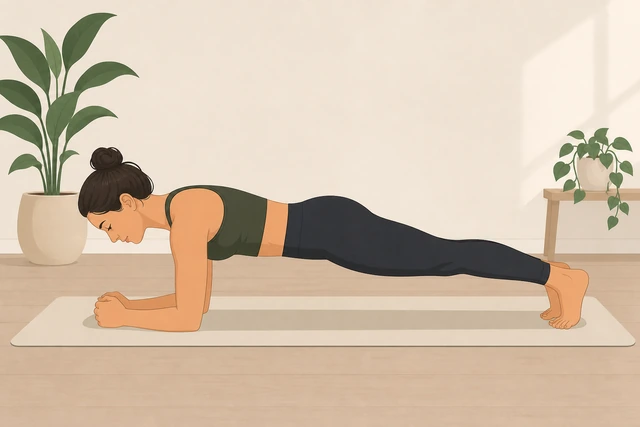
Bracing stops the banana-back sag that dumps stress into the low back and shoulders.
- Squeeze glutes lightly.
- Think ribs toward hips.
- Look at the floor a little ahead — do not crank the neck up.
The body feels like one rigid board.
Set hands and wrists: palms flat, fingers forward or slightly out.
Palms flat · fingers forward/slight out · wrists stacked.
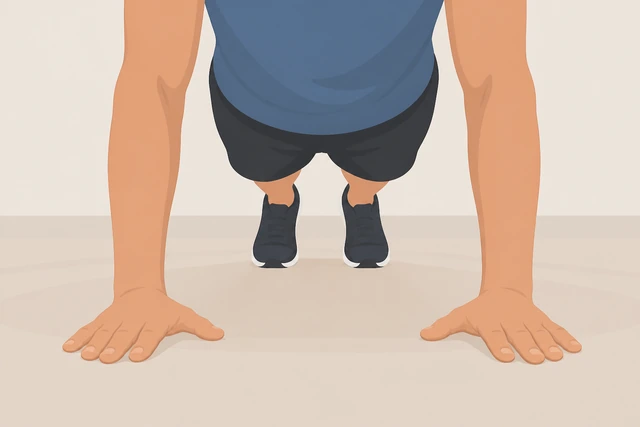
Collapsed wrists and hands too far forward make pressing painful and shallow.
- Spread fingers for balance.
- Keep palms flat.
- Stack wrists under shoulders, not far ahead.
Hands and wrists feel stable under the shoulders.
Set elbow path about 45° from the torso — not pinned, not flared to 90°.
Elbows ~45° · not chicken-wing 90° · not glued to ribs.
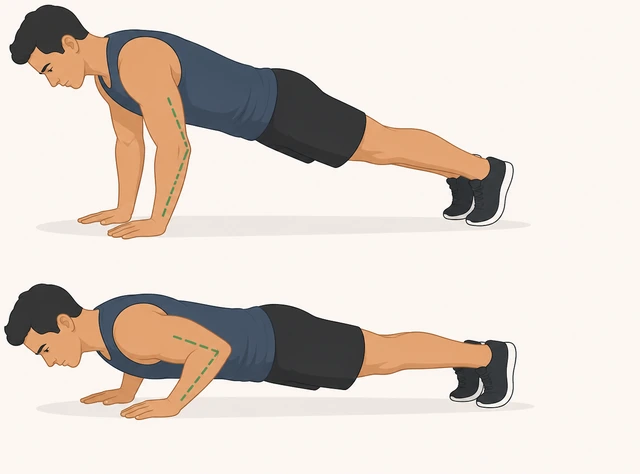
Wide flared elbows overload the front shoulder; a moderate track shares load better.
- Practice a small lower watching elbow angle.
- Aim roughly halfway between pinned and T-wing.
- Keep shoulders away from ears.
- Elbows wing out? → Elbows flare.
Elbows track near 45° on a practice lower.
Lower with control for about 2–3 seconds.
Slow lower · hips stay aligned · no drop.
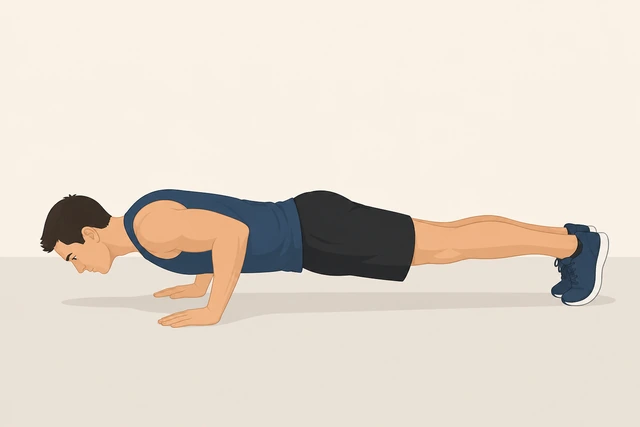
Controlled eccentrics build strength and keep the body line honest.
- Bend elbows and lower the whole board together.
- Take about 2–3 seconds.
- Do not let hips sag or pike.
- Hips sag or pike? → Hips sag / pike.
Chest lowers with hips still aligned.
Reach an honest depth: chest near floor or upper arms about parallel.
Honest depth · no bounce · stay braced.
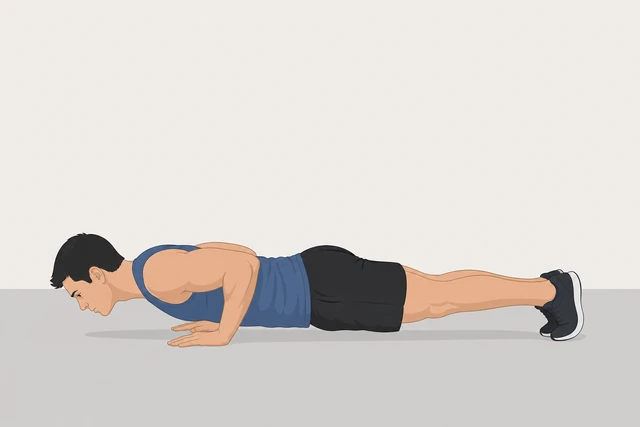
Shallow ego reps do not train a full push-up — depth with control is the standard.
- Lower until chest is near the floor or upper arms are about parallel.
- Do not bounce the chest.
- Keep the brace.
You reach a clear honest depth without collapsing.
Press up to full lockout without piking the hips.
Press up · full elbow lockout · hips stay level.
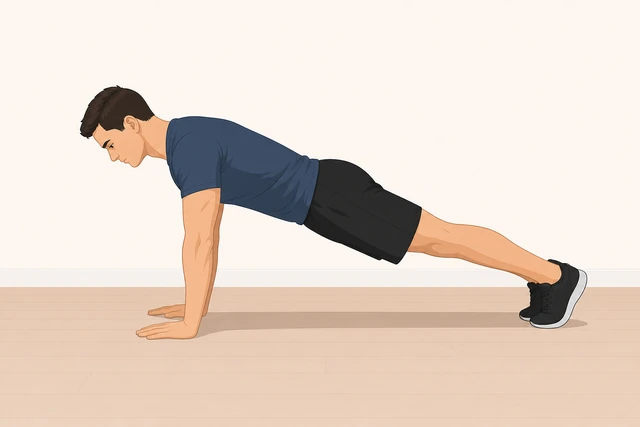
Stopping short or piking up steals the hard part of the press.
- Drive the floor away.
- Straighten arms fully.
- Keep glutes lightly on so hips do not shoot up.
Arms lock out with the body still board-like.
Breathe: inhale on the way down, exhale on the way up.
Inhale down · exhale up · do not hold the whole set.
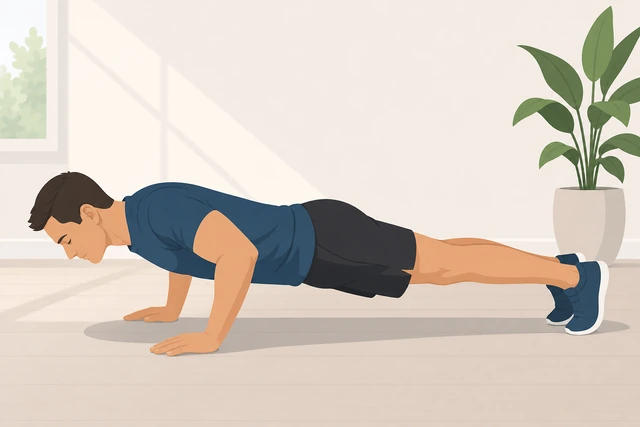
Breath-holding spikes tension and makes sets fall apart early.
- Inhale while lowering.
- Exhale while pressing.
- Keep a comfortable rhythm.
You can complete reps without holding your breath the entire set.
Do a quality set of 3–8 clean reps; stop before form breaks.
3–8 clean reps · stop before sag or flare.
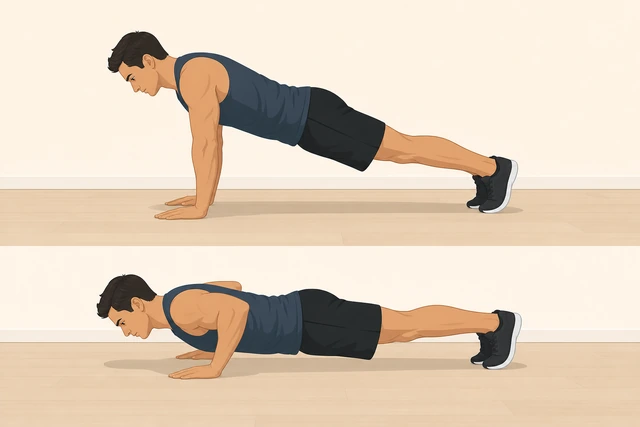
Ugly grind reps teach the wrong pattern — quality beats sloppy volume.
- Aim for 3–8 reps that meet the standard.
- Stop at the first sag, pike, or flare you cannot fix.
- Rest as needed.
You finished a set of clean reps and stopped before form broke.
If you fail mid-set, switch to knee or elevated push-ups immediately.
Form breaks · drop to knee or elevated · keep reps honest.
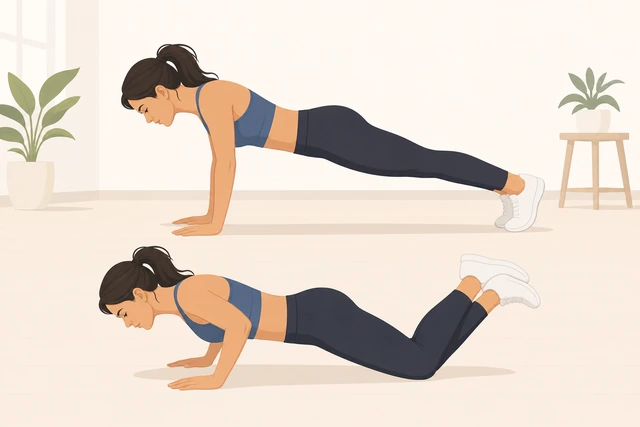
Regression mid-set protects the pattern better than collapsed floor reps.
- Drop knees or elevate hands on a bench.
- Finish remaining reps clean.
- Do not bounce through broken floor reps.
- Still cannot get one floor rep? → Cannot do one.
Failed floor reps were replaced with an honest regression.
Rest and repeat for 2–4 total sets.
Rest · 2–4 quality sets · same standard each set.
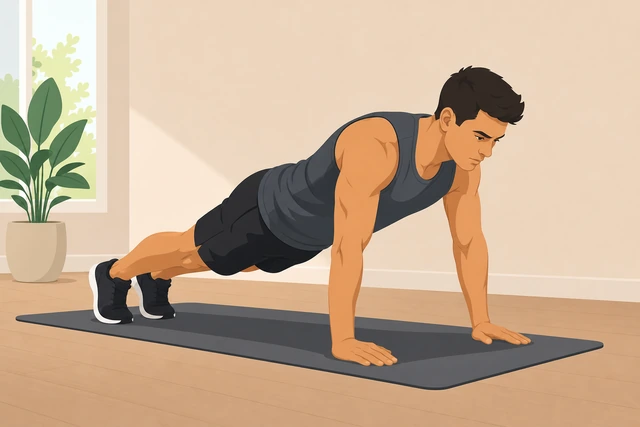
Multiple short quality sets beat one junk set to failure.
- Rest 60–120 seconds.
- Repeat for 2–4 sets total.
- Keep the same form standard.
You completed 2–4 quality sets.
Log which version worked for next time.
Note floor / knee / elevated · reps · one cue.
A one-line log keeps next session progressive instead of random.
- Write which version you used.
- Record reps and sets.
- Note one cue that helped (brace, elbows, depth).
A short training note exists.
Hips sag / pikeHips sag toward floor or pike up during the rep
Stop the set and re-squeeze glutes in a plank hold.
Pause · squeeze glutes · ribs down · retest lower.
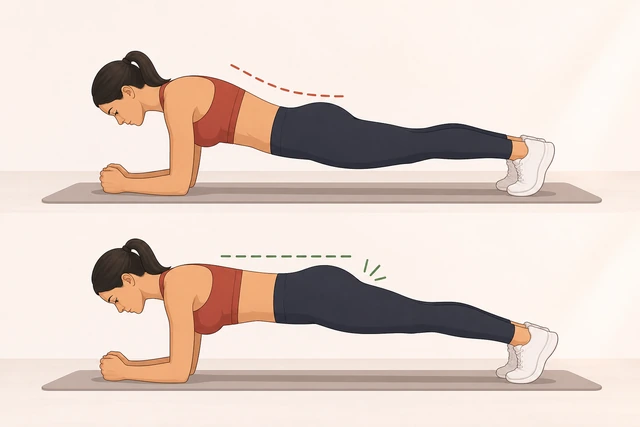
Sag is usually a brace failure first, not a strength mystery.
- Hold high plank.
- Squeeze glutes.
- Retry a slow lower.
Brace holds without sag on a short lower.
Reduce range of motion until the line stays straight.
Shorter ROM · straight line · build back depth later.
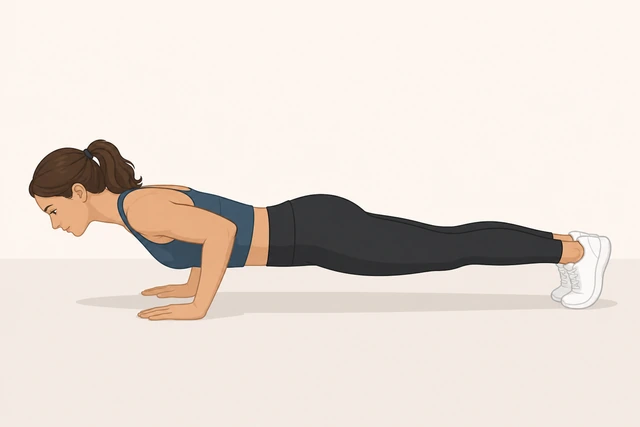
Full depth with a banana back is worse than honest partials with a brace.
- Lower only as far as the line stays clean.
- Stay controlled.
- Add depth across sessions.
Body line stays straight through your current ROM.
Elevate the hands on a bench or sturdy box.
Hands elevated · easier angle · keep full body line.
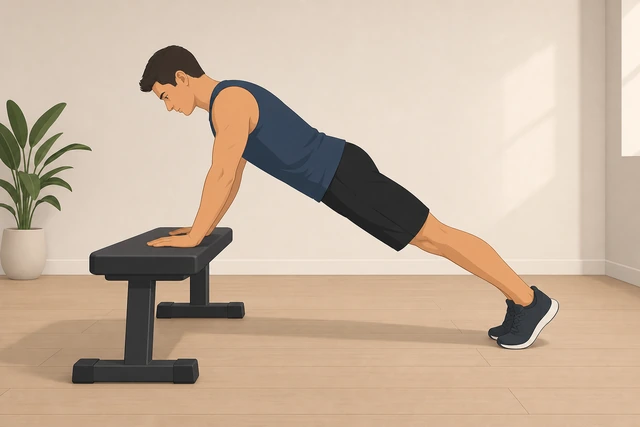
Elevation reduces load so you can practice the board shape.
- Use a sturdy bench.
- Do clean elevated reps.
- Lower the surface over weeks.
Elevated reps keep hips from sagging.
Film a side view for one rep.
Side video · check hips · fix what you see.
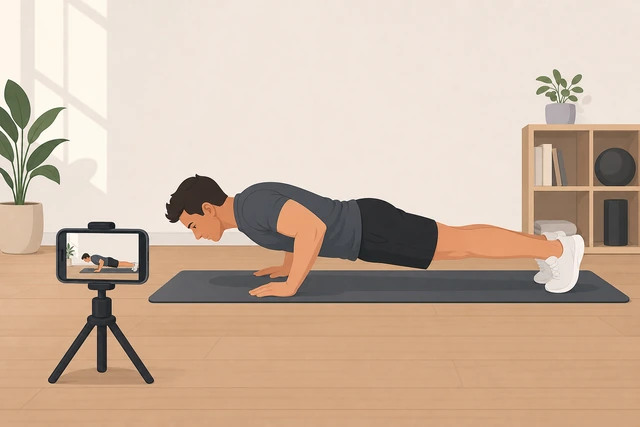
You often cannot feel a small sag — video makes it obvious.
- Record from the side.
- Look for hip dip or pike.
- Fix the bigger fault first.
You identified sag or pike on video.
Stop if low-back pain appears.
Sharp or building low-back pain · stop · regress harder.
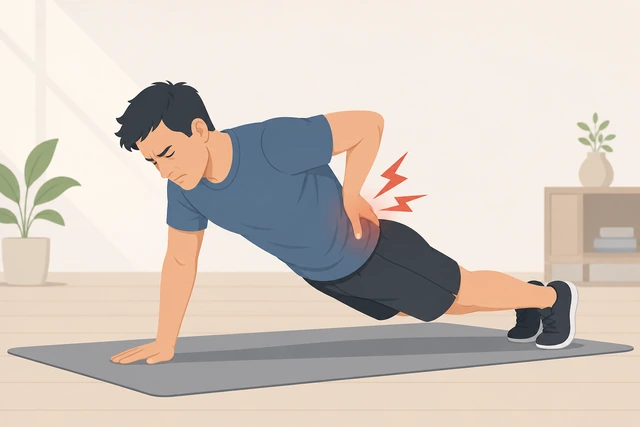
Pain is not a form cue — continuing can turn a brace issue into an injury.
- Stop the session.
- Switch to elevated or plank holds only.
- Seek care if pain persists.
You stopped appropriately if back pain appeared.
Low-back pain lasting days — clinician.
Elbows flareElbows wing out toward a T-shape
Reset hands under the shoulders.
Hands under shoulders · not far forward · retest.
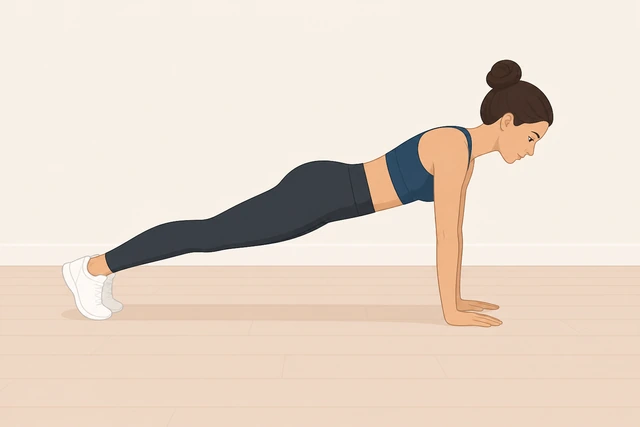
Hands too far forward often forces elbows to wing.
- Shift hands under shoulders.
- Try one slow rep.
- Watch elbows.
Hands are stacked under shoulders.
Cue elbows to about 45° on purpose.
Aim 45° · avoid T-shape wings · moderate track.
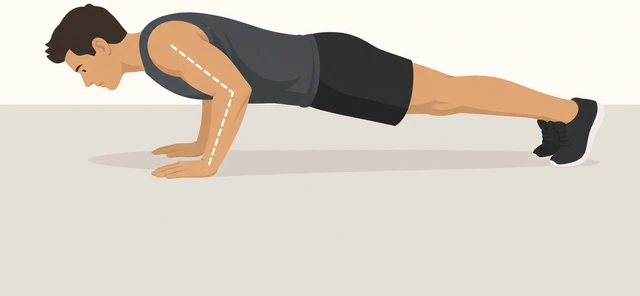
An intentional track beats hoping elbows self-correct under fatigue.
- Think arrow shape, not T.
- Keep shoulders packed down.
- Use fewer reps.
Elbows stay near 45° for a short set.
Switch to an easier regression to groove the path.
Knee or elevated · groove elbow path · then reload.
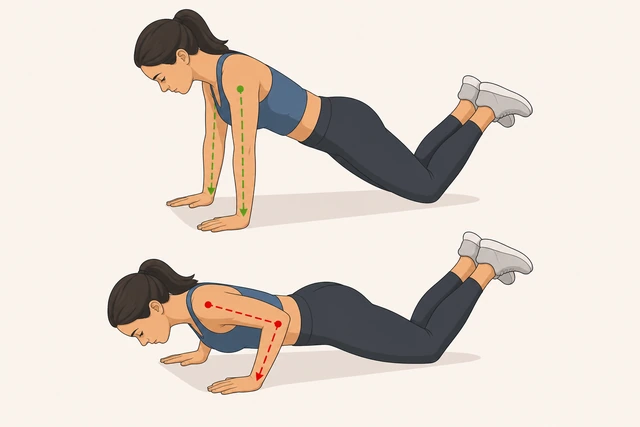
You cannot learn elbow path on reps that are too heavy.
- Use knee or elevated.
- Focus only on elbow angle.
- Return to harder version later.
Elbow path stays clean on the regression.
Keep shoulders away from the ears.
Shoulders down · neck long · no shrug.
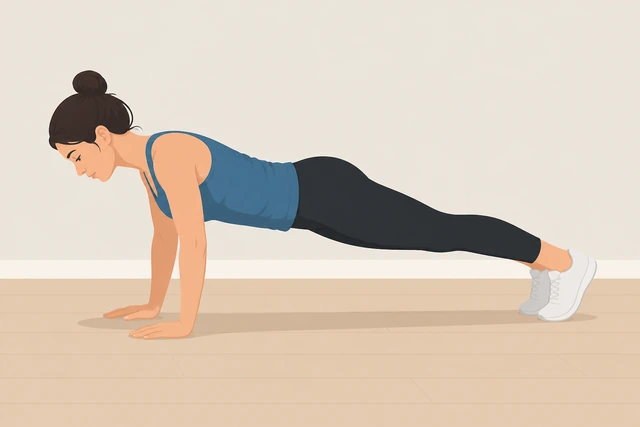
Shrugging plus flaring stacks shoulder irritation.
- Gently pack shoulders down.
- Lengthen the neck.
- Recheck elbows.
Shoulders stay down while elbows track.
Stop for sharp front-shoulder pain.
Sharp front shoulder pain · stop · do not push through.
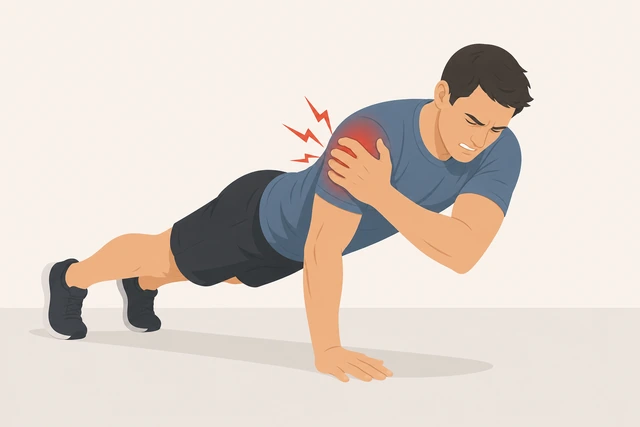
Pushing through sharp anterior shoulder pain is how niggles become layoffs.
- Stop pressing.
- Rest and regress.
- Get checked if pain remains.
You stopped on sharp shoulder pain.
Persisting shoulder pain — clinician.
Cannot do oneCannot complete one clean floor push-up yet
Start with wall or high-surface elevated push-ups.
Wall or high counter · full body line · clean reps.
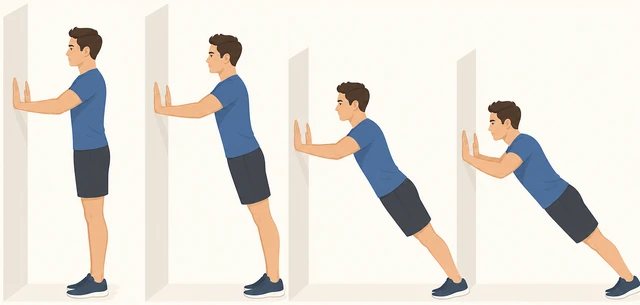
Wall/high elevation lets you learn the pattern with manageable load.
- Hands on wall or high counter.
- Do 5–8 clean reps.
- Keep the board shape.
You can do clean wall/high elevated reps.
Move to a lower sturdy surface (bench/box).
Lower the surface · keep form · add reps.
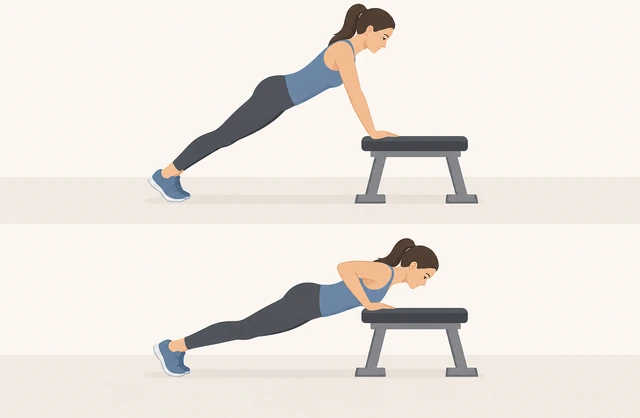
Progressively lowering the hands increases load without jumping to the floor too soon.
- Use a bench.
- Build to 2–3 sets of clean reps.
- Only then go lower.
Bench elevated sets are clean.
Practice knee push-ups with the same elbow and brace cues.
Knees down · brace · same elbow track · honest depth.
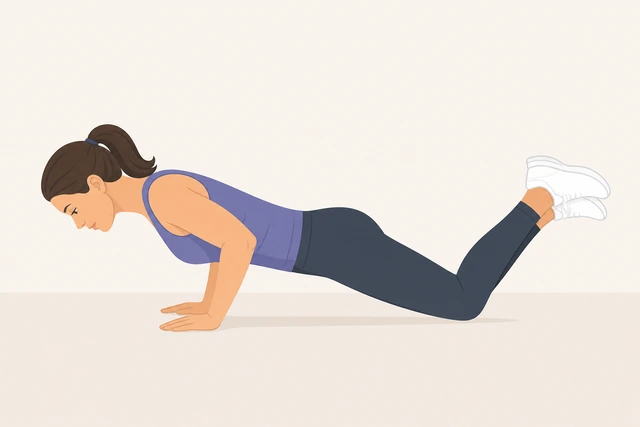
Knee push-ups are a valid strength step — not a cheat if form is clean.
- Keep a line from knees to head.
- Use the same 45° elbows.
- Do quality sets.
Knee push-ups meet the form standard.
Build plank holds to 20–40 seconds.
High plank holds · 20–40 seconds · no sag.
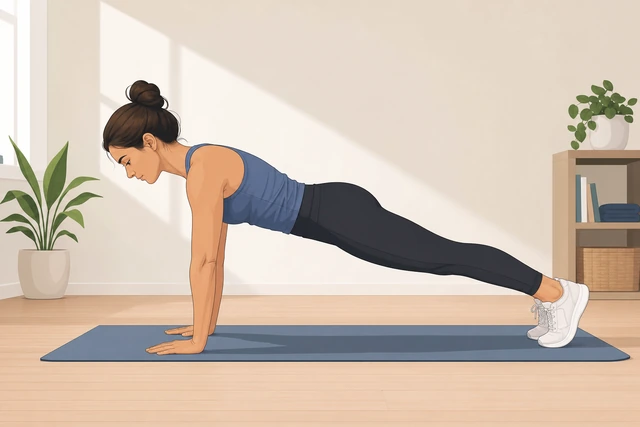
Plank capacity supports the body line when you return to floor push-ups.
- Hold high plank with brace.
- Build toward 20–40 seconds.
- Stop if hips sag.
You can hold a clean plank 20–40 seconds.
Attempt one floor rep only after elevated/knee sets feel easy.
When regressions feel easy · try one floor rep · stay honest.
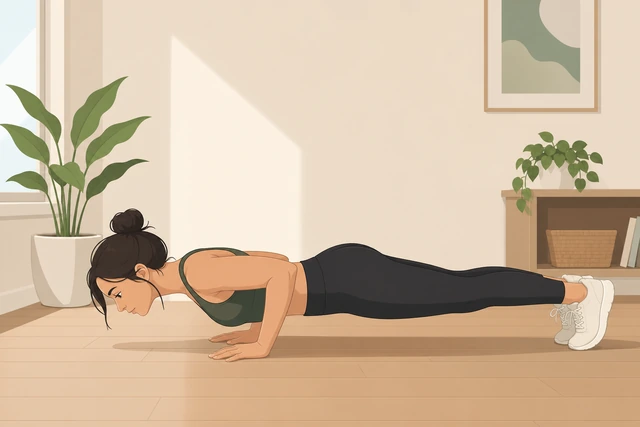
One clean floor rep beats ten collapsed ones — earn it with progressions.
- Warm up with elevated or knee.
- Try one floor rep.
- If it fails cleanly, stay on regressions this week.
You either hit one clean floor rep or stayed on an honest regression.
Pain or medical limits — get clearance before loading.
When to get help
- Ask someone to film a side view.
- See a clinician for sharp shoulder or back pain.
- Get clearance after injury before heavy pressing.
When This Doesn't Work
- Wrist pain on flat palms. Try fists on a mat or parallettes after clearance.
- Shoulder injury history. Get clearance before deep floor pressing.
- You only want chest-to-floor bouncing. That is not this standard — control first.
Warnings
- Stop for sharp shoulder or low-back pain.
- Do not count collapsed reps.
- Use a sturdy elevated surface — no wobbly chairs.
- Not medical advice for injuries.
Tips
- Film from the side once a week.
- Elevate hands before you sacrifice form.
- Pair with easy plank practice on off days.
FAQ
Are knee push-ups cheating?
No — they are a valid progression if the body line and elbow path stay clean.
How deep should I go?
Toward chest near floor or upper arms about parallel, without losing the brace.
How many reps should beginners do?
3–8 clean reps per set is enough. Stop before form breaks.
What if my wrists hurt?
Shorten sessions, check hand placement, and consider fist or parallettes options after you rule out injury.
Comments
Questions, corrections, and what worked for you. Comments are reviewed before they appear.