How to Replace a Laptop Hard Drive with an SSD
Upgrade a Windows laptop from a hard drive to an SSD by cloning the old drive, then swapping the physical drive — about 30 minutes of hands-on work plus 30–90 minutes of cloning time. You will back up first, save your BitLocker key, clone with source and destination confirmed, shut down fully, swap the drive, and fix the boot order. Read one step at a time. Start with the preflight. Powers on but no Windows? See won't boot. Clone errors out? See clone fail. M.2 slot or no accessible bay? See M.2 or sealed.
Tips for reading this guide
- One step at a time. Read the green caption, the Why line, then the bullets.
- Move on when the green done line is true — then go to the next step.
- Backup first. Step 3 is not optional — a clone or swap can fail, and a real backup is your only fallback.
- BitLocker is Windows's built-in drive encryption. If it's on, save the recovery key in Step 4 before you do anything else.
- Source means your current drive; destination means the new, empty SSD. Mixing these up in the cloning tool erases the wrong disk.
- Won't boot, clone errors, or M.2/sealed laptop? Jump to the matching branch below.
- Need a helper? Ask someone you trust to read the small print on screws and BIOS menus while you handle the parts.
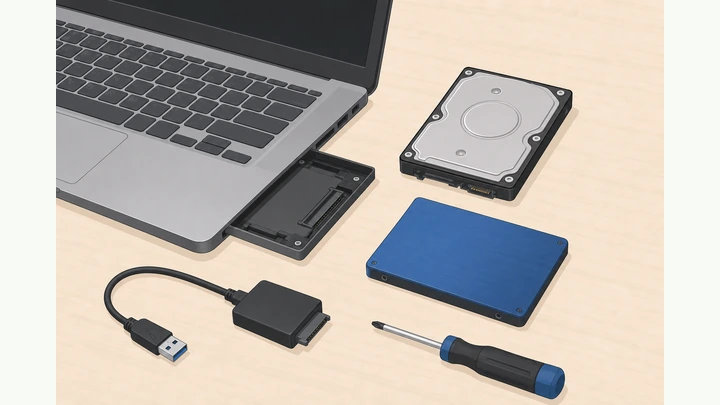
Things You'll Need
- New SSD matching your laptop's exact interface (2.5" SATA or M.2 length/key) with enough capacity
- USB-to-SATA (or USB-to-M.2) adapter or enclosure for cloning the new drive externally
- Phillips screwdriver sized for your laptop's case screws (often a small #0 or #1)
- Cloning software (for example Macrium Reflect Free, or your SSD maker's migration tool)
- External drive or cloud storage for your Step 3 backup
- Your BitLocker recovery key, saved somewhere separate from this laptop
- A clean, well-lit, static-safe work surface (anti-static wrist strap if you have one)
- About 60–90 quiet minutes, mostly waiting during the clone
Where are you stuck?
Follow Start here for a full backup-clone-swap upgrade. Jump to a branch if the new SSD won't boot, the clone fails, or your laptop uses M.2 or has no accessible bay.
- I want to upgrade my laptop's drive from scratch Backup · BitLocker key · clone · swap · boot order
- It powers on after the swap but won't reach Windows Boot order · Startup Repair · BitLocker key
- The cloning software errors out or warns about space Verify source≠destination · free space · reclone
- My laptop uses M.2 or has no accessible drive bay M.2 length/key install · or stop for sealed units
Start hereBackup → BitLocker key → clone (source≠destination) → cold shutdown → swap → boot order → confirm
Preflight — all three checks must be YES before you clone anything.
Backup done · BitLocker key saved · right SSD, tools, and AC power ready.
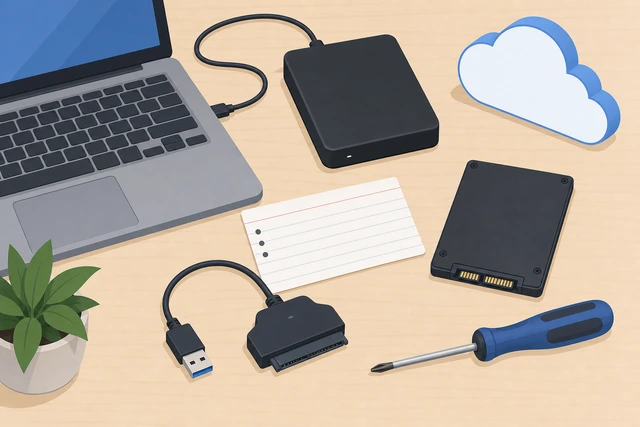
Skipping backup or the encryption key turns a routine upgrade into a real data-loss risk.
- Backup done? Important files are copied to an external drive or cloud — not just relying on the clone.
- BitLocker key saved? If Windows encryption is on, you have the recovery key written down or in your Microsoft account.
- Right tools ready? New SSD matches the old drive's interface, plus a Phillips screwdriver, USB adapter, AC power, and a static-safe touch to bare metal.
All three checks are YES — backup done, BitLocker key saved, and the right SSD plus tools ready.
No accessible drive bay, or your laptop uses M.2? Step 1 will confirm — see M.2 or sealed if so.
Confirm your laptop model supports a DIY drive swap.
Check exact model's manual · find storage door or panel · note 2.5" SATA, M.2, or sealed.
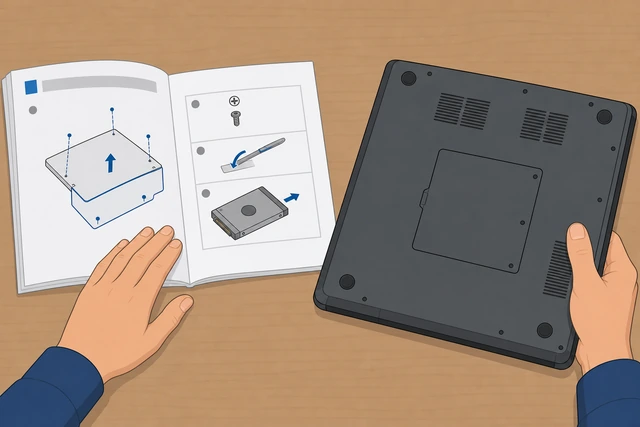
Opening a sealed ultrabook that has no swappable drive wastes time and can void a warranty for nothing.
- Look up your exact model's service manual or support page for a removable storage door or bottom panel.
- Check whether the bay holds a 2.5" SATA drive, an M.2 stick, or is sealed or soldered.
- If there is no accessible bay or the storage is soldered, stop here — see the branch below.
You found your model's manual and confirmed an accessible 2.5" SATA bay, or noted M.2/sealed instead.
No accessible bay, or drive is M.2/soldered? → M.2 or sealed.
Buy a new SSD that matches the interface and has enough room.
Match interface exactly · capacity ≥ used space · get a matching USB adapter.
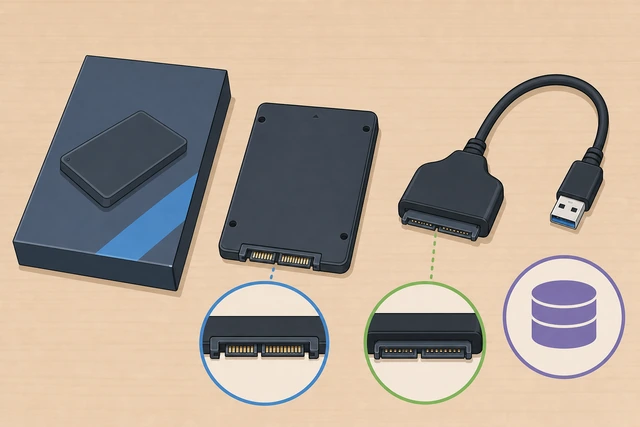
A mismatched interface won't connect, and a too-small SSD makes cloning fail partway through.
- Match the interface exactly: 2.5" SATA for a SATA bay, or the correct M.2 length and key for an M.2 slot.
- Pick a capacity at least as large as the space actually used on the old drive, with headroom to spare.
- Also buy a USB-to-SATA (or USB-to-M.2) adapter sized for the new SSD if you don't already own one.
The new SSD's interface and capacity are confirmed correct, and you have a USB adapter for it.
Back up your important files before touching anything.
Copy must-keep files to external drive or cloud · verify you can open them · clone is not a backup.
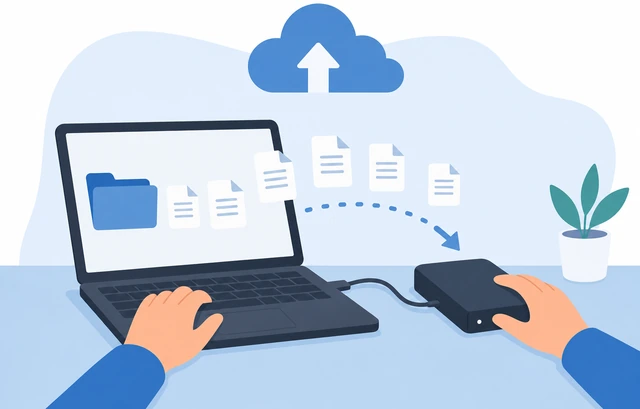
Cloning and drive swaps can fail partway through; a real backup is the only guaranteed way to keep files safe.
- Copy documents, photos, and other must-keep files to an external drive or a cloud service.
- Don't skip this because you plan to clone — a clone is not a separate backup you can fall back on.
- Confirm you can actually open a few backed-up files from the backup location, not just see the file names.
Your must-keep files exist in a second location and you verified you can open them there.
Suspend or turn off BitLocker, or save the recovery key.
Check device encryption · suspend it or save the key · write the key somewhere separate.
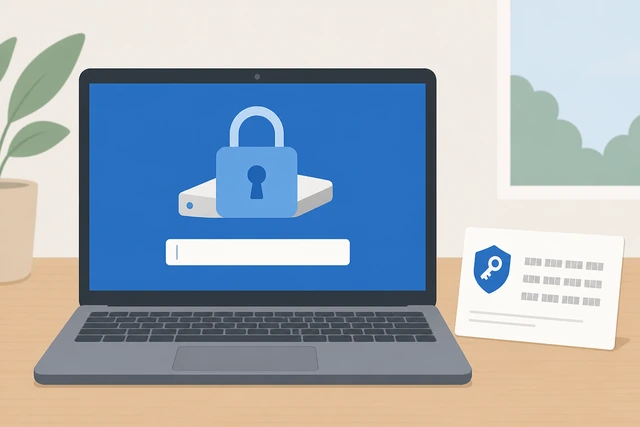
An encrypted drive can lock you out after a hardware change unless you have the key or paused encryption first.
- Open Settings and search "BitLocker" or check Device encryption to see if drive encryption is on.
- If it's on, either suspend BitLocker for the swap or write down the recovery key somewhere separate from this laptop.
- Skipping this is the top cause of a cloned drive that shows a scary blue key-entry screen later.
BitLocker is suspended or off, or you have the recovery key saved somewhere safe and separate.
Locked out with a key screen later? → Won't boot.
Connect the new SSD to your laptop with the USB adapter.
Plug SSD into adapter · allow initialize if asked · confirm full capacity in Disk Management.
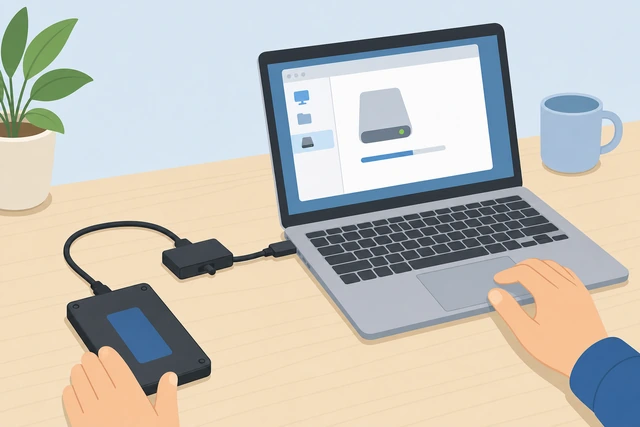
Confirming the SSD is visible and correctly sized now avoids cloning to the wrong or unready device.
- Plug the new SSD into the USB-to-SATA adapter, then plug the adapter into a laptop USB port.
- If Windows asks to initialize the new disk, allow it — this prepares a blank drive and does not touch your old data.
- Open Disk Management and confirm the new SSD shows up with its full capacity.
The new SSD appears in Disk Management with the correct capacity, ready as an empty destination.
Install cloning software and clearly identify source vs. destination.
Install cloning tool · label source (old drive) vs destination (new SSD) · double-check before proceeding.
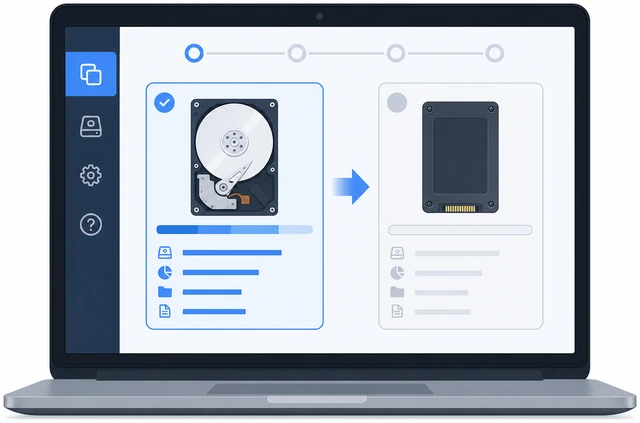
Cloning software overwrites the destination completely — a swapped label wipes the wrong drive.
- Install a cloning tool such as Macrium Reflect Free or the SSD maker's own cloning app.
- In the tool, identify which disk is the source (current system drive) and which is the destination (new, empty SSD).
- Double-check the destination is the new SSD, not your old drive — the wrong direction erases the wrong disk.
Source and destination are clearly identified, and the destination is confirmed to be the new empty SSD.
Wrong disk selected, or unsure which is which? → Clone fail before you click start.
Run the full clone, including the EFI/system partitions, and wait it out.
Clone all partitions · stay on AC power, no sleep · wait for a completed, successful report.
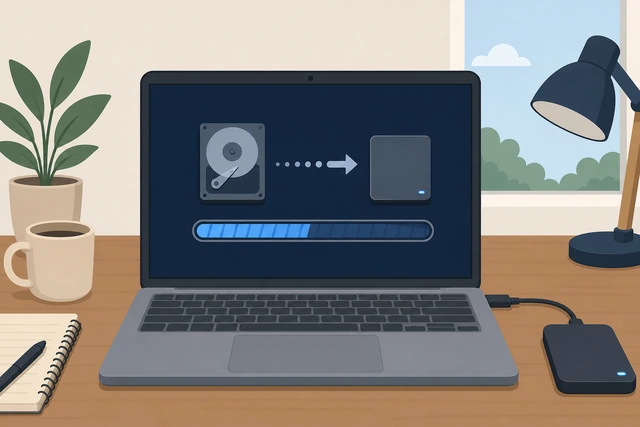
Missing the tiny boot partitions is the most common reason a cloned drive won't start Windows.
- Start the clone and choose to copy all partitions, including the small EFI or system reserved partitions.
- Keep the laptop on AC power and don't let it sleep, and don't unplug the USB adapter mid-clone.
- Wait for the tool to report a completed, successful clone before you touch anything else.
The cloning tool reports the clone finished successfully with all partitions copied.
Clone errors out, or capacity too small? → Clone fail.
Shut down completely — not sleep — and disconnect power.
Full shutdown, not sleep · unplug AC · remove battery if removable · hold power 5 sec.
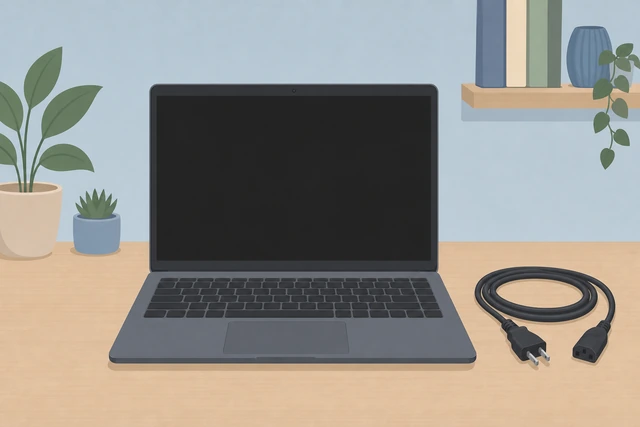
Opening a laptop that's still powered, sleeping, or has a live battery risks a short or component damage.
- Shut down Windows fully from the Start menu; do not use Sleep or Hibernate.
- Unplug the AC adapter and, if your laptop has a user-removable battery, take it out too.
- Press and hold the power button for about 5 seconds to drain any residual charge.
The laptop is fully shut down, unplugged, and the battery is removed if it's removable.
Open the drive bay and remove the old drive.
Ground yourself first · remove panel screws · unclip old drive carefully.
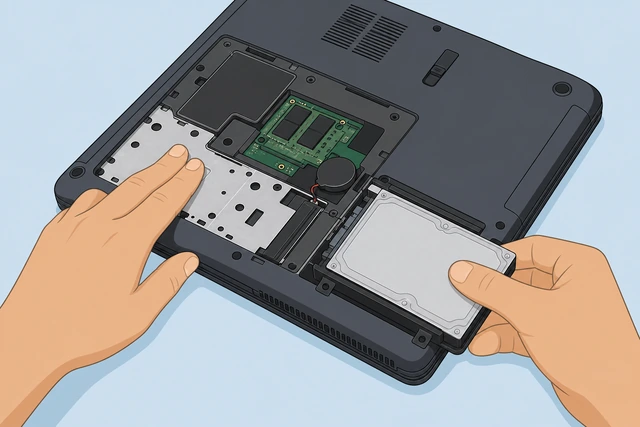
Static discharge can silently damage components, and rushing the old drive out can bend a delicate connector.
- Touch a bare metal part of the laptop chassis (or use an anti-static wrist strap) to ground yourself first.
- Remove the marked screws and lift off the access panel to expose the drive bay.
- Unclip or unscrew the old drive from its caddy or connector and set it aside carefully.
The access panel is off and the old drive is out of its bay, disconnected and set aside.
Mount the new SSD in the same caddy and orientation, then close up.
Move caddy to new SSD · seat same orientation · replace panel and screws.
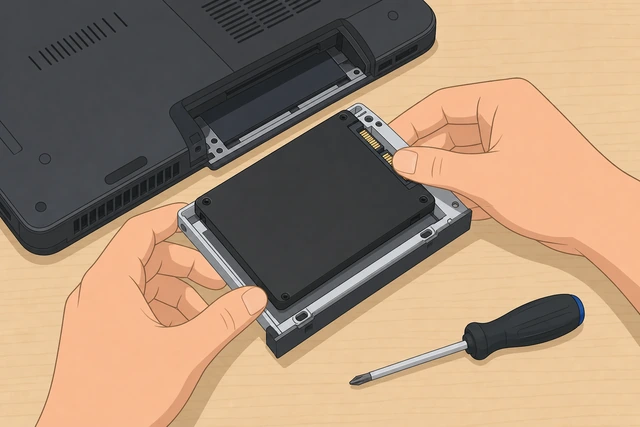
The wrong orientation or a loose connection means the drive won't be detected, and missing screws can rattle loose inside.
- Move the old drive's caddy or bracket, if any, onto the new SSD in the same orientation.
- Seat the new SSD into the connector the same way the old drive sat, then secure any mounting screws.
- Replace the access panel and screws, keeping screws organized so none go missing or into the wrong holes.
The new SSD is seated firmly in the same spot the old drive occupied, and the panel is closed up.
Power on and set the SSD as the first boot device if needed.
Power on · enter BIOS if no auto-boot · move SSD to top of boot order.
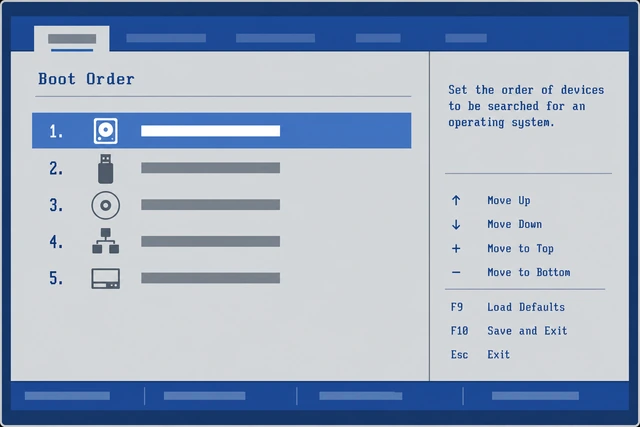
Some laptops keep the old drive's boot entry as default, so the boot order needs to point at the new SSD.
- Plug in AC power and press the power button; watch for the maker's logo screen.
- If it doesn't boot automatically, restart and press the BIOS/UEFI key on that logo screen (often Esc, F2, F10, or Del).
- In BIOS/UEFI boot order settings, move the new SSD to the top of the boot list, then save and exit.
The laptop restarts and BIOS lists the new SSD first — or Windows already loaded on its own.
Powers on but no Windows, or a boot loop? → Won't boot.
Confirm Windows loads from the new SSD and reactivates if asked.
Sign in to desktop · check Storage shows new SSD size · handle activation prompt if shown.
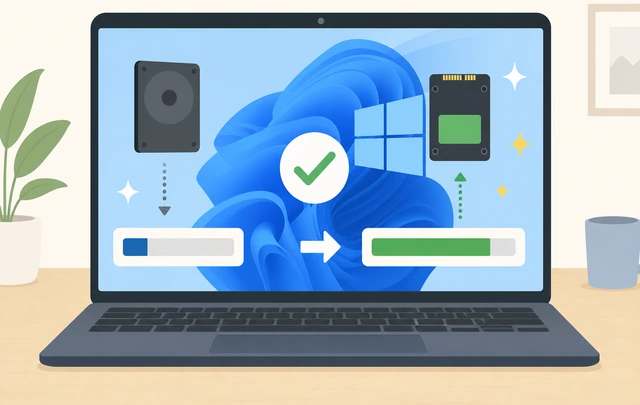
Seeing the new capacity confirms you're actually running from the SSD, not still booting the old drive by accident.
- Let Windows fully load to your desktop or lock screen and sign in.
- Open Settings > System > Storage and confirm the main drive now shows the new SSD's capacity.
- If Windows shows an activation prompt, sign in with your Microsoft account or run the activation troubleshooter.
You're signed in to a normal desktop and Storage confirms the new SSD's size as the system drive.
No boot, or stuck on a logo/loop? → Won't boot.
Keep the old drive as an emergency backup for about a week.
Store old drive safely · use laptop normally · confirm before wiping or repurposing.
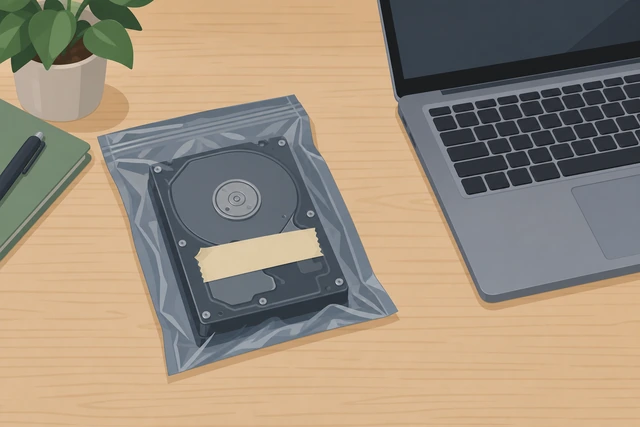
A short overlap period gives you a real fallback if you notice a missing file or setting only after daily use.
- Store the old drive somewhere safe, such as a drawer or anti-static bag — don't erase or reuse it yet.
- Use the laptop normally for several days to confirm everything you need is present and working from the SSD.
- Once you're confident, wipe and repurpose the old drive as external storage, or keep it as a long-term spare.
The old drive is stored safely, untouched, while you confirm the new SSD works for everyday use.
Won't bootPowers on but no Windows, or stuck in a boot loop
Check BIOS boot order and try a repair startup.
Confirm SSD is first in boot order · reseat drive if missing · run Startup Repair from install media.
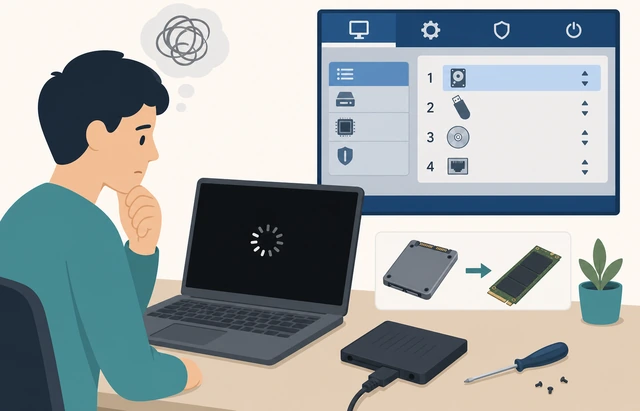
Most post-swap boot failures are a boot order pointing at the wrong device or a startup file a repair tool can rebuild.
- Restart and enter BIOS/UEFI; confirm the new SSD is listed first, not the old drive or a USB device.
- If the SSD isn't listed at all, power off, reopen the bay, and reseat the drive connector firmly.
- Boot from Windows installation media and choose "Repair your computer" then Startup Repair.
The SSD is confirmed first in boot order and reseated, and you've run Startup Repair at least once.
Enter your BitLocker key, or test the old drive externally.
Enter saved recovery key · check old drive externally if no key · plan clean install if both fail.
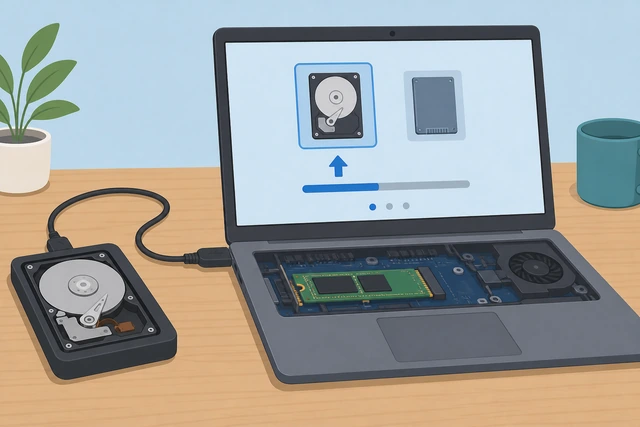
A BitLocker lockout needs the exact key, and a truly failed clone is often faster to fix with a clean install.
- If a blue BitLocker recovery screen appears, enter the key you saved in Step 4 exactly as written.
- No key saved? Connect the old drive externally with the USB adapter and check your Microsoft account for the key online.
- Startup Repair and boot order both fail? Back up the old drive's data, then plan a clean Windows install on the SSD.
You've entered the correct key and booted, or you have a backup plan with the old drive and a clean-install path.
Still no boot after a clean install attempt? A repair shop can rule out a failing SSD or connector.
Clone failCloning software errors, warns about space, or the wrong disk may have been selected
Confirm source and destination weren't swapped.
Recheck disk sizes and labels · match destination capacity to new SSD · stop if old drive was destination.
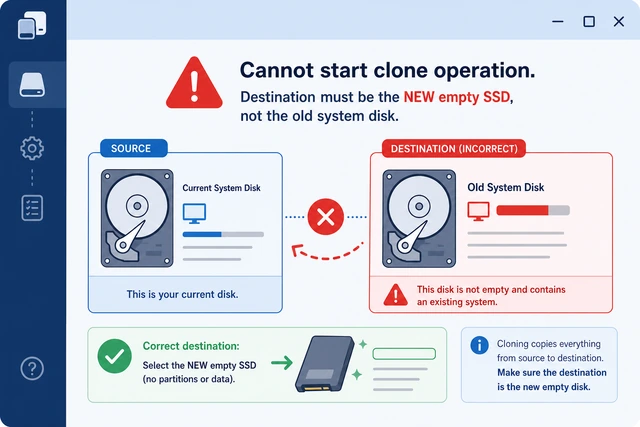
A reversed source and destination erases your original data instead of copying it, so confirm before any retry.
- Reopen the cloning tool and check the disk sizes and drive labels shown for source and destination.
- Verify the destination disk shown matches your new SSD's exact capacity, not your old drive's.
- If the destination was actually your old drive, stop immediately — do not run the clone again until this is fixed.
You've visually confirmed which disk is source and which is destination, matching their known capacities.
Free up space or reclone, and don't continue if data was wiped.
Free space and retry clone · disable sleep during retry · stop and seek recovery if wrong disk was wiped.
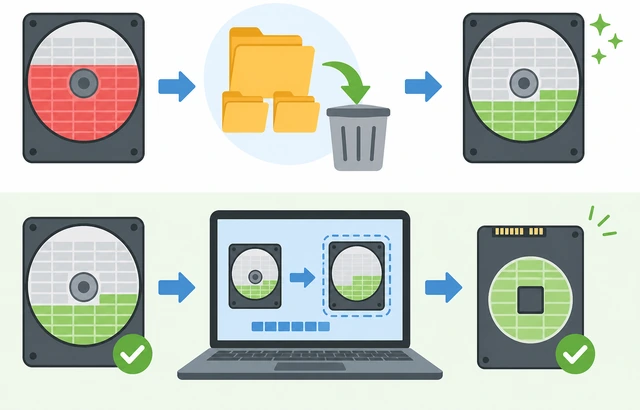
Retrying blind repeats the same failure, and continuing to use a wiped drive overwrites data recovery tools could find.
- If the error was about space, delete large unneeded files or empty the Recycle Bin on the source drive, then retry.
- Close other programs and disable sleep before rerunning the clone so nothing interrupts it this time.
- If the wrong disk was wiped, stop using it and look into data recovery software or a professional service first.
The clone completed successfully on a retry, or you've stopped and started a data-recovery plan for a wiped drive.
Recloned successfully? Return to Step 8 to continue the swap.
M.2 or sealedLaptop uses an M.2 slot instead of a 2.5" bay, or has no accessible bay at all
M.2: match length, key type, and angle-in installation.
Confirm length + key type · insert at an angle · seat flat and screw down, clone first as in Steps 3–7.
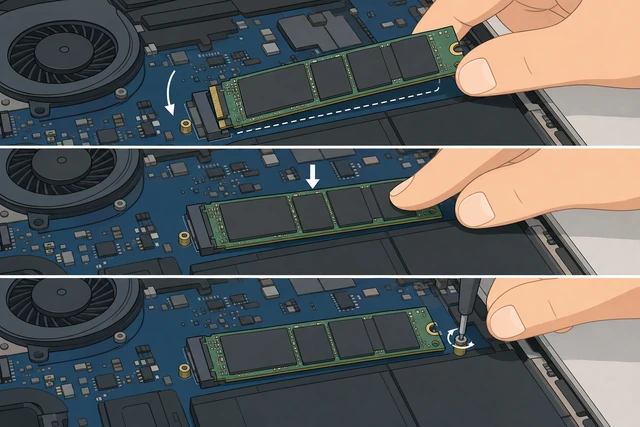
M.2 sticks come in different lengths and key types that only fit one way; forcing a mismatch can bend the slot's pins.
- Find your laptop's M.2 slot specs (length such as 2280, and key type B, M, or B+M) in the service manual before buying.
- With the laptop off, unplugged, and grounded, insert the new M.2 SSD at an angle until the gold contacts seat fully.
- Press the drive flat and secure it with the small mounting screw, following the same clone-first order from Steps 3–7.
The correctly sized M.2 SSD is seated flat and screwed down, with cloning already done beforehand.
Sealed or soldered storage: stop the DIY swap.
No panel or soldered storage → don't force it · consider external SSD workaround or authorized service.
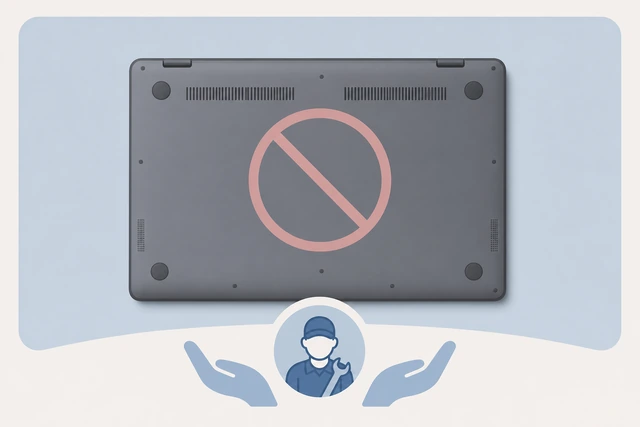
Forcing open a sealed chassis can break clips or void warranty, and soldered storage physically cannot be swapped by hand.
- If the bottom panel has no screws or drive door, or the manual says storage is soldered, do not force it open.
- Consider a clean Windows install onto a USB-attached external SSD, or check for a manufacturer upgrade service.
- For anything soldered or under warranty, contact the manufacturer or an authorized repair shop, not a home fix.
You've confirmed the laptop is sealed or soldered and chosen an external-drive workaround or authorized service, not a forced opening.
Authorized service is the safe path for sealed ultrabooks and soldered storage.
When to get help
- Ask a trusted person to read BIOS menus or small screw labels aloud while you handle the parts.
- If the case resists opening or screws are stripped, stop and take it to a repair shop rather than forcing it.
- After a reversed clone wipes the wrong drive, stop using that drive and look into data recovery software or a professional service.
- Sealed ultrabooks or soldered storage need authorized service — do not force a bottom panel that has no screws.
- Still stuck in a boot loop after Startup Repair and a checked boot order? A shop can rule out a failing SSD or cable.
When This Doesn't Work
- Apple Silicon or T2 Macs. Internal storage is soldered and not user-swappable — this guide doesn't apply; look at external Thunderbolt storage instead.
- Chromebooks with soldered eMMC. Many Chromebooks have no swappable drive at all — check your model before buying an SSD.
- Warranty still active. Opening the case yourself may void remaining warranty — check the terms first, or use authorized service.
- Dual-drive gaming laptops. More than one internal drive changes cloning and boot order steps — research your specific model first.
- Managed work laptop with IT-enforced BitLocker. You may not have the recovery key — contact IT before opening anything.
- Very old laptops with IDE/PATA drives. Cloning tools and adapters here mostly target SATA — check compatibility before buying parts.
Warnings
- Do not skip the backup in Step 3 — a clone or swap can fail, and a backup is your only fallback.
- Do not touch internal components without grounding yourself first — static electricity can silently damage parts.
- Do not remove screws or open the case while the laptop is plugged in or a removable battery is still installed.
- Do not run the clone with source and destination reversed — confirm both before clicking start.
- Do not force an M.2 SSD into a slot at the wrong angle or length — you can bend contacts or crack the board.
- Stop and get professional help if the case resists opening, screws are stripped, or you smell burning at any point.
Tips
- Label small screws by location with tape and a marker as you remove the panel — laptops often use several different lengths.
- A USB-to-SATA adapter is a reusable tool — keep it for future drive swaps or as an external drive enclosure.
- Clone during a quiet time when you can leave the laptop untouched for 30–90 minutes depending on drive size and data used.
- If your SSD kit includes migration software from the manufacturer (Samsung, Crucial, WD), it often works as well as third-party tools.
- After the swap, run Windows Update and check Device Manager for any driver you may need to reinstall.
FAQ
Do I need to reinstall Windows after cloning?
No — a successful clone copies Windows, your apps, and files exactly as they were, so you should boot straight into your existing setup.
Can I clone a drive that's almost full onto a smaller SSD?
Only if the used space, not the drive's total size, fits on the new SSD with room to spare. Free up space first if it's close.
What if I don't have a spare USB port for the adapter?
Use any external port, including a USB hub temporarily — you only need it connected during cloning, not afterward.
Will I lose my Windows license or need to reactivate?
Usually Windows reactivates automatically tied to your Microsoft account or hardware ID; if not, use the built-in activation troubleshooter.
Is it safe to reuse the old hard drive afterward?
Yes, once you've confirmed the SSD works well for daily use — many people repurpose it as external backup storage in an enclosure.
Comments
Questions, corrections, and what worked for you. Comments are reviewed before they appear.