How to Prune a Flowering Shrub
Prune a flowering shrub in about 40 minutes by first identifying whether it blooms on old wood or new wood, then removing the 3 Ds (dead, diseased, crossing), thinning for air, and finishing with angled cuts above outward buds — all while staying under the 1/3 rule. Read one step at a time. Start with the preflight. Already pruned at the wrong time? See Wrong season. Shrub sheared into a ball and won't flower? See Over-pruned. Canes look diseased? See Diseased canes.
Tips for reading this guide
- One step at a time. Read the green caption, the Why line, then the bullets.
- Move on when the green done line is true — then go to the next step.
- Bloom timing first. Old wood or new wood decides your whole pruning window — get this right before any cut.
- The 1/3 rule. Stop and check your total removal before cutting further; when unsure, cut less.
- Already cut at the wrong time? See Wrong season. Shrub is a sheared ball? See Over-pruned. Canes look diseased? See Diseased canes.
- Need help? Ask someone to help hold branches or use loppers on thick canes if bypass pruners feel too hard to squeeze.
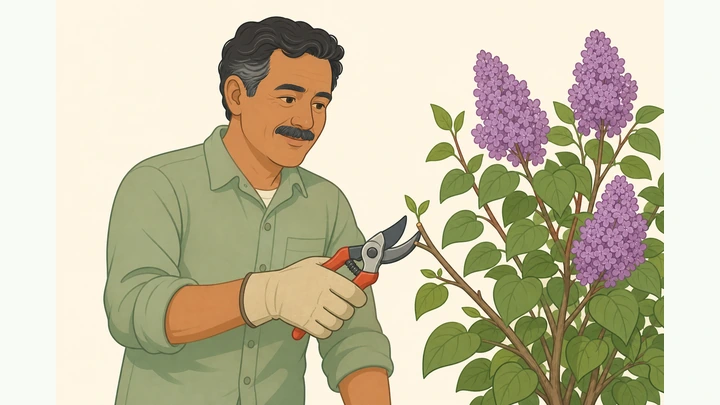
Things You'll Need
- Bypass pruners (clean and sharp)
- Loppers, for canes thicker than pruners can handle
- Rubbing alcohol or a diluted bleach solution (tool disinfectant)
- Garden gloves
- Tarp or bucket for clippings
- Separate bag for diseased clippings (do not compost)
Where are you stuck?
Follow Start here for a routine seasonal prune. Jump to a branch if you've already made a mistake or spot disease.
- I need to prune a flowering shrub the right way Identify bloom timing · 3 Ds · thin · angled cuts · 1/3 rule
- I already pruned at the wrong time and lost blooms Confirm the cause · stop cutting · plan next year's window
- My shrub is a sheared ball and won't flower Stop shearing · thin the interior · stage a renewal
- Canes look diseased, oozing, or discolored Trace to healthy wood · sanitize every cut · dispose properly
Start hereIdentify bloom timing → 3 Ds → thin → angled cuts → renew → check 1/3 rule
Preflight — identify the shrub, gather clean sharp tools, and pick a dry day.
Shrub identified · clean sharp bypass pruners · disinfectant on hand · dry day.
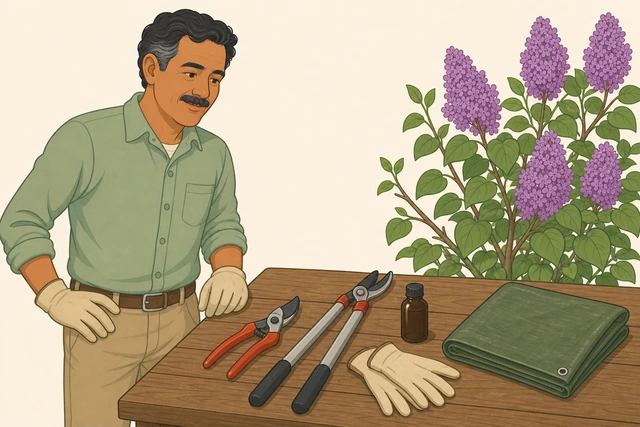
Knowing your shrub and having clean, sharp tools ready prevents the two most common ruined-prune mistakes: cutting at the wrong time and tearing wounds with dull blades.
- Identify the shrub species so you can look up its bloom timing.
- Gather clean, sharp bypass pruners, loppers for thick canes, rubbing alcohol or diluted bleach, gloves, and a tarp or bucket.
- Choose a dry day; wet wood tears more easily and can spread disease faster between cuts.
The shrub is identified, tools are clean and sharp, disinfectant is ready, and the day is dry.
Shrub already sheared into a ball or hasn't flowered in years? See Over-pruned. Already cut this spring bloomer at the wrong time? See Wrong season.
Determine whether the shrub blooms on old wood or new wood.
Old wood = last year's growth (spring bloomers); new wood = this year's growth (summer bloomers).
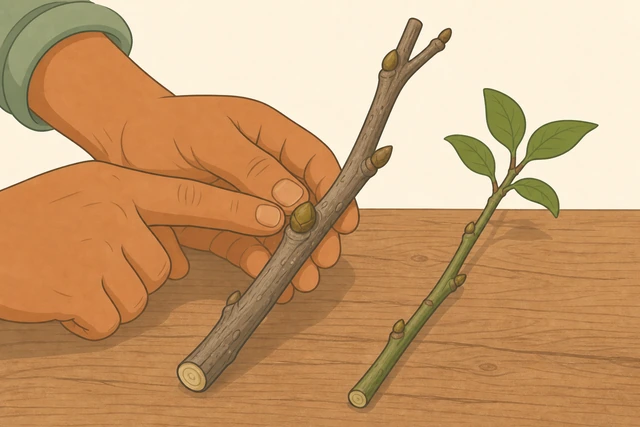
This single fact decides your entire pruning window — pruning an old-wood bloomer at the wrong time cuts off flower buds that already formed, while pruning a new-wood bloomer too late removes the wood it would have flowered on.
- Old-wood spring bloomers (lilac, forsythia, azalea, weigela) set next year's buds soon after this year's bloom fades.
- New-wood summer bloomers (butterfly bush, panicle hydrangea, rose of sharon, spirea) form buds on new growth.
- If unsure, note when the shrub blooms relative to spring — early bloomers are almost always old wood.
You can state which type your shrub is and the clue that tells you so.
Confirm you are in the correct pruning window for that bloom type.
Old wood: right after flowers fade. New wood: late winter or early spring before growth starts.
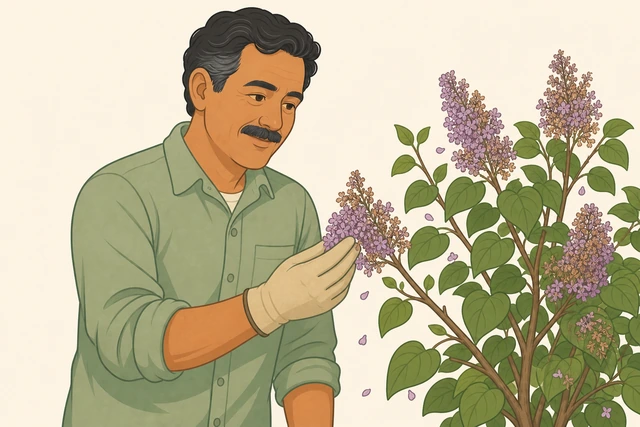
Pruning inside the correct window lets you shape the shrub without removing the wood or buds it needs to bloom well next.
- For an old-wood bloomer, prune within a few weeks after its flowers fade, before it sets next year's buds.
- For a new-wood bloomer, prune in late winter or early spring while it is still dormant, before new growth begins.
- Already cut an old-wood bloomer outside its window? Use the wrong-season branch instead of continuing here.
The current date falls inside the correct window for this shrub's bloom type, or you've decided to wait.
Already cut an old-wood bloomer outside its window and lost blooms? See Wrong season.
Clean and sharpen your pruners.
Sharp bypass blade · wiped clean with disinfectant before the first cut.
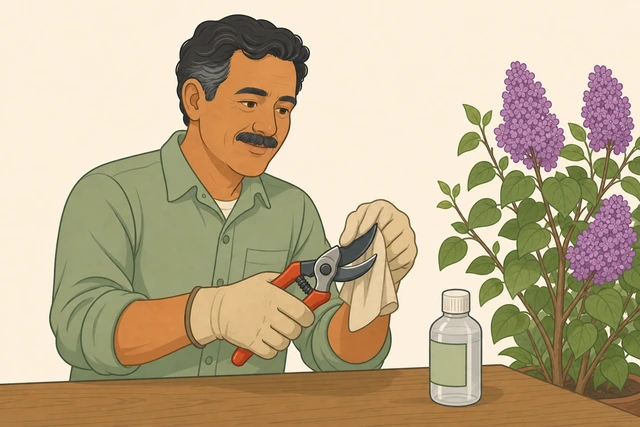
A sharp bypass blade makes a clean cut that heals quickly, while a dull or dirty blade crushes stems and can carry disease from a prior cut straight into this shrub.
- Sharpen the pruner blade if it is nicked or no longer slices cleanly through a thin stem.
- Wipe the blade with rubbing alcohol or a diluted bleach solution before starting.
- Check that you are using bypass pruners (two curved blades that slide past each other), not anvil-style.
Blades are sharp, wiped clean, and free of sap or rust before the first cut.
Step back and assess the shrub's natural shape.
Look at the whole shrub before cutting · picture the natural form you want to keep.
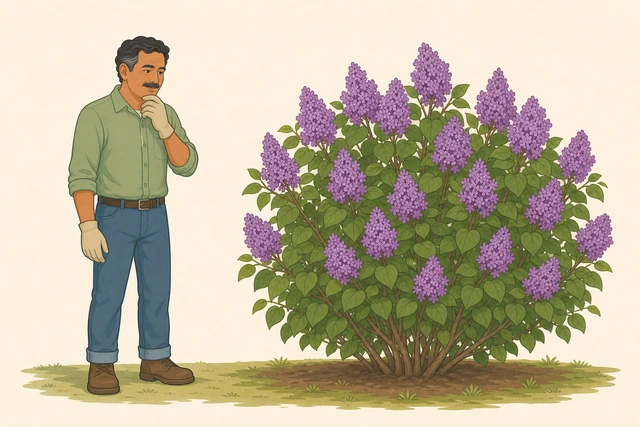
Looking at the whole shrub first keeps you working toward its natural rounded or arching form, instead of making isolated cuts that leave it lopsided.
- Walk around the shrub and view it from at least two angles.
- Picture its natural shape and note where it has grown oversized, lopsided, or congested.
- Decide roughly how much you plan to remove before making any cut.
You can describe the natural shape you're aiming for and where the shrub is currently oversized.
Remove all dead wood — the first D.
Brittle, bark-less wood · no green underneath when scratched.
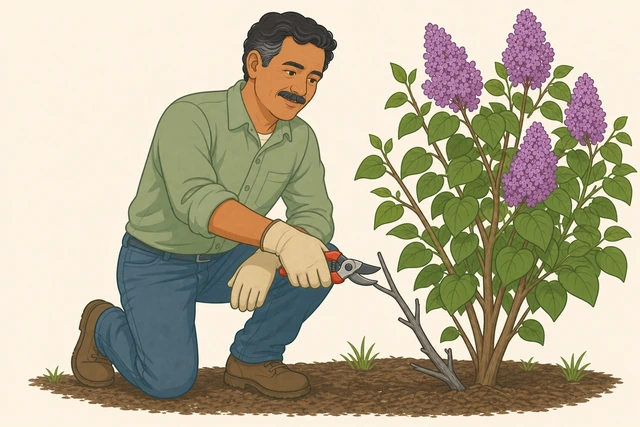
Dead wood contributes nothing to next year's growth or blooms and can host pests or fungus, so it always comes out first, before you can even see the shrub's real living shape.
- Look for brittle branches with cracked or missing bark.
- Scratch a thin layer of bark on any questionable branch — no green underneath means it is dead.
- Cut dead wood back to the base or to a healthy side branch.
No dead branches remain; a scratch test on any remaining questionable wood shows green underneath.
Remove diseased or damaged wood — the second D.
Cut into clean healthy tissue · sanitize the blade between diseased cuts.
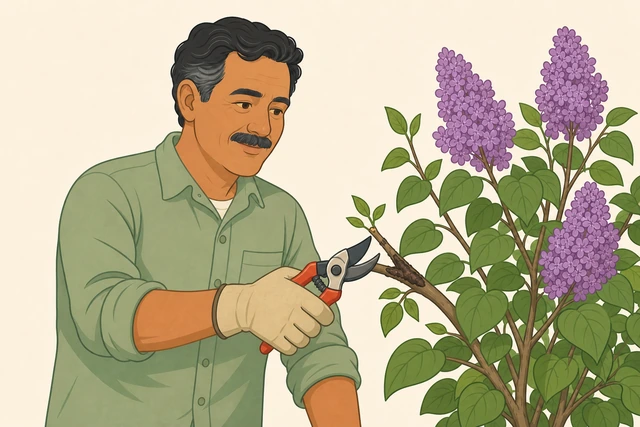
Diseased wood left in place keeps infecting the rest of the shrub, and a blade that isn't sanitized between cuts can spread that same disease to the next healthy branch it touches.
- Look for cankers, oozing, discolored bark, or storm-broken branches.
- Cut each diseased branch back into clean wood, several inches past the last sign of damage.
- Wipe the blade with disinfectant between every diseased cut, not just between plants.
No cankered, oozing, or storm-damaged wood remains, and the blade was wiped between diseased cuts.
Disease keeps recurring or spreading after removal? See Diseased canes.
Remove crossing or rubbing branches — the third D.
Take out one of any two branches that rub or cross inside the canopy.
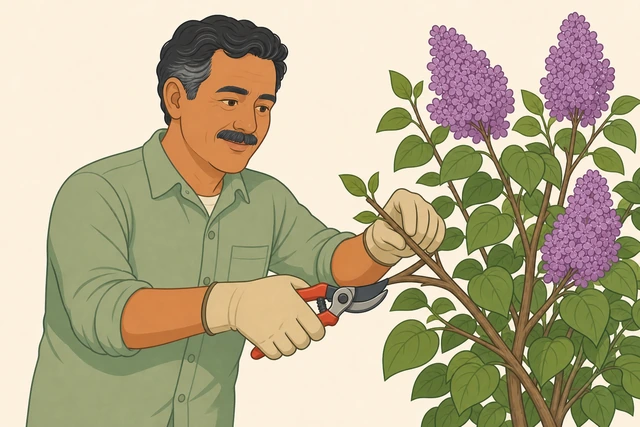
Branches that rub together wear through each other's bark over time, creating open wounds that invite the same disease and decay you just cleared out.
- Look through the canopy for any two branches that touch, rub, or cross.
- Choose the better-placed or healthier of the two to keep.
- Cut the other branch back to its base or to a healthy side branch.
No two branches rub or cross inside the canopy.
Thin select interior branches for air and light.
Remove a few interior branches so light and air reach the center.
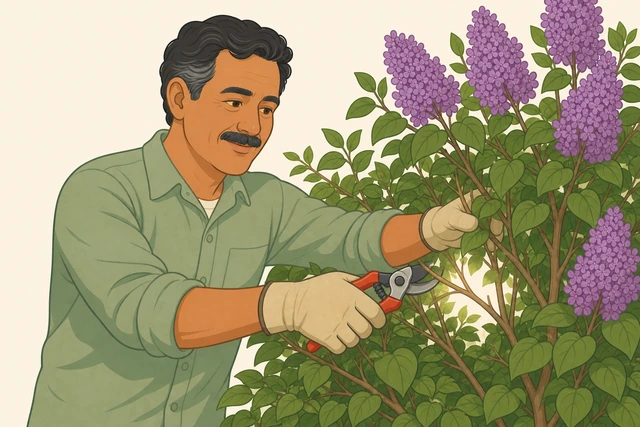
A shrub that's only ever trimmed on the outer surface grows a dense shell over a dark, airless interior, which weakens interior growth and makes fungal disease more likely.
- Reach into the canopy and identify a few crowded or weak interior branches.
- Cut a handful of these back to the base or to a strong side branch.
- Step back and confirm you can now see some light and open space inside the shrub.
Light visibly reaches the shrub's interior and you can see some open space between major branches.
Shrub is a dense sheared ball with a hollow interior? See Over-pruned.
Find an outward-facing bud for each remaining shaping cut.
Locate the bud just below where each planned cut will land.
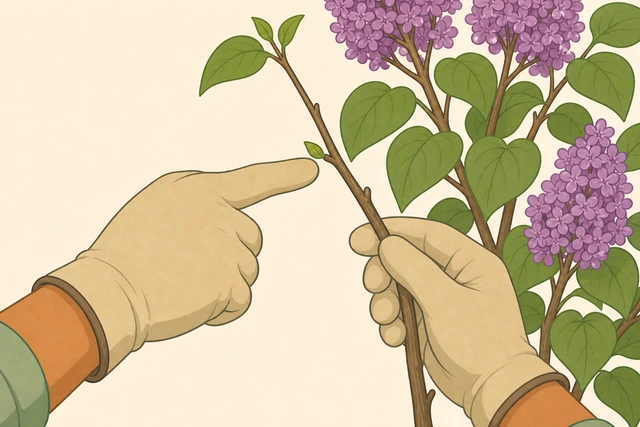
Cutting just above a bud that points outward directs new growth away from the shrub's center, keeping the form open instead of growing back into itself.
- On each branch you plan to shorten, find a healthy bud pointing away from the shrub's center.
- Confirm the bud looks plump and alive, not shriveled.
- Note the spot just above this bud as your cut point.
You can point to the specific bud each planned cut will sit just above.
Make each cut at an angle just above the outward bud.
45-degree angle · about 1/4 inch above the bud · sloping away from it.
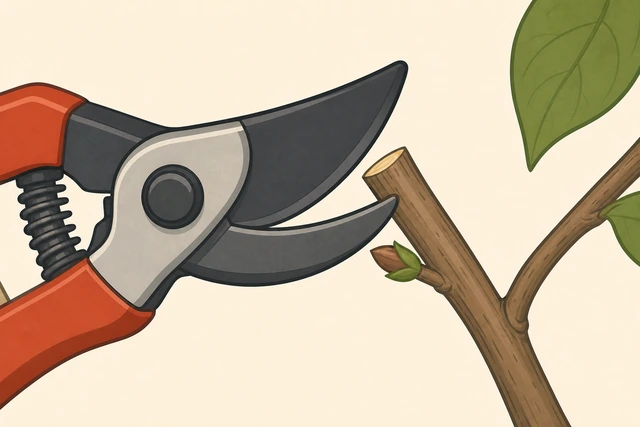
An angled cut close to the bud sheds water instead of pooling on top of it, while a flat cut or a long stub left above the bud invites rot that can travel back into the healthy cane.
- Position the pruner blade about a quarter inch above the chosen bud.
- Angle the cut roughly 45 degrees, sloping down and away from the bud.
- Make one clean cut rather than sawing back and forth.
Each cut is angled, close to the bud without touching it, and none are flat or left with a long stub.
Renew older shrubs by removing a few of the oldest canes at the base.
Cut one or a few of the oldest, thickest canes down at ground level.
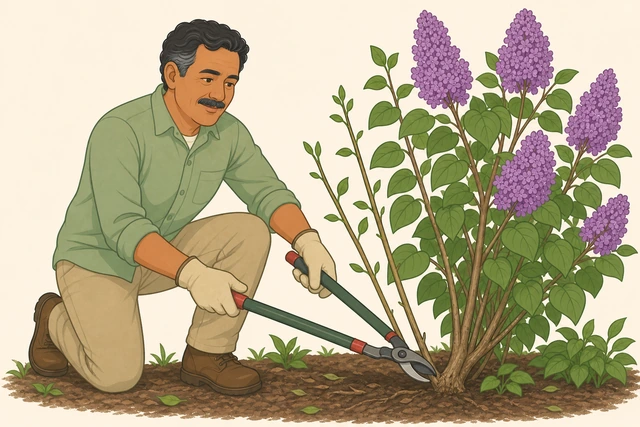
Removing the oldest canes at the base makes room for vigorous new growth from the crown, which is how many flowering shrubs stay full and floriferous for decades instead of getting woodier and sparser each year.
- Identify the thickest, oldest-looking canes at the base of the shrub.
- Use loppers if a cane is too thick for bypass pruners.
- Cut one or a few of these canes down to ground level, leaving younger canes in place.
One or a few of the oldest canes are cut back to near the base, opening room for new growth.
Check your total removal against the 1/3 rule.
Total living growth removed this season should be at or under about one-third.
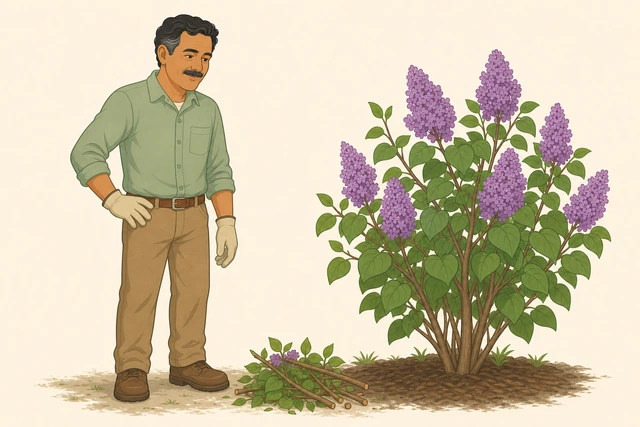
Removing more than about a third of a shrub's living growth in one season shocks the plant and can trigger stress, excessive regrowth, or dieback instead of the healthy result you're aiming for.
- Step back and visually estimate how much total living growth you've removed so far.
- If you're near or over a third, stop making further reduction cuts this season.
- Plan any remaining renewal for next season instead of finishing it all at once.
Total living growth removed this season is at or under about one-third of the shrub.
Do a final shape check from multiple angles.
View the shrub from at least two sides to confirm balance.
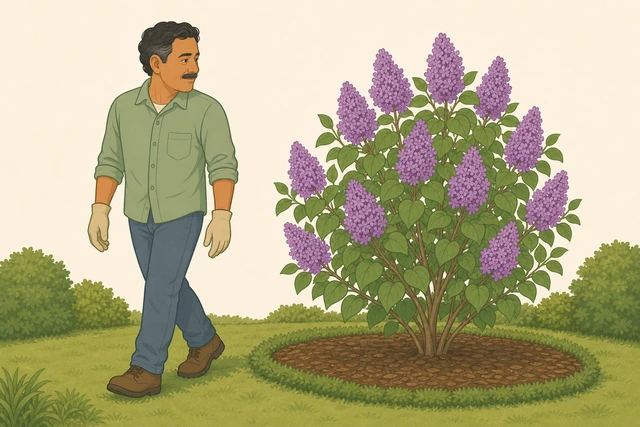
A shrub can look fine from the angle you were standing at while pruning and lopsided from every other side, so a final walk-around check catches gaps before you put the tools away.
- Walk around the shrub and view it from at least two different angles.
- Look for any lopsided gaps or spots that still cross or rub.
- Make small corrective cuts only if needed, staying within the 1/3 rule already used.
The shrub looks balanced and natural from at least two viewing angles, with no lopsided gaps.
Clear and sort the clippings.
Clear clippings from the ground · bag diseased material separately.
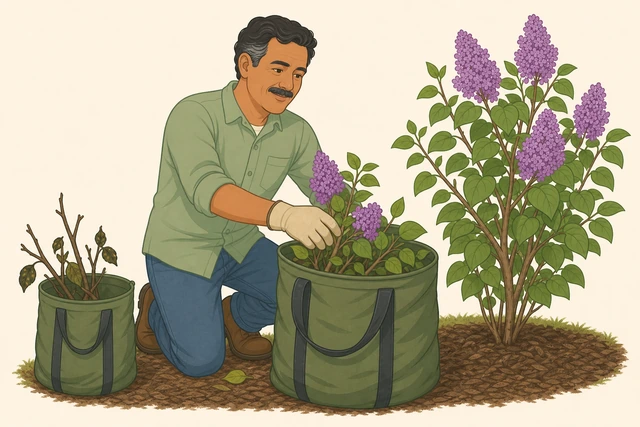
Diseased clippings left on the ground or tossed in the compost can reinfect the same shrub next season, so sorting them out now protects the work you just did.
- Rake or gather all clippings from around the base of the shrub.
- Set any diseased wood aside in its own bag rather than the general yard-waste pile.
- Dispose of the diseased bag in the trash, not the compost.
Clippings are cleared from the ground; any diseased wood is bagged separately, not composted.
Clean and store your pruners.
Wipe the blade clean and dry · add a drop of oil at the pivot.
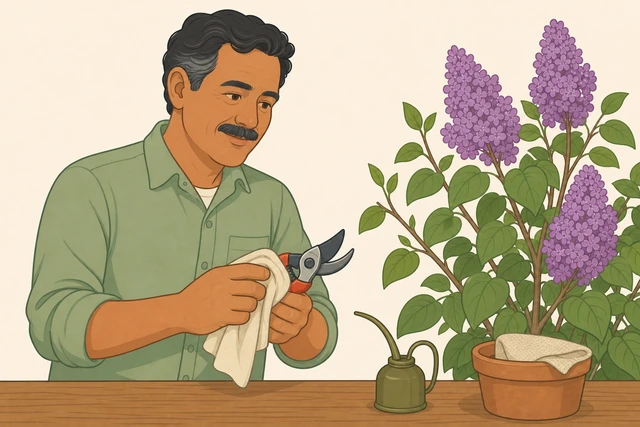
Sap and moisture left on the blade cause rust and dull the edge, so a quick clean and oil now keeps pruners sharp and ready for the next cut you make on any plant.
- Wipe sap and debris off the blade with a cloth.
- Dry the blade fully before storing.
- Add a drop of oil at the pivot point and work the blades open and closed once.
Blades are wiped clean, dry, and lightly oiled at the pivot before being put away.
Wrong seasonAlready pruned an old-wood bloomer outside its window and lost blooms
Confirm the mistake matches the timing.
Confirm this is an old-wood bloomer and the cut happened after buds had set.
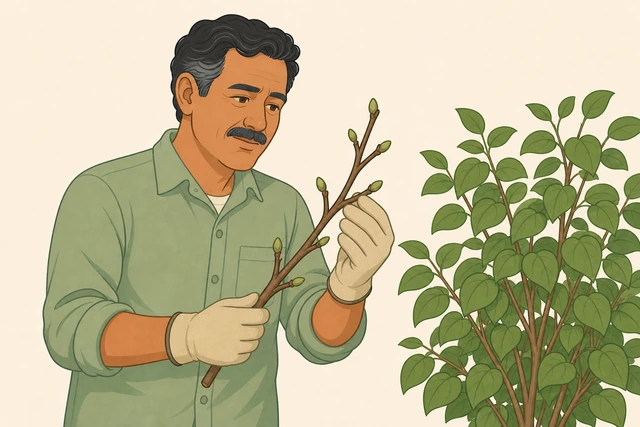
Confirming the cause makes sure you're not chasing a disease or light problem when the real explanation is simply a mistimed cut.
- Check that the shrub is a known old-wood spring bloomer (lilac, forsythia, azalea, and similar).
- Recall or check when the pruning cut happened relative to last year's bloom.
- Confirm the missing blooms match a cut made after buds had already set for this year.
You've confirmed the shrub is an old-wood bloomer and the cut happened after this year's buds had set.
Stop further pruning now.
Put pruners away and let the shrub grow undisturbed.
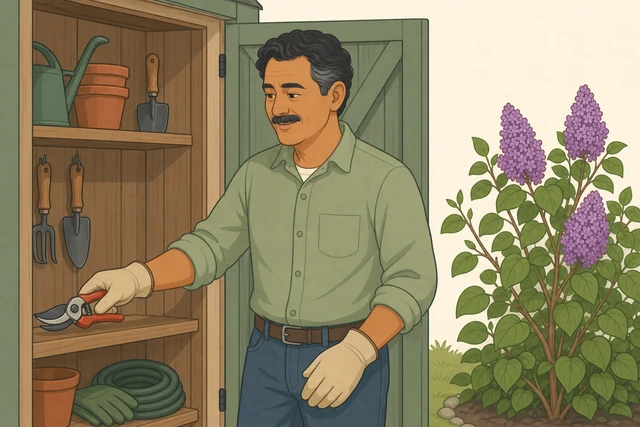
Any additional cuts right now would remove more of the wood the shrub needs to recover and set next year's buds, compounding the same mistake.
- Put pruners away and do not make any further shaping cuts this season.
- Let the shrub grow undisturbed through the rest of the growing season.
- Water and care for it normally — this is a timing issue, not a health issue.
No further pruning has been done, and the shrub is growing undisturbed.
Note the correct future window.
Mark the correct window — right after next bloom — for future pruning.
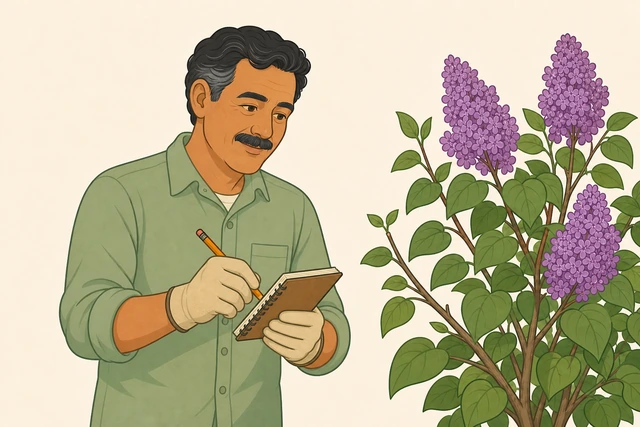
Writing down the correct window while it's fresh is the single change that prevents this from repeating next year.
- Note the shrub's approximate bloom month so you can plan around it.
- Set a reminder to prune within a few weeks after next year's flowers fade.
- Until then, limit any pruning to dead or damaged wood only.
You have a noted plan to prune right after next bloom, and no non-essential cuts are planned before then.
Make only essential cuts in the meantime.
If a cut is unavoidable now, limit it to dead or damaged wood only.
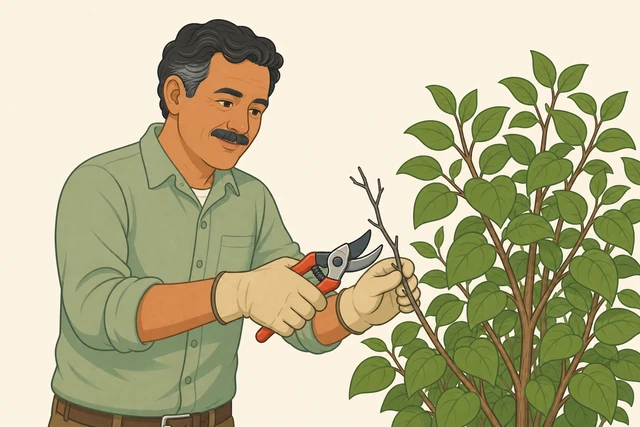
Some cuts (a broken branch blocking a path, storm damage) can't wait for the ideal window, but keeping them to dead or damaged wood only avoids removing any more of next year's flower buds than necessary.
- If a branch must be cut now for safety or access, choose only dead or damaged wood.
- Avoid shaping or size-reduction cuts on healthy wood until the correct window arrives.
- Accept that bloom may still be reduced this coming season and expect a fuller display the year after.
Only dead or damaged wood has been removed if any cutting was unavoidable, and healthy wood is left untouched until the correct window.
No blooms return for 2+ years even with correct timing afterward? Consider disease, deep shade, or age, and consult a local extension office.
Over-prunedSheared into a ball or box shape, hollow inside, and won't flower
Stop shearing and switch to hand pruners.
Put away hedge trimmers · use bypass pruners for all future cuts.
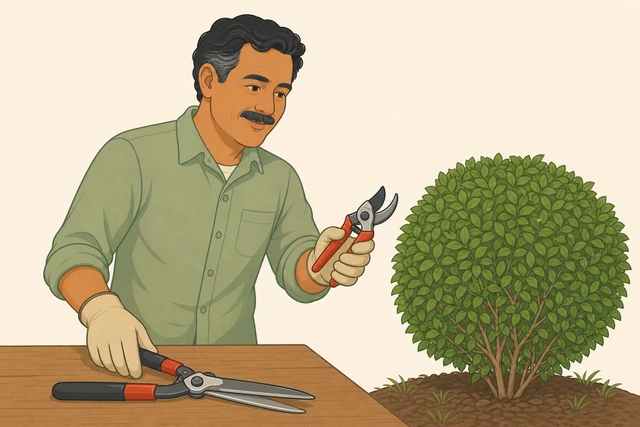
Shearing clips off flower buds indiscriminately at the surface every time, which is exactly what created the twiggy, bloomless shell — switching to selective hand cuts is the fix that stops repeating the mistake.
- Put the hedge trimmers away for this shrub going forward.
- Plan to use bypass pruners for selective cuts from now on.
- Accept that the shrub will look looser and less formal as it recovers its natural shape.
Hedge trimmers are set aside, and future cuts on this shrub will be made with hand pruners.
Check the interior for live buds or shoots.
Look inside the sheared surface for any live buds below the shell.
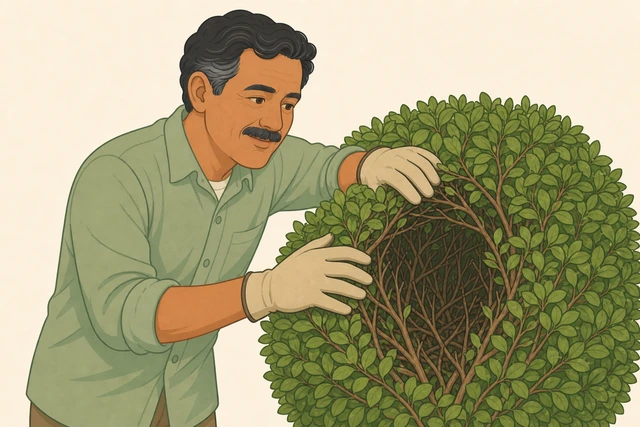
Finding live buds inside tells you the shrub still has the capacity to regrow a fuller form once the outer shell is opened up, rather than being permanently reduced to bare wood.
- Part the outer twiggy growth and look into the interior of the shrub.
- Look for small live buds or thin shoots along the interior branches.
- Note roughly how far down the live growth extends.
You've inspected the interior and located live buds or shoots, or confirmed there are none.
Make selective thinning cuts into the interior.
Remove some outer twiggy growth back to a larger interior branch.
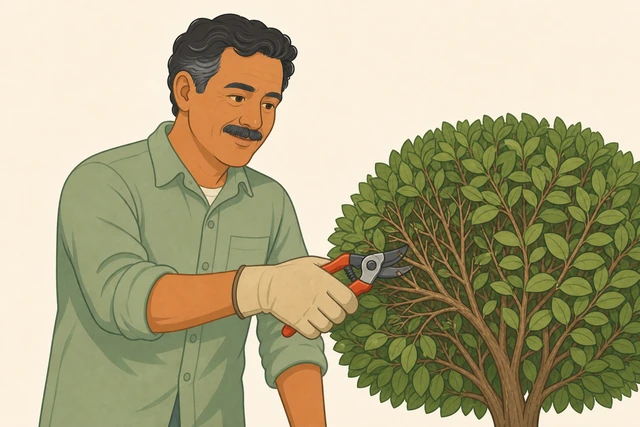
Cutting back to a larger branch inside the shell — instead of just clipping the surface again — is what actually opens light into the interior and encourages new growth to fill in naturally.
- Choose several dense clusters of twiggy outer growth.
- Cut each cluster back to where it meets a larger interior branch.
- Spread these cuts around the shrub rather than concentrating them in one spot.
Some outer twiggy growth has been cut back to larger interior branches, opening gaps in the shell.
Plan a staged multi-year renewal.
Remove up to about a third of the oldest canes at the base this season.
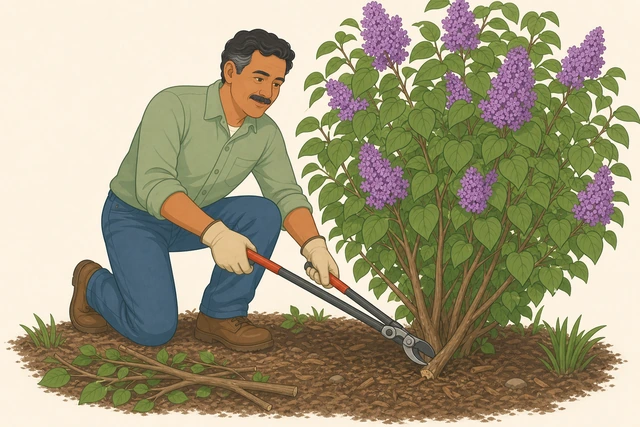
Cutting the whole overgrown shrub back at once can shock or kill it, while removing the oldest canes in stages over two to three seasons lets it rebuild a fuller natural shape safely.
- Identify the oldest, thickest canes at the base of the shrub.
- Cut up to about a third of these down to ground level this season.
- Plan to repeat this next season and the one after until the shrub is fully renewed.
Up to about a third of the oldest canes are cut to the base, with a plan to continue renewal over the next couple of seasons.
Interior is entirely bare/twiggy with no live buds found after inspection? Consider a full hard rejuvenation cut (species-dependent) or replacement if there's no response by next season.
Diseased canesCankers, oozing, discolored bark, or dieback spreading from the tips
Trace each affected cane down to healthy wood.
Find the point where a cross-section shows clean, light-colored wood.
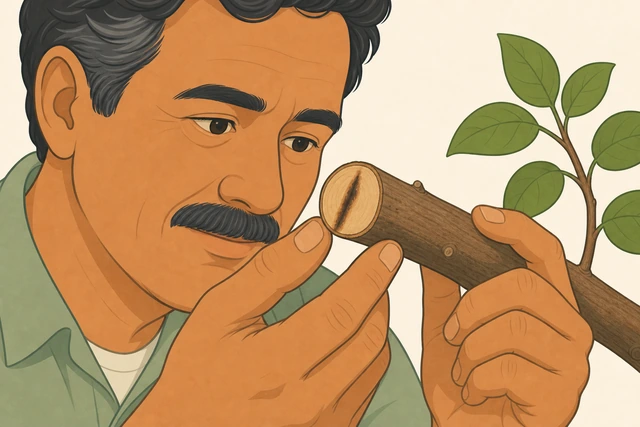
Cutting stops only when you reach genuinely healthy tissue — tracing the discoloration down first tells you exactly how far back each cut needs to go.
- Follow each diseased cane down from the visible damage toward the base.
- Make a small test cut and check the cross-section for discoloration or streaking.
- Continue checking lower on the cane until a cross-section looks clean and light-colored.
You've located the point on each cane where the wood is confirmed clean and healthy.
Sanitize the blade before every single diseased cut.
Wipe with alcohol or diluted bleach before each cut, not just between plants.
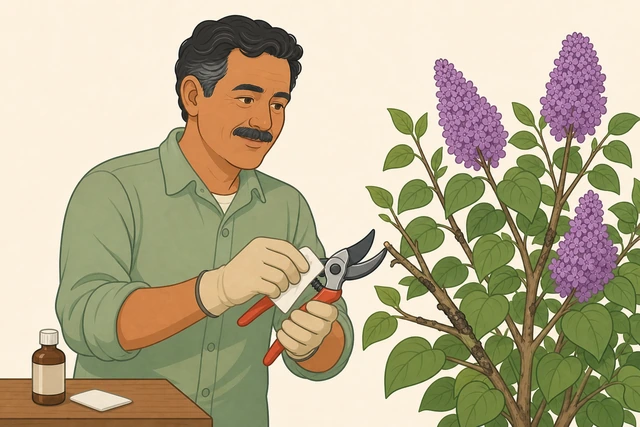
Pathogens can transfer from one diseased cut straight to the next healthy cut on the same blade, so sanitizing between every cut — not just between shrubs — is what actually stops the spread.
- Keep rubbing alcohol or diluted bleach solution and a cloth within reach.
- Wipe the blade before making each new cut on diseased wood.
- Re-wipe again if the blade visibly touches sap, ooze, or discolored tissue.
The blade has been sanitized before each individual cut on diseased wood.
Cut well into healthy wood.
Remove the diseased cane several inches past the last sign of discoloration.
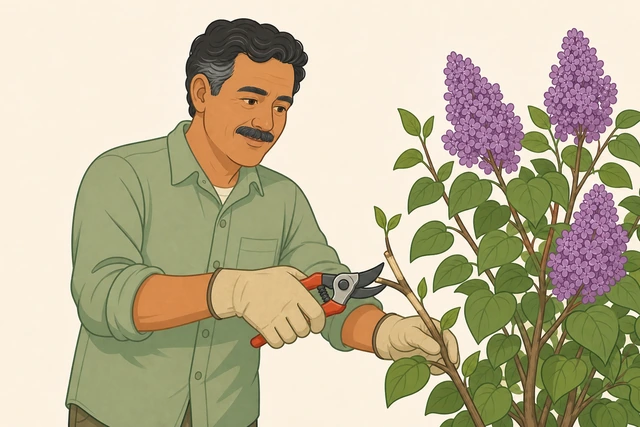
Leaving even a small remnant of infected tissue behind gives the disease a foothold to spread right back into the new healthy growth.
- Cut back to the healthy point you traced, then a few inches further for margin.
- Finish the cut back to a healthy bud, a side branch, or the base of the cane.
- Recheck the fresh cross-section one more time to confirm it looks clean.
The diseased cane is removed several inches into confirmed healthy wood, ending at a bud, branch, or the base.
Dispose of diseased clippings properly.
Bag and trash diseased material · sanitize the blade again after finishing.
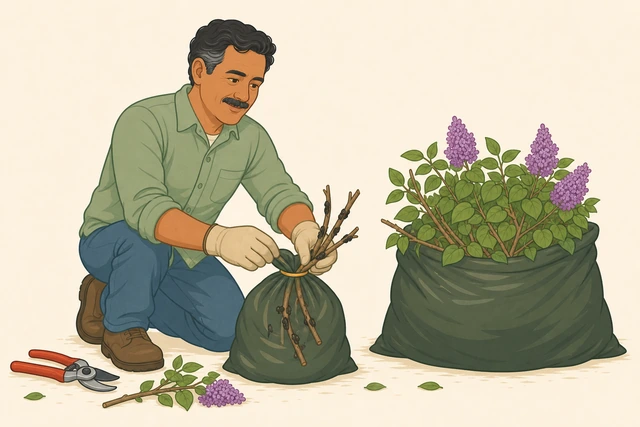
Diseased clippings left on the ground or added to compost can reinfect the shrub or spread to nearby plants, so proper disposal is the final step that makes the whole removal effective.
- Bag all diseased clippings separately from healthy yard waste.
- Put the bag in the regular trash, not the compost pile.
- Give the blade one final sanitizing wipe before moving to any other plant.
Diseased clippings are bagged and trashed, and the blade has been sanitized after finishing.
Disease keeps spreading despite repeated sanitized removal, or affects more than about a third of the shrub? Contact a local extension office or arborist for diagnosis and possible removal.
When to get help
- Ask someone to help hold branches or use loppers on thick canes if bypass pruners feel too hard to squeeze.
- No blooms return for 2+ years even with correct timing afterward? Consider disease, deep shade, or age, and consult a local extension office.
- Interior is entirely bare with no live buds after inspection? Consider a full hard rejuvenation cut (species-dependent) or replacement if there's no response by next season.
- Disease keeps spreading despite repeated sanitized removal, or affects more than about a third of the shrub? Contact a local extension office or arborist for diagnosis and possible removal.
- Any branch near power lines or too tall to reach safely from the ground should go to a professional arborist rather than a ladder.
When This Doesn't Work
- Once-flowering climbing roses or vines trained on a structure. These often follow their own structural training and pruning rules rather than the freestanding-shrub method described here.
- Newly planted shrubs (first year). Avoid heavy pruning while roots are still establishing; limit cuts to dead or damaged wood only for the first season.
- Broadleaf evergreen shrubs valued mainly for foliage, not bloom. Timing is more flexible since there's no bloom-bud window to protect — light shaping can happen in most seasons.
- Extremely cold climates with a hard, late frost risk. Delay late-winter pruning on borderline-hardy shrubs until the worst frost risk has passed, since fresh cuts can be more frost-sensitive.
Warnings
- Never remove more than about a third of a shrub's living growth in one season. Heavier renewal should be staged over 2-3 years.
- Always sanitize pruner blades between diseased cuts. An unsanitized blade can spread disease from one wound to the next.
- Wear gloves — some shrubs (roses, barberry, certain hollies) have thorns or sharp foliage edges.
- Never compost diseased clippings; bag and trash them instead.
- Double-check a shrub's bloom timing before a first-time prune — cutting an old-wood bloomer at the wrong time can cost you an entire season of flowers.
Tips
- When in doubt about timing, wait until right after bloom — it's the safer default for most flowering shrubs.
- A sharp bypass blade is the single biggest upgrade for clean cuts; sharpen or replace pruners at the first sign of crushing instead of cutting.
- Renewal pruning (removing a few oldest canes yearly) keeps a shrub full and blooming for decades instead of one drastic cut every so often.
- If you're unsure whether a branch is dead, wait until the growing season is well underway before giving up on it — some shrubs leaf out late.
- Keep a small notebook or phone note of each shrub's bloom month so next year's pruning window is easy to remember.
FAQ
How do I know if my shrub blooms on old wood or new wood?
Old-wood bloomers flower early in spring, using buds set the previous year (lilac, forsythia, azalea). New-wood bloomers flower in summer or fall on the current season's growth (butterfly bush, panicle hydrangea, rose of sharon). If unsure, look up the specific species.
Can I prune at the wrong time without killing the shrub?
Usually yes — wrong-season pruning on an old-wood bloomer mainly costs you that year's blooms rather than harming the shrub's health. See the wrong-season branch for what to do next.
What if my shrub is way overgrown — can I just cut it all back hard?
Some species tolerate a hard rejuvenation cut to 6-12 inches, but many don't, and the wrong timing on top of a hard cut can kill the shrub. Staged renewal over 2-3 seasons, removing the oldest canes each year, is the safer default.
Do I need to seal pruning cuts with a wound sealant?
No. Modern guidance from extension offices generally advises against wound sealants — a clean angled cut heals better on its own without a sealant trapping in moisture.
How often should a flowering shrub be pruned?
Most benefit from a light annual prune (3 Ds plus light thinning and shaping) rather than being left several years and then cut back hard all at once.
Comments
Questions, corrections, and what worked for you. Comments are reviewed before they appear.