How to Patch a Small Drywall Hole
Patch a small drywall hole — nail holes, screw holes, or dings under about an inch — in an afternoon. Clean edges, sand a ring, spackle in thin coats, sand flush, prime, then feather touch-up paint. Read one step at a time. Start with the preflight. Hole bigger than a golf ball? See Large hole. Patch looks flat on orange-peel wall? See Texture match.
Tips for reading this guide
- One step at a time. Read the green caption, the Why line, then the bullets.
- Move on when the green done line is true — then go to the next step.
- Thin coats beat one thick blob. Spackle shrinks as it dries — two thin passes sand flatter than one heavy fill.
- Prime before paint if bare compound shows — otherwise the patch flashes dull under eggshell or satin.
- Hole bigger than a golf ball, or flat patch on textured wall? Jump to the matching branch below.
- Need a helper? Ask someone to hold the drop cloth, mix paint, or check the patch from across the room.
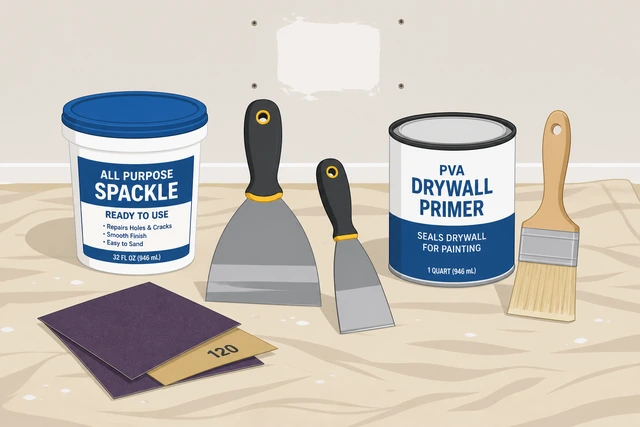
Things You'll Need
- Lightweight spackle or premixed joint compound — tub or small tube for nail holes
- 2-inch and 4-inch flexible putty knives
- 220-grit sandpaper or fine sanding sponge
- Drop cloth or old sheet to protect the floor
- Barely damp cloth or tack cloth for dust wipe
- Primer — small can or brush-on if bare compound will show through paint
- Matching wall paint and a small angled brush for touch-up
- About 2 to 3 hours including dry time between coats; longer if second skim needed
Where are you stuck?
Follow Start here for nail holes and small dings. Jump to a branch if the hole is too large for spackle or the wall has texture that will not match flat patch.
Start hereConfirm size → clean edges → sand ring → dust wipe → spackle → scrape flat → dry → sand → second skim → sand → dust → prime → paint feather
Preflight — confirm hole size, lay drop cloth, gather spackle and paint match.
Hole under ~1 inch · drop cloth down · spackle · knives · sandpaper · primer · paint matched.
Spackle alone cannot bridge a golf-ball hole — confirming size now avoids compound that falls through or cracks after paint.
- Hole size checked? Nail holes and dings under about an inch belong here; larger holes need the large-hole branch.
- Drop cloth down? Spackle and sand dust are easier to catch on cloth than vacuum later.
- Paint matched? Bring a chip to the store or match from leftover can before you patch.
- Supplies ready? Spackle, putty knives, 220 sandpaper, primer, and brush within reach.
Hole is small enough for spackle, drop cloth is down, paint is matched, and supplies are ready.
If the hole is larger than a golf ball or you can see through to the stud cavity, stop spackling and see Large hole — spackle alone will fall through or crack.
Remove loose paper and crumbling edges from the hole.
Pick loose paper · solid edge · no crumbly gypsum.
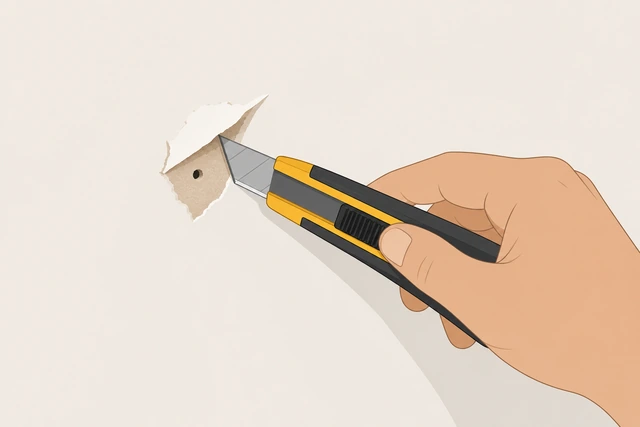
Frayed paper and crumbly edges lift after compound dries — cleaning now prevents a ring crack around the patch.
- Pick out any loose drywall paper around the hole with fingers or a utility knife tip.
- Brush crumbly gypsum dust out of the opening.
- Stop if the hole opens wider than a golf ball — see the large-hole branch.
Hole edge is solid with no loose paper or crumbling gypsum.
Lightly sand a 2 to 3 inch ring around the hole.
220 grit · 2–3 inch ring · scuff paint for adhesion.
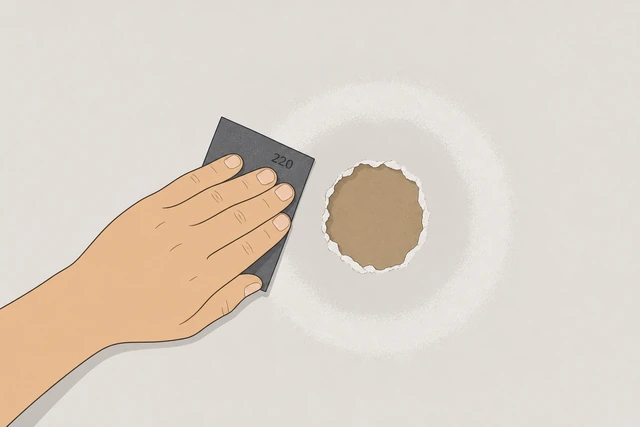
Compound sticks to scuffed paint better than glossy sheen — a light ring sand feathers the repair without gouging the whole wall.
- Wrap 220-grit paper around a finger or use a fine sanding sponge.
- Scuff a 2 to 3 inch ring around the hole — do not sand through paint to bare drywall everywhere.
- Dust will fall — drop cloth catches most of it.
A scuffed ring surrounds the hole and paint is dulled for adhesion.
Wipe sanding dust with a barely damp cloth.
Damp cloth · wipe patch zone · dry 5 min.
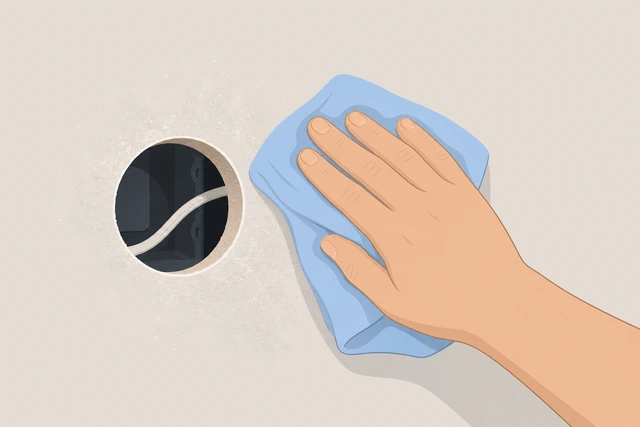
Dust trapped under wet compound weakens the bond and shows as gritty bumps after sanding.
- Wring a cloth until barely damp — not dripping on the wall.
- Wipe the hole and scuffed ring until no white dust transfers to the cloth.
- Wait about five minutes until the wall feels dry to the touch.
Patch zone is dust-free and dry before compound goes on.
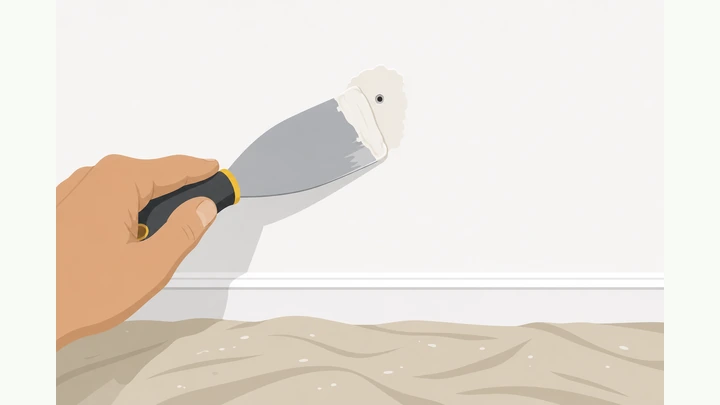
Press spackle into the hole with a putty knife.
Knife at 45° · fill hole · slightly proud of surface.
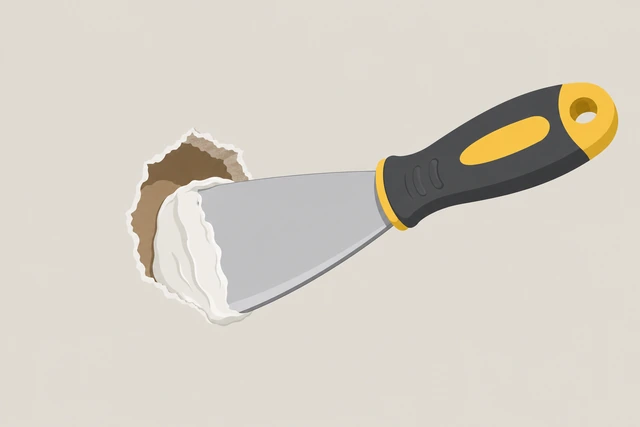
Pressing compound into the cavity fills voids — leaving it slightly proud accounts for shrinkage as it dries.
- Load a small amount of spackle on a 2-inch putty knife.
- Press into the hole at a 45° angle until the opening is full.
- Leave the patch slightly raised above the wall — you will scrape flat next.
Hole is filled with compound slightly proud of the wall.
Compound falls through the hole? → Large hole.
Scrape excess flat in one pass, feathering edges thin.
One smooth pass · thin edges · no thick ridge.
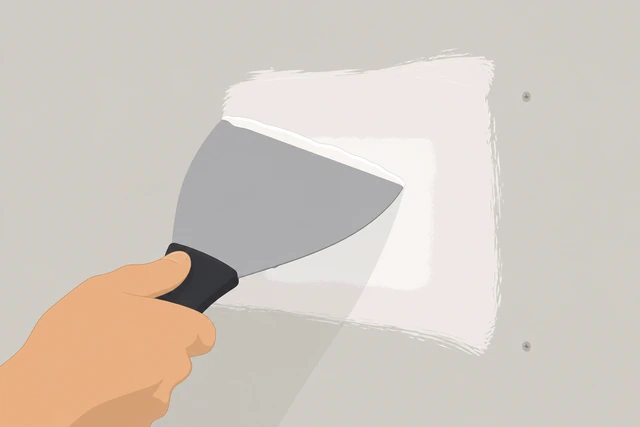
One thick blob cracks while drying and sands into a crown — a single flat scrape with thin feathered edges dries smoother.
- Hold the knife almost flat and scrape across the patch in one smooth pass.
- Feather compound thin at the edges — wider than the hole by about an inch.
- Do not go back with more wet mud on this coat unless the hole was still open.
Patch is flat with thin feathered edges and no thick ridge.
Allow the first coat to dry per the label.
Dry 1–2 hours · hard to touch · uniform light color.
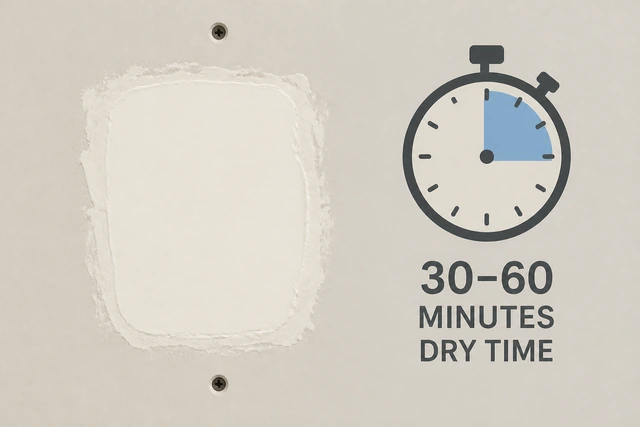
Wet compound looks smooth but shrinks as it dries — painting or sanding too early tears the surface and leaves a saucer dip.
- Read the spackle label for dry time — usually one to two hours.
- Wait until compound turns uniformly light and feels hard to a light finger press.
- Do not rush with a heat gun — uneven drying cracks the patch.
First coat is fully dry, hard, and uniformly light colored.
Sand lightly with 220 grit until flush with the wall.
220 grit · light circles · flush by fingertip.
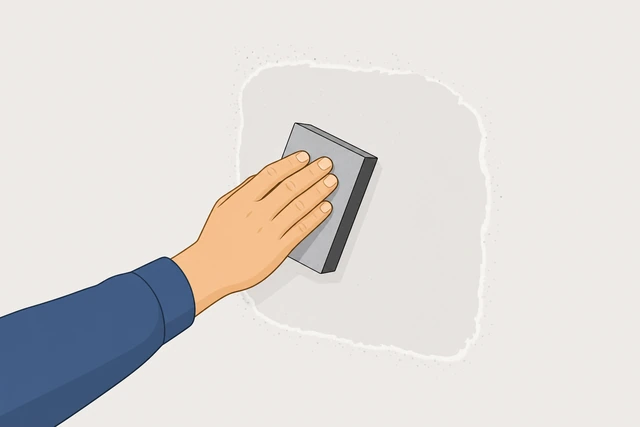
Light sanding levels the slight crown from shrinkage — heavy sanding gouges surrounding paint and makes a bigger visible ring.
- Sand in small circles with 220 grit until the patch feels flush.
- Run a fingertip across — no bump or sharp edge at the rim.
- Stop when flush — do not sand through into surrounding paint.
Patch is flush with the wall and smooth to the fingertip.
Apply a thin second skim coat if a dimple remains.
Thin skim only · fill low spots · skip if already flat.
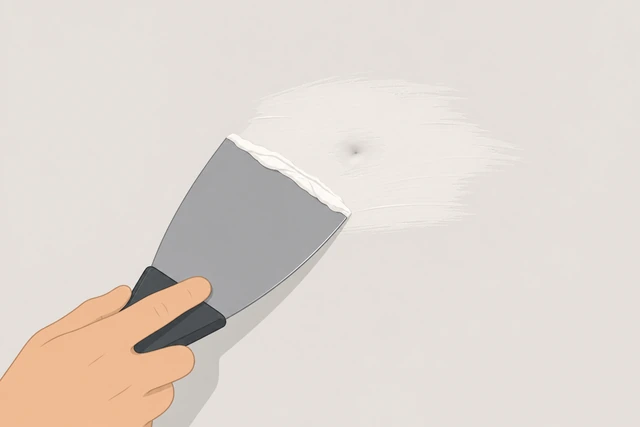
Most nail holes need a second thin skim because compound shrinks into a slight dimple — skip this only if Step 7 already feels perfectly flat.
- If a dimple or pinhole remains, spread a thin skim with the putty knife.
- Cover only the low spot — not another thick layer across the whole patch.
- Feather edges thin and wait for dry time again.
Second skim applied if needed, or skipped because the patch was already flat.
Let the second coat dry and sand again until smooth.
Dry per label · sand 220 · flat in raking light.
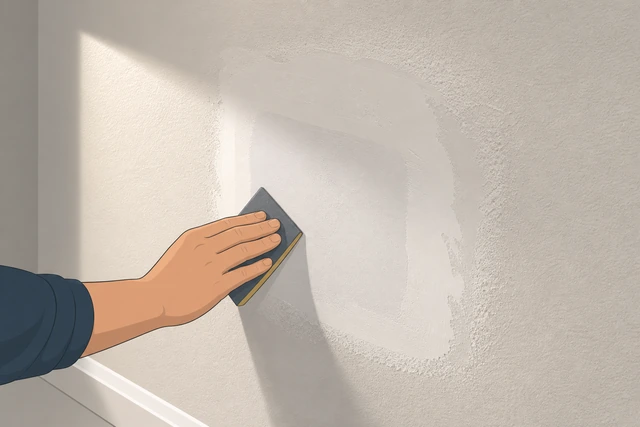
The second coat fills shrinkage dimples — a final light sand blends the repair into the wall plane before paint.
- Wait for the second coat to dry completely if you applied one.
- Sand lightly with 220 grit until the patch disappears in raking light.
- Wipe away sanding dust with a dry cloth.
Patch is sanded smooth and looks flat when viewed at an angle to the light.
Wipe dust with a lightly damp cloth and let dry.
Damp wipe · no dust on fingers · dry before primer.
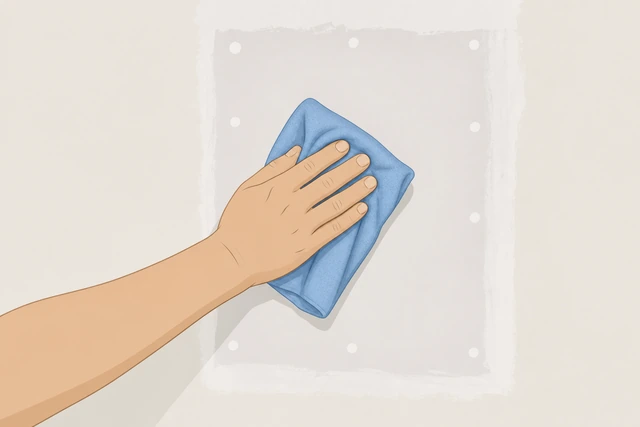
Paint over dust leaves gritty spots and poor adhesion — a final wipe is the last prep before primer or paint.
- Wipe the patch and feather zone with a lightly damp cloth.
- Rub with a dry finger — no white dust should transfer.
- Let the wall dry completely before primer or paint.
Surface is dust-free and dry, ready for primer or paint.
Prime the patch if bare compound shows or sheen differs.
Thin primer · patch plus feather zone · dry per label.
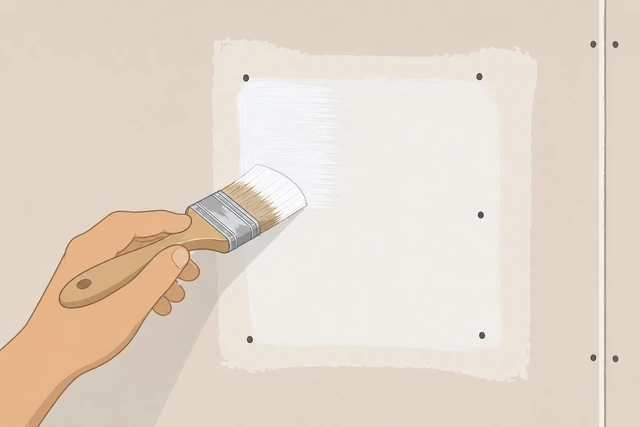
Joint compound is more porous than painted wall — without primer, touch-up paint absorbs differently and flashes as a dull spot.
- Apply a thin coat of primer over the patch and feather zone if bare compound shows.
- Use a small brush for nail-hole size patches.
- Let primer dry per the can label before topcoat.
Primer covers bare compound and feather zone, dried per label.
Bare joint compound absorbs paint differently and flashes as a dull spot — a thin primer coat on the patch prevents sheen mismatch after touch-up paint.
Touch up paint with a small brush, feathering edges.
Small brush · feather edges · inspect when dry.
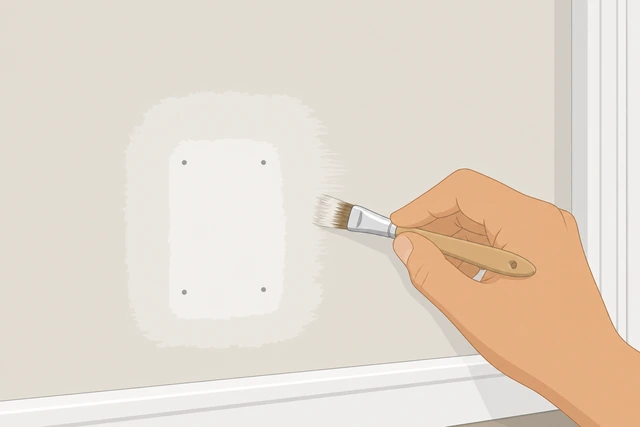
Feathering paint edges blends sheen so the repair disappears at normal viewing distance — a heavy dot of paint reads as a shiny island.
- Dip a small angled brush in matched wall paint.
- Paint the patch and feather outward with lighter strokes at the edges.
- Inspect when dry from across the room — patch should not catch your eye.
Touch-up paint is feathered and the repair is invisible at normal viewing distance.
Patch looks flat on orange-peel or knockdown wall? → Texture match.
Large holeHole is larger than a golf ball or compound falls through to the cavity
Square the opening and apply a self-adhesive mesh patch.
Utility knife · square edges · mesh centered over hole.
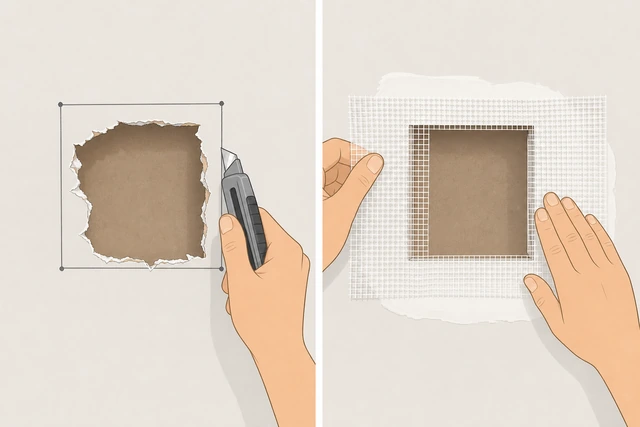
A mesh patch spans holes too wide for spackle alone — squaring the opening lets the mesh sit flat without wrinkles that telegraph through mud.
- Cut ragged edges square with a utility knife — remove loose paper and debris.
- Peel the backing and center self-adhesive mesh over the hole.
- Press firmly so the mesh sticks flat with no lifted corners.
Opening is square and mesh patch is adhered flat over the hole.
Mud over mesh in two thin layers, feather wide, then sand, prime, and paint.
Thin mud layers · feather 6–8 inches · sand · prime · paint.
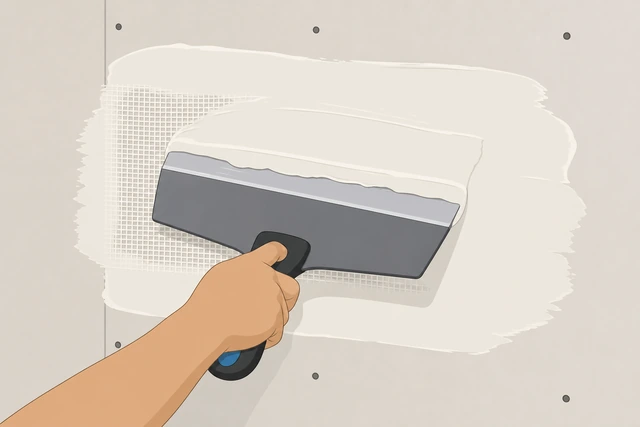
Two thin mud coats over mesh dry without cracking — feathering wide makes the repair invisible after paint, unlike a hump over a small spackle blob.
- Spread a thin joint-compound layer over the mesh, feathering 6 to 8 inches beyond the patch.
- Let dry, sand lightly, then apply a second thin skim to hide the mesh grid.
- Sand flush, prime, and paint using Steps 10–12 from the main path.
Mesh is covered in two feathered mud coats, sanded smooth, primed, and painted — or you stopped for fire-rated wall concerns.
Hole is in a fire-rated wall, shared party wall, or near electrical/plumbing? Check local code or call a pro before cutting larger openings.
Texture matchWall has orange peel or knockdown texture and the patch looks flat after paint
Practice aerosol texture on cardboard, then lightly spray the patch.
Cardboard test · orange peel or knockdown can · 12–18 inch distance.
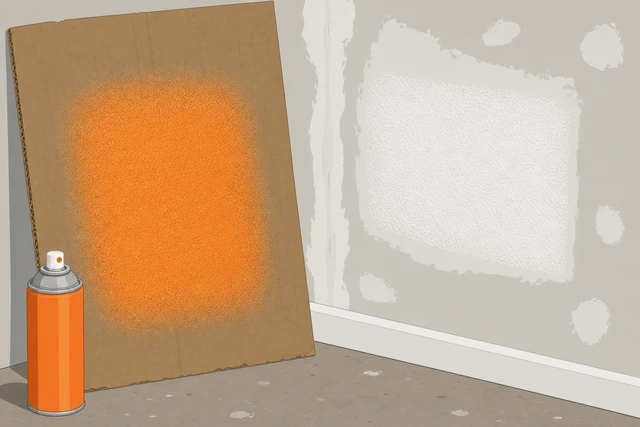
Texture spray is hard to undo — a cardboard test dial in distance and burst length before touching the wall.
- Buy aerosol wall texture matched to orange peel or knockdown type.
- Practice on cardboard from 12 to 18 inches until pattern matches the wall.
- Lightly spray the patched area in short bursts — less is easier to fix than too much.
Texture test on cardboard matches the wall and a light spray is on the patch.
Knock down heavy spots, let dry, then prime and paint.
Damp sponge on heavy spots · dry · prime · paint feather.
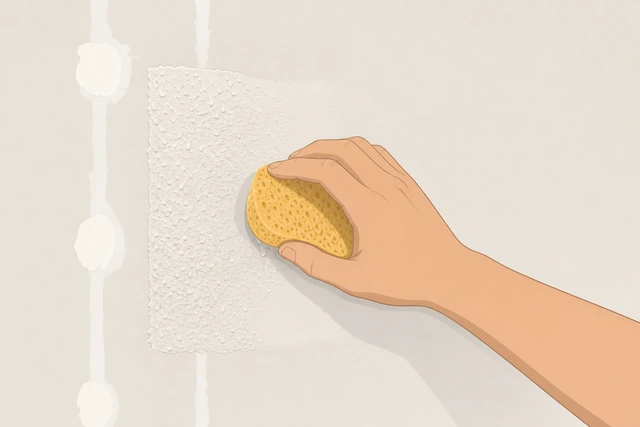
Knockdown texture needs a light flatten pass while wet — overspray leaves a bump that reads worse than a flat patch after paint.
- If texture is too heavy, lightly flatten high spots with a damp sponge.
- Let texture dry completely before primer.
- Prime and paint with feathered edges as in Steps 11–12.
Texture matches surrounding wall, is dry, primed, and painted — or ceiling popcorn pre-1980 flagged for pro.
Ceiling popcorn pre-1980 may contain asbestos — do not scrape or spray over disturbed popcorn; call an abatement professional.
When to get help
- Ask someone to hold the drop cloth, check the patch from across the room, or mix paint while you sand.
- Hole in a fire-rated wall, shared apartment party wall, or near electrical/plumbing? Check code or call a drywall pro.
- Active water stain or soft, mushy drywall? Fix the leak and replace damaged board — spackle over wet gypsum fails again.
- Ceiling popcorn pre-1980 disturbed or crumbling? Call an asbestos abatement professional — do not scrape or spray blindly.
- Patch keeps cracking in the same spot? Something is flexing behind the wall — a pro can check structure or pipe movement.
When This Doesn't Work
- Hole larger than a golf ball or through to the cavity. Spackle alone falls through — see Large hole for mesh patch.
- Orange peel or knockdown texture walls. Flat spackle reads after paint — see Texture match.
- Fire-rated or shared party walls. Repairs may need fire caulk or code-compliant patch kits — check local rules or call a pro.
- Repeated hole in same spot. Something behind the wall (door handle swing, pipe bump) causes repeat damage — fix the cause, not just the surface.
- Water stain or soft drywall. Active leak or mushy gypsum needs drying and possibly a section cut out — not spackle over wet board.
- Ceiling popcorn pre-1980. May contain asbestos — do not scrape; call an abatement pro.
Warnings
- Do not sand aggressively through surrounding paint. You can create a larger visible ring than the original hole.
- Do not apply one thick blob of spackle — it cracks while drying and sands into a crown bump.
- Do not paint without primer on bare compound — the patch flashes dull under eggshell or satin sheen.
- Do not scrape or spray ceiling popcorn without knowing its age — pre-1980 material may contain asbestos.
- Do not patch over active water damage — find and fix the leak first or the patch will fail again.
- Ventilate when using aerosol texture spray — work with windows open and avoid breathing overspray.
Tips
- Two thin spackle coats beat one thick fill — compound shrinks as it dries.
- 220-grit light sanding between coats is what makes the patch disappear, not more mud.
- Feather paint edges with a dry brush after the center coat — sheen blends better than a paint dot.
- Save leftover wall paint in a labeled jar — future nail holes match in one coat.
- Practice texture spray on cardboard first — overspray on the wall is hard to undo.
FAQ
Can I use toothpaste instead of spackle for a nail hole?
Toothpaste is a temporary hack that shrinks and cracks — lightweight spackle or joint compound is the reliable fix and sands flat for paint.
How long should spackle dry before sanding?
Usually one to two hours for small nail-hole patches, but read your product label. It should be uniformly light colored and hard to a light finger press.
Do I need primer before touch-up paint?
Yes, if bare compound shows through — joint compound is more porous than painted wall and absorbs paint differently, causing a dull flash without primer.
What if the hole is bigger than a nail hole?
Holes larger than a golf ball need a self-adhesive mesh patch and joint compound in thin feathered layers — see the large-hole branch.
How do I match orange peel texture after patching?
After sanding smooth, practice aerosol wall texture on cardboard, then lightly spray the patch from 12 to 18 inches. Knock down heavy spots with a damp sponge before primer and paint.
Comments
Questions, corrections, and what worked for you. Comments are reviewed before they appear.