How to Paint a Room
Paint a typical interior room with even walls: prep, prime if needed, cut in, roll with a wet edge, second coat, then cleanup. Read one step at a time. Start with preflight. Lap marks? Lap marks. Paint on trim? Paint on trim. Will not cover? Will not cover.
Tips for reading this guide
- One step at a time. Read the green caption, the Why line, then the bullets.
- Move on when the green done line is true — then go to the next step.
- Keep a wet edge — do not let a section dry mid-wall.
- Lap marks? Lap marks.
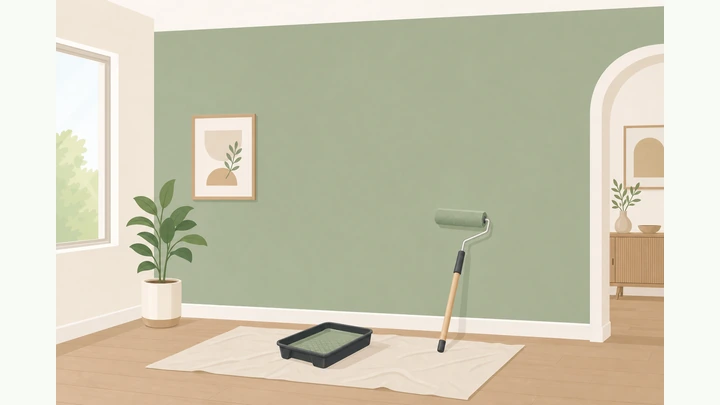
Things You'll Need
- Interior wall paint (enough for 2 coats)
- Primer if needed
- Roller frame + cover
- Angled brush
- Paint tray
- Painter's tape
- Drop cloths
- Spackle + sandpaper
- Screwdriver for plates
Where are you stuck?
Follow Start here to paint a room. Jump to a branch for lap marks, paint on trim, or poor coverage.
Start herePrep → prime → cut in → wet-edge roll → second coat → cleanup
Preflight — enough wall paint, primer if needed, roller/brush/tape, drop cloths, dry mild day, ventilation plan.
Paint + tools staged · room plan · ventilate.
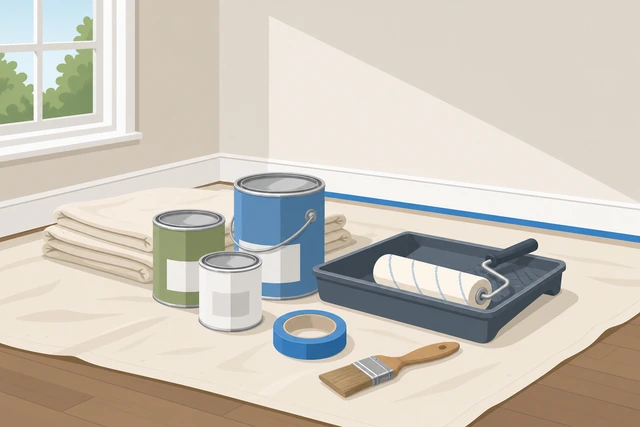
Running out mid-wall and painting in damp cold weather both ruin finishes.
- Buy enough gallons for two coats (check the label coverage).
- Match sheen to the room (eggshell/satin common for walls).
- Stage roller, angled brush, tray, tape, drop cloths, filler, sandpaper.
- Plan open windows or a fan for ventilation.
Supplies for the whole room are on hand and the weather/ventilation plan is set.
Clear or move furniture; cover floors; remove switch and outlet plates.
Floor covered · walls clear · plates off.
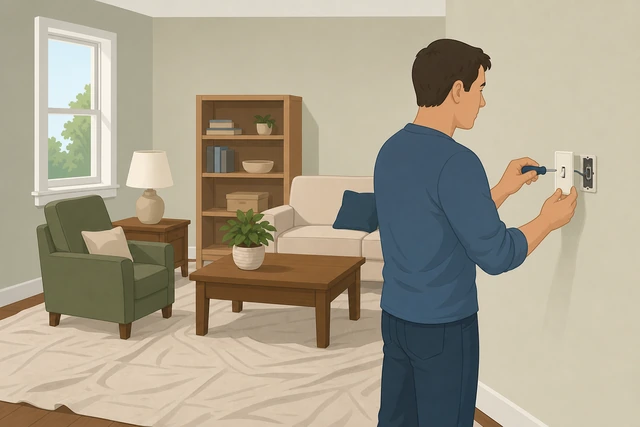
Paint on carpet and live outlets is harder than moving a sofa once.
- Move furniture to the center or out of the room.
- Lay drop cloths or plastic on the floor; tape edges if needed.
- Unscrew switch and outlet plates; store screws together.
- Turn off the breaker if you will paint near open outlets carefully.
Floors are protected and wall plates are removed.
Clean walls; fill holes; sand smooth; wipe dust.
Clean · fill · sand · dust-free.
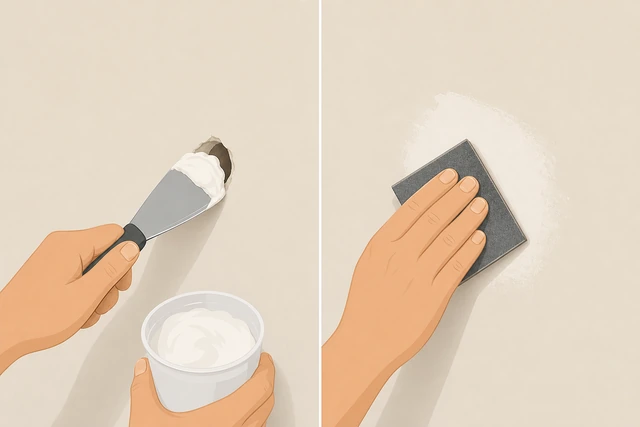
Paint will not stick well to grease or dust, and every unfilled hole shows forever.
- Wash greasy spots (kitchen) with a mild cleaner; rinse and dry.
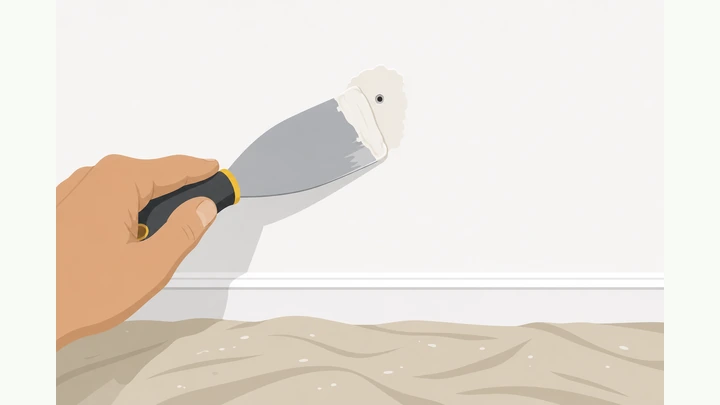
- Fill nail holes and small dents with spackle.
- Sand patches flush when dry.
- Wipe all dust with a damp cloth; let dry.
Walls feel clean and patches are smooth and dust-free.
Tape trim and the ceiling line — or plan a careful freehand cut-in.
Tape sealed · or freehand plan ready.
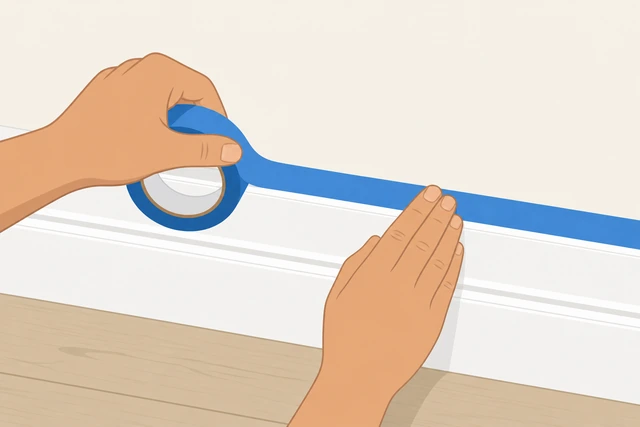
Edge control is half of a clean-looking room.
- Apply painter’s tape along trim and/or ceiling if you want insurance.
- Press the tape edge firmly so paint cannot bleed under.
- If you skip tape, plan slower brush cut-in later.
- Paint already on trim from a past project? → Paint on trim.
Edges you care about are taped or you have a clear freehand plan.
Prime bare patches, stains, or big color changes — then let dry per the label.
Primer on bare/stained areas · dry per label.
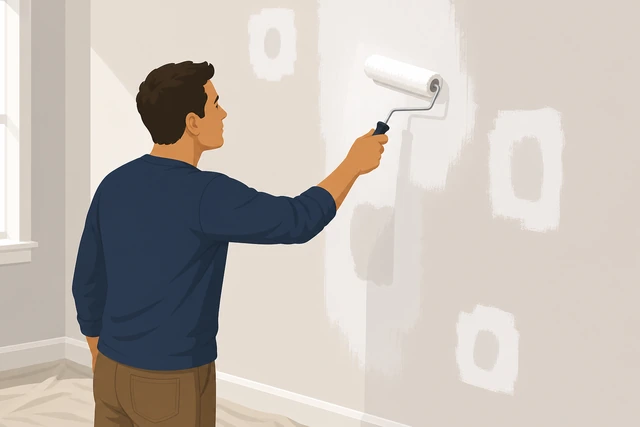
Skipping primer on bare drywall or stains is why new paint looks blotchy.
- Spot-prime patched areas.
- Use stain-blocking primer on water/smoke marks.
- Prime the whole wall if going from dark to light.
- If the wall is already similar color and sound, you may skip full priming.
Needed primer is applied and dry enough to topcoat.
Old color still screaming through later? → Will not cover.
Stir the paint; cut in a 2–3 inch border at ceiling, corners, and trim with an angled brush.
Cut in 2–3 in border · brush not overloaded.
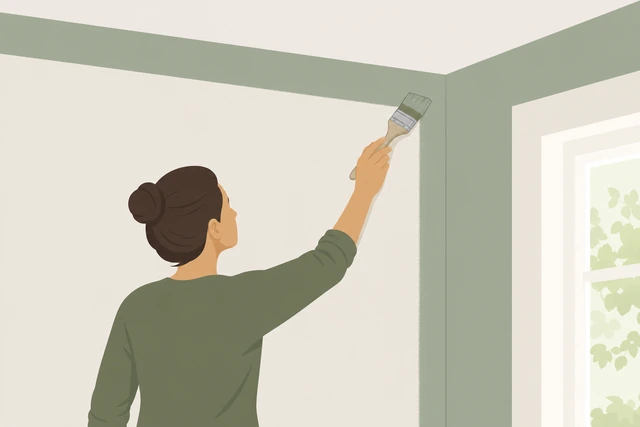
The roller cannot reach tight edges cleanly — cut-in first.
- Stir paint thoroughly.
- Dip only the tip of an angled brush; tap off excess.
- Cut in along the ceiling line, corners, and beside trim.
- Keep a wet edge for the roller to meet.
A painted border exists around the room’s edges.
Load the roller evenly — damp, not dripping.
Even load · roll off excess in the tray.
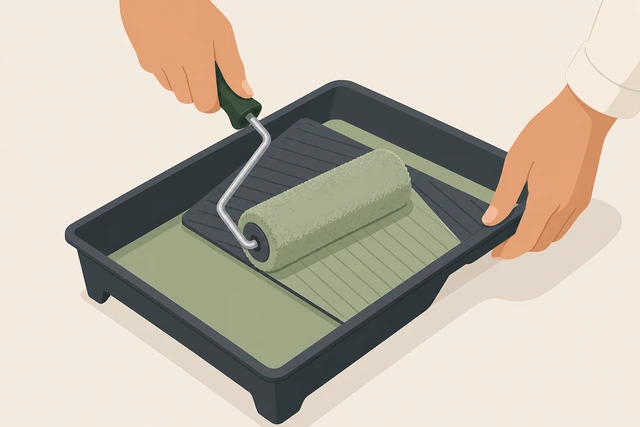
A dripping roller causes runs; a dry roller causes lap marks.
- Pour paint into the tray reservoir.
- Roll the cover through the paint, then on the ramp to even it out.
- The roller should look fully wetted without dripping streams.
- Use the nap recommended for your wall texture.
The roller is evenly loaded and not dripping.
Roll a W or M pattern in about a 3×3 ft section, then fill it in without overworking.
W/M then fill · wet-on-wet · do not keep re-rolling dry paint.
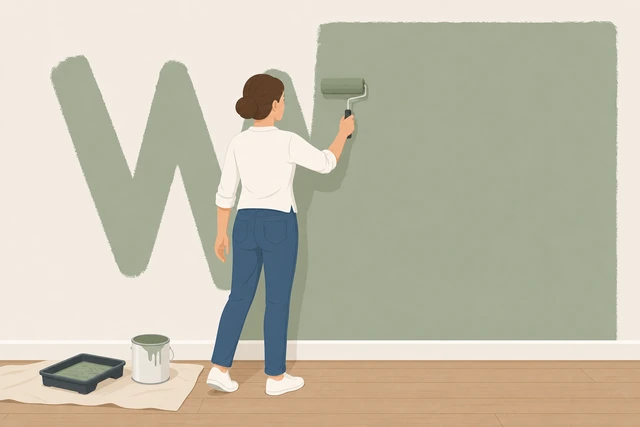
Overworking drying paint creates roller texture and lap marks.
- Start near a cut-in edge.
- Roll a large W or M.
- Fill the section with parallel strokes overlapping slightly.
- Move on once covered — stop scrubbing.
- Lap marks later? → Lap marks.
One section is evenly covered while still wet.
Continue section by section around the room, always keeping a wet edge.
Next section overlaps wet edge · finish one wall before long breaks.
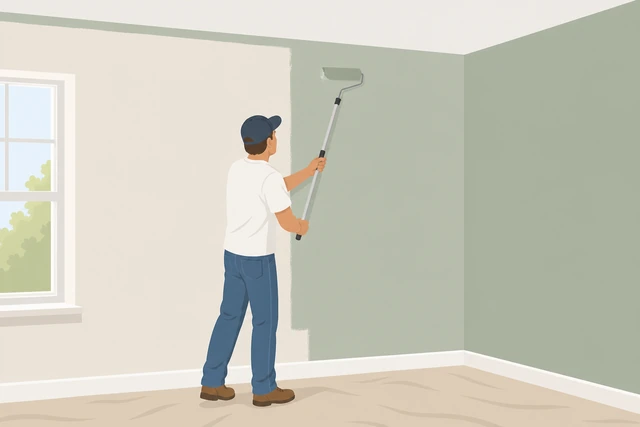
Letting an edge dry mid-wall is the classic cause of stripes.
- Reload the roller before it goes dry.
- Overlap into the previous wet section.
- Finish a full wall before long breaks when you can.
- Maintain ventilation without a dusty draft of debris onto wet paint.
The first coat covers the walls with no intentional dry seams.
Inspect for holidays (missed spots) and touch them while the coat is still workable.
Find bare spots · touch lightly · do not overwork.
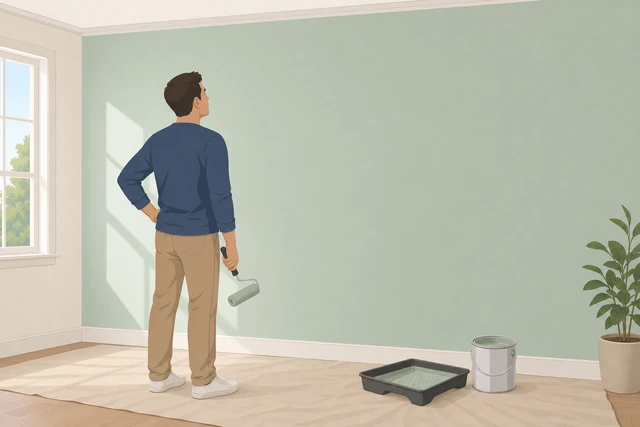
Holidays are easier to fix before the coat fully sets.
- Step back and look across the wall in good light.
- Spot-roll or brush thin missed areas.
- Avoid piling on thick globs.
No obvious bare patches remain on the first coat.
Wait the label dry time; apply a second coat — cut in again, then roll.
Dry time first · second coat cut-in + roll.
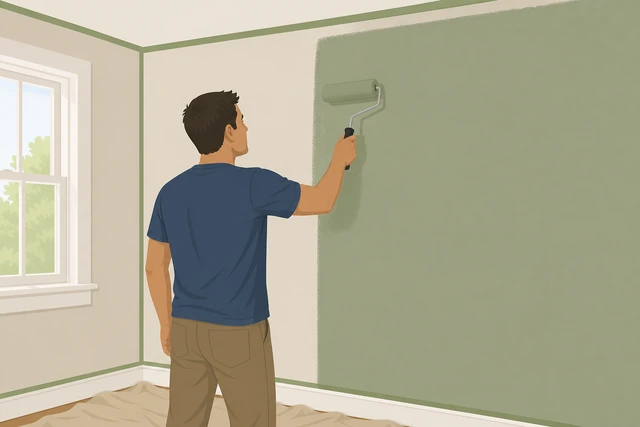
Most walls need two coats for even color and washable durability.
- Wait the time on the can (often 2–4 hours; follow the label).
- Cut in edges again.
- Roll the full walls the same wet-edge way.
- Still blotchy after two coats? → Will not cover.
Second coat is complete on the walls.
Remove tape at the recommended time; touch up edges carefully.
Pull tape slow at an angle · touch up nicks.
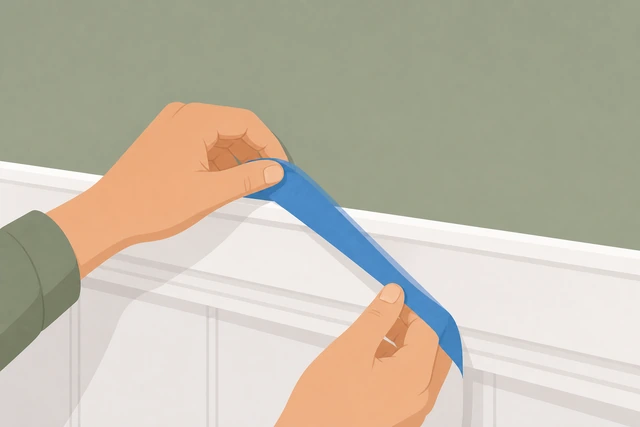
Pulling tape too late can tear the paint film.
- Check the tape maker’s guidance (often when paint is dry to the touch but not rock hard).
- Pull slowly at a 45-degree angle.
- Touch up tiny nicks with a small brush.
- Dried paint on trim? → Paint on trim.
Tape is off and edge lines look clean enough.
Cleanup — wash tools, clear cloths, replace plates, keep ventilating.
Wash tools · replace plates · ventilate.
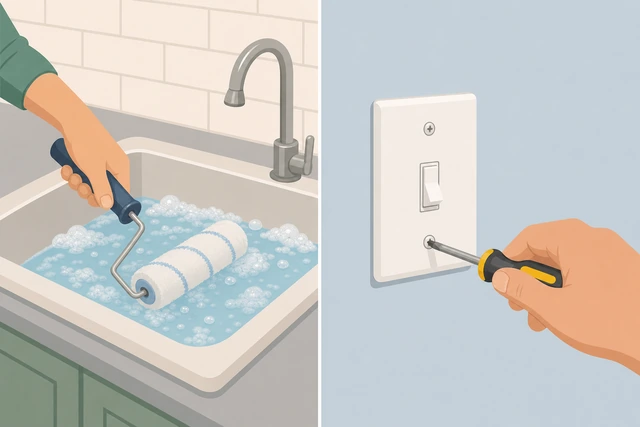
Dried rollers are expensive to replace and leftover fumes need air.
- Wash water-based tools with warm soapy water before paint hardens.
- Remove drop cloths carefully.
- Replace switch/outlet plates.
- Keep windows cracked until the paint smell fades.
Tools are cleaned or wrapped, plates are back, and the room is airing out.
Lap marksVisible stripes or roller tracks after drying
Confirm the marks are from dry edges or overworking — not dirt.
Look across the wall in raking light · identify stripes.
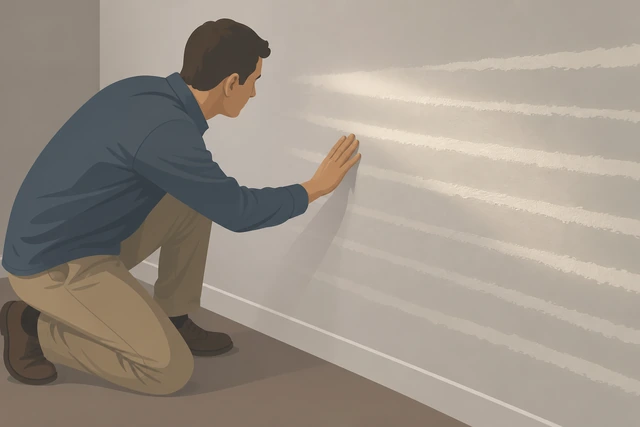
You fix technique only after you see the pattern.
- View the wall from an angle.
- Note where sections met.
- Check if the roller was run dry.
You can point to where the wet edge was lost.
Lightly sand glossy high ridges if the coat is fully dry.
Light sand · wipe dust · do not dig gouges.
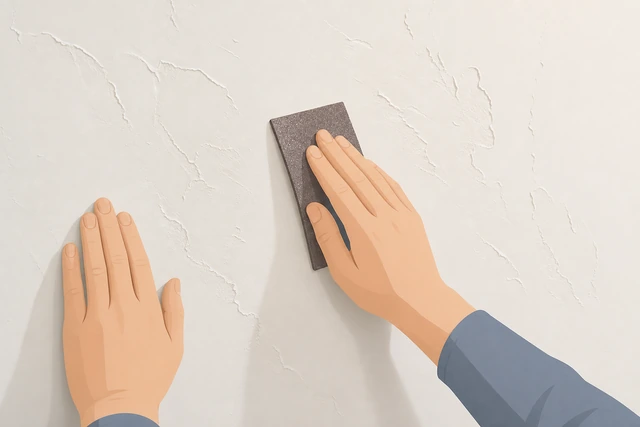
High ridges telegraph through the next coat.
- Sand gently with fine grit.
- Wipe dust completely.
High spots are dulled and dust-free.
Recut edges and roll with a fuller load, keeping a true wet edge.
Fuller roller · overlap wet · finish the wall.
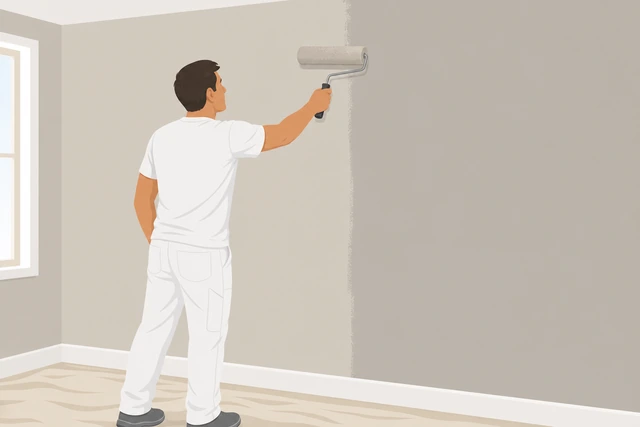
Starving the roller recreates the stripes.
- Reload more often.
- Overlap into wet paint.
- Stop overworking drying areas.
A corrective coat is applied with a wet edge.
Maintain consistent pressure and roller direction on the finish pass.
Finish pass in one direction · light pressure.
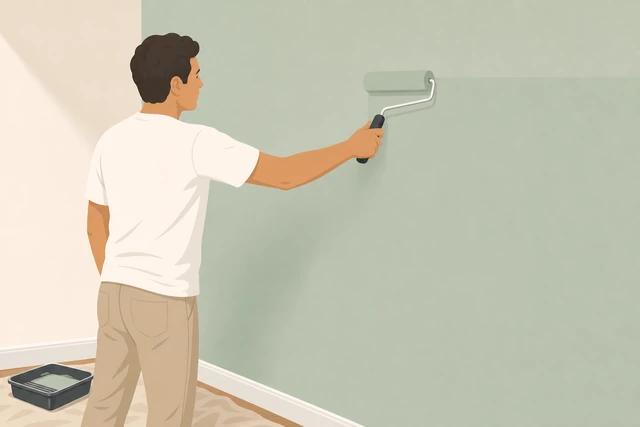
Random scrubbing shows forever under light.
- End with light parallel strokes.
- Do not press hard.
The finish pass looks even while wet.
If texture is ruined after multiple coats, call a pro for skim/repaint.
Pro skim/repaint · stop stacking failed DIY coats.
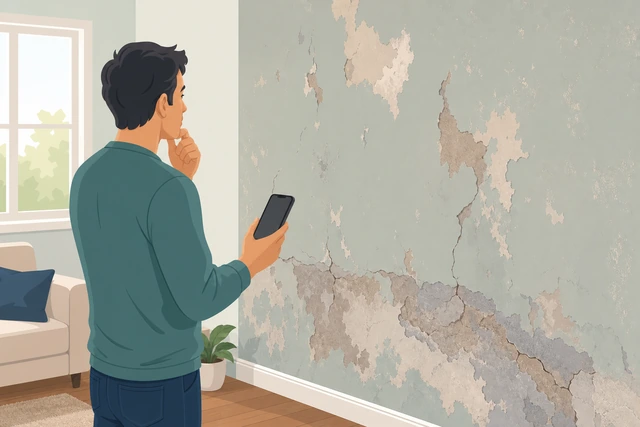
More paint on a mess can make it thicker, not smoother.
- Stop after two honest corrective attempts.
- Get a quote for skim and repaint if needed.
You have a stop rule and a pro path.
Paint on trimWall paint on trim, ceiling, or floor
Wipe fresh spills immediately with a damp cloth.
Wipe fresh paint now · before it skins.
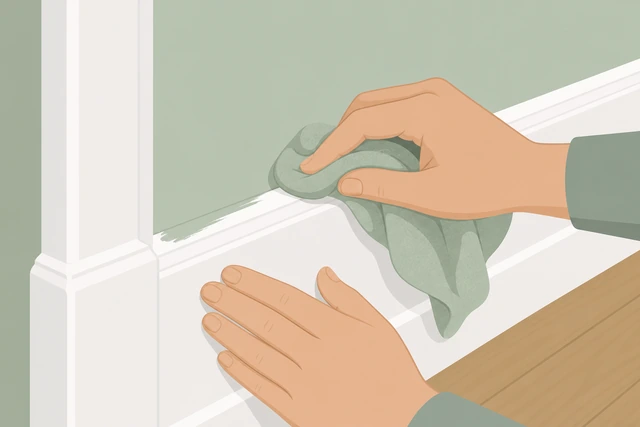
Fresh latex cleans off; dried latex fights you.
- Wipe trim/ceiling spots right away.
- Rinse the cloth so you do not smear.
Fresh spills are wiped clean.
For dried spots, carefully score and remove with a plastic scraper or razor held flat.
Flat tool · gentle · protect the trim finish.
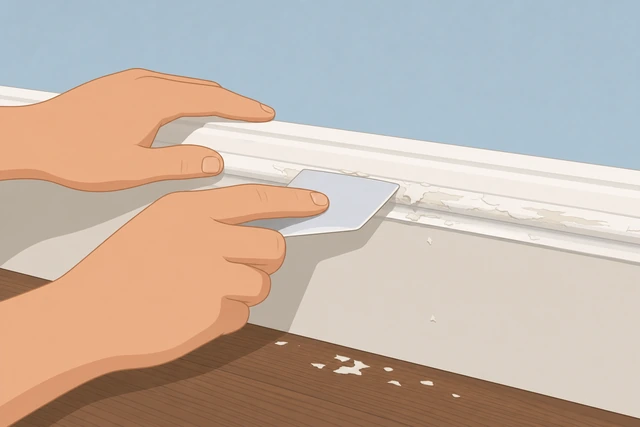
Digging gouges is worse than a tiny paint speck.
- Hold the blade nearly flat.
- Lift paint only.
- Stop if you risk cutting wood.
Dried drips are lifted without gouging trim.
Retape cleanly and press the edge hard before any touch-up.
Fresh tape · sealed edge · then touch up.
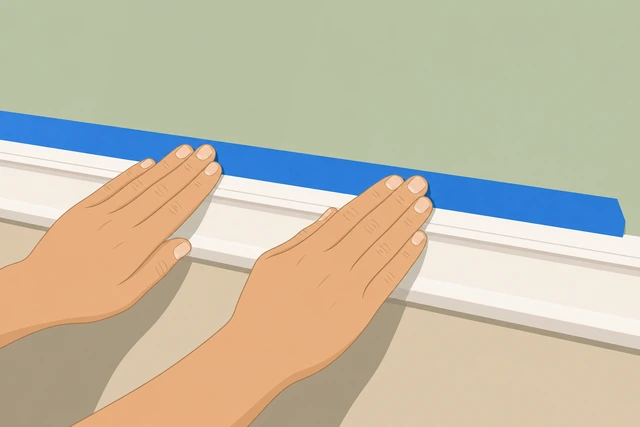
Loose tape is why bleed happens twice.
- Apply new tape.
- Burnish the edge with a fingernail or putty knife.
- Paint carefully.
Tape edge is sealed for touch-up.
Use less paint on the brush near edges — tip only.
Tip load only · no dripping brush near trim.
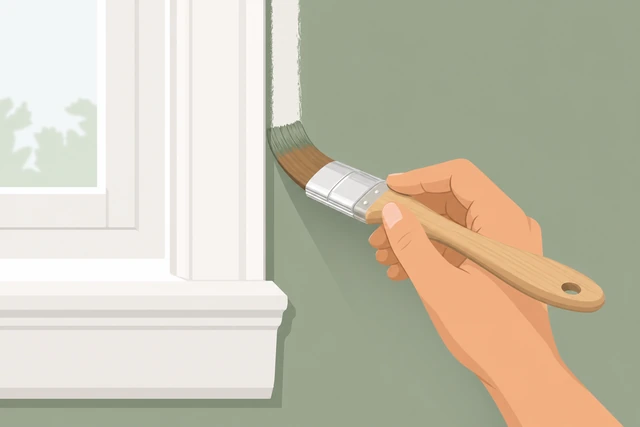
Overloaded brushes dump paint under tape.
- Dip tip only.
- Tap off excess.
- Cut in slowly.
Cut-in near trim uses a lightly loaded brush.
Historic or delicate trim — stop and hire help rather than risk damage.
Delicate trim · pro help · do not force DIY.
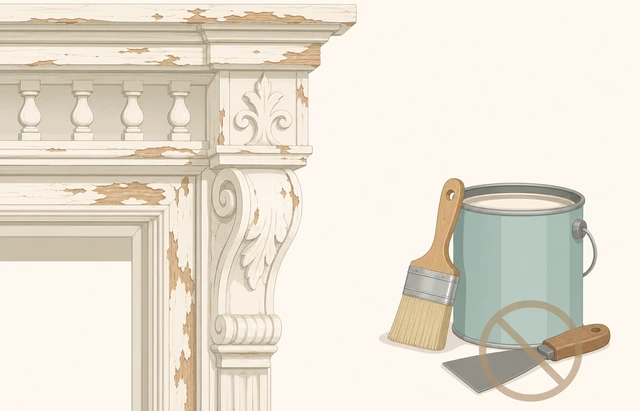
Some finishes are not worth a scrape experiment.
- Protect the room.
- Call a painter for edge work if needed.
You chose protection over risky scraping.
Will not coverOld color shows or the finish looks blotchy after two coats
Check whether you needed primer — especially dark-to-light or stains.
Dark bleed or stains · primer first.
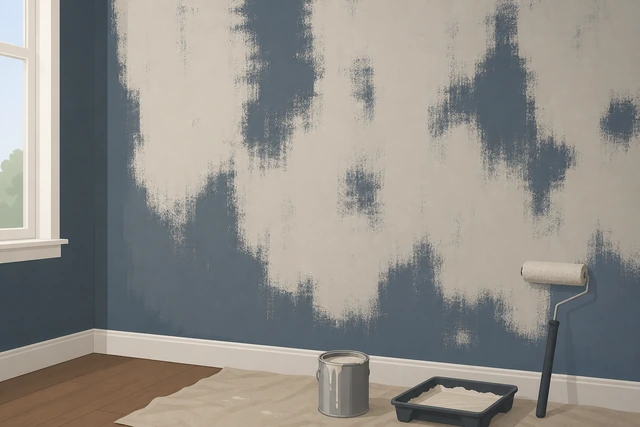
More topcoat cannot block some stains alone.
- Identify stain vs thin paint.
- Plan stain-blocking or tinted primer.
You know if primer is the missing step.
Apply the correct primer and let it dry fully.
Right primer · full dry · then topcoat.
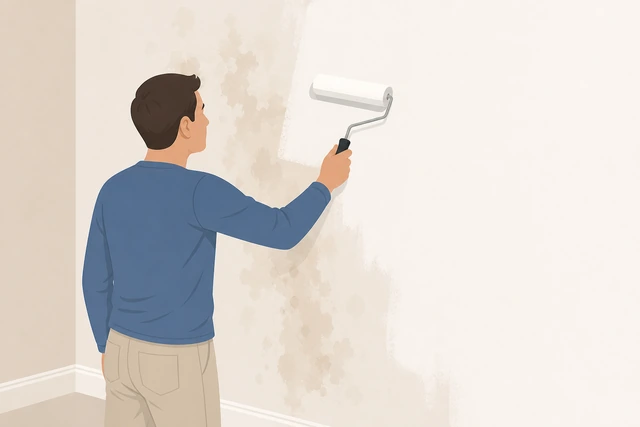
Rushing primer dry time causes peel and blotch.
- Apply primer evenly.
- Wait the label time.
Primer is on and dry.
Use quality paint at the right sheen; avoid over-thinning.
Quality paint · no watery thinning · correct sheen.
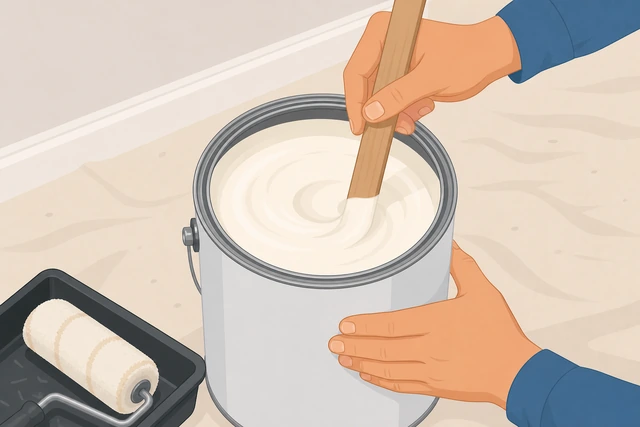
Cheap watery paint needs endless coats.
- Stir well.
- Do not add water unless the label allows a small amount.
- Keep the intended sheen.
Paint is ready at proper consistency.
Apply another full even coat with wet-edge technique.
Full coat · wet edge · inspect when dry.
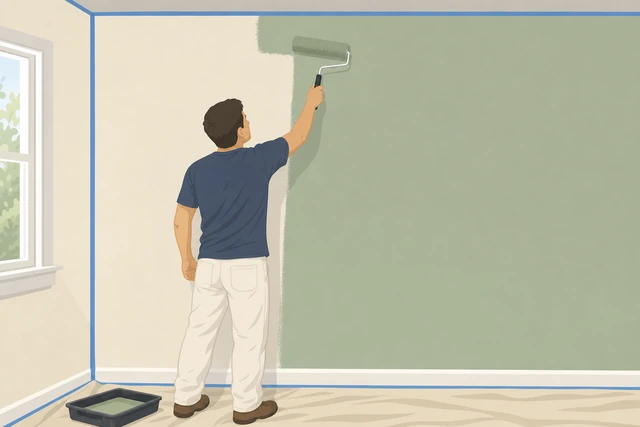
Spot dabbing creates more blotches.
- Cut in.
- Roll full walls.
- Inspect after dry.
An additional even coat is complete.
Pre-1978 homes — if paint may contain lead, stop DIY sanding and get testing.
Possible lead · testing · certified pro · do not sand freely.
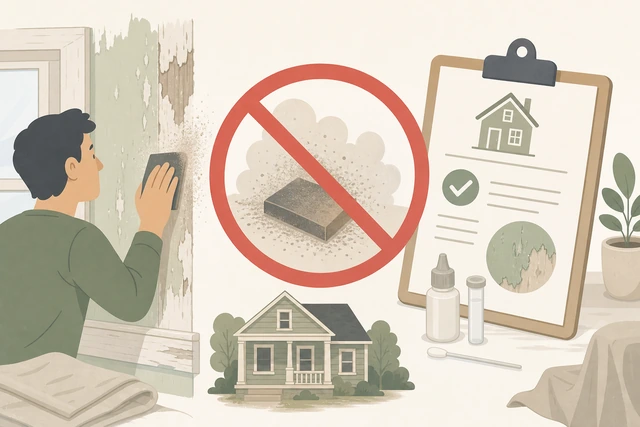
Lead dust is a health hazard, not a finish problem.
- Do not dry-sand suspect old paint.
- Get lead testing.
- Use certified contractors if positive.
You have a safety stop for possible lead paint.
When to get help
- Lead-paint risk in older homes — get testing before sanding.
- Tall stairwells or multi-story work may need a pro for safety.
When This Doesn't Work
- Ceilings, cabinets, or exterior siding. Different prep and products.
- Oil-based paint workflows. Cleanup and dry times differ — follow that product.
- Heavy texture / popcorn issues. May need specialty techniques.
Warnings
- Ventilate — open windows and take breaks.
- Pre-1978 homes: assume lead risk until tested — do not dry-sand freely.
- Turn off power when working around open outlets if unsure.
Tips
- Buy a bit extra paint from the same batch for touch-ups.
- Finish a full wall before long breaks when you can.
- Wrap a wet roller in plastic for a short lunch break instead of washing mid-coat.
FAQ
Do I always need primer?
Prime bare patches, stains, and big color changes. Sound walls going similar-to-similar can sometimes skip full priming.
How long between coats?
Follow the can. Many latex wall paints want a few hours; cool/humid rooms need longer.
What sheen should I use?
Eggshell or satin is common for living areas; flatter hides flaws, glossier cleans easier in kitchens/baths.
Comments
Questions, corrections, and what worked for you. Comments are reviewed before they appear.