How to Fix a Leaky Faucet
Fix a leaky faucet: shut off supplies, remove the handle, replace a worn washer or cartridge, reassemble snugly, and retest. Read one step at a time. Start with preflight. Cartridge? Cartridge faucet. Cannot shut off? Cannot shut off. Still drips? Still drips.
Tips for reading this guide
- One step at a time. Read the green caption, the Why line, then the bullets.
- Move on when the green done line is true — then go to the next step.
- Shut the water off first — never force seized valves.
- Cartridge style? Cartridge faucet.
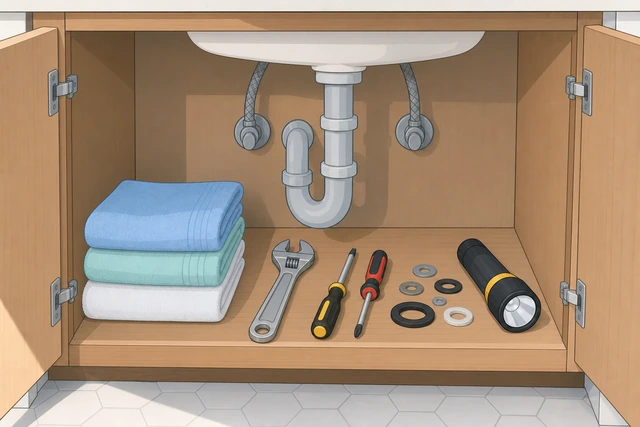
Things You'll Need
- Adjustable wrench
- Screwdrivers / hex key
- Flashlight
- Assorted faucet washers and O-rings or matching cartridge
- Towels and drain plug
- Optional: plumber’s grease, penetrating oil, seat wrench
Where are you stuck?
Start hereShut off → open handle → replace washer/cartridge → retest
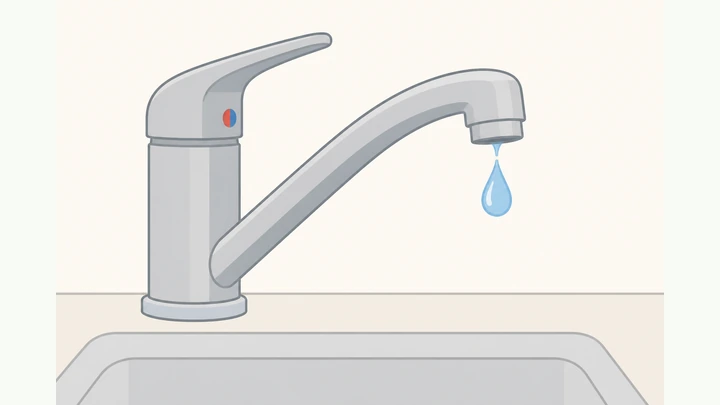
Preflight — note whether the drip is from the spout or around the handle; gather towels, flashlight, adjustable wrench, screwdriver, and replacement washers/O-rings (or a matching cartridge).
Locate drip · towels · wrench · screwdriver · washers or cartridge.
Spout drips and handle leaks need different seals; having parts ready avoids a sink left open overnight.
- Watch where water appears: spout tip vs under the handle.
- Put towels in the cabinet and on the counter.
- Have an adjustable wrench and screwdrivers.
- Buy assorted faucet washers/O-rings or plan to match a cartridge.
- Single-handle cartridge style? → Cartridge faucet.
You know drip location and have tools plus a parts plan.
Shut off the hot and cold supply valves under the sink, then open the faucet to relieve pressure.
Shut both supplies · open faucet · relieve pressure.
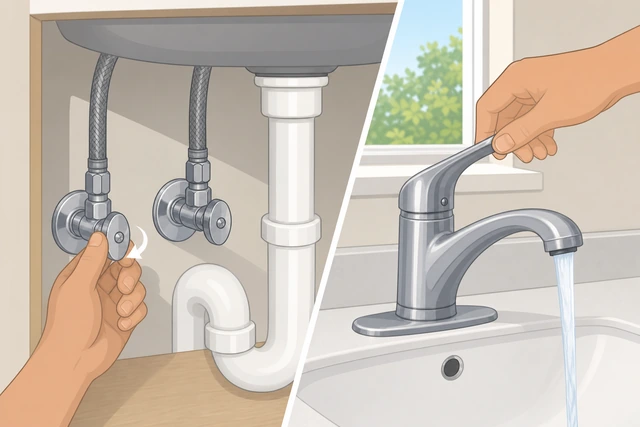
Working under pressure sprays water and can ruin parts mid-repair.
- Turn under-sink valves clockwise to close (usually).
- Open the faucet handles until flow stops.
- If valves will not turn, stop.
- Valves stuck? → Cannot shut off.
No water pressure remains at the faucet.
Plug the drain and lay towels so small screws cannot fall into the trap.
Plug drain · towels down · catch screws.
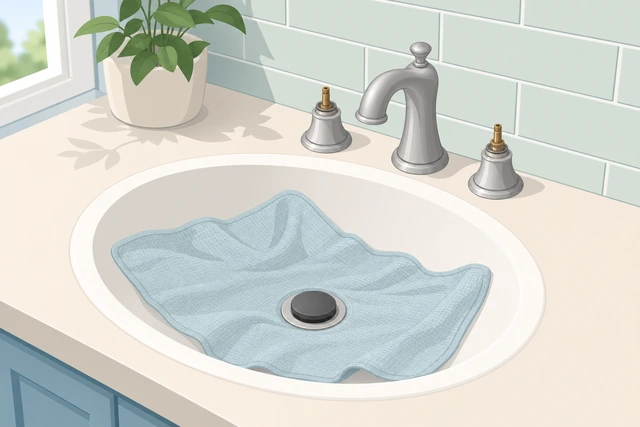
A lost set screw turns a 20-minute fix into a parts hunt.
- Close the sink stopper or stuff a rag in the drain.
- Lay a light-colored towel in the basin.
- Keep a small dish for screws.
Drain is blocked and a towel is ready to catch parts.
Remove the handle: pry the decorative cap if present, then loosen the set screw and lift the handle off.
Cap off · set screw out · lift handle.
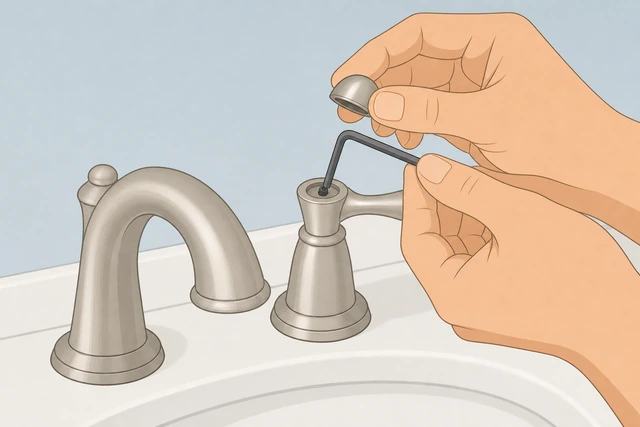
You cannot reach the stem or cartridge with the handle in place.
- Look for a small cap on top or behind the handle.
- Loosen the set screw (often hex/Allen).
- Lift the handle straight up.
- Bag screws in your dish.
Handle is off and the stem/cartridge area is visible.
Remove the packing nut or retaining hardware so you can access the stem (compression) or cartridge.
Loosen packing nut/clip · expose stem or cartridge.
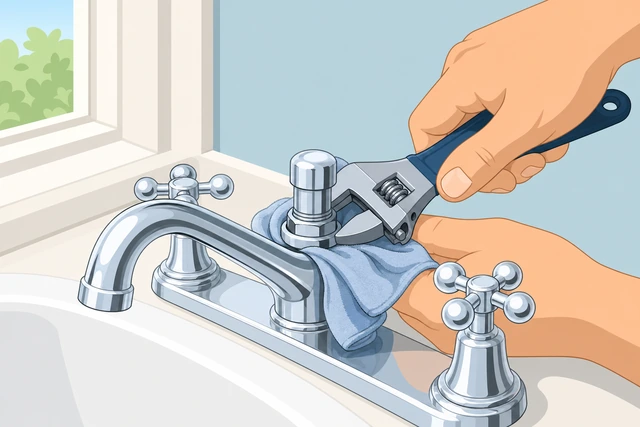
The dripping seal usually sits below this hardware.
- Use the adjustable wrench on flats of the packing nut if present.
- Turn counterclockwise to loosen.
- Do not crush chrome — pad with tape/cloth if needed.
- For clip-retained designs, see the cartridge branch.
Stem or cartridge can be lifted or inspected.
Inspect the rubber washer at the bottom of the stem (or the cartridge seals) for cracks, flattening, or missing pieces.
Inspect washer/O-ring/cartridge seals for wear.
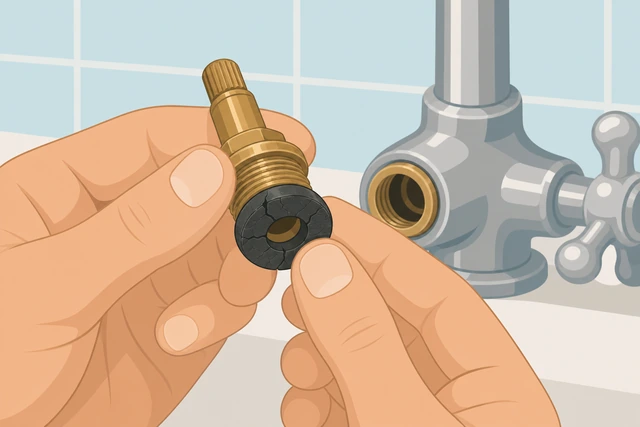
A flattened or cracked washer is the classic cause of a spout drip.
- Pull the stem if it is a compression faucet.
- Look at the washer on the tip.
- Note size and shape for the replacement.
- Check O-rings on the stem for handle-area leaks.
You can describe which seal looks worn.
Replace the washer and any bad O-rings — or install a matching replacement cartridge — and seat parts fully.
New washer/O-rings or cartridge · seated fully.
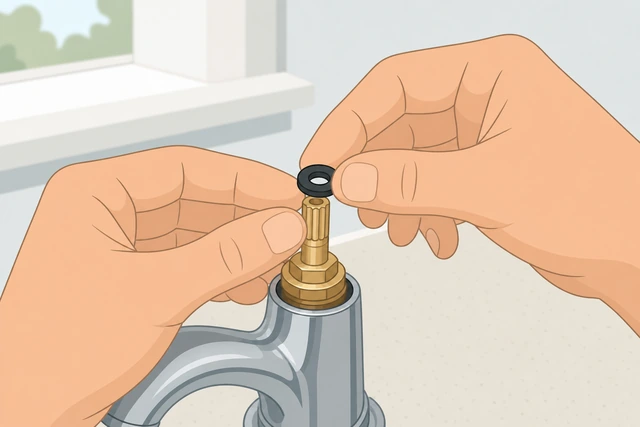
Reuse of a crushed washer usually means the drip returns within days.
- Screw or press the new washer onto the stem tip as the old one sat.
- Light plumber’s grease on O-rings if you have it (not on washer face that seals the seat).
- For cartridges, align tabs and push fully home.
New sealing parts are installed in the correct orientation.
Reassemble packing nut and handle — snug, not over-torqued.
Reassemble · snug only · replace set screw and cap.
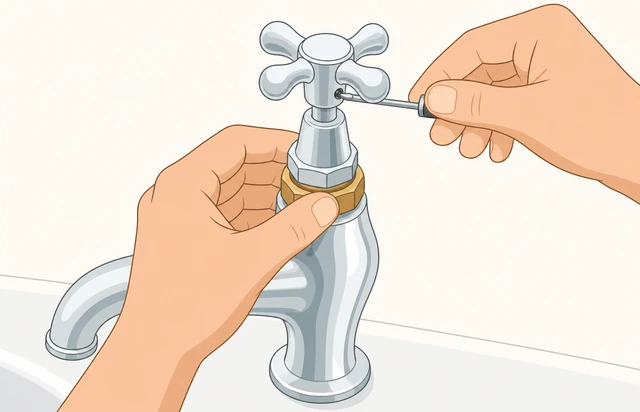
Over-tightening cracks plastic and strips chrome nuts.
- Thread packing nut back on and snug gently.
- Replace handle and set screw.
- Snap decorative cap back.
- Remove tools from the sink.
Faucet looks assembled like before the repair.
Open the supply valves slowly, then test the faucet on and off while watching the spout and handle base.
Open supplies slowly · test on/off · watch for drips.
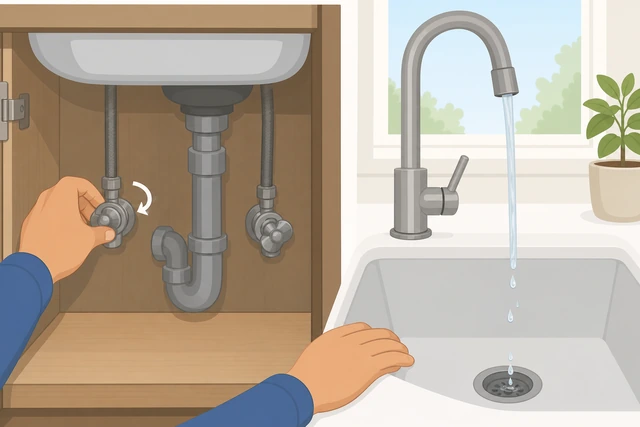
Sudden full pressure can blow a poorly seated washer; slow open lets you catch packing leaks.
- Open valves gradually.
- Run water hot and cold briefly.
- Shut off and watch the spout for 30–60 seconds.
- Check under the handle for seepage.
- Still drips from spout? → Still drips.
Either the drip is gone or you have confirmed it remains after the repair.
If the spout still drips, reseat once more or plan a valve-seat check — do not keep overtightening the handle.
Still dripping · reseat once · do not crank the handle forever.
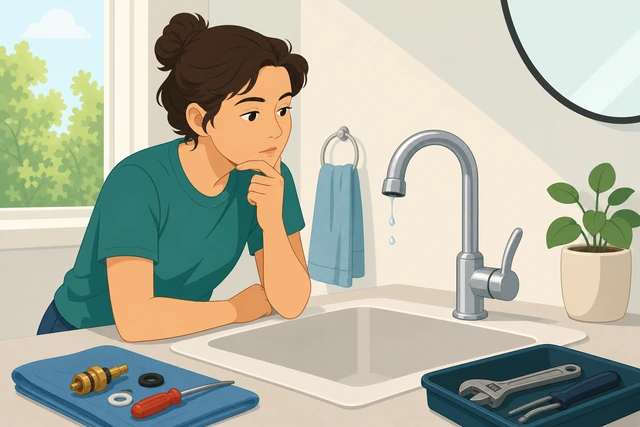
A damaged metal seat will leak no matter how hard you close the handle.
- Shut supplies again if you will reopen the faucet.
- Confirm washer is centered.
- If seat looks pitted, escalate rather than forcing.
You either fixed it with a reseat or chose the still-drips branch/plumber path.
Clean up, dry the cabinet, and save the old washer size note for next time.
Clean up · dry cabinet · note washer/cartridge size.
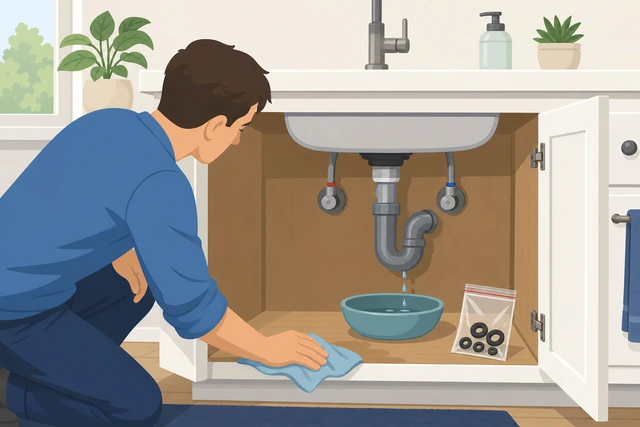
A labeled spare set turns the next drip into a 15-minute job.
- Remove towels and drain plug.
- Wipe any spilled water in the cabinet.
- Write the washer size or cartridge model on a bag.
- Wash hands.
Work area is dry and you have a parts note.
Cartridge faucetSingle-handle style — replace the cartridge
Confirm a single handle and a cartridge under a retaining clip or nut.
Single handle · look for cartridge clip/nut.
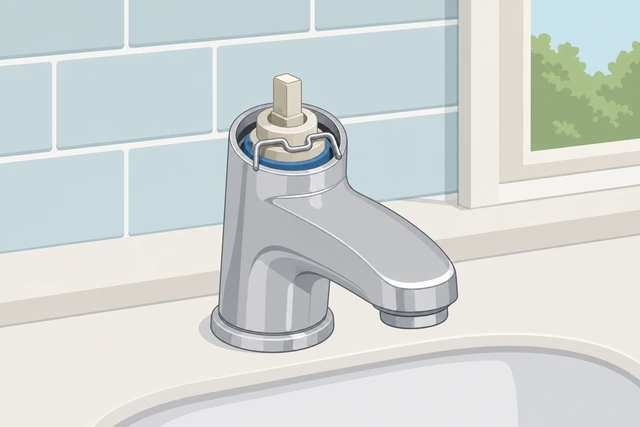
Washer kits will not fix a failed cartridge.
- Handle off.
- Spot the clip or retaining nut.
- Photo the orientation before removal.
You see a cartridge, not a classic stem washer tip.
Remove the retaining clip or nut and pull the cartridge straight up.
Clip/nut off · pull cartridge straight up.
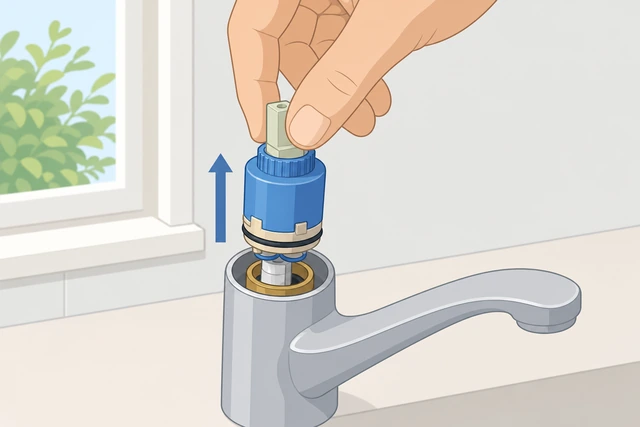
Twisting hard can break plastic ears needed for alignment.
- Remove clip with pliers carefully.
- Pull vertically.
- Note hot/cold orientation marks.
Old cartridge is out.
Match the replacement exactly — take the old cartridge to the store if unsure.
Exact match · bring old part if unsure.
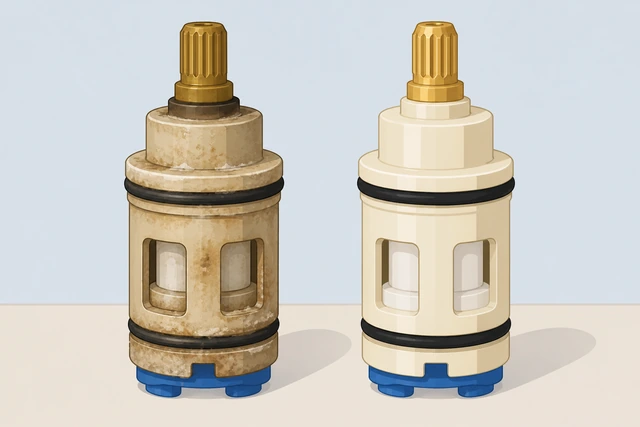
Almost-right cartridges leak or will not turn.
- Compare length and tabs.
- Buy the branded match when possible.
New cartridge matches the old one.
Insert the new cartridge aligned, reinstall clip/nut, and reattach the handle.
Align · seat fully · clip on · handle on.
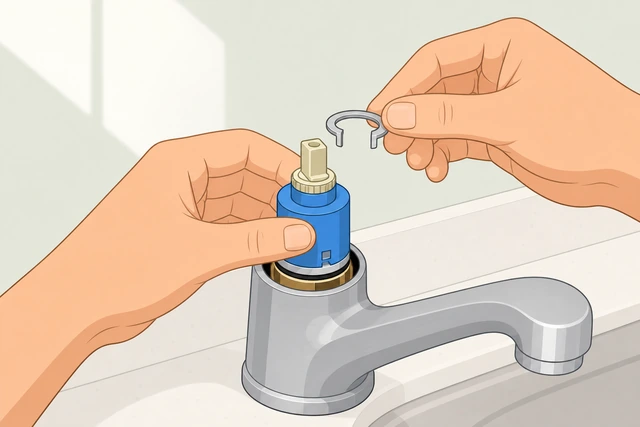
Misaligned cartridges bind and drip.
- Align marks.
- Push fully home.
- Replace clip.
- Handle + screw.
Cartridge is retained and handle works.
Repressurize slowly and test through the full handle sweep.
Open supplies · full sweep test · check drip.
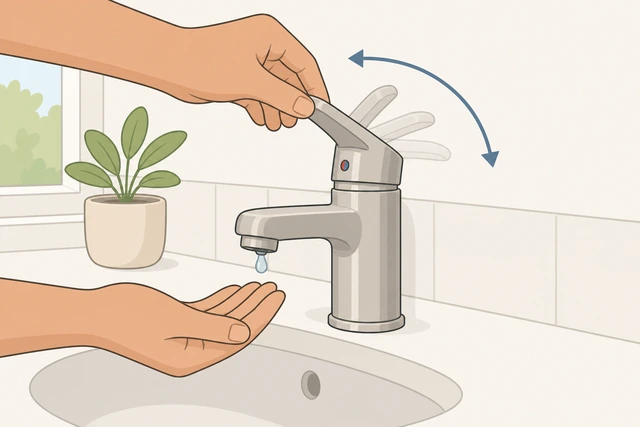
Cartridges can leak only at certain angles.
- Slow open.
- Move handle through range.
- Watch spout and base.
No drip across the handle range, or you escalate.
Cannot shut off waterSeized under-sink valves — use main carefully
Stop forcing the under-sink oval handles with a big wrench — you can snap them off.
Do not snap the valve · stop forcing.
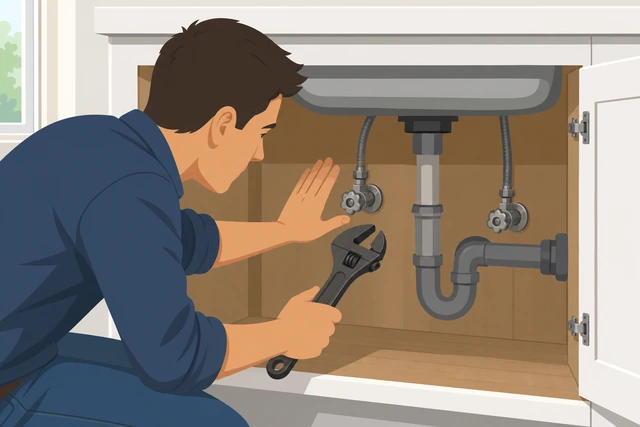
A broken shutoff becomes an emergency leak.
- Ease off.
- Dry your hands.
- Plan main shutoff.
You stopped before breaking the valve.
Locate and shut the house main water valve, then open a low faucet to drain pressure.
Shut house main · drain pressure at a faucet.
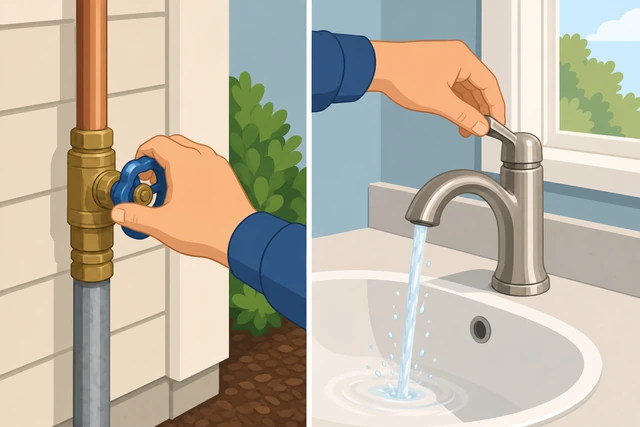
Main shutoff is the safe path when locals are seized.
- Find main (meter, basement, garage — know your house).
- Close it.
- Open a faucet to drain.
House pressure is down.
Optional: apply penetrating oil to seized under-sink valves for future use — do not soak electricals.
Penetrating oil on valve stem · careful · future frees.
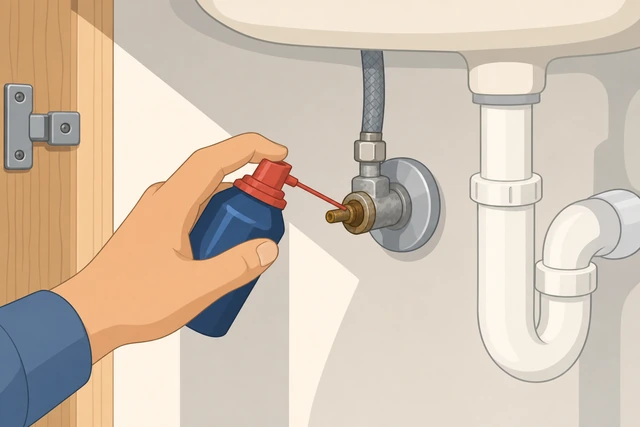
Freeing locals later avoids whole-house shutoffs next repair.
- Small amount on stem.
- Wait.
- Gentle work later.
- Replace bad valves soon.
Locals are treated or marked for replacement.
Only continue faucet repair while the main is off; keep towels ready.
Repair only with main off · towels ready.
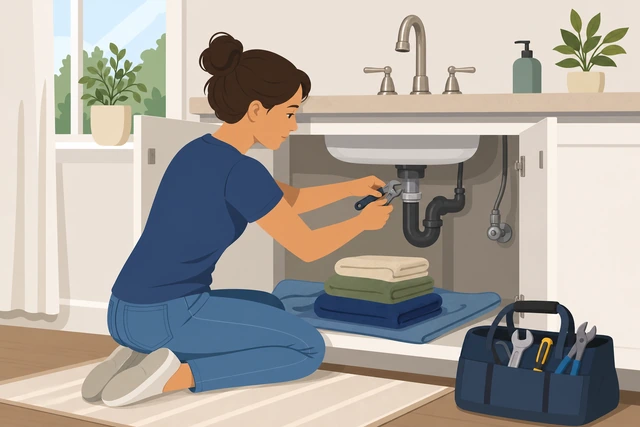
Any slip with main on floods cabinets.
- Confirm no pressure.
- Work quickly but carefully.
- Have a helper if possible.
Repair proceeds with main confirmed off.
If you cannot find or turn the main, call a plumber — do not demolish valves.
No main access · call plumber.
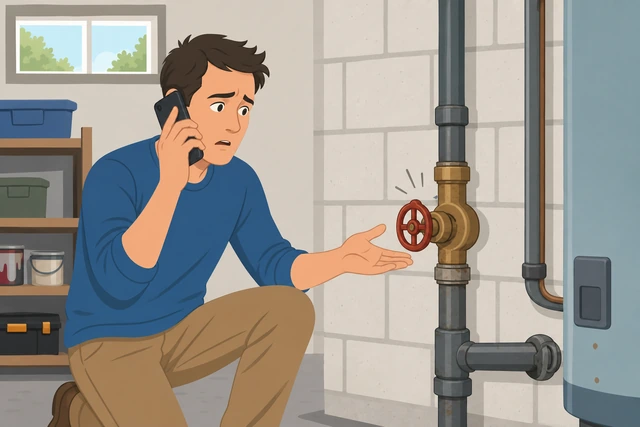
Improvised clamps are unsafe for beginners.
- Call a licensed plumber.
- Describe the drip and seized valves.
Professional help is arranged.
Still drips after new washerCheck the valve seat — then escalate
Shut supplies again and reopen to confirm the new washer is centered and not pinched.
Reseat washer · confirm centered.
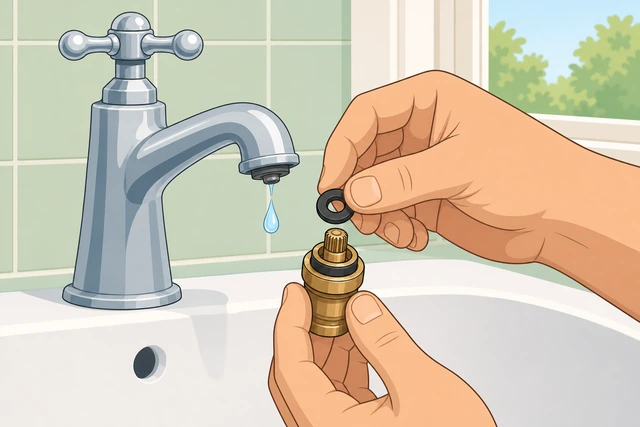
A pinched washer seals poorly immediately.
- Shut water.
- Open stem.
- Reseat washer.
- Reassemble and retest once.
Washer has been reseated once cleanly.
Shine a light on the metal valve seat inside the faucet body for pits or mineral ridges.
Inspect seat for pits/ridges.
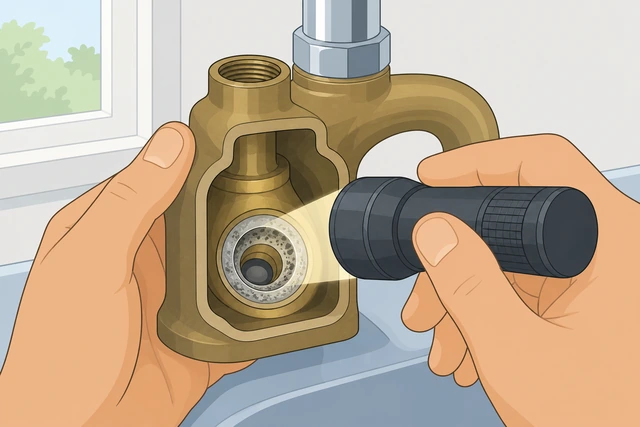
A chewed seat will cut a new washer quickly.
- Use flashlight.
- Look for grooves.
- Feel gently with a fingertip if reachable.
You know whether the seat looks damaged.
If you own a seat wrench and know the size, replace or dress the seat — otherwise stop DIY grinding.
Seat tool only if you know the size · else stop.
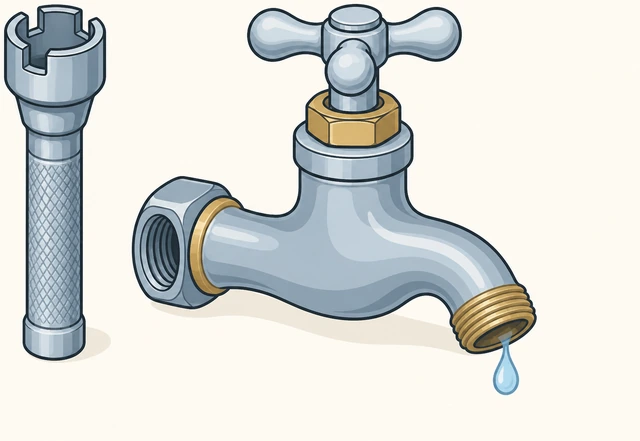
Wrong seat tools damage brass bodies.
- Match seat size.
- Or skip to plumber.
- Do not improvise with screwdrivers.
Seat is fixed correctly or left for a pro.
Consider a full cartridge/stem rebuild kit for your exact faucet model.
Model-specific rebuild kit if available.
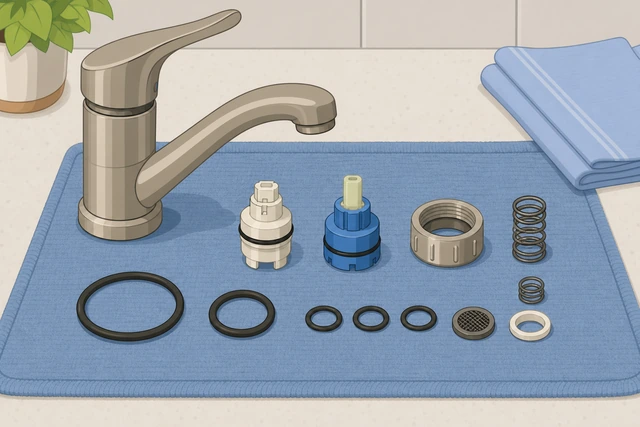
Universal washers sometimes miss geometry.
- Search brand + model.
- Buy kit.
- Install per kit diagram.
You either installed a kit or chose not to.
Call a plumber if drip persists — chronic drips waste water and can stain fixtures.
Still dripping · plumber · stop endless handle cranking.
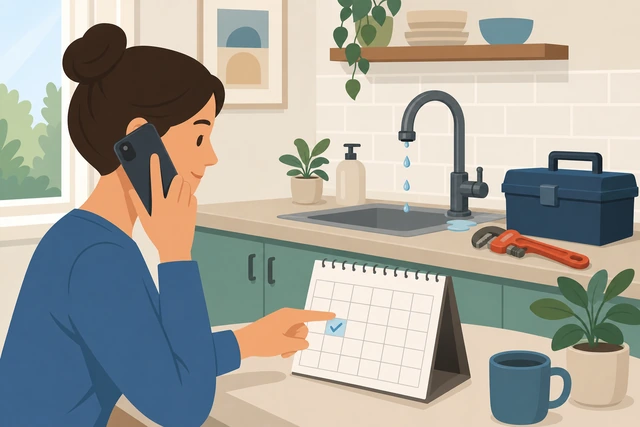
Overtightening destroys handles and seats.
- Book service.
- Mention seat/cartridge already tried.
Professional visit is scheduled.
When This Doesn't Work
- Thermostatic or complex widespread bath faucets may need model-specific service.
- If the faucet body is cracked, replace the faucet — seals will not help.
- Galvanic corrosion and seized stems sometimes require cutting tools — hire a plumber.
Warnings
- Never force seized shutoff valves until they snap.
- Do not overtighten chrome nuts.
- Turn off electricity to nearby disposals if you are flooding the cabinet area.
- If you smell gas near a different appliance, stop and address that separately — this guide is water only.
Tips
- Photograph each layer as you disassemble — reassembly becomes obvious.
- Take the old washer to the hardware store for size match.
- A dripping faucet can waste thousands of gallons per year — worth fixing.
FAQ
Why does it drip only sometimes?
Washers fail gradually; temperature changes also expand parts. Treat any regular drip as a seal problem.
Can I just tighten the handle?
Temporary at best. Overtightening damages seats. Replace the seal.
Handle leaks vs spout drips?
Handle area often needs O-rings/packing; spout drips usually need washer or cartridge seals.
Comments
Questions, corrections, and what worked for you. Comments are reviewed before they appear.