How to Factory Reset an iPhone
Factory reset an iPhone: back up if needed, turn off Find My when selling, then Erase All Content and Settings and wait for Hello. Read one step at a time. Start with preflight. Forgot Apple ID? Forgot Apple ID. Stuck? Recovery mode. No backup? No backup regret.
Tips for reading this guide
- One step at a time. Read the green caption, the Why line, then the bullets.
- Move on when the green done line is true — then go to the next step.
- Back up first if you care about photos or messages.
- Forgot Apple ID? Forgot Apple ID.
Things You'll Need
- iPhone
- Passcode
- Apple ID password
- Charger
- Optional: computer + cable for backup/recovery
- Wi-Fi
Where are you stuck?
Start hereBackup → Find My off if selling → Erase All → set up
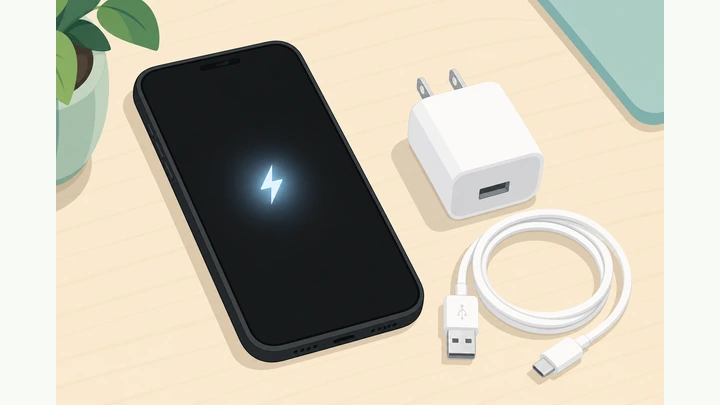
Preflight — charge above 50%, know your passcode and Apple ID password, and decide whether you need a backup.
Charge >50% · passcode · Apple ID password · backup decision.
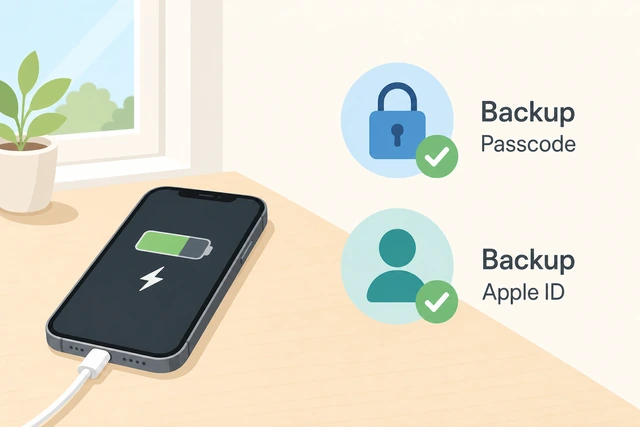
Erasing without power or credentials strands the phone mid-wipe or locks the next owner.
- Plug in or confirm battery is healthy.
- Confirm you can unlock the phone.
- Confirm you know the Apple ID password (or plan the forgot-ID branch).
- Decide: keep data via backup, or wipe forever.
Phone is charged enough and you know whether you are keeping a backup.
If you want your data later, back up to iCloud or a computer before erasing.
Backup to iCloud or computer · wait until finished.
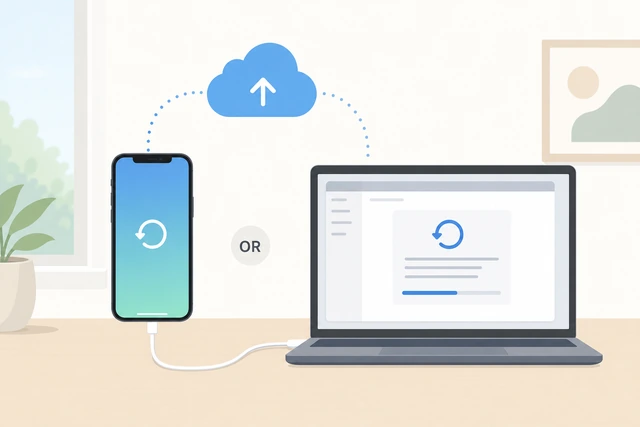
Factory reset deletes local photos, messages, and apps — backups are the only undo.
- iCloud Backup: Settings → [Name] → iCloud → iCloud Backup → Back Up Now.
- Or connect to a computer and back up with Finder/iTunes.
- Wait for completion.
- Already erased with no backup? → No backup regret.
Either a fresh backup finished, or you knowingly skip backup.
If selling or giving away the phone, sign out of iCloud and turn off Find My iPhone.
For sale/gift · turn off Find My · sign out of iCloud.
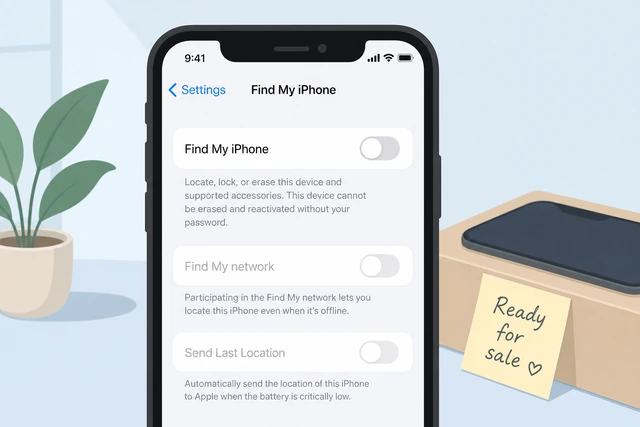
Find My / Activation Lock blocks the next person from activating the device.
- Settings → [Name] → Find My → turn off Find My iPhone (Apple ID password).
- Sign out of iCloud if prompted.
- Keep the phone unlocked for the erase steps.
- Forgot Apple ID? → Forgot Apple ID.
Find My is off if you are transferring ownership, or you are keeping the phone yourself.
Open Settings → General → Transfer or Reset iPhone (wording may say Reset).
Settings → General → Transfer or Reset iPhone.
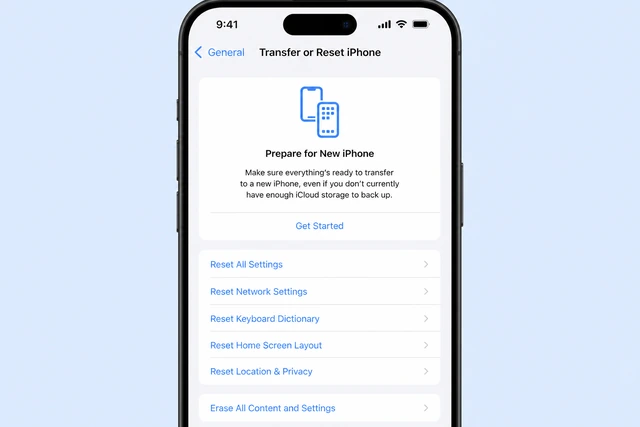
This is the supported erase path that also handles Activation Lock correctly when signed out.
- Open Settings.
- Tap General.
- Scroll to Transfer or Reset iPhone (or Reset).
- Tap it.
You are on the Transfer or Reset screen.
Tap Erase All Content and Settings.
Tap Erase All Content and Settings.
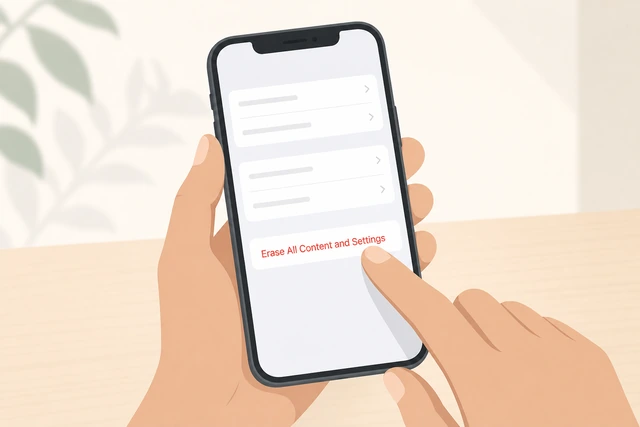
Other reset options (network reset) do not wipe personal data.
- Choose Erase All Content and Settings.
- Read the warnings.
- Do not pick Reset Network Settings by mistake.
The erase confirmation flow has started.
Enter your passcode and Apple ID password when prompted.
Passcode · Apple ID password if asked.
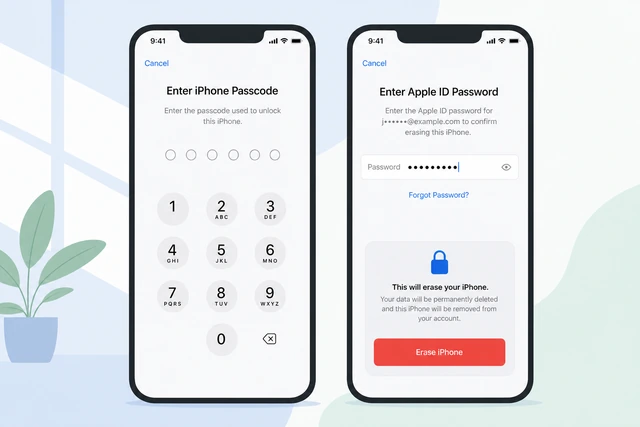
Apple requires proof you own the account before destroying the device’s data and lock state.
- Enter device passcode.
- Enter Apple ID password if shown.
- Use Screen Time passcode if that prompt appears and you know it.
Authentication prompts are completed.
Confirm Erase iPhone and wait — do not force-restart while it erases.
Confirm erase · wait · do not force off.
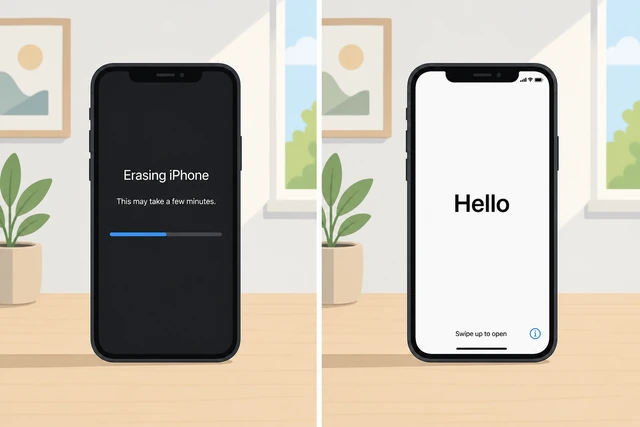
Interrupting mid-erase can leave the phone needing recovery mode.
- Tap to confirm.
- Leave the phone alone on power.
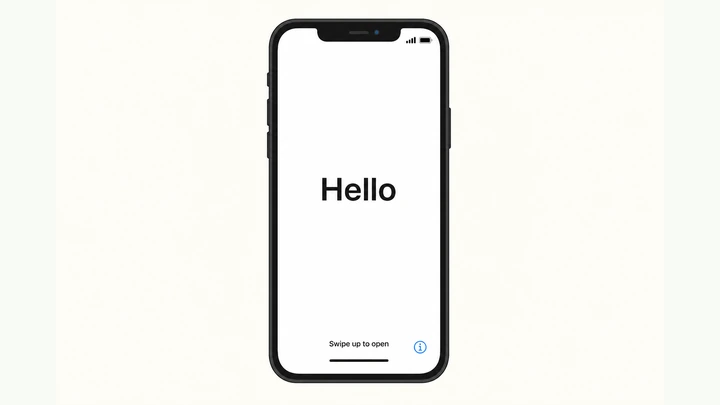
- Wait for the Apple logo and then the Hello / setup screen.
- Stuck on logo for a long time? → Recovery mode.
The phone reaches the initial setup (Hello) screen.
On setup, choose language and country/region.
Choose language · country/region.
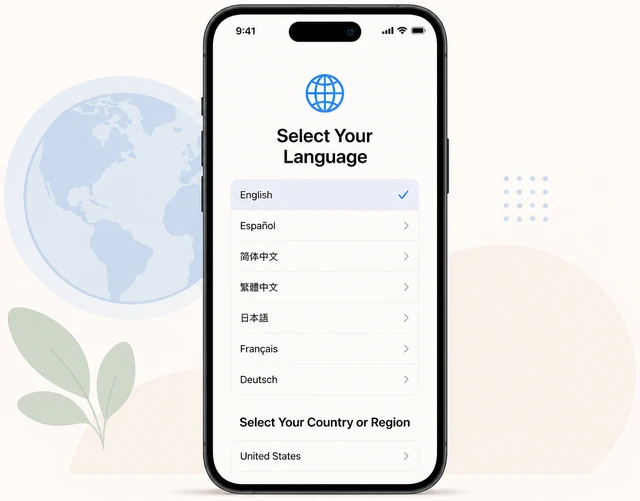
These set the device defaults before Wi-Fi and restore options.
- Swipe up / follow on-screen Start.
- Pick language.
- Pick region.
Language and region are selected.
Continue setup: set up as new iPhone, or restore from an iCloud/computer backup.
Set Up as New · or Restore from Backup.
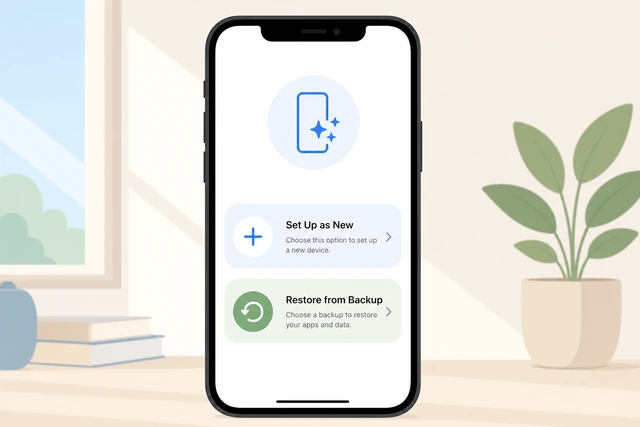
This choice decides whether your old data returns.
- Connect to Wi-Fi when asked.
- Choose restore if you backed up.
- Choose Set Up as New for a clean device.
- Sign in with Apple ID if you want iCloud features.
You have chosen new vs restore and can finish setup screens.
If selling: stop at the Hello screen or power off after erase — do not add your Apple ID again.
For sale · leave on Hello · do not re-add your Apple ID.
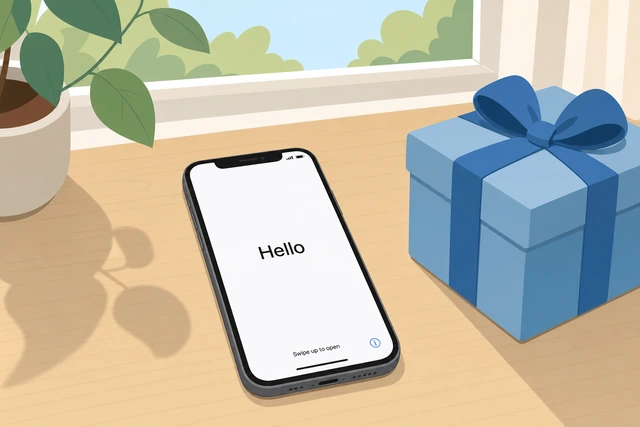
Signing back in re-locks the phone to you.
- Leave setup incomplete for the buyer.
- Or power off and hand over with cable.
- Remove your SIM if needed.
Device is wiped and not tied to your Apple ID for the next owner.
If keeping the phone, finish setup and spot-check that old photos/messages are gone (or restored intentionally).
Finish setup · confirm wipe or restore looks right.
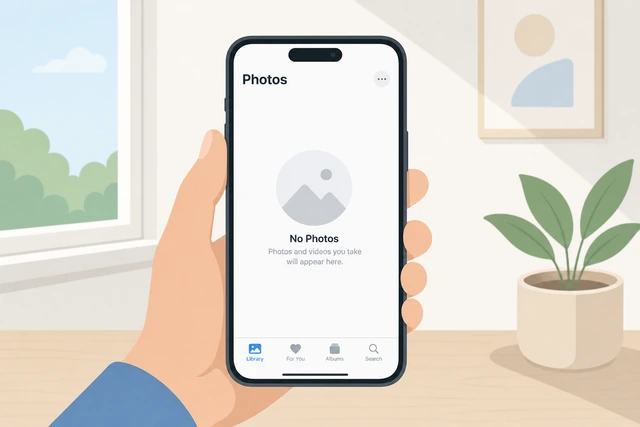
A quick check catches a failed erase or a wrong backup restore early.
- Open Photos / Messages briefly.
- Confirm empty if you chose new.
- Confirm expected data if you restored.
- Update iOS when prompted.
The phone matches your intent: clean or restored.
Forgot Apple ID / Activation LockRecover the account — do not skip Activation Lock
Stop trying random passwords — too many attempts can lock the account longer.
Stop guessing passwords.
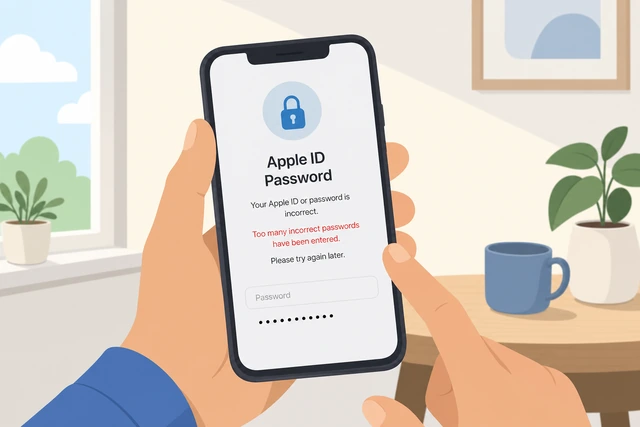
Lockouts waste days.
- Pause.
- Use official recovery.
You stopped brute-forcing.
Try iforgot.apple.com on another device to reset the Apple ID password.
Use Apple account recovery on another device.
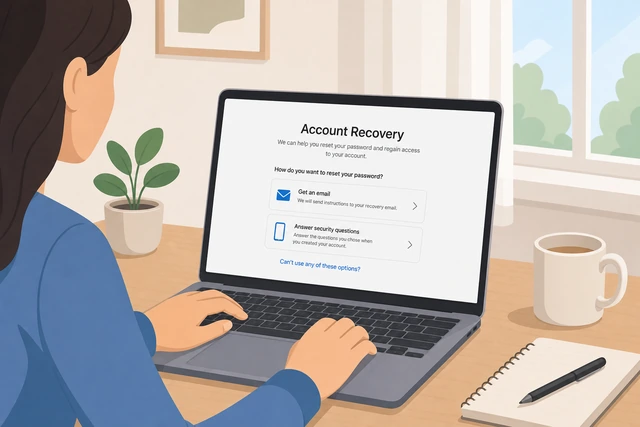
Official recovery is the supported path.
- Open iforgot.apple.com.
- Follow identity checks.
- Reset password.
You have a recovery attempt in progress or completed.
If you bought used and it asks for the previous owner’s Apple ID, return it — you cannot legally bypass Activation Lock.
Used phone locked to prior owner · return it.
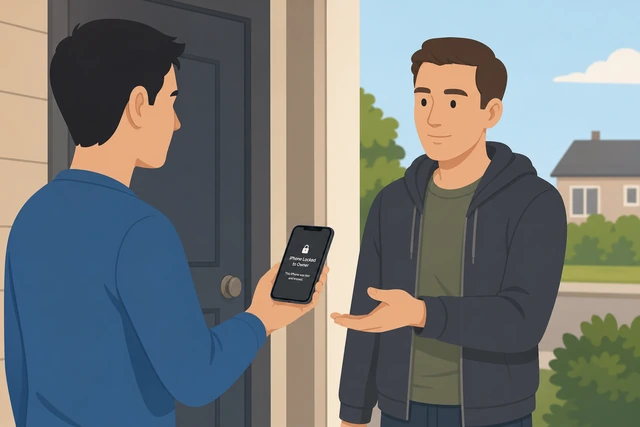
Bypass tools are scams/theft-adjacent.
- Contact seller.
- Do not pay unlock services.
You refused bypass and contacted the seller.
Gather proof of purchase if Apple Support must help remove Activation Lock for a device you own.
Proof of purchase for Support.
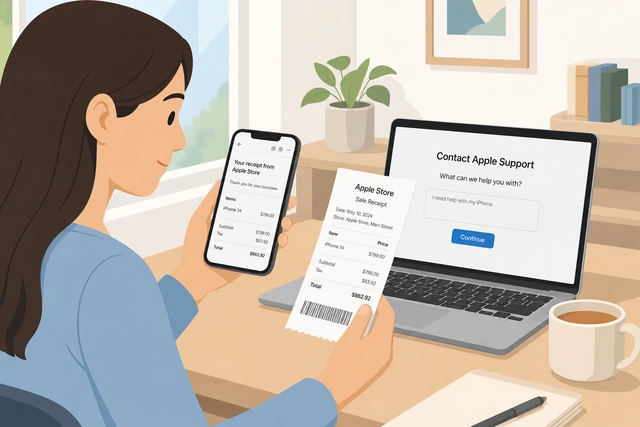
Apple may help owners with documentation.
- Find receipt.
- Note serial number.
- Contact Apple Support.
Documents are ready for Support.
After you regain the Apple ID, return to Erase All Content and Settings.
Recovered · back to erase steps.
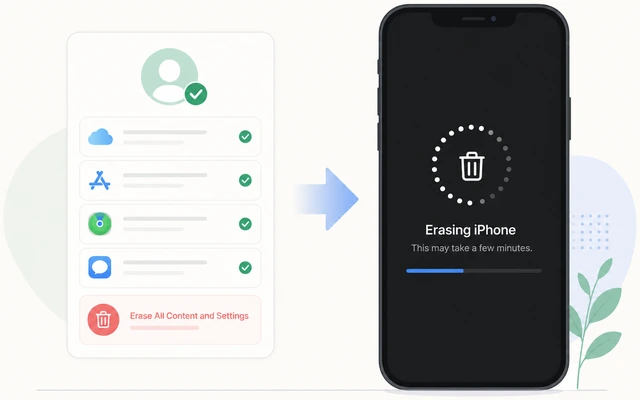
Credentials unlock the Settings erase path.
- Sign in.
- Turn off Find My if selling.
- Erase again.
Erase flow is reachable again.
Recovery mode restoreWhen Settings erase fails or the phone is stuck
On a computer, install/update Finder (Mac) or Apple Devices/iTunes (Windows) and use a good cable.
Computer + current Apple software + good cable.
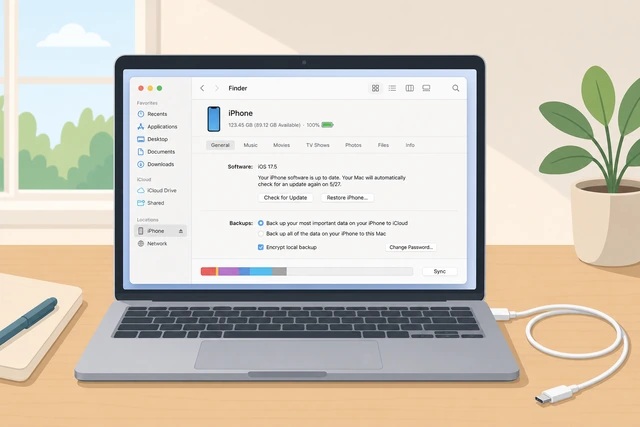
Flaky cables cause failed restores.
- Update the computer app.
- Use a known-good cable.
- Unlock trust prompts if shown.
Computer is ready to see the iPhone.
Put the iPhone into recovery mode using the button sequence for your model.
Enter recovery mode for your model.
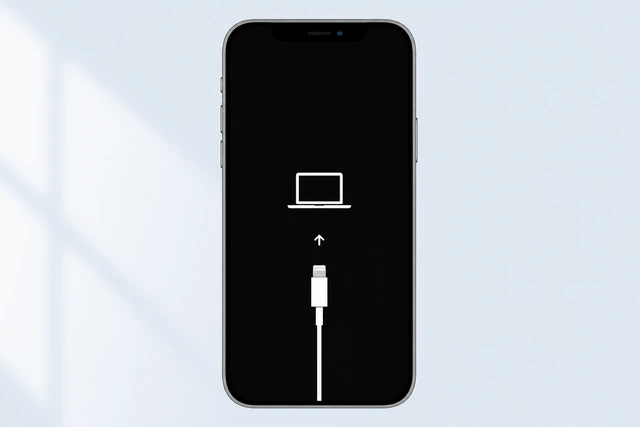
Wrong button timing opens screenshot or force restart instead.
- Look up your model’s sequence briefly if unsure.
- Quick volume up, volume down, hold side until recovery screen.
- Keep holding until computer cable graphic appears.
Recovery screen is showing.
When the computer offers Update or Restore, choose Restore to factory-install iOS.
Choose Restore (not only Update) for a full wipe.
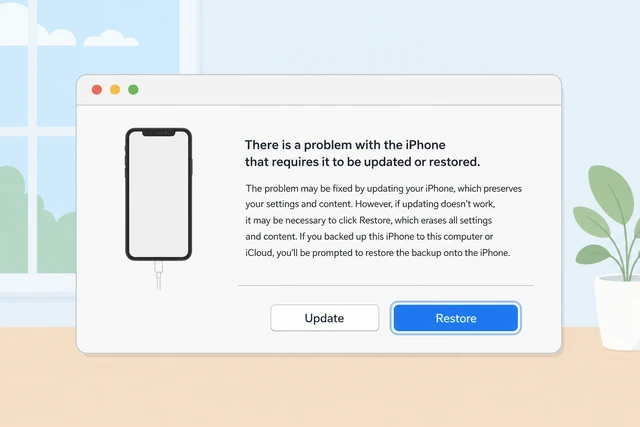
Update tries to keep data; Restore erases.
- Click Restore.
- Wait for download + install.
- Do not unplug.
Restore has started.
Wait through download and install; if it fails, try again without quitting mid-way.
Wait · retry if failed · keep cable seated.
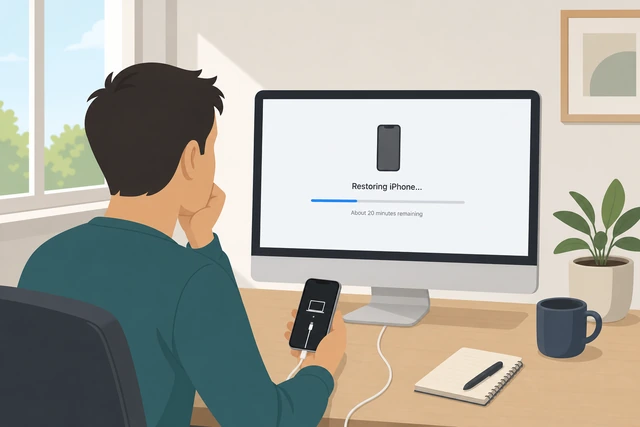
Large IPSW downloads fail on flaky Wi-Fi.
- Stay on Wi-Fi.
- Retry Restore once if needed.
Phone reboots toward setup or you retry cleanly.
If recovery restore loops, visit an Apple Store / authorized provider.
Looping restore · hardware/support visit.
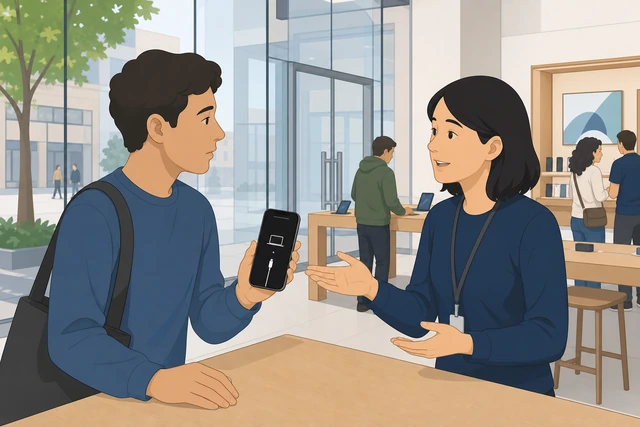
Logic board or storage faults need pros.
- Book appointment.
- Bring proof of purchase.
Support visit is scheduled.
No backup regretCheck cloud scraps — then accept limits
On another device, check iCloud.com for Photos, Notes, and Contacts that may still sync.
Check iCloud.com for synced data.
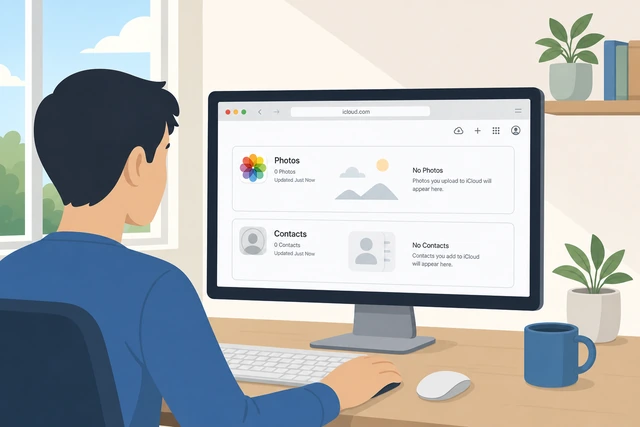
Some data lives in the cloud independent of the phone wipe.
- Sign in on a computer.
- Check Photos / Notes / Contacts.
You know what still exists in iCloud.
Check your computer for any older Finder/iTunes backups you forgot.
Search the computer for old backups.
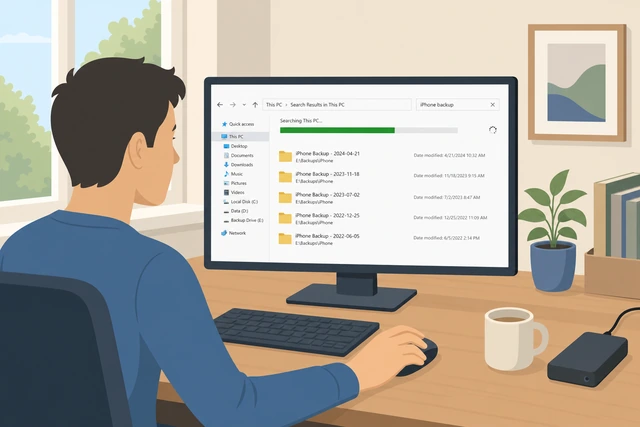
Old local backups sometimes remain.
- Open Finder/iTunes device backups list.
- Note dates.
You found a usable backup or confirmed none.
If a backup exists, set up the iPhone and restore it during setup.
Restore during setup if a backup exists.
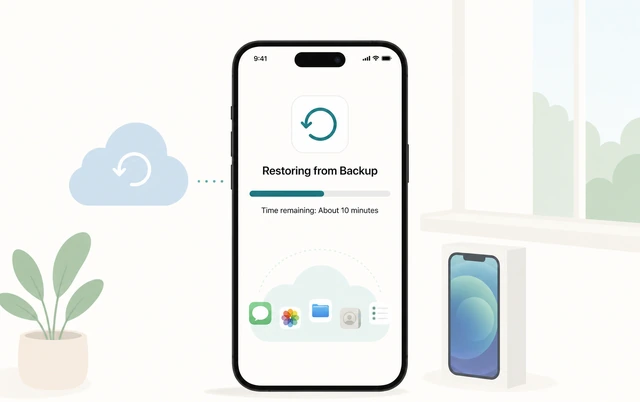
Restoring later is harder than choosing it at setup.
- Choose Restore.
- Wait for download.
- Keep charging.
Restore is running or completed.
If nothing exists, accept the loss — consumer “recovery apps” rarely restore a properly erased iPhone.
No backup · accept loss · beware miracle apps.
Secure erase is designed to be permanent.
- Skip shady tools.
- Rebuild what you can from email/cloud.
You stopped chasing impossible recovery.
Turn on iCloud Backup now so the next reset is safe.
Enable iCloud Backup going forward.
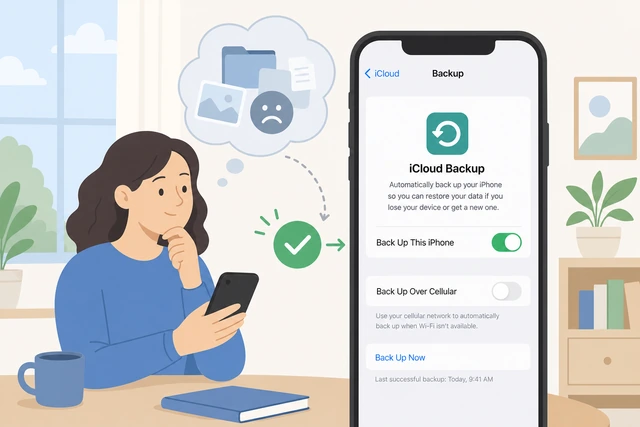
Prevention is the real fix.
- Settings → iCloud Backup → On.
- Run a backup tonight.
Backup is enabled for the future.
When This Doesn't Work
- Managed work phones (MDM) may block erase — contact your IT admin.
- iPad steps are similar but menu names can differ slightly.
- Stolen device cases should go through Apple/carrier theft processes, not DIY bypass.
Warnings
- Erase deletes data on the phone permanently without a backup.
- Do not pay third parties claiming to remove Activation Lock.
- Keep the phone powered during erase.
- Signing back into your Apple ID after a wipe for sale re-locks the device to you.
Tips
- Screenshot important account settings before wiping if useful.
- Remove eSIM/physical SIM when transferring ownership if required by your carrier.
- After restore, re-enable Find My on a phone you keep.
FAQ
Does factory reset remove Activation Lock?
Only if you turn off Find My / sign out properly first. Otherwise the lock remains.
How long does erase take?
Often several minutes; stay on power and wait for Hello.
Will it unlock a disabled passcode phone?
You may need a computer restore; Apple ID can still be required afterward.
Comments
Questions, corrections, and what worked for you. Comments are reviewed before they appear.