How to Charge a Completely Dead Phone
Wake a completely dead phone (black screen, no response) on iPhone or Android — about 30–90 minutes mostly waiting on a wall charger, then a force restart while plugged in, accessory swap, port clean, and optional wireless. Read one step at a time. Start with the preflight. No charging icon after an hour? See no charge sign. Charging but won't boot? See won't boot. It rings with a black screen? See black but alive.
Tips for reading this guide
- One step at a time. Read the green caption, the Why line, then the bullets.
- Move on when the green done line is true — then go to the next step.
- Known-good means a charger and cable that work on another phone today — not a random old cord from a drawer.
- Patience matters. A deeply dead battery may need 30–60 minutes on a wall outlet before any icon appears.
- No charge sign, won't boot, or rings but screen stays black? Jump to the matching branch below.
- Need a helper? Ask someone you trust to hold the cable steady while you check the port or force-restart buttons.
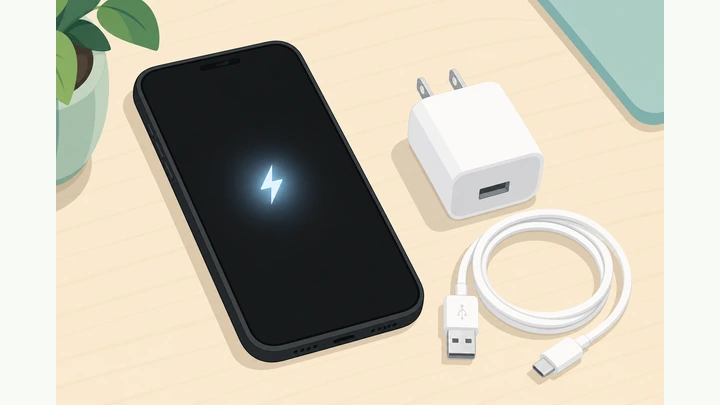
Things You'll Need
- Known-good wall charger brick (original or trusted replacement — not a weak laptop USB port as step one)
- Matching cable for your phone (USB-C, Lightning, or micro-USB)
- A second known-good cable and brick for the swap test in Step 9
- Wood or plastic toothpick, SIM eject tool, or dry soft brush for port lint — no metal stab
- Optional wireless charging pad if your phone supports Qi / MagSafe / Samsung wireless
- Another lamp, phone, or clock to prove the outlet is live
- About 60–90 quiet minutes near a wall outlet
Where are you stuck?
Follow Start here for a dead black-screen phone on wall power. Jump to a branch if no charge sign appears, charging does not boot, or the phone rings with a black display.
- My phone is dead and I want to charge it from scratch Wall outlet · wait 30–60 min · force restart
- No charging icon or LED after an hour on the wall Swap cable/brick · clean port · wireless test
- It shows charging but will not boot to lock screen Force restart again · longer charge · recovery
- It rings or vibrates but the screen stays black Confirm alive · backup · screen repair
Start hereLive outlet → wall brick + cable → wait 30–60 min → force restart → swap → clean port → decide
Preflight — all four checks must be YES before you wait an hour.
Live outlet · known-good wall brick + cable · phone dry · know power and volume buttons.
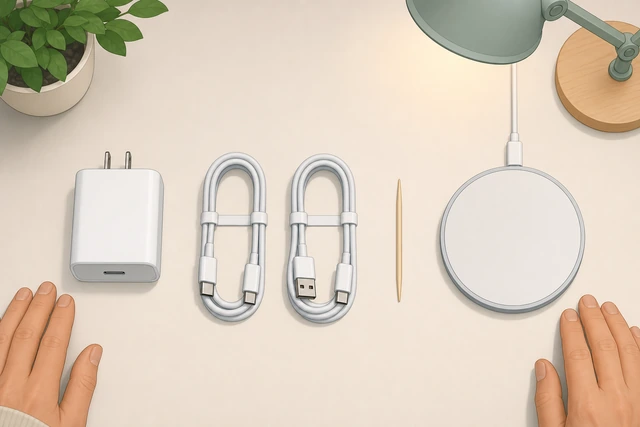
A dead strip, wet phone, or mystery cable wastes an hour and can hide a simple accessory fault.
- Outlet test? The same wall socket powers a lamp or another charger right now.
- Known-good kit? Brick + cable that charged another phone today — not a random laptop USB as first try.
- Phone dry? No liquid, steam, or swollen back — if wet or puffy, stop and see Warnings.
- Buttons located? You know where power and volume are for your iPhone or Android model.
All four checks are YES — live outlet, trusted charger, dry phone, and buttons located.
Swollen battery or recent water? Skip charging DIY — see Warnings and escalate.
Confirm the wall outlet is live before you trust it.
Lamp or second charger in same socket · must power on · try a different outlet if dead.
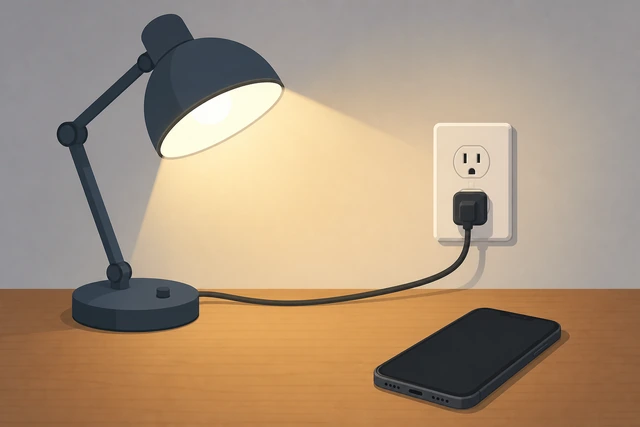
A tripped breaker or dead strip looks like a broken phone when the outlet never fed power.
- Plug a desk lamp or another phone's charger into the same outlet you plan to use.
- Confirm the lamp lights or the second device shows charging.
- If nothing powers, flip the wall switch, try a different outlet, or check the breaker.
The outlet powers something else — you can trust it for the dead phone test.
Assemble the wall brick and cable with snug connections.
Brick + matching cable · firm click both ends · skip weak laptop USB for the first attempt.
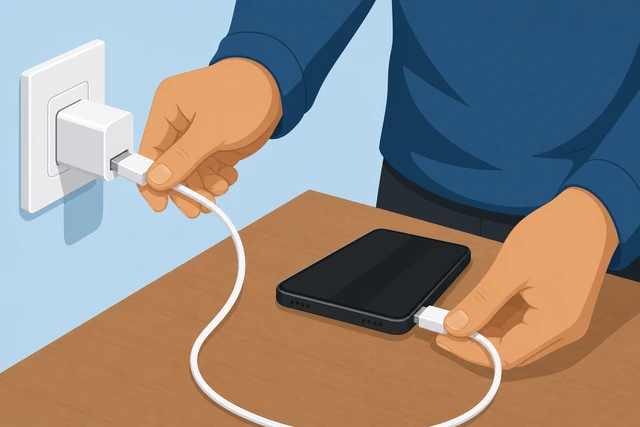
Loose ports and under-powered USB ports cannot push enough current into a deeply discharged battery.
- Use a wall brick that matches your cable (USB-C, USB-A, or Apple brick for Lightning).
- Seat the cable firmly into the brick until it does not wiggle out.
- Seat the phone end firmly — you should feel a positive click or resistance, not a loose hang.
Cable and brick are connected snugly at both ends and ready for the wall.
Plug the brick into the wall and lay the phone face up.
Direct wall outlet preferred · phone flat · screen facing you · hands off power for now.
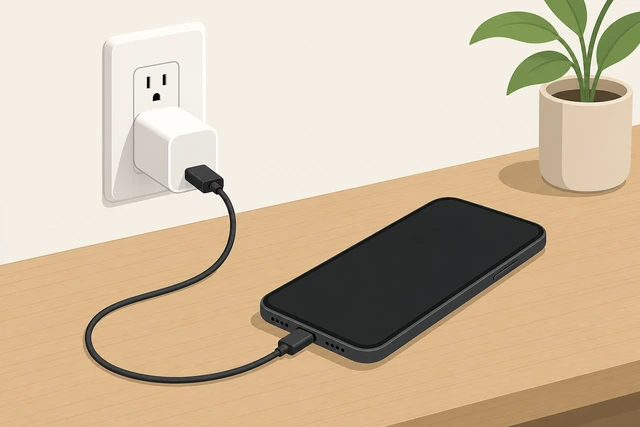
A face-up phone lets you spot a faint battery icon; a weak strip can starve a dead battery.
- Plug the brick into a direct wall outlet if you can — not a overloaded power strip.
- Lay the phone flat on a table with the screen facing you.
- Do not press the power button yet — charging needs uninterrupted trickle time.
The phone is plugged into a live wall outlet, face up, and you have not mashed power.
Wait 10 minutes without pressing the power button.
Hands off power · watch for battery icon, lightning, LED, vibration, or slight warmth.
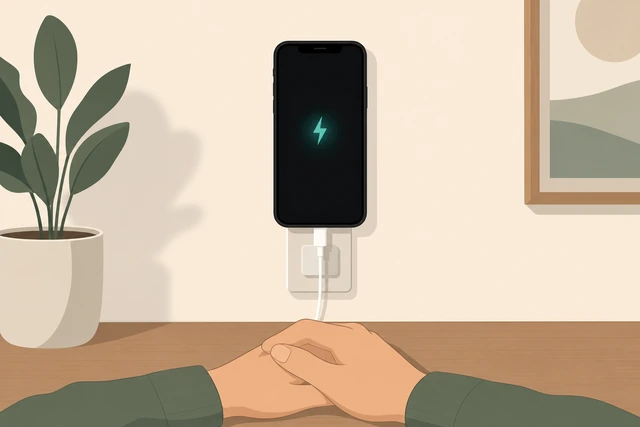
Deep discharge often shows nothing for many minutes — early power taps reset the trickle charge cycle.
- Set a 10-minute timer and keep your hands off the power button.
- Watch the black screen for a battery outline, lightning bolt, or percent graphic.
- Some Android models show a tiny LED or a brief vibration instead — warmth near the port counts too.
Ten quiet minutes passed — you noted any charge sign or confirmed the screen is still fully dark.
Still fully dark? That is normal early on — continue to Step 5 before you panic.
Stay on wall charge until 30–60 minutes total.
Leave plugged in · no repeated power taps · total wait 30–60 min on this outlet.
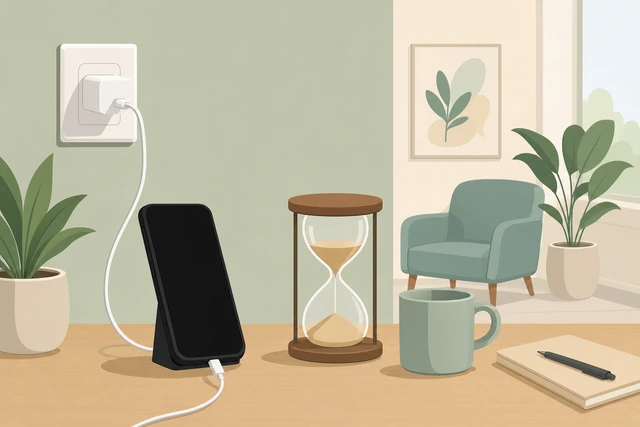
Apple and Android guides both allow up to an hour before you treat a deeply dead phone as failed.
- Leave the phone on the same wall charger — do not switch to a laptop USB mid-wait.
- Avoid pressing power more than once during this window unless Step 7 says so.
- Stop the timer at 30–60 minutes total on wall power before heavy troubleshooting.
The phone has been on a known-good wall charge for 30–60 minutes total.
No icon at all after 60 minutes? Note it — Step 6 and Step 9 cover accessory and port checks.
Briefly unplug and replug to look for a charge graphic.
Unplug 2 sec · replug · watch for low-battery or charging image on black screen.
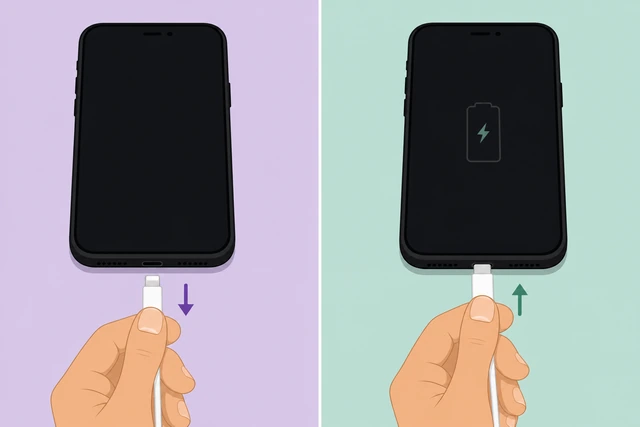
A quick replug sometimes wakes the on-screen charging animation that stayed hidden on a static black panel.
- Unplug the cable from the phone, wait two seconds, and plug back in firmly.
- Watch the screen for a red battery, lightning bolt, or charging percent graphic.
- Still blank? Continue — a blank screen after one hour may still be accessory or port, not doomed.
You looked for a charge graphic after replug — icon seen or still blank is recorded.
No sign after 60 min on wall? → No charge sign.
Force restart while still plugged into the wall.
Stay plugged in · iPhone Face ID / Home · or Android power+volume · wait up to one minute.
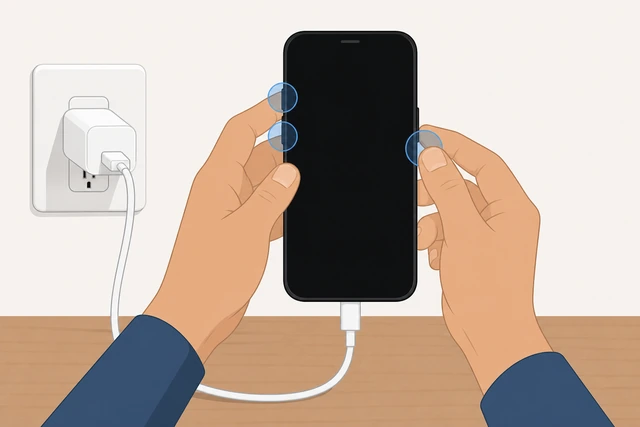
A force restart clears a frozen boot manager; doing it while charging keeps current flowing in.
- iPhone Face ID: press Volume Up, Volume Down, then hold Side until Apple logo.
- iPhone Home button: hold Home + Side (or Top) until Apple logo.
- Android: hold Power + Volume Down ~10–20 sec until logo or vibration — model varies.
You ran the correct force restart while plugged in — logo, vibration, or no change noted.
Charging sign but no boot? → Won't boot.
If it boots, stay on the charger to about 20–50%.
Lock screen reachable · keep charging · avoid heavy apps until partial charge.
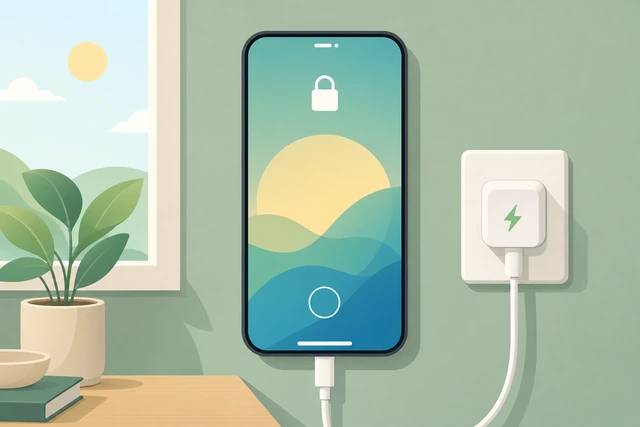
A battery that was fully dead may shut down again minutes later if you pull it off charge too soon.
- If you reach the lock screen, leave the phone on the wall charger.
- Wait until the battery shows about 20–50% before long calls, games, or navigation.
- If it dies again within minutes, put it back on charge for another 30 minutes uninterrupted.
Lock screen works and charging continues toward at least 20% — or you noted a quick shutdown.
If still dead, swap to a second known-good cable and brick.
Different trusted kit · same live outlet · seat firmly · wait 15 more minutes.
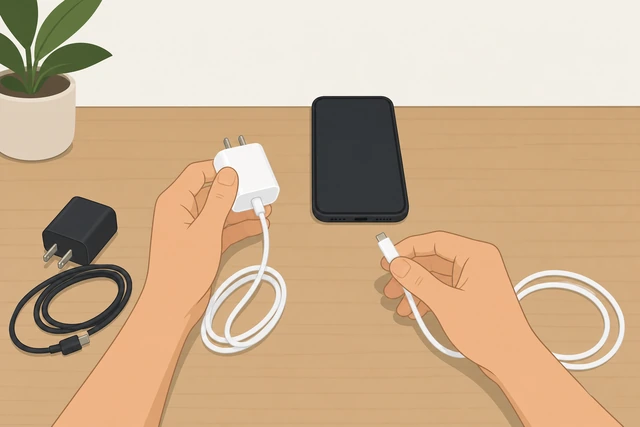
The most common "dead phone" is a dead cable or brick — swap before you assume hardware failure.
- Unplug and switch to a second cable and brick that work on another phone today.
- Use the same live wall outlet from Step 1 — do not move to a laptop USB yet.
- Wait 15 minutes and watch again for any icon, LED, vibration, or warmth.
Second known-good kit is seated on the same outlet and you waited 15 minutes watching for signs.
Still zero sign? → No charge sign.
Clean the charging port gently, then retry wall charge 15 minutes.
Wood or plastic pick · lift lint · no metal stab · dry port · replug and wait.
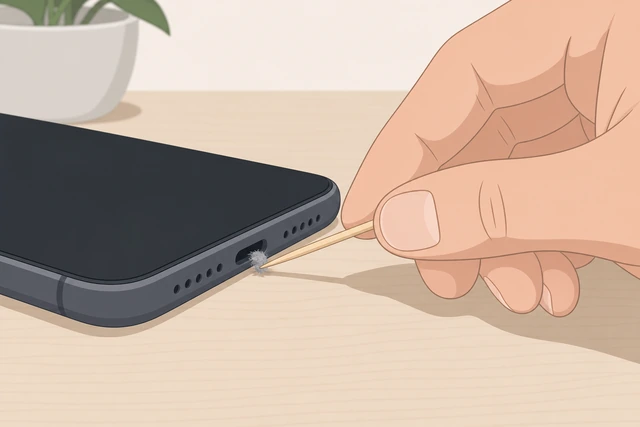
Packed lint blocks the charging pins — the phone looks dead when the port never makes contact.
- Power off is not required — but unplug before you look into the port with a flashlight.
- Use a wood or plastic toothpick or SIM tool to lift lint — never shove metal deep inside.
- Blow lightly, replug on wall power, and wait 15 minutes for any charge sign.
Port lint is cleared, cable is reseated on wall power, and a 15-minute retry timer finished.
Try wireless charging if your phone supports it.
Known-good pad · center phone · watch for pad light or on-screen wireless icon.
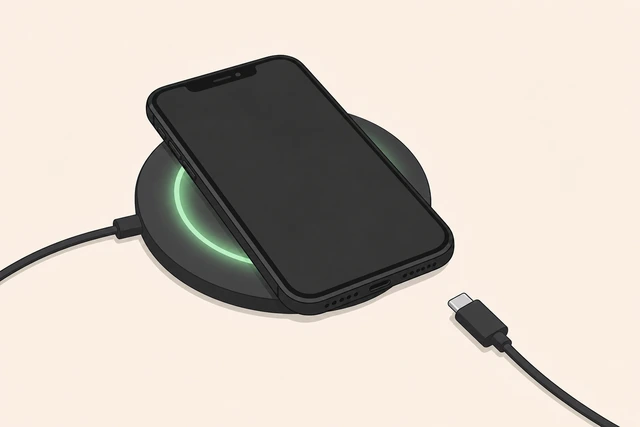
Wireless can bypass a damaged Lightning or USB-C port — a useful split test before service.
- Skip if your phone has no wireless charging — go to Step 12.
- Place the phone centered on a known-good Qi, MagSafe, or Samsung pad.
- Watch the pad indicator light or the phone screen for a wireless charging graphic for 15 minutes.
Wireless was tested (or N/A) — you saw a wireless charge sign or confirmed cable path still fails alone.
Wireless works but cable does not? Port repair is likely — see escalate.
Decide: recovered, bad accessories, or time for service.
Charge sign + boot = success · accessory swap fixed it · still dead = shop or maker support.
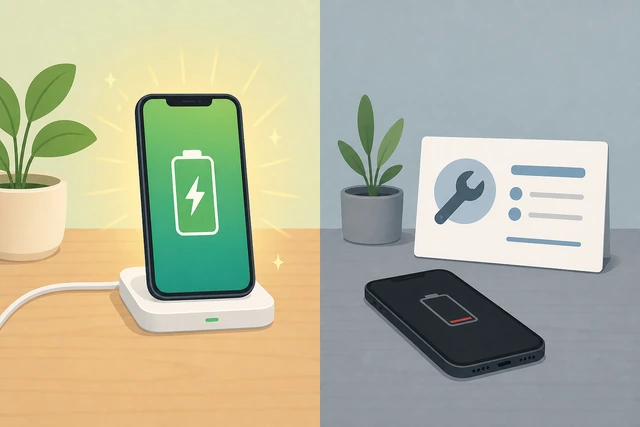
A clear decision stops endless cable swaps and flags display-only problems that charging cannot fix.
- Recovered: charge icon, rising percent, and lock screen — you are done; keep charging to 50%+.
- Accessory fault: only one cable/brick worked — replace the bad part and label the good kit.
- Still nothing: no icon, no boot, no wireless — plan repair; if it rings with black screen → branch.
You have a clear next action: keep charging, replace accessories, or escalate to service.
Rings or vibrates but screen stays black? → Black but alive.
No charge signNo icon, LED, heat, or vibration after 30–60 minutes on wall power
Prove power path: outlet, brick, cable, and port.
Re-test outlet · swap both cable and brick · flashlight port · gentle pick lint.
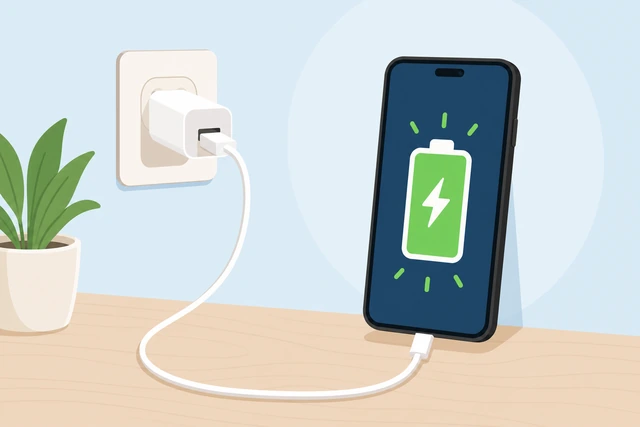
When nothing reacts at all, the fault is usually power path — not a mysterious dead motherboard yet.
- Re-run Step 1: prove the outlet with a lamp on the same socket.
- Swap to a second brick and cable that charged another phone today.
- Shine a light in the port; lift lint with wood/plastic only — then replug and wait 15 minutes.
Outlet, accessories, and port are each tested — still no sign or a sign appeared.
Try wireless, test accessories elsewhere, then plan service.
Wireless pad 15 min · test cable on another phone · still blank = battery/port/board service.
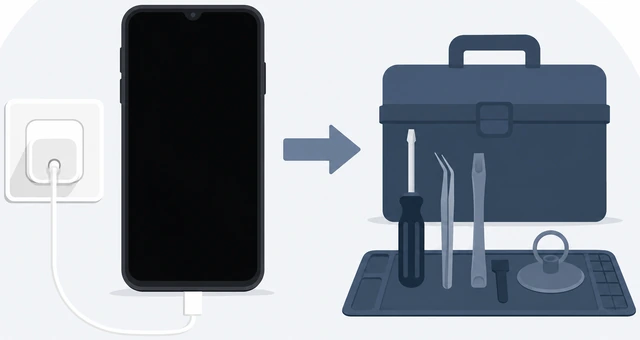
Wireless-vs-cable split and a cross-device cable test tell repair shops which part failed.
- If supported, try a known-good wireless pad for 15 minutes — pad light or phone icon counts.
- Test your cable and brick on a different phone — if that phone won't charge, trash the accessory.
- Still zero reaction on two bricks, clean port, and optional wireless? Plan maker or uBreak-style service.
You know whether accessories, port, or phone hardware needs replacement or repair.
Swollen back or sweet smell? Stop charging — battery service is urgent.
Won't bootCharging sign appears but the phone will not reach lock screen
Repeat the correct force restart once more while plugged in.
Stay on wall power · exact button sequence · wait full minute · do not rapid-tap power.
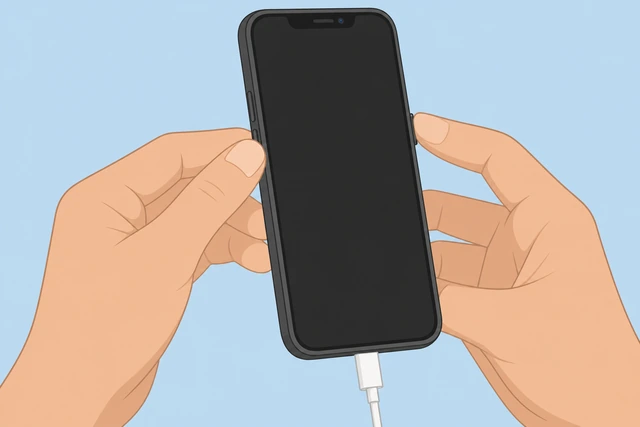
One precise force restart while charging beats ten casual power pokes that reset the boot attempt.
- Keep the phone on the wall charger — do not switch to a weak USB port.
- Run the exact sequence for your model (Step 7) once — hold until logo or 20 seconds.
- Wait a full minute on charge after the attempt — watch for Apple/Android logo or boot loop flash.
Second force restart completed while plugged in — logo, loop, or frozen black noted.
Charge longer, then escalate boot loop or recovery screen.
Another 30–60 min charge · if boot loop or recovery → computer restore or repair shop.
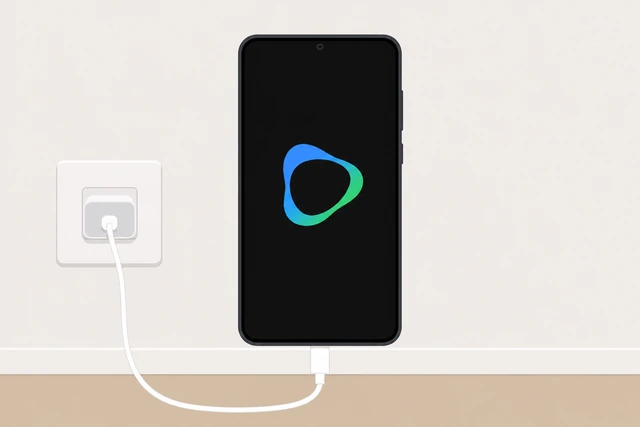
A charging-but-stuck phone often needs more juice before software recovery tools can run.
- Leave on wall charge another 30–60 minutes without button mashing.
- If a logo flashes then repeats (boot loop), note it — software restore may be next.
- If a recovery or download screen appears, follow maker instructions or visit a shop — do not random-button.
You either reached lock screen after longer charge, or you have a clear restore/service path.
Boot loop after water or drop? Mention that to the technician — may be board damage.
Black but alivePhone rings, vibrates, or takes calls but the screen stays black
Confirm the phone is alive — not just a dead battery.
Test call · listen for ring/vibrate · screen stays black = display path not charge path.
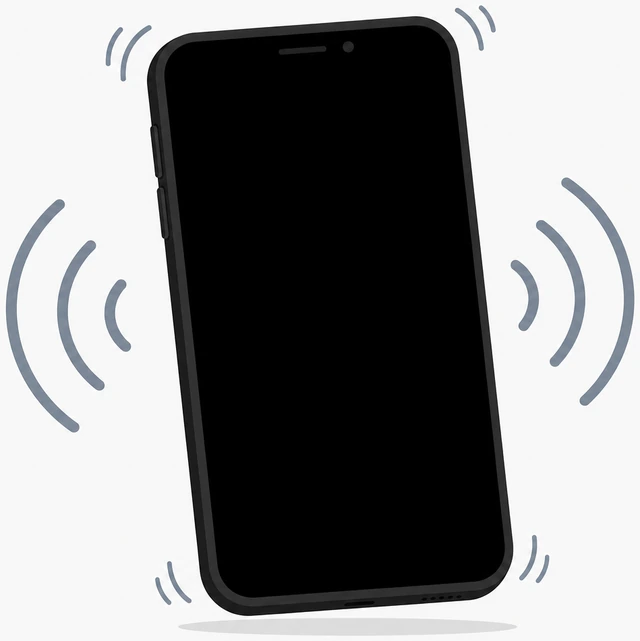
Charging a healthy battery will not fix a broken screen — confirming audio life avoids wasted hours.
- Ask someone to call your number, or use Find My / Google Find to ping the phone.
- Listen for a ring or feel a vibration even if the glass stays black.
- If it responds, stop aggressive force-restart loops — the battery likely has power.
You confirmed ring, vibrate, or call connect with a black screen — display issue is likely.
Back up if possible, then plan screen or display repair.
Computer backup if recognized · screen repair · do not assume battery replacement.
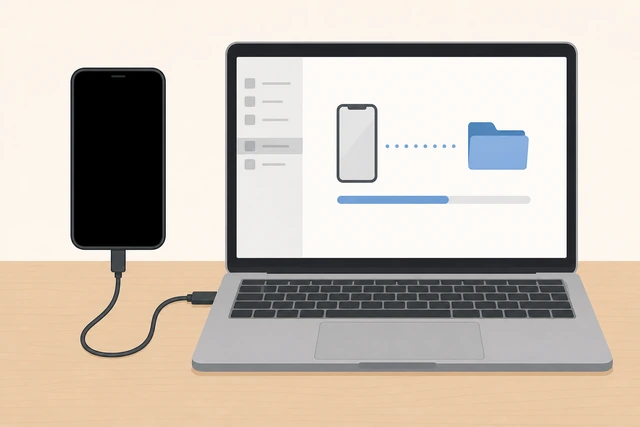
A live phone with a dead panel needs display service — and data backup before repair if you can.
- If a computer sees the phone, run a backup (iTunes/Finder or Android file transfer) before repair.
- Schedule screen or display repair with maker, carrier store, or reputable shop.
- If the back is cracked or lines appeared before blackout, tell the tech — digitizer + LCD may both need work.
Backup attempted if possible and a screen repair path is chosen — not endless charging.
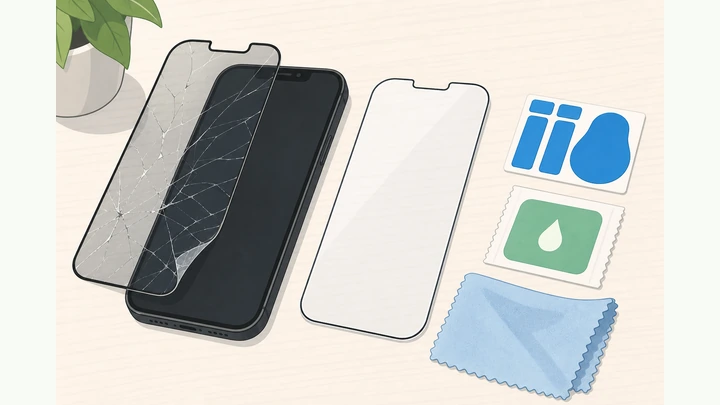
After repair, test touch before adding a new screen protector — see related guides.
When to get help
- Ask a trusted person to hold the cable steady while you clean the port or read button sequences.
- If the back is swollen, hissing, or very hot, stop charging and contact maker or emergency service guidance.
- After two known-good bricks and a clean port still show zero sign, plan battery or board repair at a shop.
- Wireless charges but cable never works? Port repair is likely — book service instead of buying more cables.
- Black screen but calls work? Schedule display repair and back up on a computer if it is recognized.
When This Doesn't Work
- Swollen or cracked battery back. Stop charging immediately. Do not puncture or press the bulge — battery replacement through service only.
- Recent water or liquid exposure. Rice is a myth. Power off if you can, do not charge, and open a service ticket — corrosion needs professional dry-out.
- Only a laptop USB port available. Many laptop ports supply too little current for a deeply dead phone. Borrow a wall brick before you declare the phone dead.
- iPhone shows cable + computer icon (recovery). That is a software restore path, not a first-charge step. Follow Apple's restore flow or a shop — not repeated force restarts.
- Android fast-charge brick with wrong cable. Mismatched protocols can charge slowly or not at all — use the cable that came with the brick or a trusted pair.
- Phone boots then dies in two minutes every time. Battery may be worn. Service replacement beats endless wall-wait cycles.
Warnings
- Do not shove metal deep into the charging port — you can short pins or damage the port.
- Do not charge a swollen, hissing, or hot-to-touch phone unattended — fire risk; stop and seek service.
- Do not hold the power button every 30 seconds during the first hour — it interrupts trickle charging.
- Do not use a frayed cable with exposed copper — replace it before bed charging.
- Do not open the phone to swap the battery at home unless you are trained — punctured cells are dangerous.
- Stop if you smell sweet chemicals or see smoke — unplug, move to a hard surface, and call for service.
Tips
- Label the one cable and brick that reliably charge your phone — saves panic when the screen is black.
- A 12 W–20 W name-brand wall brick is enough for most phones; laptop USB is a backup, not step one.
- Wireless charging is slower but proves the battery path works when the cable port is damaged.
- After recovery, charge to 50% before running big updates or navigation — weak cells sag under load.
- Keep a cheap outlet tester or desk lamp in the room you charge phones — instant proof the wall works.
FAQ
How long should I wait before I worry?
Stay on a known-good wall charger 30–60 minutes without mashing power. Many deeply dead phones show nothing for the first 10–20 minutes — that is normal.
Can I use a power bank instead of the wall?
Only after a wall attempt. Some banks sleep when the phone draws almost zero current. Wall outlets deliver steadier trickle for deep discharge.
Why does my phone vibrate but stay black?
The battery and logic board may be fine while the display failed. See the black-but-alive branch — screen repair, not more charging.
Is it safe to force restart while charging?
Yes — maker guides recommend force restart while plugged in for frozen or black-screen phones. Use the exact button sequence for your model once or twice, not dozens of taps.
Wireless works but the cable does not — what does that mean?
Likely a dirty or damaged charging port or cable. Clean gently, swap cables, then plan port repair if wireless is the only path that works.

Comments
Questions, corrections, and what worked for you. Comments are reviewed before they appear.