How to Clean a Mattress
Freshen a mattress by stripping, vacuuming, spot-treating, baking-soda deodorizing, and drying fully before clean sheets. Read one step at a time. Start with preflight. Urine? Urine. Won’t dry? Will not dry. Bugs? Bed bugs.
Tips for reading this guide
- One step at a time. Read the green caption, the Why line, then the bullets.
- Move on when the green done line is true — then go to the next step.
- Dry fully before sheets go back on.
- Urine smell? Urine stain.
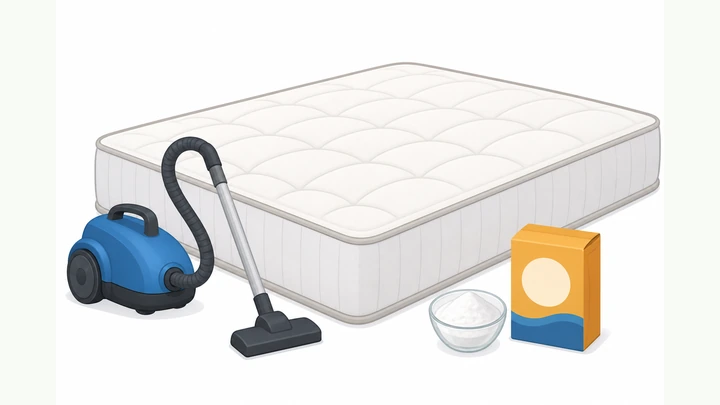
Things You'll Need
- Vacuum with upholstery tool
- Baking soda
- Mild dish soap
- Clean cloths / towels
- Spray bottle
- Fan (and optional dehumidifier)
- Optional: enzyme urine cleaner, mattress protector
Where are you stuck?
Start hereStrip · vacuum · treat · soda · dry · remake.
Preflight — vacuum with upholstery tool, baking soda, mild dish soap, clean cloths, spray bottle, and enough time for the mattress to dry fully before bedtime.
Vacuum · baking soda · mild soap · cloths · full dry time.
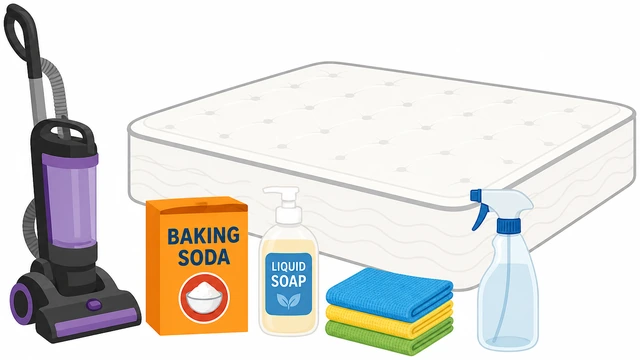
Rushing to remake a damp mattress traps odor and mildew risk overnight.
- Plan cleaning when the bed can stay empty several hours.
- Check for suspicious bug signs before you start.
- Blood spots + bites / live bugs? → Bed bugs.
- Have a fan ready for drying.
Supplies are ready and you have drying time blocked.
Strip all sheets, covers, and protectors. Wash bedding on a hot/warm cycle that the fabric allows.
Strip everything · wash bedding separately.
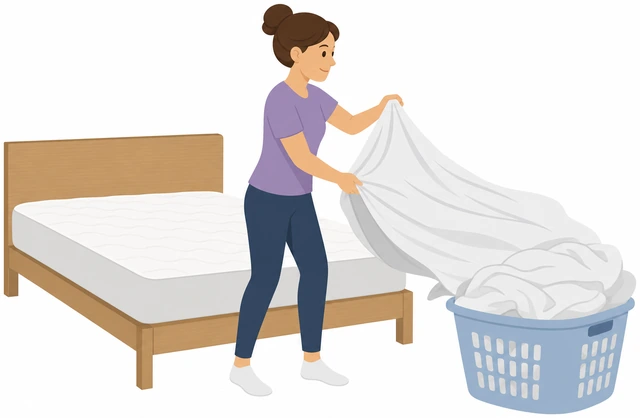
Cleaning the mattress under dirty sheets just re-soils it.
- Remove sheets, pillowcases, mattress protector.
- Check pockets/seams for debris.
- Start the laundry load.
- Leave the mattress fully bare.
Mattress is bare and bedding is in the wash.
Vacuum the top, sides, and piped seams slowly with the upholstery tool.
Vacuum top · sides · seams slowly.
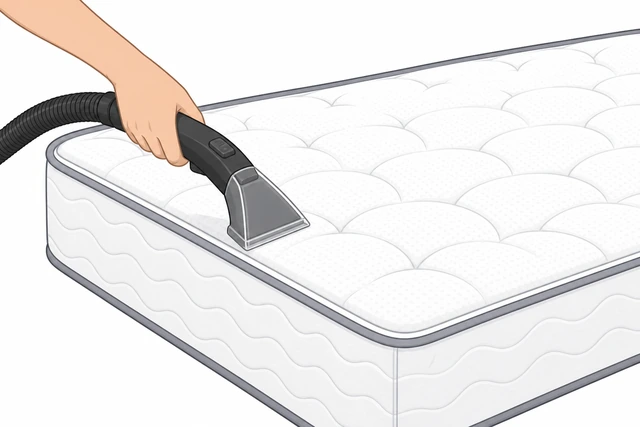
Seams hold crumbs, skin flakes, and dust-mite debris.
- Attach the upholstery tool.
- Overlap strokes slowly.
- Hit both sides if you will flip later.
- Empty the vacuum cup after.
Surface looks crumb-free; seams are vacuumed.
Spot-treat stains: blot with a lightly soapy cloth — don’t soak or scrub aggressively.
Blot stains · light soap · no soaking · no hard scrubbing.
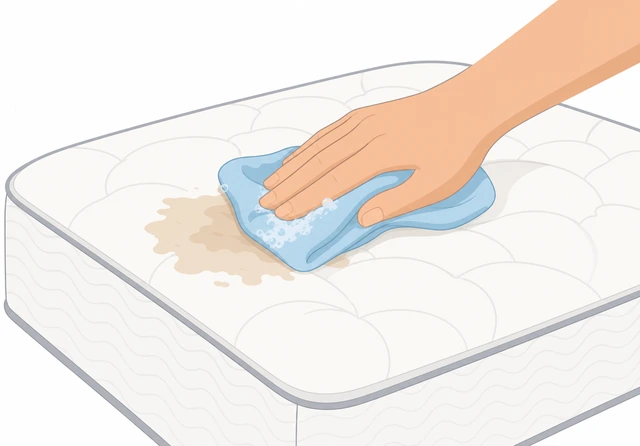
Waterlogging the foam core creates mildew; scrubbing spreads stains.
- Mix a drop of mild dish soap in water.
- Wring the cloth almost dry.
- Blot outward from the stain center.
- Urine smell/spot? → Urine stain.
Visible stains are blotted; fabric is only slightly damp at most.
Sprinkle a thin even layer of baking soda over the mattress; wait 15–60 minutes.
Thin baking soda layer · wait 15–60 minutes.
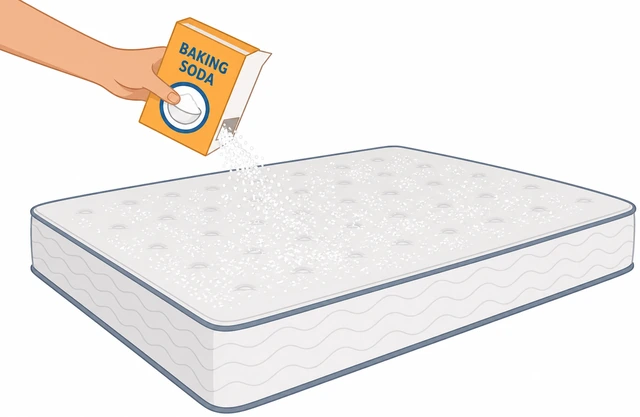
Baking soda adsorbs odors in the surface fabric if given time.
- Use a shaker or spoon.
- Cover the sleep surface evenly.
- Don’t dump thick mountains that won’t vacuum out.
- Wait at least 15 minutes (up to an hour).
Soda has sat for the planned time.
Vacuum up all baking soda thoroughly, including seams.
Vacuum all soda · seams too · no gritty residue.
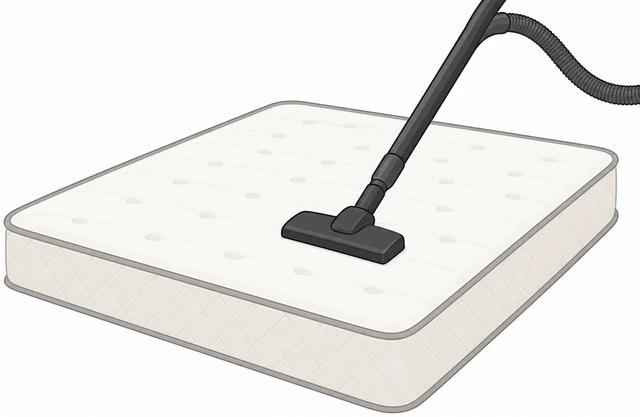
Left-behind soda feels sandy and can smell damp later.
- Slow vacuum passes.
- Re-do spots that look powdery.
- Wipe any leftover with a dry cloth.
- Check seams.
No visible soda remains.
Optional: wipe once more with a well-wrung clean cloth; never pour water onto the mattress.
Optional light wipe · cloth wrung dry · never pour water.
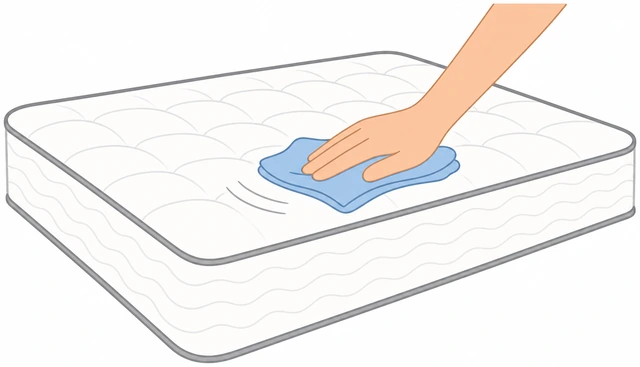
Core moisture is the mildew starter kit.
- Fresh cloth, almost dry.
- Quick wipe of high-touch zones.
- If it feels wet, you’ve used too much water — dry harder.
Surface feels fresh and only barely damp or dry.
Dry fully with airflow — open a window and/or run a fan until the mattress feels dry deep in the cover.
Fan/airflow · dry until not cool-damp · then continue.
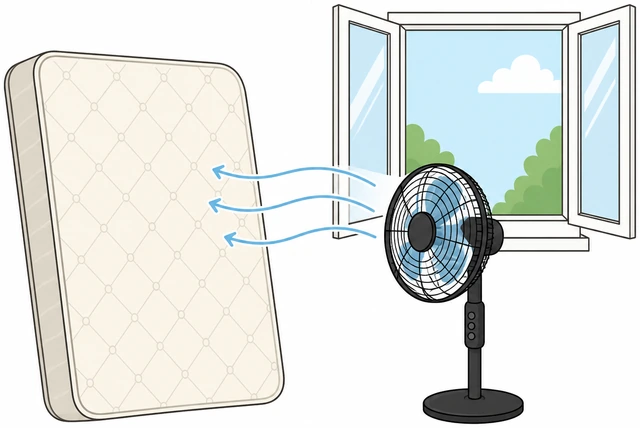
Sheets on a damp mattress lock in smell and mold risk.
- Point a fan across the surface.
- Flip after the top feels dry if you also cleaned the other side.
- Wait longer in humid weather.
- Still damp after hours? → Will not dry.
Mattress feels fully dry to a pressed-hand check.
Remake the bed with clean sheets; add a washable mattress protector if you have one.
Clean sheets · optional protector · done.
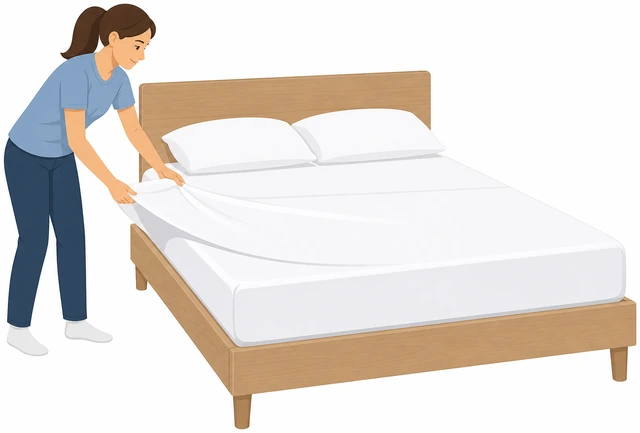
A protector makes the next cleaning easier and blocks future spills.
- Confirm dryness one more time.
- On with protector (optional).
- Clean sheets and pillowcases.
- Enjoy a fresher bed.
Bed is remade and ready to sleep on.
Urine stainPet or human urine spot/smell on the mattress.
Blot up as much liquid as possible with towels — press, don’t rub.
Blot with towels · press · don’t rub.
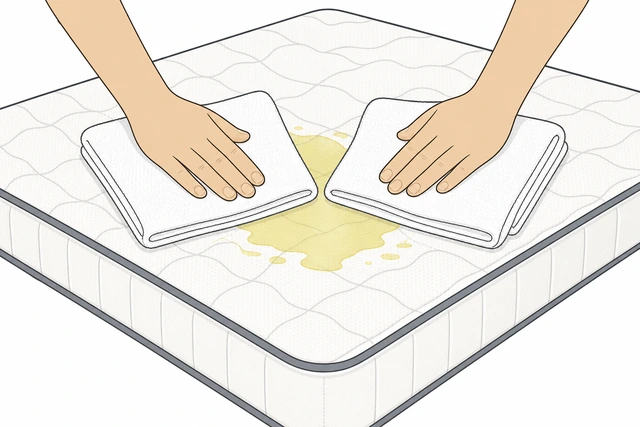
Rubbing drives urine deeper into foam.
- Stack towels.
- Stand/press.
- Replace saturated towels.
No more free liquid on the surface.
Apply an enzyme pet/urine cleaner per label; keep the area only damp, not flooded.
Enzyme cleaner · damp not flooded · follow label time.
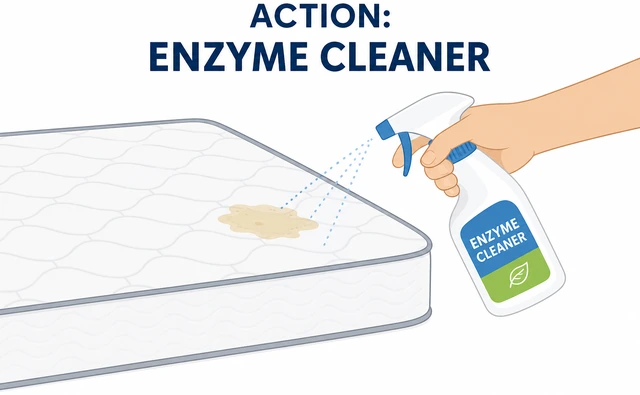
Enzymes break urine compounds soap alone leaves behind.
- Choose enzyme urine product.
- Light application.
- Wait labeled time.
Enzyme treatment is in progress/completed per label.
Blot again, then dry hard with fans — urine + moisture is a mildew magnet.
Blot · aggressive dry · no sheets yet.
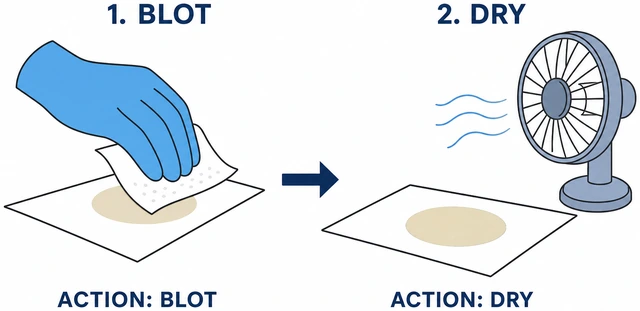
Moisture locks the smell in.
- Blot residue.
- Fan on spot.
- Optional dry towels weighted on spot.
Spot feels dry.
Repeat enzyme once if smell remains after full dry — then stop flooding attempts.
One more enzyme pass max if needed · then stop soaking.
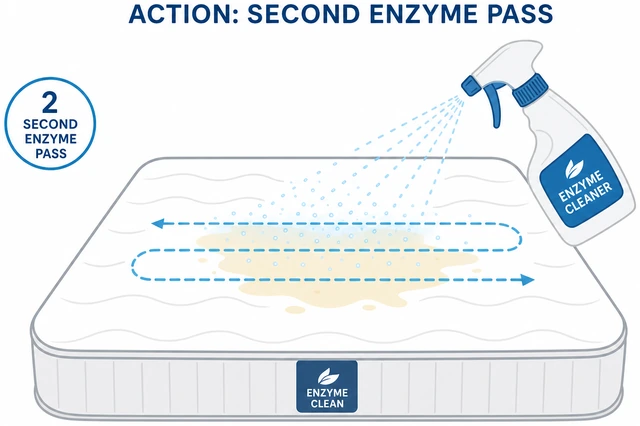
Endless wet treatments create a worse problem than urine.
- Recheck dry smell.
- Second light pass if needed.
- Dry again fully.
Odor improved or you’ve stopped wet cycles.
If odor survives two proper treatments, use a zippered protector or consider replacing a ruined topper/mattress.
Persistent odor · protector or replace topper/mattress.
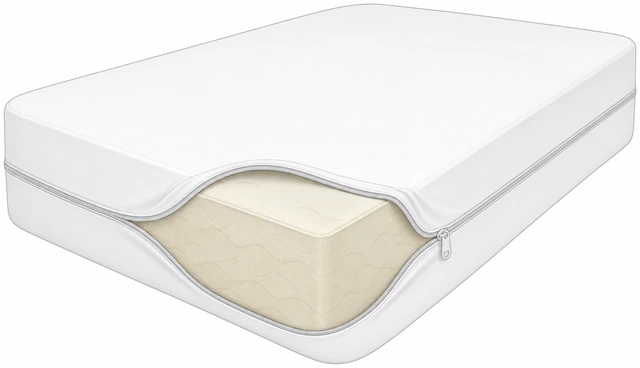
Some foam cores never fully release deep urine.
- Encasement protector.
- Replace removable topper if present.
- Budget replacement if unusable.
You chose containment or replacement.
Will not dryThe mattress is still damp after hours of airflow.
Increase airflow: second fan, open more windows, run a dehumidifier if you have one.
More fans · dehumidifier · more air.
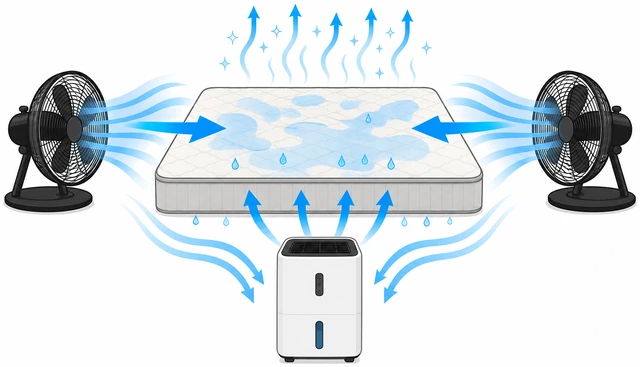
Still air in humid rooms stalls drying.
- Cross-breeze.
- Dehumidifier on.
- Keep bed empty.
Stronger drying setup is running.
Stand the mattress on its side if safe, so both faces get air.
On-side drying if stable/safe.
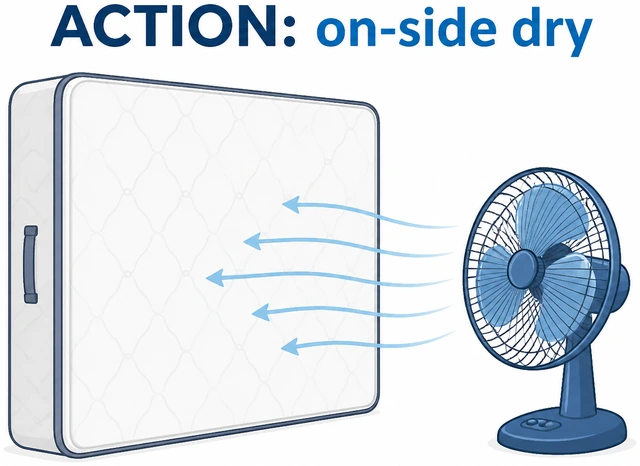
Flat wet spots stay wet underneath.
- Careful tilt.
- Support so it can’t fall.
- Fan across both faces.
Both faces get airflow.
Press dry towels onto damp zones with weight to wick moisture.
Weighted dry towels to wick.
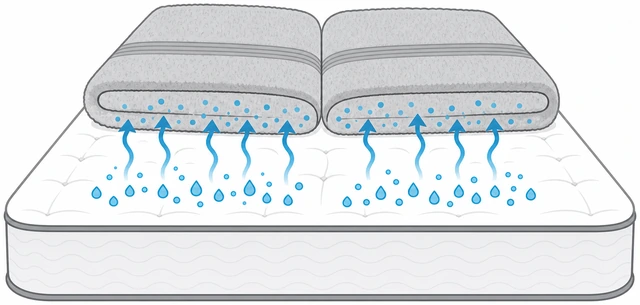
Capillary blotting pulls surface moisture out faster.
- Dry towels.
- Books/weights on top.
- Swap towels as they dampen.
Towels are pulling moisture.
Do not put sheets on overnight if it still feels cool-damp.
No sheets while cool-damp · sleep elsewhere if needed.
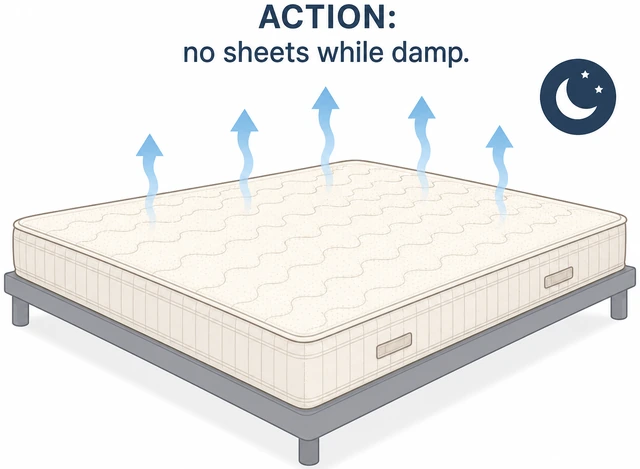
Covering damp foam is how mildew starts.
- Hand-press test.
- If cool-damp, keep uncovered.
- Alternate bed/couch one night.
Sheets stay off until dry.
If it smells musty after a damp night, vacuum, baking-soda again, and dry longer before reuse.
Musty after damp · soda + longer dry before reuse.
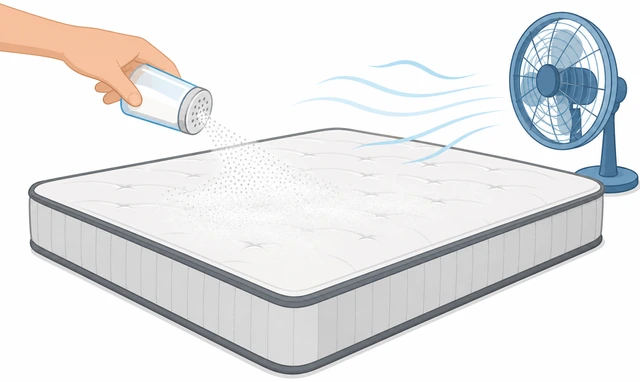
Musty smell means moisture stayed too long.
- Vacuum.
- Soda round.
- Extended dry.
- Consider protector going forward.
Musty path is in recovery drying.
Bed bugsYou see bugs, shed skins, or have clustered bites with blood spots.
Stop treating this as a normal cleaning job — vacuuming alone won’t end an infestation.
Stop “just clean it” mindset · pest protocol.
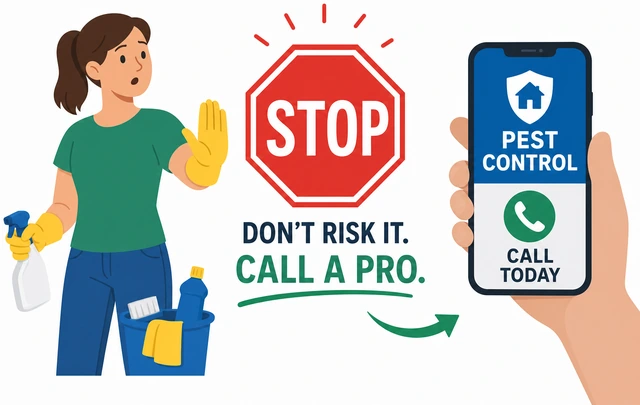
Disturbing bugs without a plan spreads them.
- Pause deep clean soap floods.
- Don’t move infested items around the house casually.
You’ve switched to pest-response mode.
Bag bedding and wash/dry on high heat if the fabric allows; keep laundry contained.
Bag · hot wash/dry if safe for fabric.
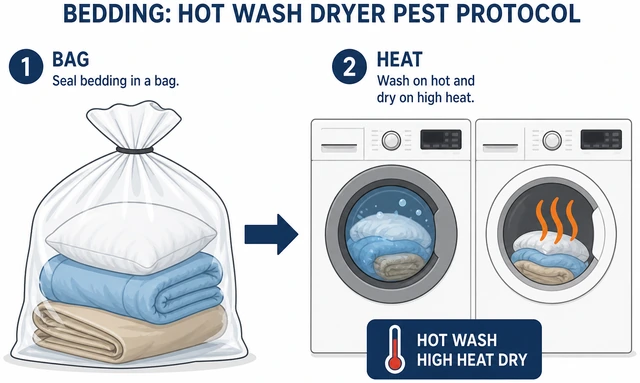
Heat kills bugs/eggs on many textiles.
- Seal in bags to the washer.
- Hot cycle if allowed.
- Hot dryer.
Bedding is heat-treated or bagged for treatment.
Encasing the mattress in a labeled bed-bug-proof encasement can trap remaining bugs — install carefully.
Bug-proof encasement · zipper fully closed.
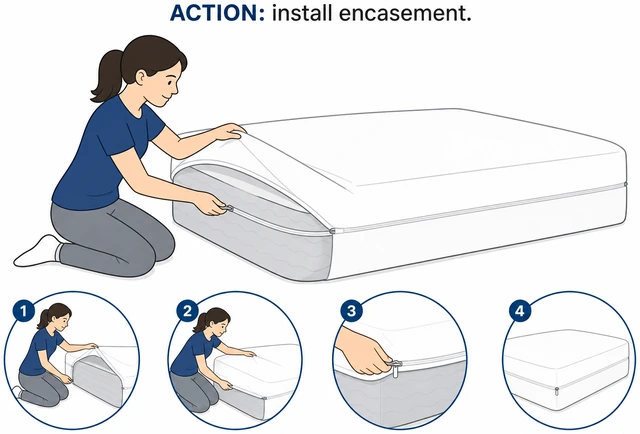
Encasements quarantine what’s in the mattress.
- Buy true bed-bug encasement.
- Zip completely.
- Inspect zipper regularly.
Encasement is on and sealed.
Call a licensed pest professional for inspection/treatment rather than endless DIY sprays.
Call licensed pest control.
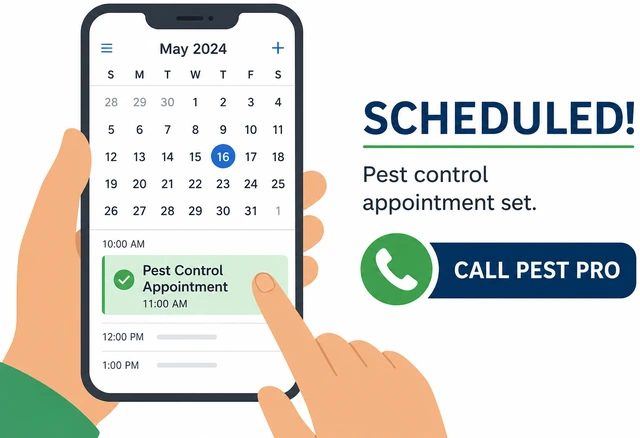
Wrong sprays scatter bugs into walls.
- Describe symptoms.
- Ask about heat/integrated treatment.
- Follow prep sheet.
Pro appointment is set or in progress.
Reduce clutter around the bed and pull the frame from walls per pro instructions.
Declutter · pull bed out · follow pro prep.
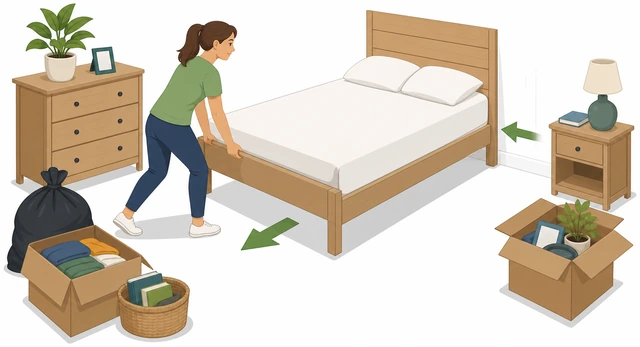
Clutter hides harborages and blocks treatment.
- Clear floor piles.
- Wash curtains if advised.
- Follow the tech’s checklist.
Room is prepped for treatment.
When This Doesn't Work
- Smell returns in a day — Usually incomplete drying or a deep urine hit. Dry longer, use enzyme for urine, then add a waterproof protector.
- Vacuum leaves powder streaks — You used too much soda or need slower passes. Dry-cloth wipe leftovers, then vacuum again.
- Stain looks bigger after scrubbing — You scrubbed. Switch to blotting only and work from the outside in.
Warnings
- Never soak or steam-flood a foam mattress core.
- Do not remake the bed while the mattress feels cool-damp.
- Suspected bed bugs need pest control — not soap alone.
Tips
- Protector = easier future — A washable mattress protector blocks sweat and spills so you deep-clean less often.
FAQ
How often should I clean a mattress?
Vacuum every 1–3 months; do a baking-soda refresh a few times a year or after spills.
Can I use a carpet cleaner machine?
Only if it barely dampens and you can dry fully the same day. Most beginners are safer with vacuum + blot + soda.
Comments
Questions, corrections, and what worked for you. Comments are reviewed before they appear.