How to Write a Resume
Write a clear US-style resume aimed at one job posting: header, title/summary, reverse-chronological experience with impact bullets, skills, education, then a clean PDF. Read one step at a time. Start with preflight. Career change? Career change. Employment gap? Employment gap. ATS issues? ATS formatting.
Tips for reading this guide
- One step at a time. Read the green caption, the Why line, then the bullets.
- Move on when the green done line is true — then go to the next step.
- Target one job posting while you write.
- Career change? Career change.
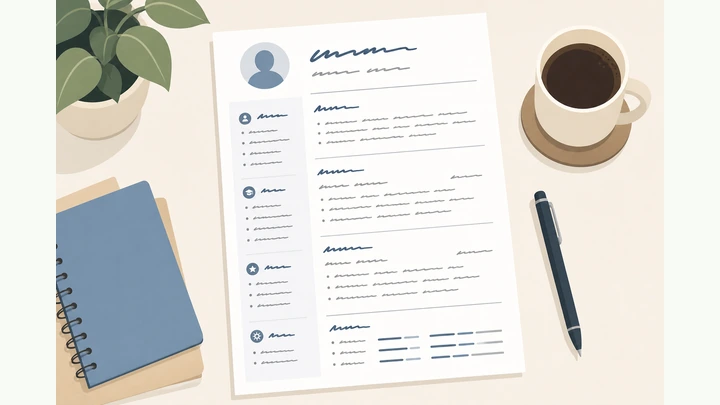
Things You'll Need
- Computer with Word/Google Docs/Pages
- Target job posting
- List of jobs/dates/achievements
- PDF export ability
Where are you stuck?
Follow Start here to write a resume. Jump to a branch for career change, employment gaps, or ATS formatting.
- I want to write a resume from scratch Target job · header · impact bullets · PDF
- I am changing careers Summary pivot · transferable bullets · projects
- I have an employment gap Honest label · real activity · short interview answer
- Portals scramble my formatting Single column · no text boxes · selectable PDF
Start hereTarget job → header → bullets → skills → PDF
Preflight — pick one target job posting; gather titles, dates, and 3–5 achievements; open a clean document.
One target posting · dates/achievements ready · clean doc.
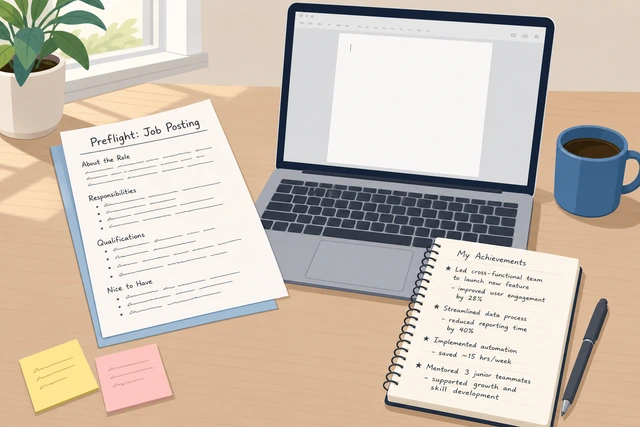
A resume without a target job becomes a generic list nobody finishes reading.
- Save the job posting PDF or link.
- List employers, titles, and dates.
- Jot 3–5 wins with numbers if you have them.
- Open Google Docs, Word, or Pages with a blank page.
You have one target posting and raw career facts ready.
Create the header: name, phone, email, city/region, optional LinkedIn.
Name large · phone · professional email · city/region.
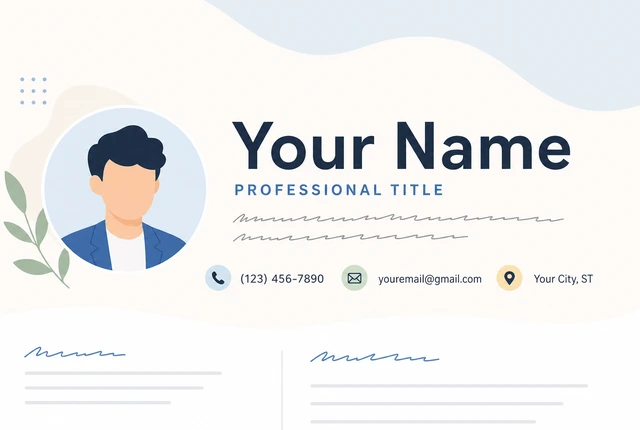
Recruiters need to contact you in one glance.
- Put your name at the top in a larger font.
- Add a phone number you answer.
- Use a professional email address.
- Add city and state (full street address optional).
- Optional: LinkedIn URL that works.
Header has working contact details with no typos.
Add a target title line or a 2–3 line summary matched to the posting.
Title/summary mirrors the posting · not a life essay.
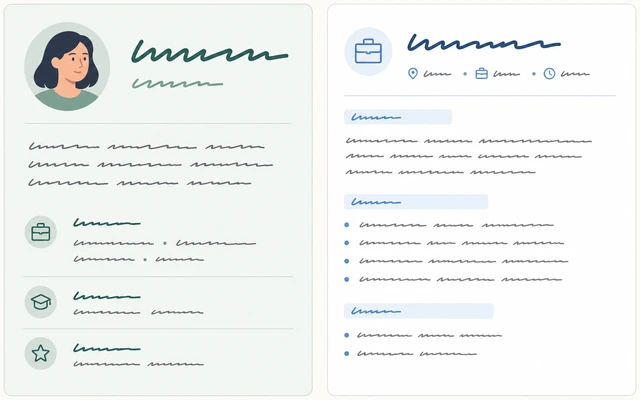
The top of the page decides whether they keep reading.
- Option A: job-title line that matches the posting.
- Option B: 2–3 lines on years, focus, and one proof point.
- Reuse keywords from the posting only if true.
- Career change? → Career change.
The top of the resume states the role you want clearly.
List experience reverse-chronological with employer, title, and dates.
Newest job first · employer · title · dates.
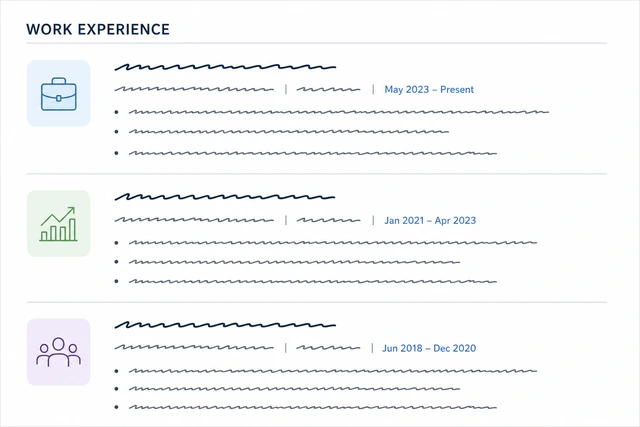
Hiring managers scan timelines before deep reading.
- Start with your current or most recent role.
- Include employer name, your title, and month/year dates.
- Keep formatting consistent across jobs.
- Gap in dates? → Employment gap.
Experience section shows roles in reverse-chronological order.
Rewrite bullets as verb + what you did + result or metric when possible.
Strong verb · concrete task · result/metric.
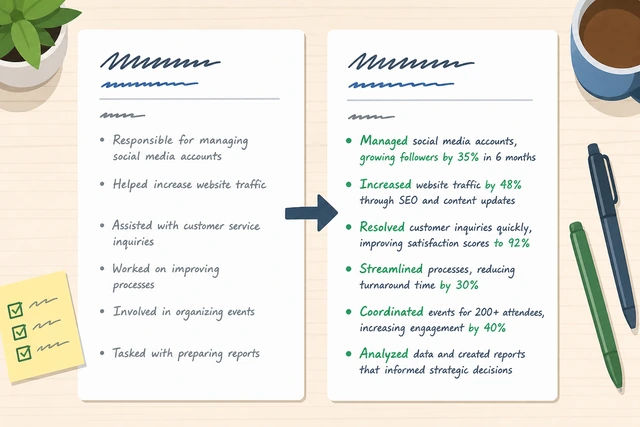
Duty lists (“responsible for…”) do not prove impact.
- Start each bullet with a past-tense verb (Led, Built, Reduced).
- Add a measurable result when you can.
- Keep bullets to one or two lines.
- Drop filler like “various duties as assigned.”
Each recent job has impact-style bullets, not only duties.
Add a skills section that honestly matches posting keywords.
Skills listed · honest · matched to posting.
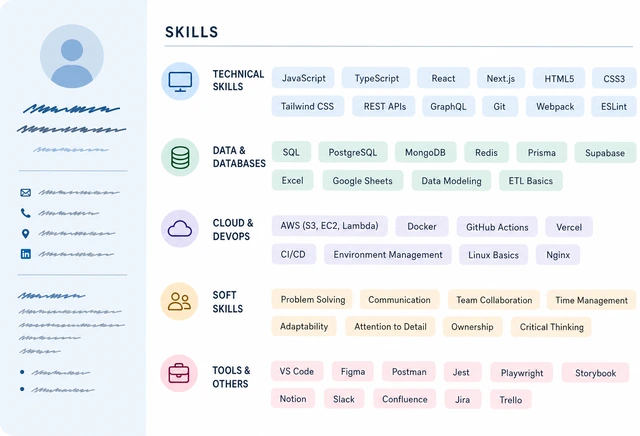
Keyword alignment helps humans and ATS — lying backfires in interviews.
- Pull 6–12 real skills from your work.
- Mirror posting terms only if you can defend them.
- Separate tools vs soft skills if helpful.
- Do not claim expert on tools you barely opened.
Skills section is honest and relevant to the posting.
Add education and certifications.
School · degree · year · certs if relevant.
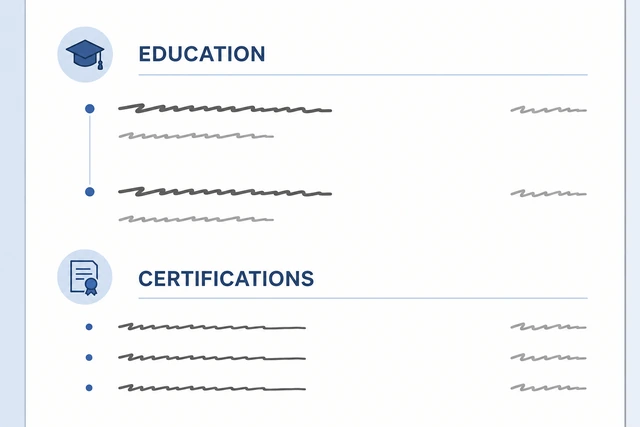
Education proves baseline qualifications; certs can unlock filters.
- List degree, school, and graduation year (or expected).
- Add relevant certifications with issuer.
- Skip GPA unless early-career and strong.
- Move education above experience only if you are a new graduate.
Education/certs are complete and accurate.
Trim to fit: usually one page; two pages only for long relevant careers.
Trim fluff · keep impact · target length.
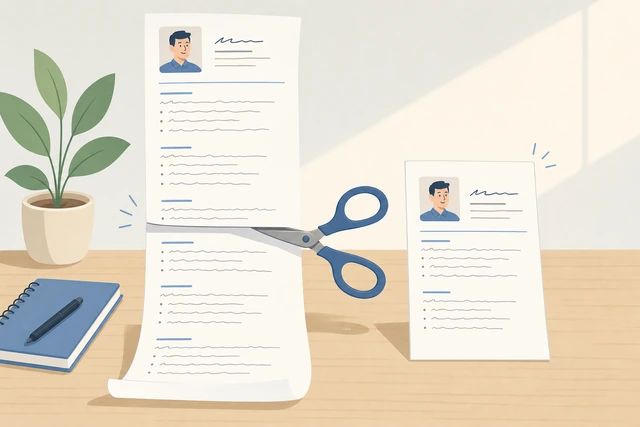
Long resumes bury the proof points that get interviews.
- Cut old irrelevant jobs to a short line or remove.
- Remove hobby blocks unless clearly relevant.
- Tighten margins only modestly — keep readable type.
- Aim for one page if under ~10 years relevant experience.
Length fits your experience level without tiny unreadable type.
Proofread contact info and dates out loud.
Read aloud · fix email/phone/date typos.
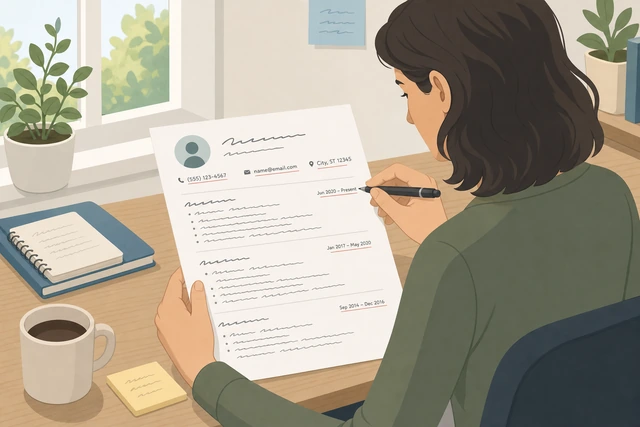
A wrong digit in your phone wastes every application.
- Read the header aloud.
- Check every date for overlaps/gaps you did not intend.
- Run spellcheck, then a human reread.
- Ask someone else to spot typos if possible.
Contact info and dates survive an aloud read with no errors.
Export a PDF and open it on another device to check layout.
Export PDF · open elsewhere · check wrap/overflow.
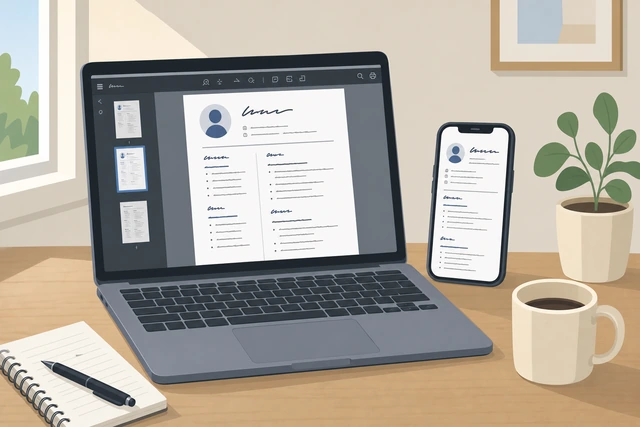
What looks fine in the editor can break in PDF or ATS.
- Export to PDF.
- Open on phone or another computer.
- Check for cut-off text, weird spacing, or low contrast.
- Weird parse issues? → ATS formatting.
PDF looks clean on a second device.
Name the file professionally before you upload.
FirstLast_Resume_Company.pdf · not final2.pdf.
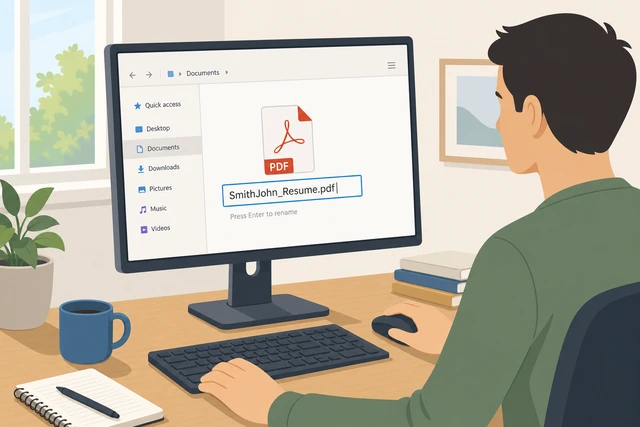
Recruiters download dozens of files — clear names help yours get opened.
- Use YourName_Resume_Company.pdf.
- Avoid spaces-heavy or emoji filenames.
- Keep a master editable copy separately.
The PDF filename is clear and professional.
Optionally save a tailored second version for a different job family.
Second tailored version · only if job families differ.
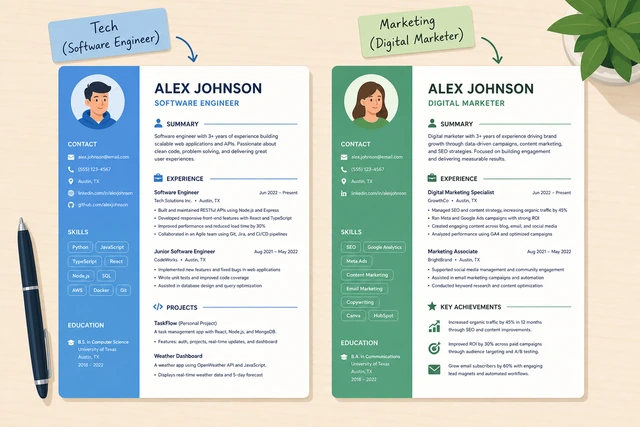
One generic file loses to two focused ones.
- Duplicate the file.
- Swap title/summary and top bullets for the other posting.
- Do not maintain 10 nearly identical versions.
You either have a second tailored version or consciously kept one focused file.
Career changeYour past titles do not match the new field
Lead with a summary that names the new direction and transferable strengths.
Summary names new field · transferable strengths.
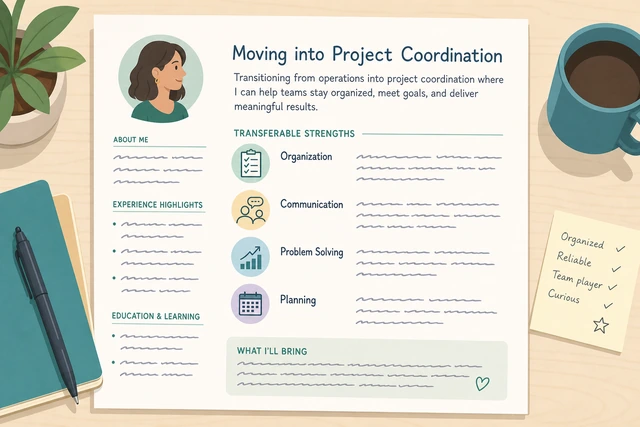
Old job titles alone make screeners bounce.
- State the target role.
- Name 2–3 transferable strengths.
- Add one proof point from past work.
Summary points at the new field clearly.
Reorder bullets to put transferable wins first.
Transferable wins first · old jargon last.
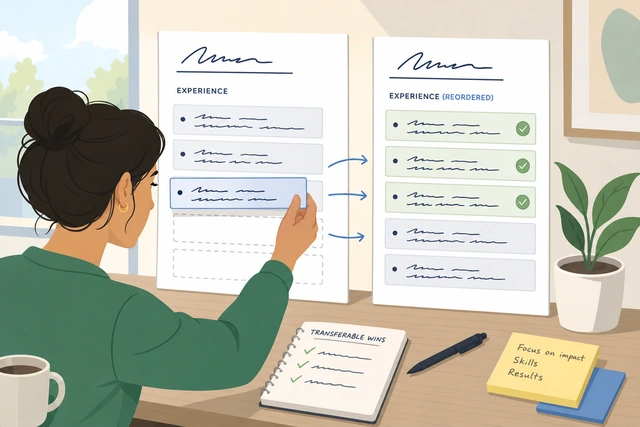
Buried relevant wins never get seen.
- Move relevant projects/bullets up.
- Translate jargon into the new field’s language.
Top bullets look relevant to the new role.
Add projects, coursework, or volunteer work that prove the new skills.
Projects/coursework prove new skills.
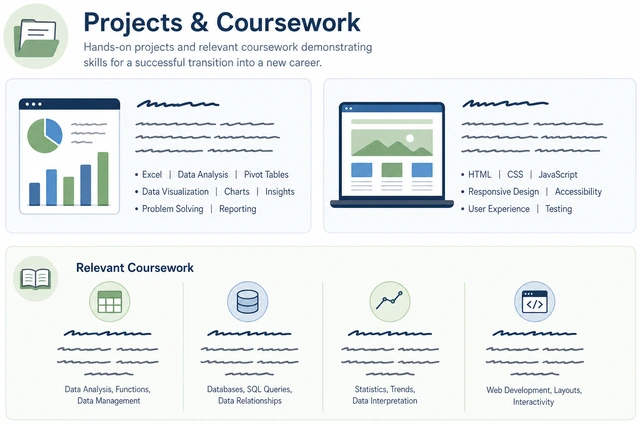
Career changers need evidence beyond titles.
- Add a Projects section if needed.
- List relevant courses or certs.
- Quantify outcomes when possible.
There is concrete proof beyond old titles.
Mirror the posting’s must-have skills only when true.
Honest keyword match · no fake expertise.
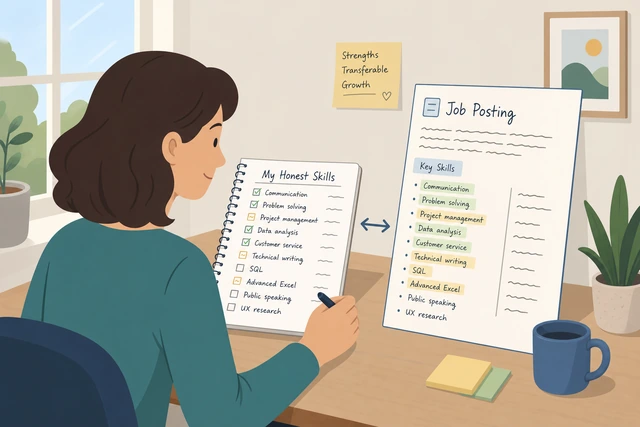
Invented skills die in the first interview.
- Check must-haves.
- Include only skills you can discuss for 5 minutes.
Skills are defensible in an interview.
Network or add a short note in applications explaining the pivot briefly.
Brief pivot note · or referral path.
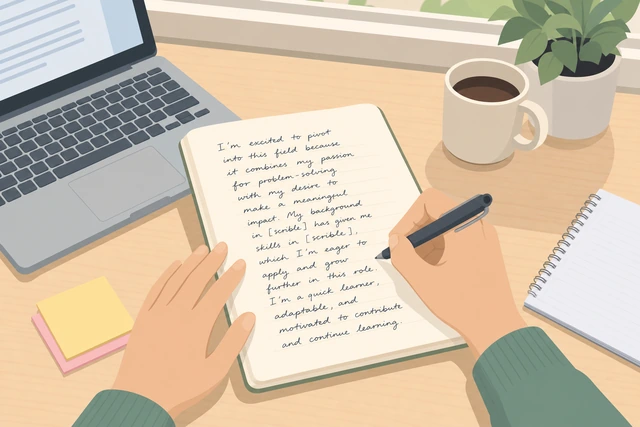
Cold apps without context get filtered harder for pivots.
- Write 2 sentences on why the pivot.
- Ask for referrals when you can.
You have a short pivot explanation ready.
Employment gapThere is a noticeable gap in your work dates
Decide whether month-level dates or year-only dates fit your situation.
Choose date precision · stay consistent.
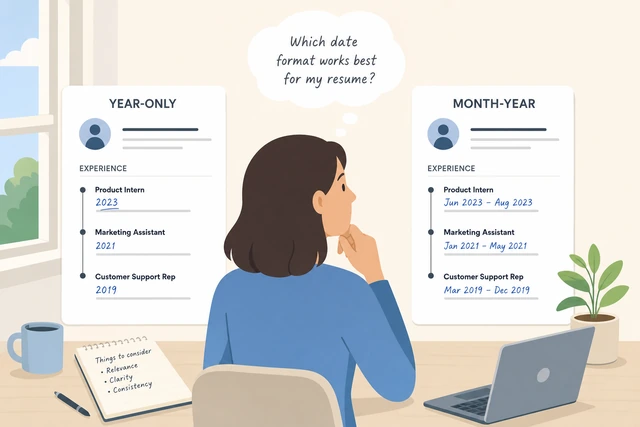
Inconsistent date styles look evasive.
- Pick month/year or year-only.
- Use the same style everywhere.
Date style is consistent.
If the gap included caregiving, illness recovery, or full-time study, label it briefly and honestly.
Honest one-line label · no oversharing.
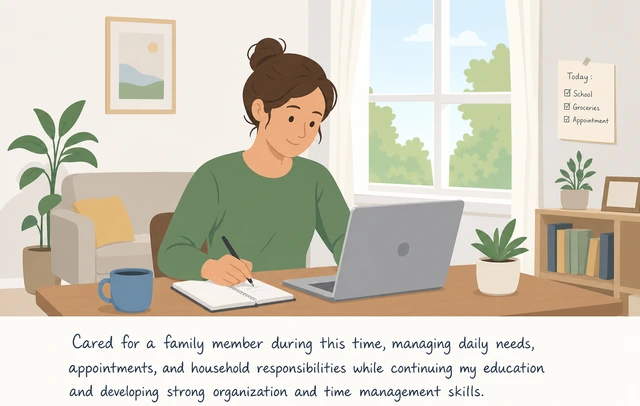
Silence invites worse guesses than a clean label.
- Add a short line for the period.
- Keep medical detail minimal.
- Focus on readiness now.
The gap has a brief honest label if needed.
Add freelance, contract, volunteering, or upskilling if it was real work.
Real activity listed · do not invent jobs.
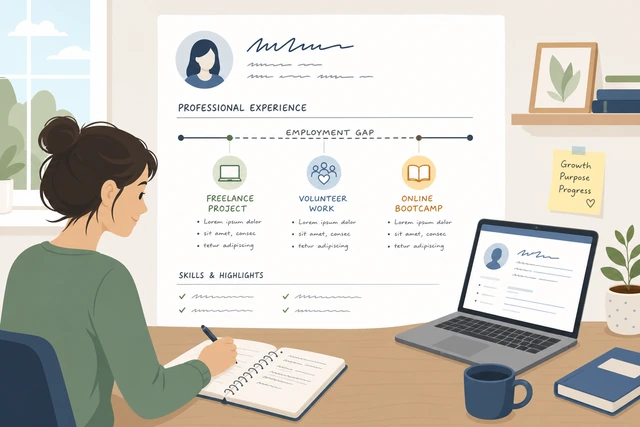
Productive gaps are still experience.
- List real freelance clients or volunteer roles.
- Add bootcamps/certs with dates.
Productive gap activities are listed honestly.
Prepare a 20-second interview answer that is calm and forward-looking.
20-second answer · calm · forward-looking.

Long defensive stories hurt more than the gap.
- Practice aloud.
- End with why you are ready now.
You can explain the gap in under 20 seconds.
Do not fake employment to cover the gap.
No fake employers · ever.
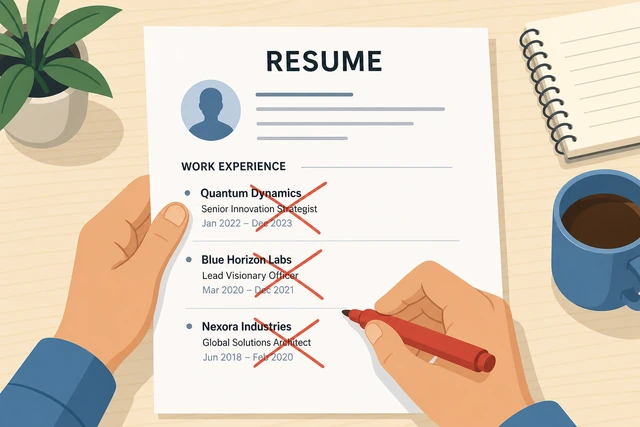
Background checks and references expose fabrications.
- Delete any invented roles.
- Use honest framing instead.
The resume has no fabricated jobs.
ATS formattingThe PDF looks fine but parsers scramble your text
Use a single-column layout with standard headings.
Single column · Experience · Education · Skills.
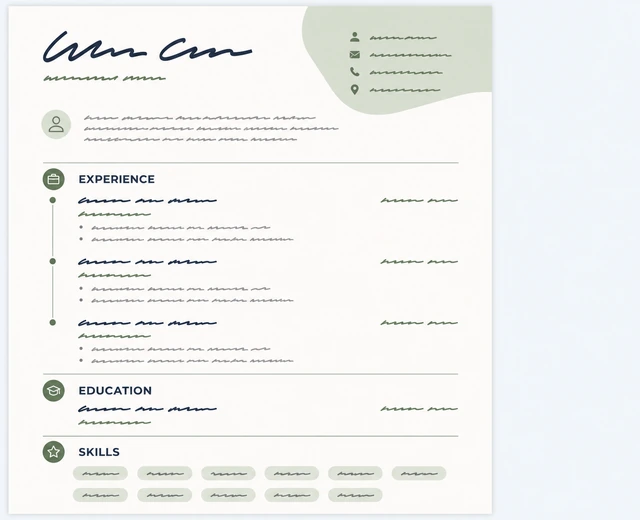
Multi-column designs often scramble parse order.
- Avoid two-column templates for ATS-heavy portals.
- Use Experience, Education, Skills headings.
Layout is simple and single-column.
Avoid text boxes, tables, and headers/footers for critical info.
Contact info in body · not only in header/footer.
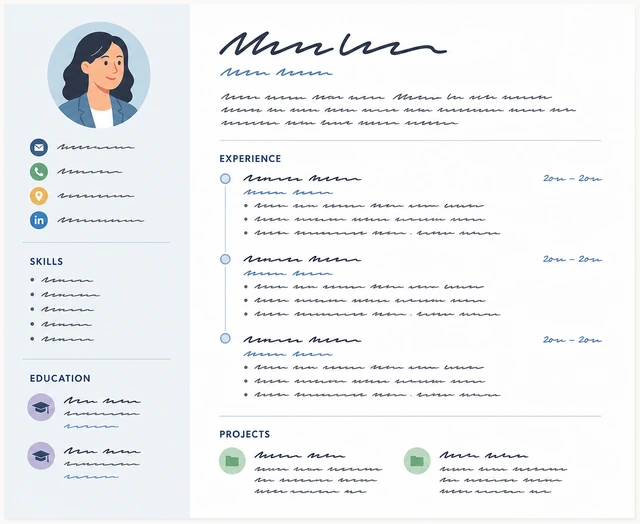
Many parsers skip headers/footers and text boxes.
- Put phone/email in the main body header area.
- Remove complex tables.
Critical info is in the main document body.
Use standard fonts and real bullet characters.
Standard fonts · simple bullets · high contrast.
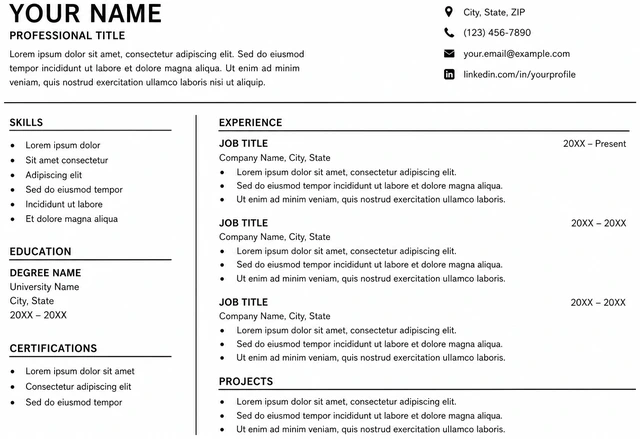
Fancy symbols can become tofu boxes in parsers.
- Use Calibri/Arial/Times-like fonts.
- Use standard bullets.
- Keep black text on white.
Fonts and bullets are plain and readable.
Submit a text-select PDF — you should be able to highlight words.
Selectable text PDF · not a scanned image.
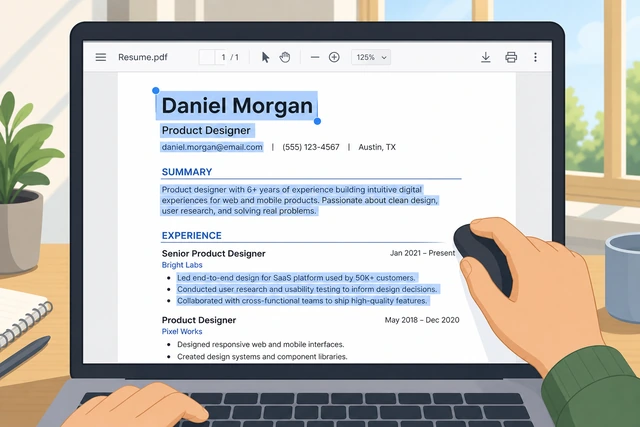
Image-only PDFs are invisible to ATS.
- Export from the editor, do not scan a printout.
- Try highlighting text in the PDF viewer.
PDF text is selectable.
Keep a richer designed version only for human email/referral sends.
ATS-safe file for portals · designed file for humans.
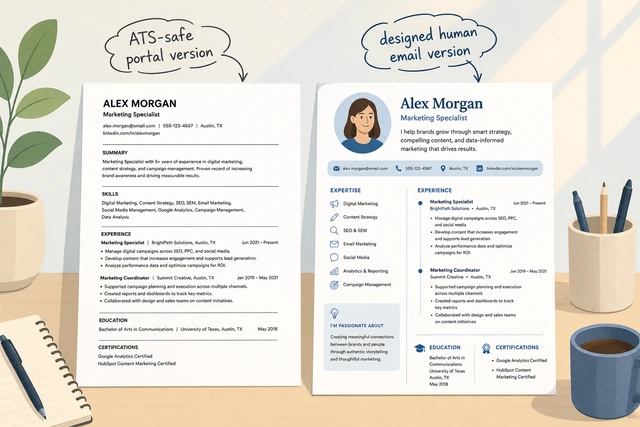
One file rarely optimizes both perfectly.
- Save ATS-safe PDF for portal uploads.
- Use designed version when a person asks by email.
You know which file goes where.
When to get help
- Career center or nonprofit job coach for industry-specific norms.
- If English writing is a barrier, ask a trusted editor to proof — do not let AI invent fake jobs.
When This Doesn't Work
- Academic CVs. Different length and publication norms.
- Creative portfolios as the primary application. Still keep a short text resume for portals.
- Federal USAJobs resumes. Often need much more detail — follow that system.
Warnings
- Do not invent employers, degrees, or skills.
- Do not include sensitive IDs (SSN, full street if unnecessary).
- This is educational guidance, not a guarantee of interviews.
Tips
- Keep a master achievement bank and pull bullets per posting.
- Quantify with %/$/time saved when true.
- Have someone else read the top third only — that is the make-or-break zone.
FAQ
How long should my resume be?
One page is the default for many roles; two pages can work for longer relevant careers. Do not shrink type to cram.
Do I need an objective?
Usually no. Use a title line or short summary aimed at the posting.
Should I include references?
No — use “available upon request” only if asked, or omit entirely.
Comments
Questions, corrections, and what worked for you. Comments are reviewed before they appear.