How to Trim a Beard
Trim a beard evenly: comb dry, start longer than your goal, trim with the grain, blend down carefully, set cheek and neck lines, then scissor strays. Read one step at a time. Start with preflight. Uneven sides? Uneven sides. Neckline too high? Neckline too high. Clippers pulling? Clippers pulling.
Tips for reading this guide
- One step at a time. Read the green caption, the Why line, then the bullets.
- Move on when the green done line is true — then go to the next step.
- Start with a longer guard than your goal.
- Uneven sides? Uneven sides.
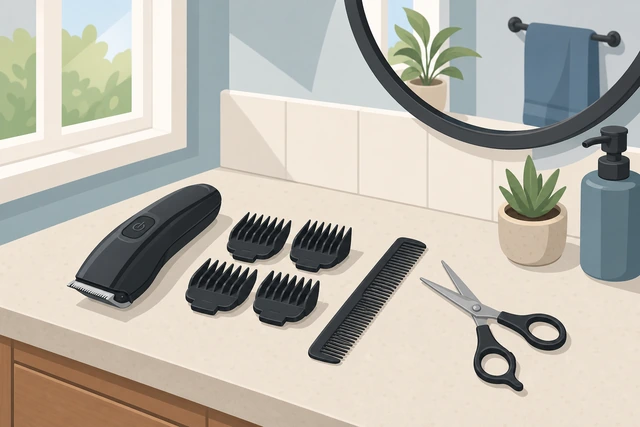
Things You'll Need
- Beard clippers with guards
- Comb
- Small scissors
- Mirror
- Optional beard oil
- Optional second mirror
Where are you stuck?
Follow Start here to trim a beard. Jump for uneven sides, high necklines, or pulling clippers.
Start hereComb → longer guard → trim → blend → lines → scissors
Preflight — charged clippers with guards, comb, scissors, mirror, dry clean beard.
Clippers charged · guards · comb · scissors · dry beard.
Wet hair clogs blades and makes length hard to judge.
- Charge or plug in clippers.
- Lay out guards from longer to shorter.
- Have a comb and small scissors.
- Start with a clean, dry, combed beard.
Tools are ready and the beard is dry.
Comb the beard fully to detangle and see the true length.
Comb through fully · no knots · hair lies natural.
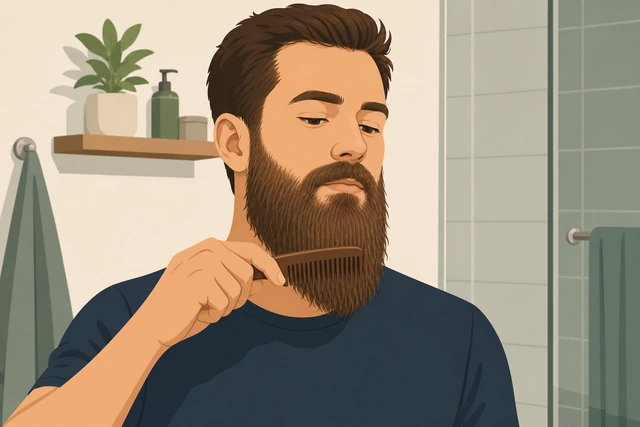
Trimming over knots creates uneven gouges.
- Comb from cheeks down to the tip.
- Work out tangles gently.
- Stand in good light facing a mirror.
The beard is fully combed and tangle-free.
Choose a starting clipper guard longer than your final target length.
Start longer · you can always go shorter.
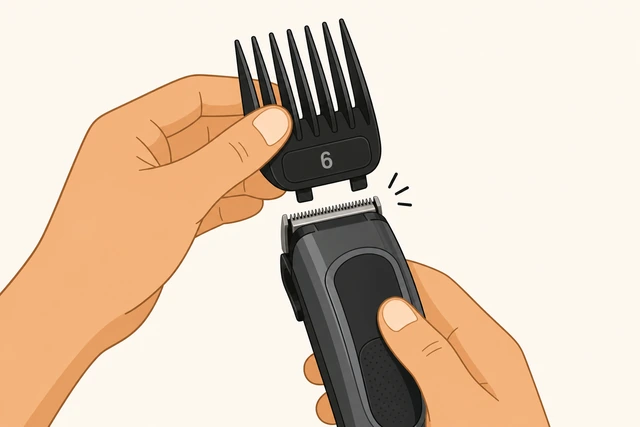
A too-short first pass cannot be undone.
- Pick a guard 1–2 sizes longer than your goal.
- Attach it firmly until it clicks.
- If unsure, start even longer.
A longer-than-final guard is locked on.
Trim the cheeks and sides with the guard — move with the grain first.
Cheeks/sides · with the grain · overlapping passes.
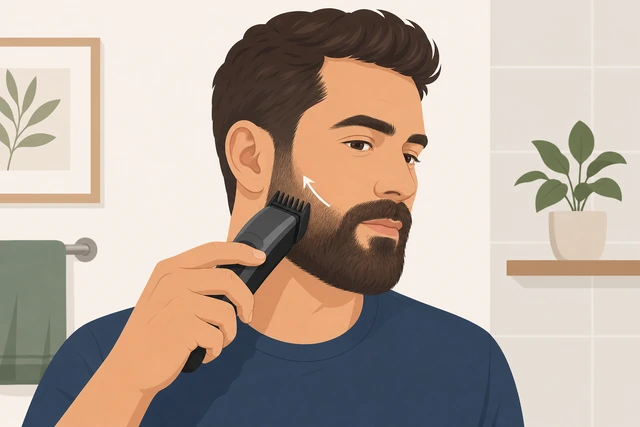
Against-the-grain first often cuts shorter than expected.
- Hold skin gently taut if needed.
- Run clippers with hair growth direction.
- Overlap each pass.
- Keep the same guard on both sides.
- Pulling/snagging? → Clippers pulling.
Cheeks and sides are trimmed evenly with the long guard.
Trim the chin and mustache area carefully with the same guard.
Chin/mustache · slow passes · same guard.
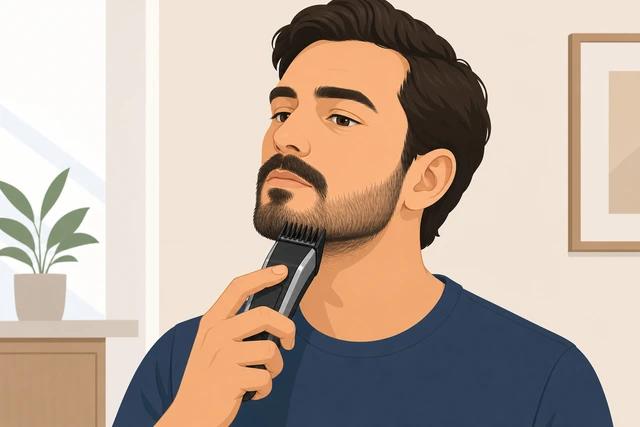
Rushing the chin is how people create a pointed uneven tip.
- Comb the chin forward.
- Trim slowly across the tip.
- For the mustache, use short strokes; consider scissors for the lip line.
Chin and mustache length match the cheeks roughly.
If you want shorter, step down one guard size and blend — do not jump multiple sizes.
One guard shorter · blend · recheck.
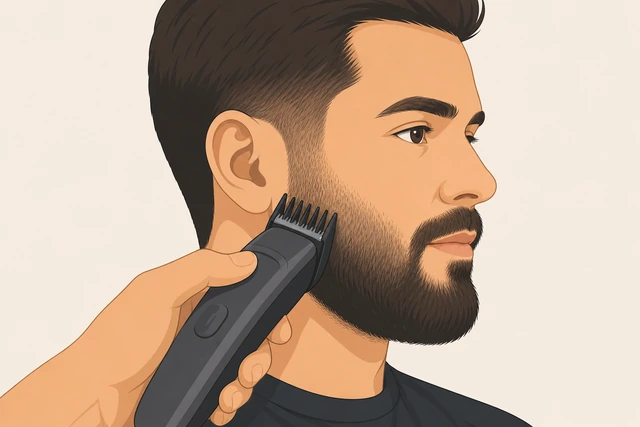
Skipping guard sizes creates steps and bald-looking patches.
- Switch to the next shorter guard only.
- Light blending passes where length meets.
- Stop when it looks even.
- Sides uneven? → Uneven sides.
Length is at your target or one controlled step from it.
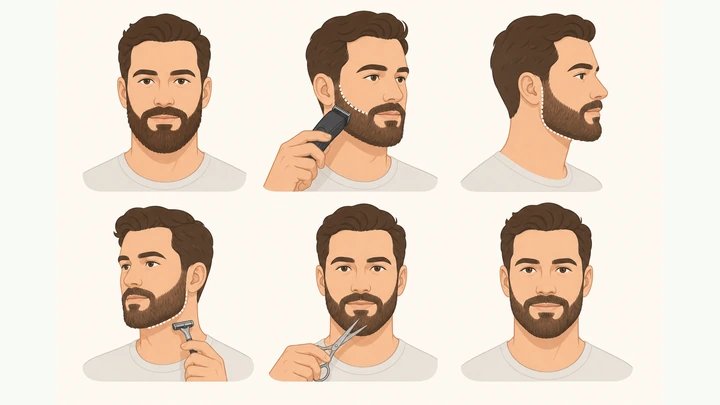
Define the cheek line symmetrically on both sides.
Cheek line · match left to right · remove stray above the line.
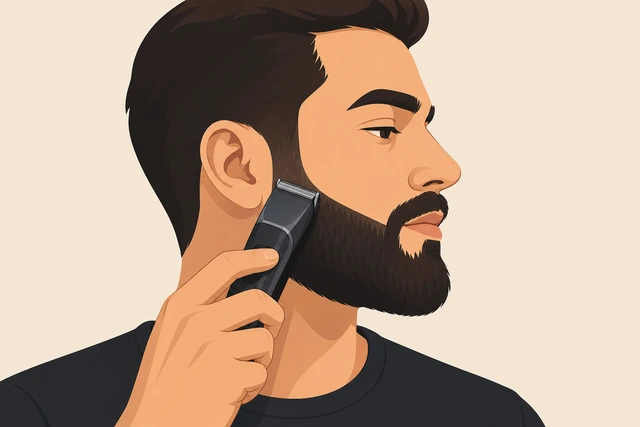
Asymmetric cheek lines are the most noticeable beard mistake.
- Visualize a gentle curve from sideburn to mustache.
- Remove hair above that line with no/short guard carefully.
- Match the second side to the first — do not invent a new line.
Both cheek lines look like intentional matches.
Define the neckline — roughly two fingers above the Adam’s apple as a starter guide.
Neckline · ~two fingers above Adam’s apple · curve gently.
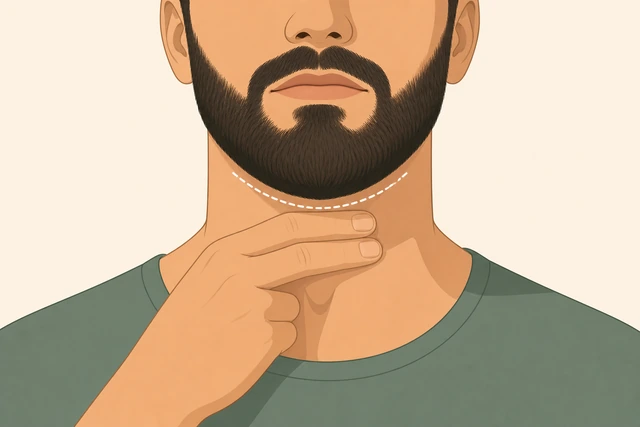
A neckline cut too high makes the beard look chin-strapped.
- Place two fingers above the Adam’s apple as a rough guide.
- Create a gentle U/curve, not a sharp horizontal slash under the chin.
- Fade or clear hair below the line.
- Already too high? → Neckline too high.
Neckline is clean and not climbing toward the jaw corners.
Scissor-trim stray hairs the clippers missed.
Scissors for strays · comb out · snip tips only.
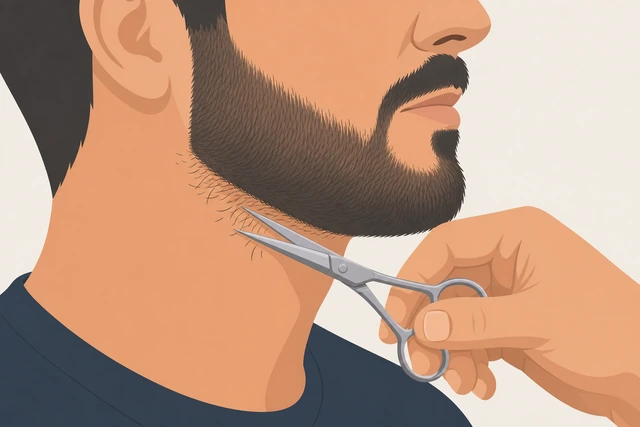
A few long outliers ruin an otherwise even trim.
- Comb sections outward.
- Snip only the hairs that stick out past the shape.
- Keep scissors away from skin.
No obvious long strays remain.
Check both sides in the mirror — turn your head or use a second mirror.
Left vs right check · fix with longer guard first.
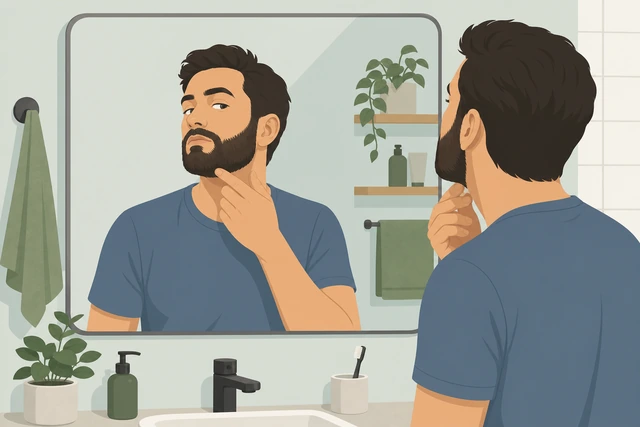
Front-only checks hide side imbalances.
- Turn left and right in good light.
- Compare cheek and jaw bulk.
- If one side is shorter, do not keep cutting the longer side into oblivion — blend carefully.
- Uneven? → Uneven sides.
Both sides look acceptably matched.
Optional: apply a few drops of beard oil or balm and comb through.
Small amount of oil/balm · comb through · not greasy.
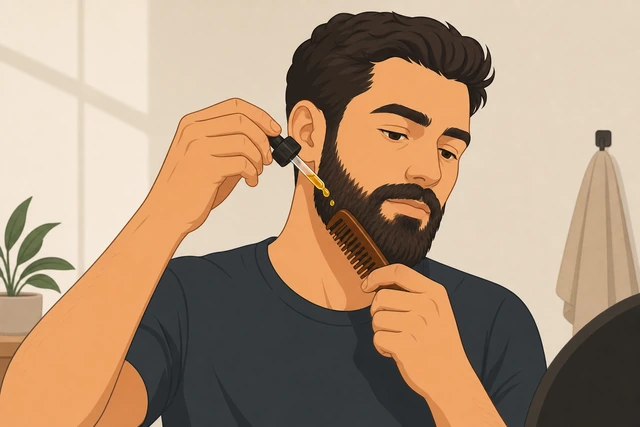
Oil softens the look and reduces itch after trimming.
- 1–3 drops in palms.
- Work through the beard.
- Comb to distribute.
- Wipe excess from skin if shiny.
Beard looks conditioned without looking greasy (or you skipped oil).
Clean the clippers — brush hair out and oil blades if your model requires it.
Brush out hair · oil blades per manual · store dry.
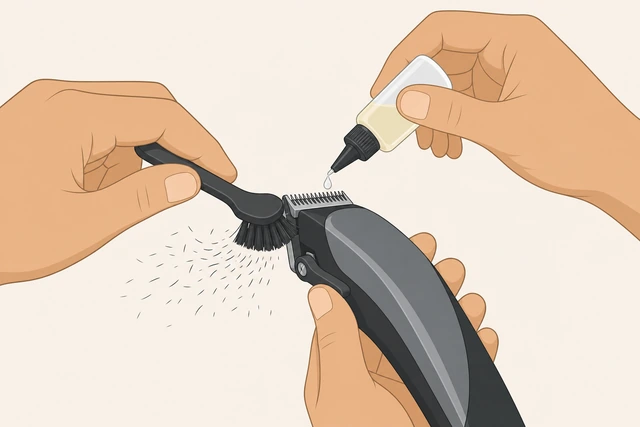
Dirty blades pull next time and dull faster.
- Unplug/safe power off.
- Brush the teeth and guards.
- Add clipper oil if recommended.
- Store guards with the kit.
Clippers are clean and put away.
Note your guard number and set a reminder for the next trim.
Write the guard # · schedule next trim.
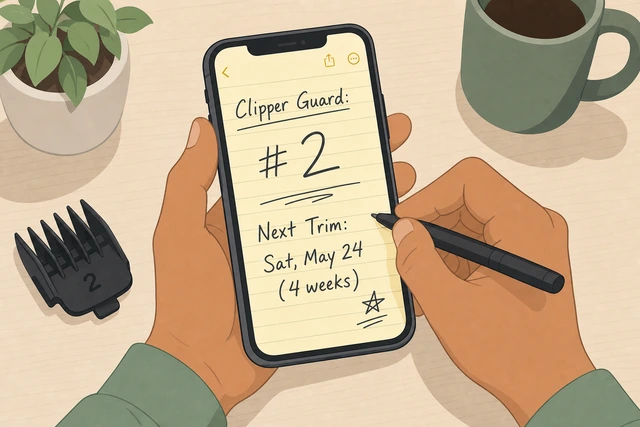
Remembering the guard saves you from guessing shorter every time.
- Write the final guard number in your phone.
- Set a 1–2 week reminder depending on growth.
- Start long again next time if unsure.
You know which guard worked and when you’ll trim next.
Uneven sidesOne side looks thicker or longer
Stop cutting the longer side shorter in a panic.
Pause · do not chase the short side.
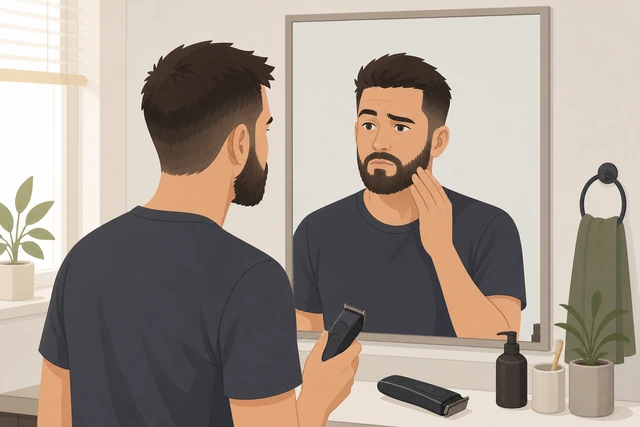
Panic cutting creates a shorter and shorter spiral.
- Put the clippers down.
- Comb both sides.
- Compare in good light.
You have paused and compared.
Put a longer guard back on and even the bulky side with light passes.
Longer guard · light passes on the bulky side only.
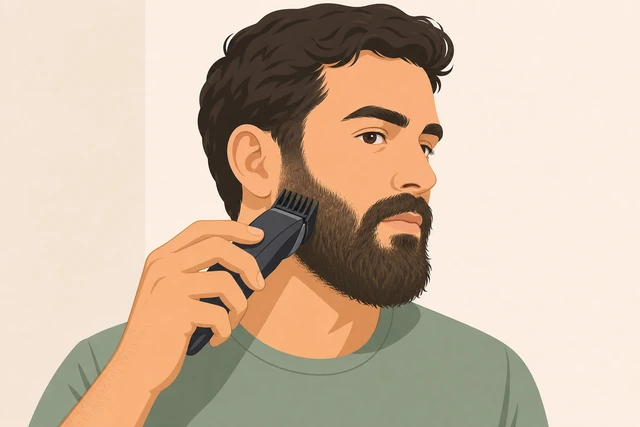
Longer guard removes bulk without creating a new bald patch.
- Attach a longer guard.
- Trim only the thicker side lightly.
- Recheck often.
Bulk looks closer.
Blend the transition instead of carving a hard step.
Blend · flicking motion · no hard shelf.
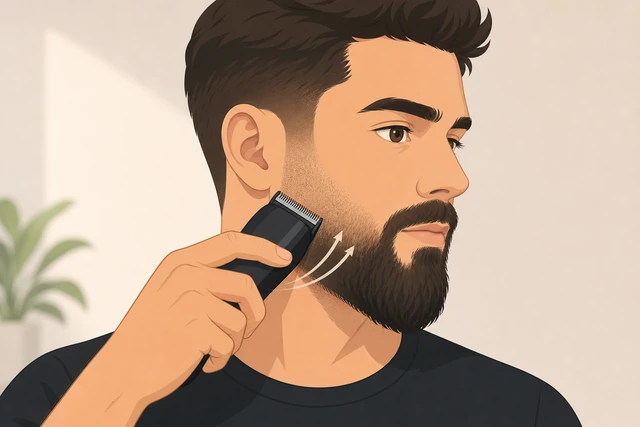
Hard steps show more than soft blends.
- Use a blending motion at the edge.
- Comb and check.
Transition looks soft.
Use scissors for tiny leftover mismatches.
Scissors for tiny fixes · not big chunks.
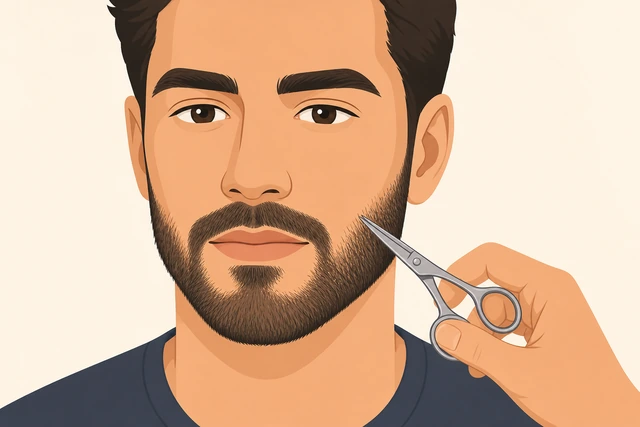
Clippers are blunt tools for micro fixes.
- Comb out.
- Snip outliers only.
Micro mismatches are gone.
If it is badly uneven, grow 3–5 days and restart with a longer guard.
Grow a few days · restart longer.
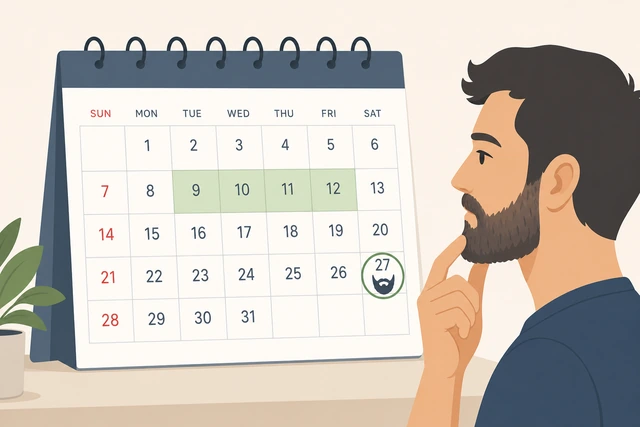
Some mistakes need growth, not more cutting.
- Wait 3–5 days.
- Restart with a longer guard.
You have a grow-out plan.
Neckline too highThe neckline sits too close to the jaw
Stop raising the line further.
Do not cut higher · freeze the line.
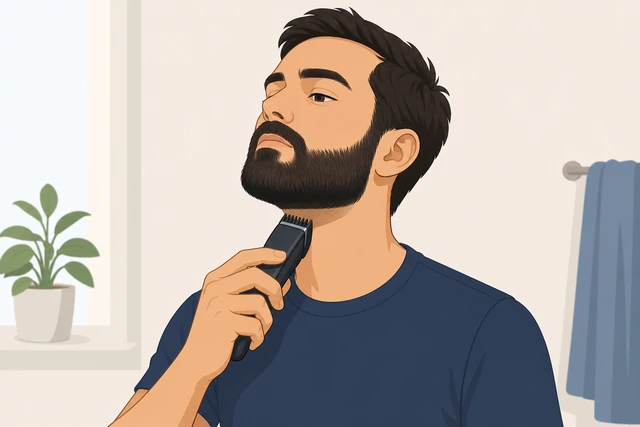
Chasing a high line makes a chin strap.
- Stop clearing upward.
- Photograph the current line for reference.
You stopped raising the neckline.
Let the neck hair grow for several days.
Grow out · resist daily cleanup there.
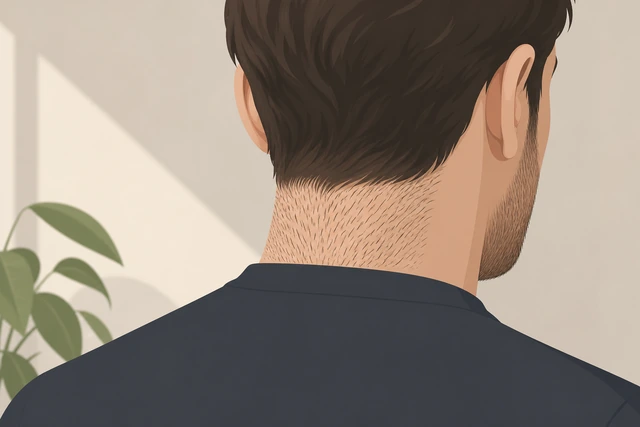
Growth is the only real fix for a high line.
- Avoid shaving that zone daily.
- Wait until you have enough stubble to reshape lower.
There is visible growth to work with.
When reshaping, set the new line lower using the two-finger guide.
New line lower · two-finger guide.
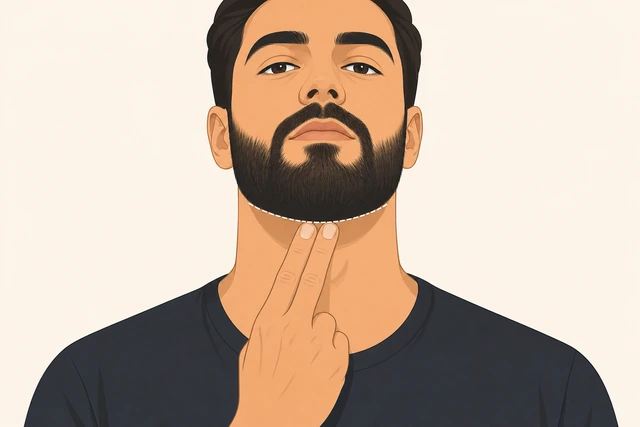
Reset the landmark instead of guessing.
- Use two fingers above Adam’s apple.
- Curve gently.
- Clear only below the new line.
A lower neckline is marked.
Soft-fade the edge instead of a harsh razor line if you are unsure.
Soft fade · less commitment · friendlier mistakes.
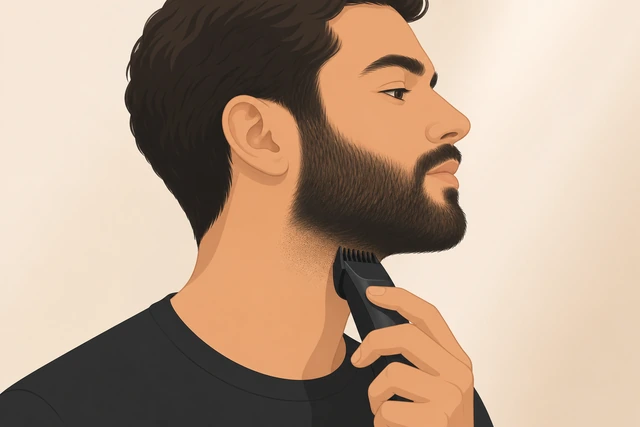
Harsh lines advertise placement errors.
- Use a longer guard near the edge.
- Fade downward.
Edge looks soft.
If you need a formal look tomorrow, a barber cleanup is faster than DIY recovery.
Barber for events · DIY grow-out otherwise.
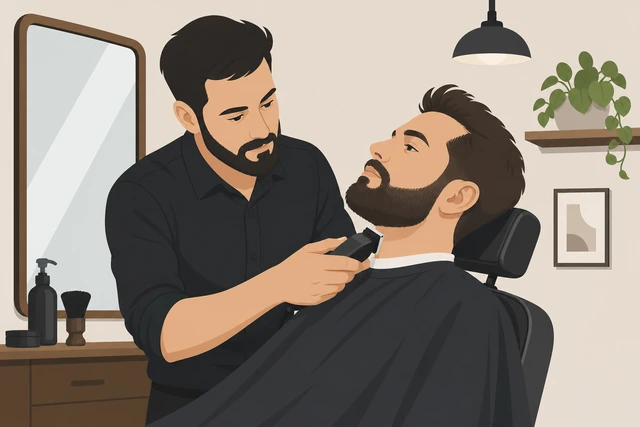
Pros fix symmetry faster before events.
- Book a quick cleanup.
- Ask them to set a lower neckline.
You have a pro option for urgent events.
Clippers pullingBlades tug instead of cutting cleanly
Stop and check charge — low batteries pull more.
Charge/plug in · then retry.
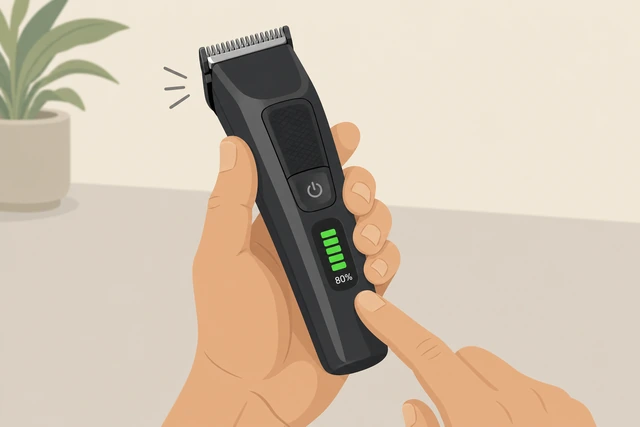
Weak motors chew hair instead of cutting.
- Charge fully or plug in.
- Retry a small test pass.
Power is adequate.
Clean packed hair from the blades and guard.
Brush out hair · reattach guard.
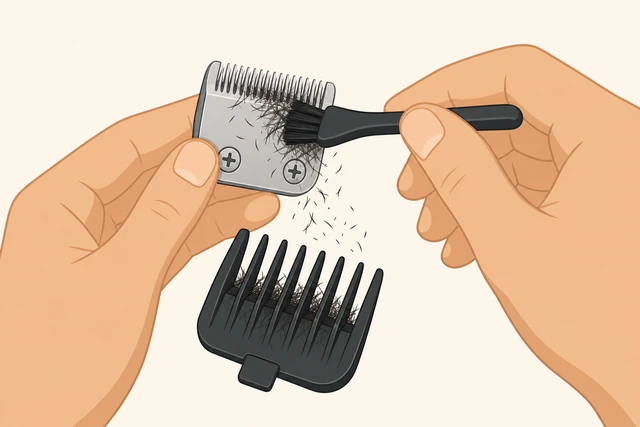
Packed hair lifts the guard and causes snags.
- Remove guard.
- Brush blades.
- Reattach.
Blades are clear of packed hair.
Oil the blades if your clipper manual says to.
Clipper oil · few drops · run briefly.
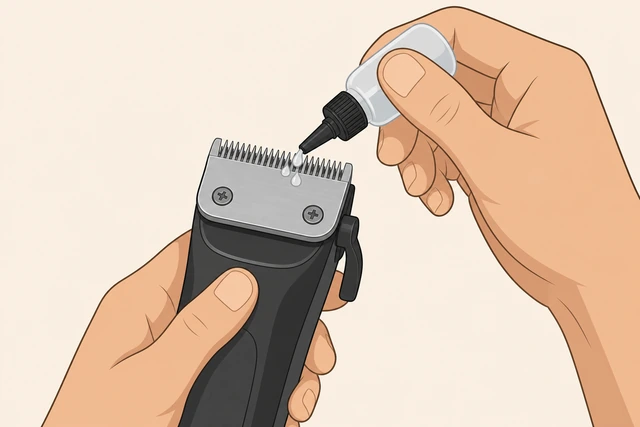
Dry metal friction pulls hair.
- Add oil per manual.
- Run clippers a few seconds.
- Wipe excess.
Blades are oiled if required.
Ensure the beard is fully dry and combed.
Dry + combed · then trim.
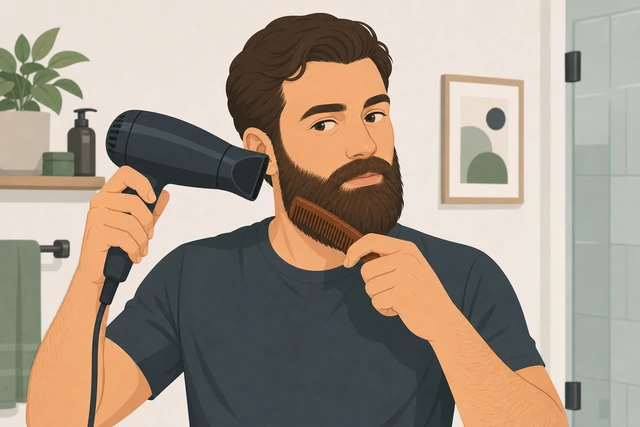
Damp hair clumps and tugs.
- Dry completely.
- Comb again.
- Retry with the grain.
Beard is dry and combed.
Slow your passes; replace dull blades/guards if still pulling.
Slower passes · replace dull blades.
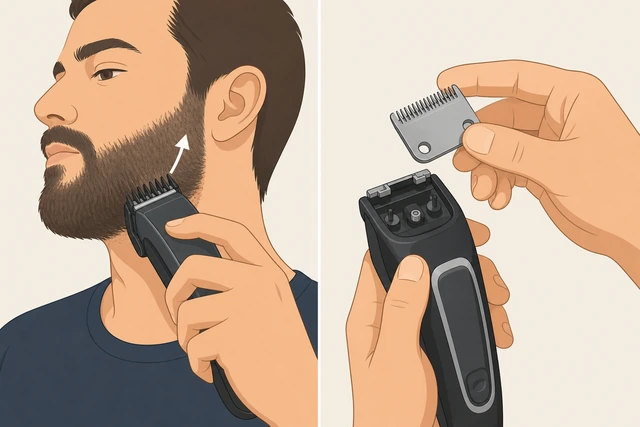
Worn blades will not be fixed by technique alone.
- Move slower.
- If still pulling, replace blades or service the clipper.
Pulling is reduced or blades are marked for replacement.
When to get help
- First formal event beard — a barber can set your lines once as a template.
- Persistent skin infection or severe irritation — see a clinician.
When This Doesn't Work
- Patchy beards. Shorter uniform stubble often looks better than long uneven growth.
- Straight-razor shaping. Different skill — consider a barber for first-time hard lines.
- Skin conditions. Pause DIY if you have open irritation; see a clinician if needed.
Warnings
- Keep clippers and scissors away from eyes and lips.
- Do not share blades without sanitation.
- If you nick skin, stop, clean, and bandage before continuing.
Tips
- Write down your favorite guard number.
- Trim in daylight when you can.
- Less is more — you can always take another pass.
FAQ
Should I trim wet or dry?
Dry for length judgment. Wet hair looks longer and can clog clippers.
How often should I trim?
Many people tidy every 1–2 weeks depending on growth.
Where should the neckline sit?
A common starter guide is about two fingers above the Adam’s apple with a gentle curve — not under the chin corners.
Comments
Questions, corrections, and what worked for you. Comments are reviewed before they appear.