How to Curl Hair with a Curling Iron
Curl dry hair with a clamp curling iron: protect, section, wrap, hold, then cool-set before you separate. Read one step at a time. Start with preflight. Wand? Wand. Curls falling? Will not hold. Burned? Burn scare.
Tips for reading this guide
- One step at a time. Read the green caption, the Why line, then the bullets.
- Move on when the green done line is true — then go to the next step.
- Cool before you separate. Hot curls that you brush fall flat.
- No clamp? Wand (no clamp).
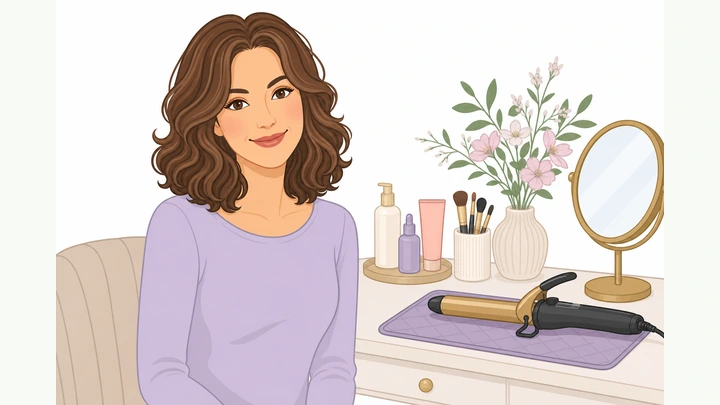
Things You'll Need
- Clamp curling iron (about 1–1.25 inch barrel)
- Heat protectant spray or cream
- Sectioning clips
- Brush or wide-tooth comb
- Heat-safe mat or stand
- Optional: heat-resistant glove, light hairspray, texturizing spray
Where are you stuck?
Start hereClamp curling iron — protect, section, wrap, cool-set.
Preflight — hair must be fully dry; gather heat protectant, clips, clamp curling iron, heat-safe mat, and optional heat glove.
Dry hair · heat protectant · clips · clamp iron · heat mat.
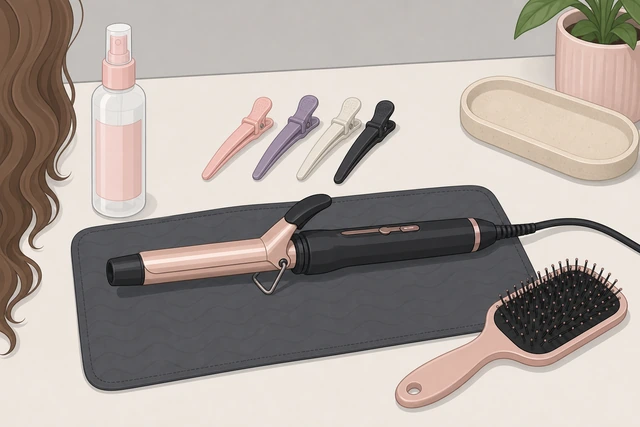
Damp hair fries and will not hold a curl; missing protectant raises burn and breakage risk.
- Confirm hair is completely dry (no damp spots at roots or nape).
- Choose a clamp curling iron (about 1–1.25 inch barrel for most heads).
- Have sectioning clips, heat protectant spray or cream, and a heat-safe mat or stand.
- Optional: heat-resistant glove, light hairspray, wide-tooth comb or brush.
- Using a clipless wand instead? → Wand (no clamp).
You can point to dry hair, protectant, clips, and a clamp iron on a heat-safe surface.
Brush or comb until tangle-free, then mist heat protectant on mid-lengths to ends.
Detangle · spray protectant mid-to-ends · comb through.
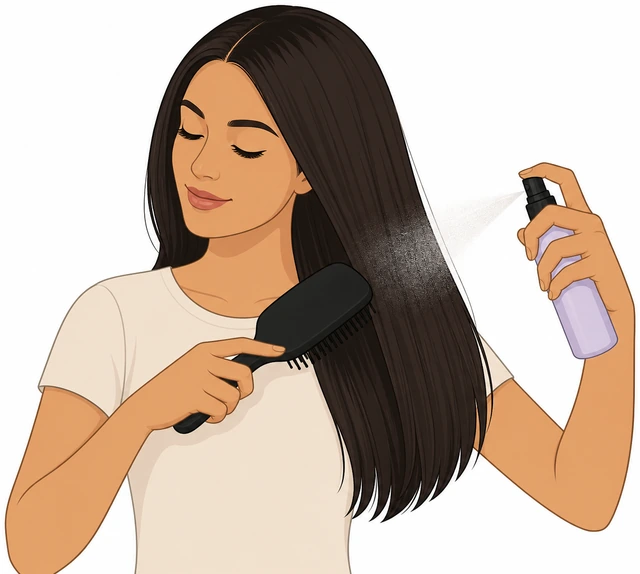
Tangles catch in the clamp; bare hair scorches faster without a protectant film.
- Brush or comb from ends upward until the brush glides.
- Spray or rub heat protectant on mid-lengths and ends (keep heavy product off the scalp).
- Comb once more so the product coats evenly.
- Do not wet the hair — protectant should feel slightly product-y, not damp.
Hair is smooth and lightly coated; no wet patches remain.
Plug in the iron and set temperature for your hair type; wait for the ready light.
Set temp by hair type · wait until ready light.
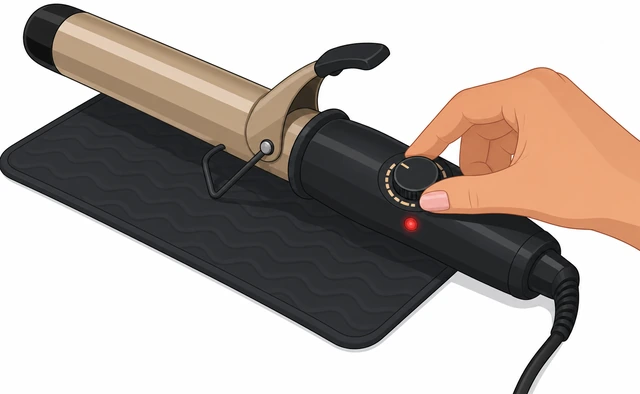
Too hot fries fine hair; too cool on coarse hair wastes passes and still won’t hold.
- Fine / damaged: about 300–350°F (150–175°C).
- Medium: about 350–380°F (175–195°C).
- Coarse / resistant: about 380–410°F (195–210°C).
- Place the iron on a heat mat; wait for the ready indicator before the first wrap.
The iron shows ready and sits safely on the mat — you have not started wrapping yet.
Clip the top half of the hair up; leave a clear bottom layer to curl first.
Clip top up · work bottom layer first.
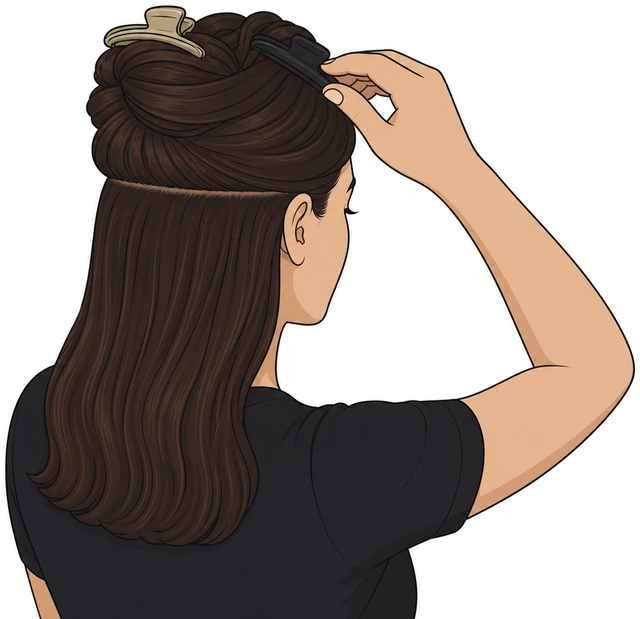
Curling the top first hides unfinished under-layers and makes section size inconsistent.
- Part hair ear-to-ear across the crown.
- Clip the top section up and out of the way.
- Leave a 1–2 inch deep bottom layer loose.
- Stand where you can see both sides in a mirror.
Only the bottom working layer is loose; the rest is clipped clear.
Take a 1–1.5 inch subsection and open the clamp, ready to load mid-shaft hair.
1–1.5 inch section · clamp open · ready at mid-shaft.
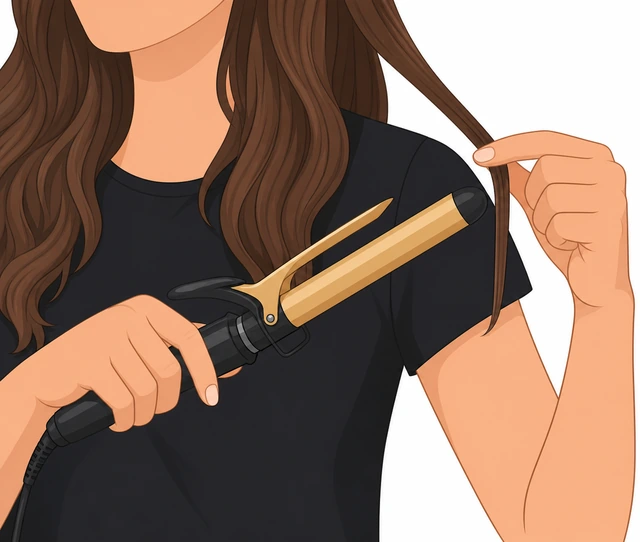
Sections thicker than the barrel leave the inner hair unheated and curls fall flat.
- Comb a vertical subsection about as wide as your barrel.
- Hold the ends with your free hand.
- Open the clamp with your thumb.
- Aim to clamp near mid-shaft first (not smashed against the scalp).
- Wand users: skip clamp loading — see Wand.
You hold one tidy subsection and an open clamp, clear of the scalp.
Clamp the mid-shaft, then wrap the remaining length around the barrel away from your face.
Clamp mid-shaft · wrap remaining length around barrel.
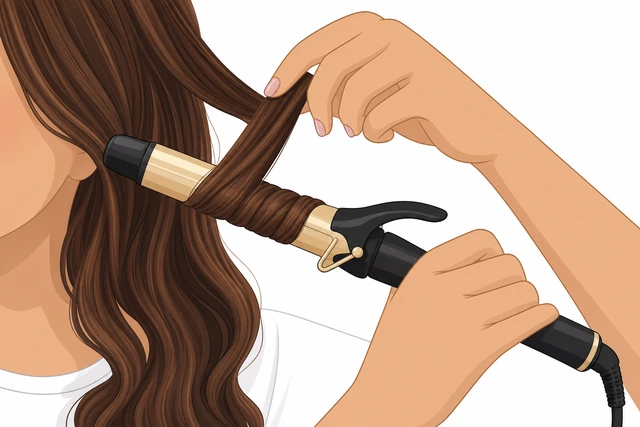
Clamping wet tips or scalp skin causes dents and burns; wrapping sets the curl shape.
- Close the clamp on the mid-shaft so hair is secure but not yanking the root.
- Rotate the iron away from your face on that side (mirror image on the other side).
- Guide the loose length so it wraps snug in one layer — avoid thick overlapping piles.
- Keep the hot barrel off your ear and neck; use a glove if the iron is near skin.
- Any burn sting? → Burn scare.
Hair is wrapped snug on the barrel with the clamp closed and skin clear of metal.
Hold 8–12 seconds (fine hair shorter; coarse longer), counting out loud.
Hold 8–12 seconds · do not yank or reopen early.
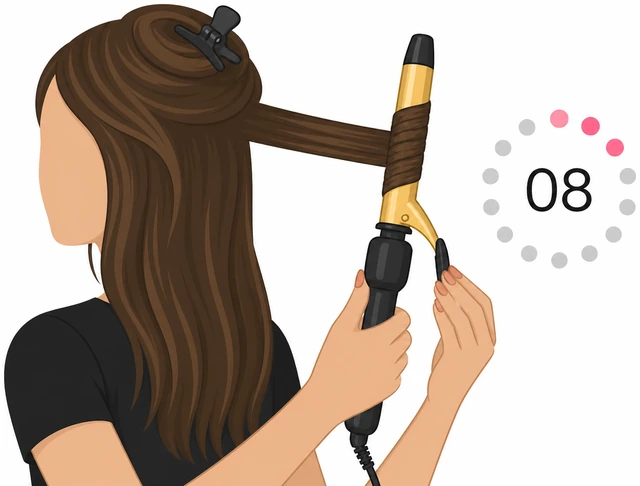
Under-timing leaves limp waves; over-timing on fine hair leaves a fried crease.
- Count slowly: fine 8s, medium 10s, coarse up to 12s.
- Keep the iron still — do not pump the clamp.
- If you smell strong scorch, release immediately and lower heat next section.
- Glance that the barrel is still clear of your ear.
You finished the count with hair still wrapped and no scorch smell.
Open the clamp, catch the curl in your palm, and let it cool 30–60 seconds without stretching.
Open clamp · catch curl · cool 30–60s without stretching.
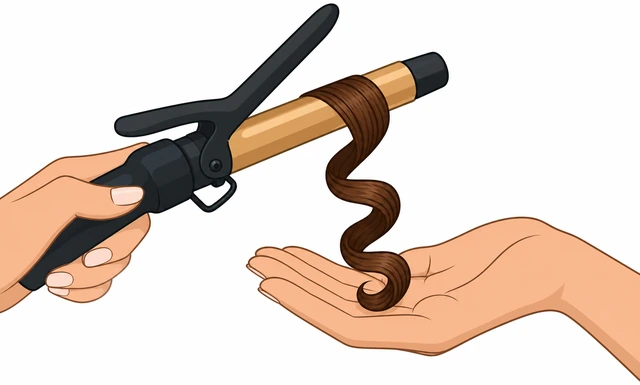
Hot curls that you brush or pull immediately fall flat — cool-set locks the shape.
- Open the clamp fully.
- Slide the iron out while cupping the coil in your palm or pin it loosely to your head.
- Do not comb, tug, or flip the curl yet.
- Wait at least 30 seconds (60 is better) before touching that piece again.
That curl sits in a coil shape and feels closer to room temperature.
Repeat across the bottom layer, then release the top and finish the head, varying wrap direction slightly.
Finish bottom · release top · curl remaining · slight direction mix.
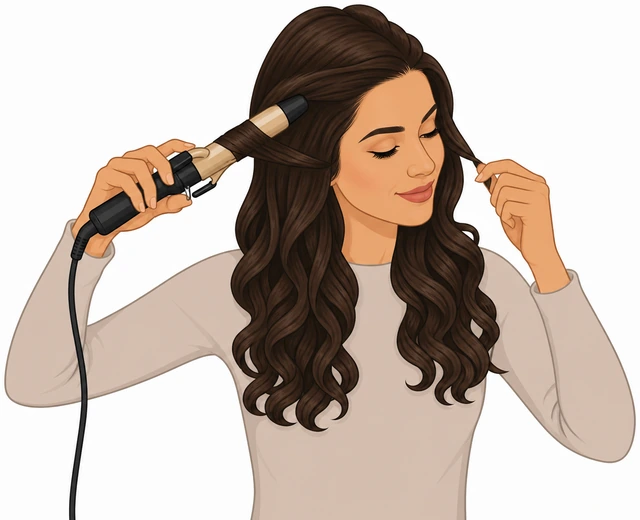
One wrap direction everywhere can look like a uniform spiral perm; mixing looks more natural.
- Work across the bottom layer with the same section size.
- Unclip the next layer; repeat Steps 4–7.
- On a few sections, wrap slightly toward the face for softer movement.
- Keep ends clear of the hottest clamp edge if you hate dents — slide ends in last if needed.
- Curls already dropping while you work? → Curls will not hold.
Every section you planned is curled and cooling; no large uncurled slabs left.
When the whole head is cool, separate curls with fingers (or a wide-tooth comb) and mist light hairspray if you want hold.
Fully cool · finger-separate · optional light spray.
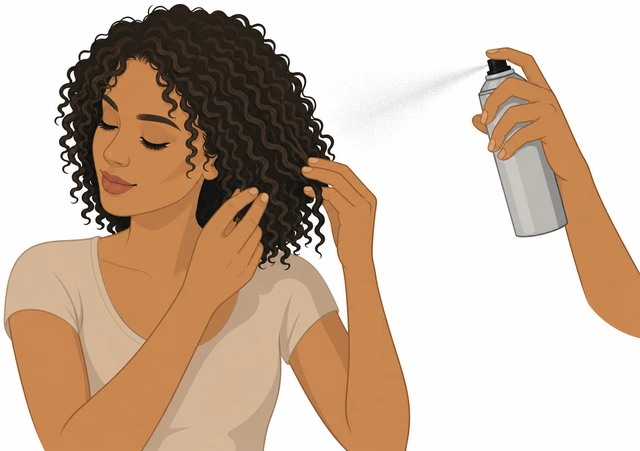
Separating too early collapses the set; heavy spray makes a crunchy helmet.
- Touch a curl — if it still feels hot, wait.
- Gently rake fingers through to loosen into softer waves, or leave tighter.
- Mist hairspray from 8–10 inches away if you need all-day hold.
- Avoid brushing with a paddle brush unless you want a soft blowout wave.
Curls look even, touchable, and match the softness you want.
Unplug the iron, set it on the heat mat until cold, then wipe stray hairs off the barrel.
Unplug · cool on mat · wipe barrel when cold.
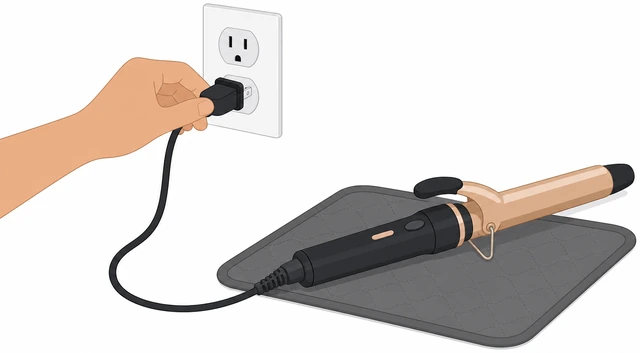
A hot iron on fabric or in a drawer is a fire and melt hazard.
- Unplug the cord.
- Leave the iron on the heat-safe mat until the barrel is cool to a careful hover-test.
- Once cool, wipe loose hairs and product film with a dry cloth.
- Store only when fully cool.
Iron is unplugged, cooling or stored cool, and the station is clear.
Quick check in the mirror: both sides even, no shiny burn patches on hair, scalp comfortable.
Mirror check · both sides even · scalp OK.
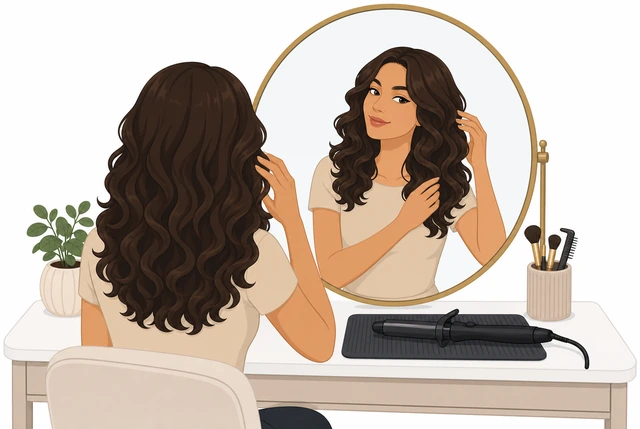
A 20-second check catches one flat side or a missed nape section before you leave.
- Compare left and right in the mirror.
- Curl any missed nape or face-frame pieces.
- If scalp or ear is red and painful, stop heat for the day — see burn branch.
- Optional: tuck a soft scrunchie for a loose overnight set.
You would leave the house with this curl set as-is.
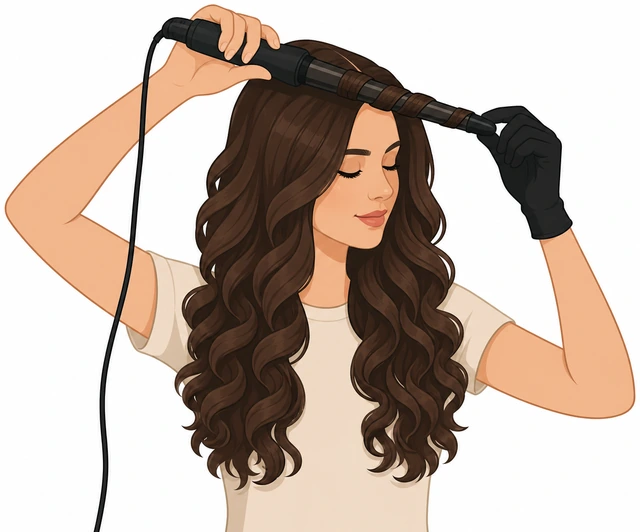
Wand (no clamp)You have a clipless wand — wrap with a heat glove instead of clamping.
Put on the heat glove that came with the wand (or a heat-resistant glove).
Heat glove on dominant wrapping hand.
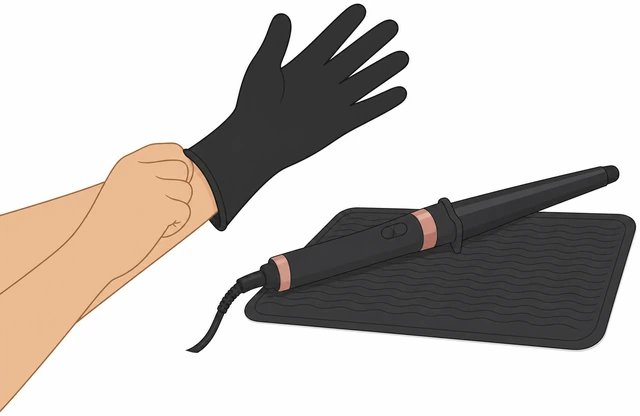
Bare fingers on a wand barrel cause instant burns.
- Glove on the hand that will touch hair near the barrel.
- Iron still on heat mat until ready.
Glove is on before the first wrap.
Hold the wand tip downward; wrap the section around the barrel away from your face, ends last.
Wrap away from face · ends last · no clamp.
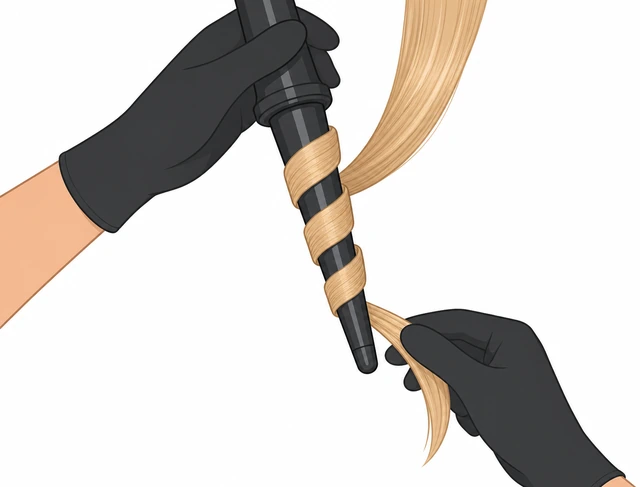
Ends first on a wand often slip off; ends-last keeps tension.
- Take the same 1–1.5 inch section.
- Start near mid-shaft and wrap toward the tip.
- Leave a tiny tip out if you want softer ends.
Hair is wrapped with ends secured by your gloved hand.
Hold 8–12 seconds, then slide the wand out and cool-set in your palm like the main path.
Hold · slide out · cool-set without stretching.
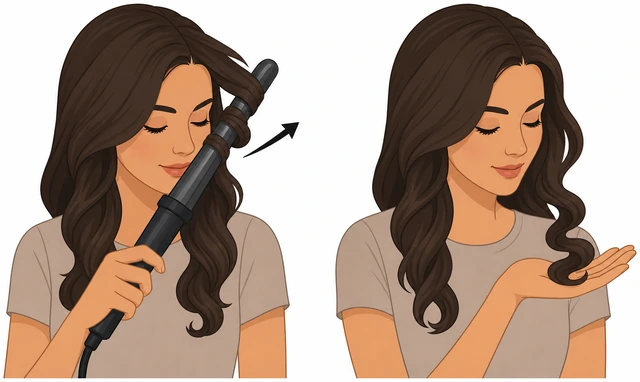
Same cool-set rule as clamp irons — heat shapes, cool locks.
- Count 8–12s.
- Slide wand down and out.
- Cup curl 30–60s.
Curl is cooling in a coil without being brushed yet.
Finish the head with the same sectioning order as the main path.
Bottom layer first · then top · same cool rules.
Order still prevents missed under-layers.
- Clip top up.
- Work bottom to top.
- Return to main path Step 9 when done.
Whole head is curled via wand and cooling.
If you keep burning fingertips or dropping sections, switch to a clamp iron.
Still burning / slipping · switch to clamp iron.
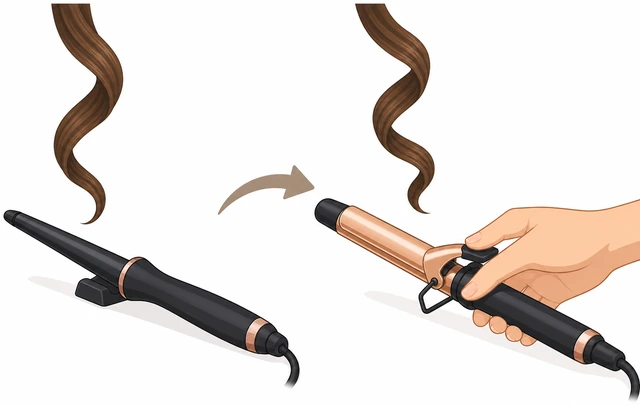
Clamp irons are easier for beginners than wands.
- Stop if skin is blistering.
- Borrow or buy a basic clamp iron.
- Restart at main preflight.
You either finished safely with the wand or switched tools.
Curls will not holdCurls drop within about 30–60 minutes — fix dryness, section size, heat, and cool-set.
Confirm hair is bone-dry and free of heavy oils at the mid-lengths.
Bone-dry · wipe excess oil mid-lengths.
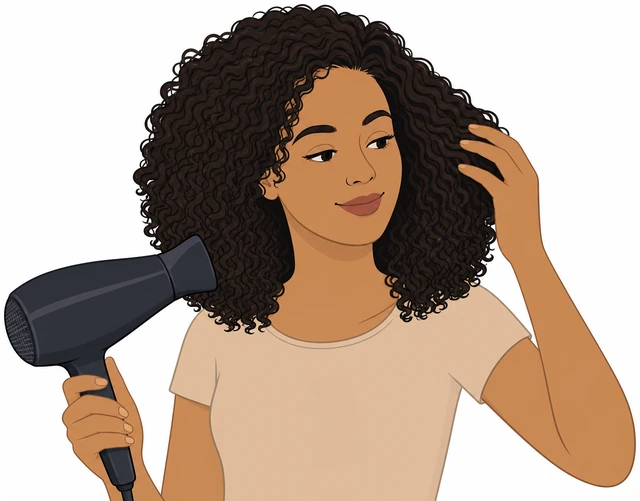
Water and heavy oils block the keratin set.
- Blow-dry any damp spots.
- Blot greasy mid-lengths with a dry towel or blotting sheet.
Hair feels dry and not slippery-oily where you curl.
Cut section size in half and add 2 seconds of hold time.
Thinner sections · +2 seconds hold.
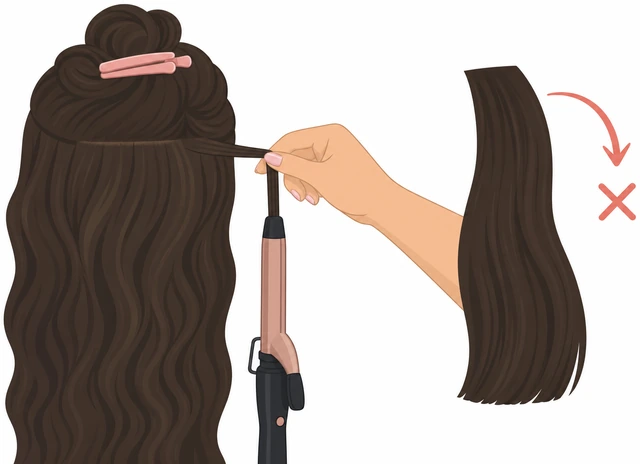
Thick sections only curl the outer ribbon.
- Half-width sections.
- Same temp or one notch higher if hair is coarse.
- Hold +2s.
A test curl holds a visible spring after cool-down.
Pin each curl to cool fully (alligator clip or bobby pin) before releasing.
Pin curls · cool fully · then release.
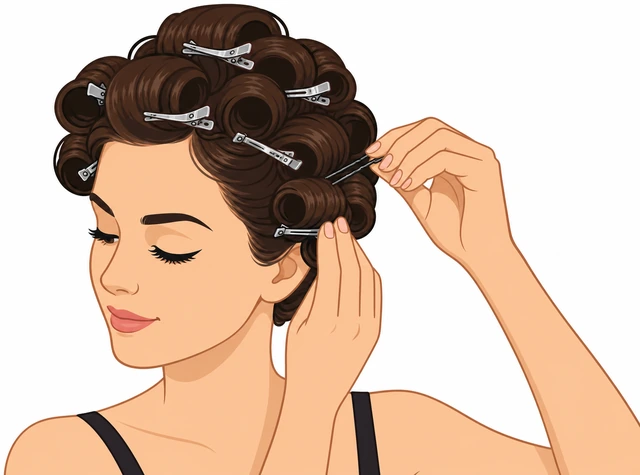
Gravity pulls hot curls straight if they hang immediately.
- Clip coil to head.
- Wait until cool.
- Release and mist lightly.
Pinned curls stay springy after release.
Add a light texturizing or flexible-hold spray before the next pass if hair is silky/resistant.
Light texture spray · then re-curl test section.
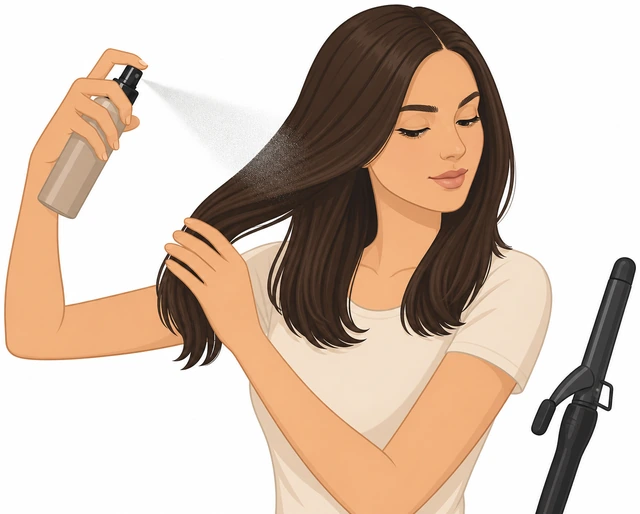
Bone-straight silky hair needs grit to grip the barrel.
- Mist mid-lengths lightly.
- Do not soak.
- Re-test one section.
Test section holds at least an hour of gentle movement.
Escalate: chemically damaged or freshly keratin-treated hair may need a salon set or rollers.
Still limp after fixes · rollers or stylist — stop stacking heat.
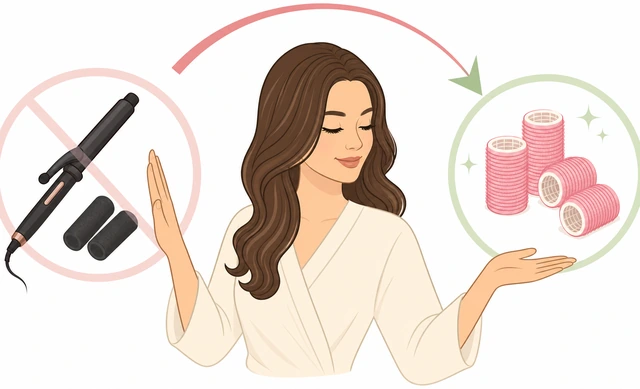
More heat on damaged hair causes breakage, not better hold.
- Stop repeating high heat on the same strand.
- Try overnight foam rollers.
- Ask a stylist about bonding treatments.
You stopped heat stacking and picked a gentler hold method.
Burn scareYou felt a burn, smell singed hair, or see a red mark — stop styling heat and treat skin.
Unplug the iron immediately and set it on the heat mat.
Unplug · iron on mat · stop curling.
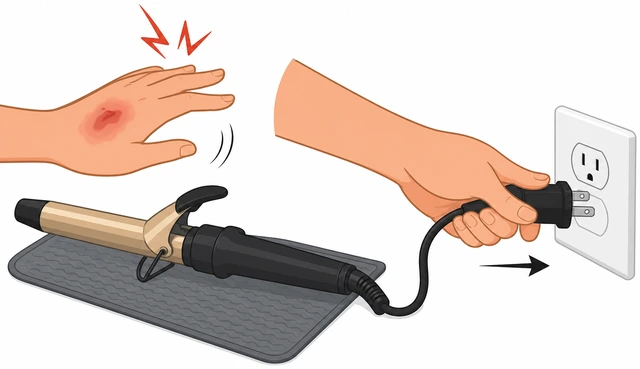
Continuing heat worsens burns and fire risk if you are startled.
- Unplug.
- Park on mat.
- Do not ice the iron — treat skin, not the tool.
Iron is safely powered off.
Cool the skin with clean room-temperature or cool running water for several minutes.
Cool water several minutes · no butter or toothpaste.
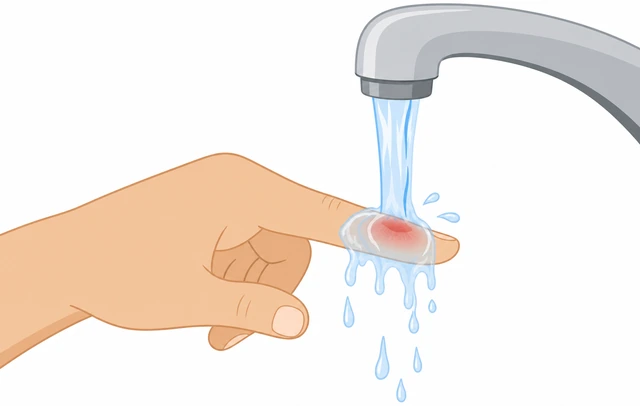
Cool water limits injury depth; home remedies trap heat.
- Run cool water on the spot 3–5+ minutes.
- Do not apply butter, oil, or toothpaste.
- Remove rings if a finger is swelling.
Skin feels cooler; water cooling is done.
Pat dry and apply a thin aloe or bland moisturizer if the skin is intact (no open blister).
Pat dry · thin aloe if skin intact.
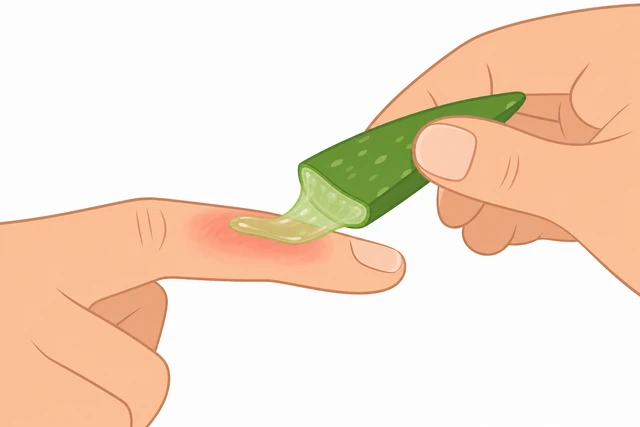
Broken blisters need clean covering, not heavy grease.
- Pat dry.
- Aloe or plain moisturizer on unbroken skin.
- Loose bandage if clothing rubs.
Spot is clean, covered if needed, and not packed with ointment gunk.
Leave hair alone for the rest of the day — no more passes on that area.
No more heat today on that area.
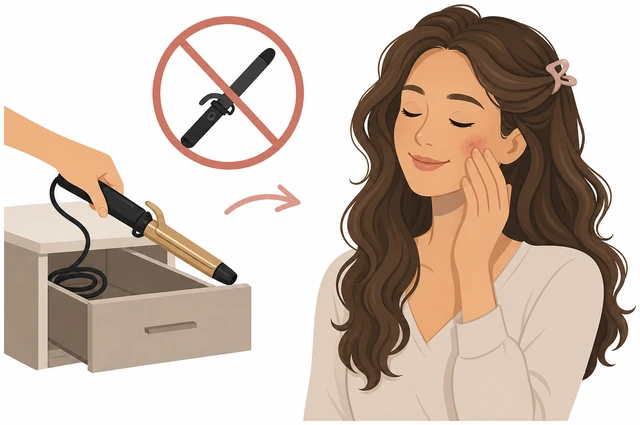
Reheating damaged cuticle worsens breakage and pain.
- Put tools away.
- Wear hair down or in a soft clip.
- Skip hairspray on burned scalp.
Styling heat is done for the day.
Escalate for blisters larger than a dime, burns on the face, or signs of infection later.
Large blister / face burn / infection signs · get medical care.
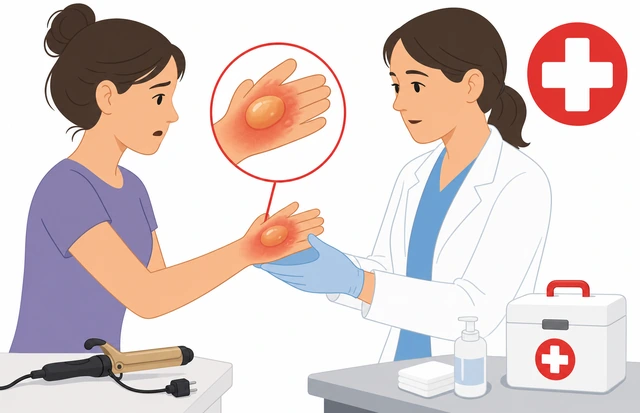
Home care is for small first-degree marks only.
- Seek care for large/facial burns.
- Watch for increasing redness, pus, or fever.
- Ask a pharmacist about burn dressings if unsure.
You know whether home care is enough or you need a clinician.
When This Doesn't Work
- Curls look dented at the clamp line — You likely clamped wet hair, held too long, or stretched the curl while hot. Lower heat one notch, clamp mid-shaft, and cool-set in your palm before separating.
- One side looks curlier than the other — Match section size and hold time on both sides. Finish with a mirror check and re-curl only the flatter face-frame pieces.
- Hair smells scorched — Stop immediately, lower temperature, and skip overlapping passes on the same strand. Use protectant and smaller sections.
Warnings
- Never curl soaking-wet hair — dry fully first.
- Keep the hot barrel off your scalp, ears, and neck.
- Unplug and cool the iron on a heat-safe surface before storing.
- If you blister or burn your face, seek medical care.
Tips
- Sleep on it loosely — A loose pineapple bun with a soft scrunchie can stretch curl life overnight without a full re-style.
FAQ
Should I curl dirty or clean hair?
Second-day hair often holds better than squeaky-clean hair. If hair is oily at the roots, dry-shampoo roots only and keep lengths product-light before you curl.
Clamp iron or wand for beginners?
A clamp iron is usually easier because the clamp holds the section. Use a wand only with a heat glove and more practice.
Comments
Questions, corrections, and what worked for you. Comments are reviewed before they appear.