How to Stain Wood
Stain unfinished wood evenly: sand, clean, test on scrap, condition blotch-prone woods, apply with the grain, wipe excess, dry, then protect with a clear coat. Read one step at a time. Start with preflight. Blotchy pine? Blotchy pine. Lap marks? Lap marks. Too dark? Too dark.
Tips for reading this guide
- One step at a time. Read the green caption, the Why line, then the bullets.
- Move on when the green done line is true — then go to the next step.
- Always test on scrap first.
- Oily rags are a fire risk — never leave them in a pile.
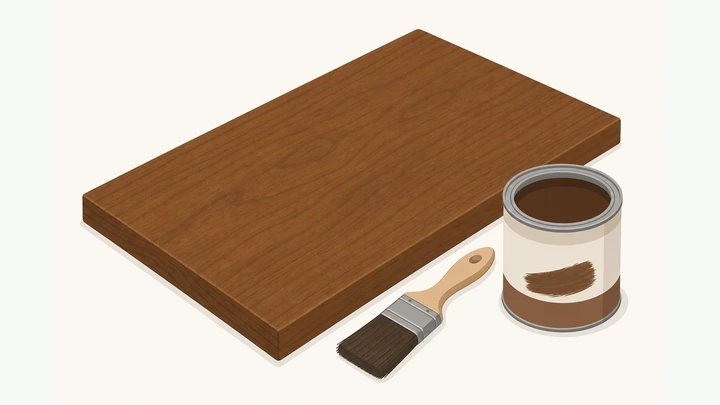
Things You'll Need
- Unfinished wood project
- Wood stain
- Sandpaper
- Tack cloth
- Lint-free rags
- Gloves
- Brush or foam brush
- Optional wood conditioner
- Clear topcoat
- Metal can/water for oily rag safety
Where are you stuck?
Follow Start here to stain wood. Jump for blotchy pine, lap marks, or color that is too dark.
Start hereSand → test → apply → wipe → dry → topcoat → safe cleanup
Preflight — unfinished wood, stain, gloves, rags, brush, sandpaper, scrap test piece, ventilation.
Unfinished wood · stain · rags · gloves · scrap · ventilate.
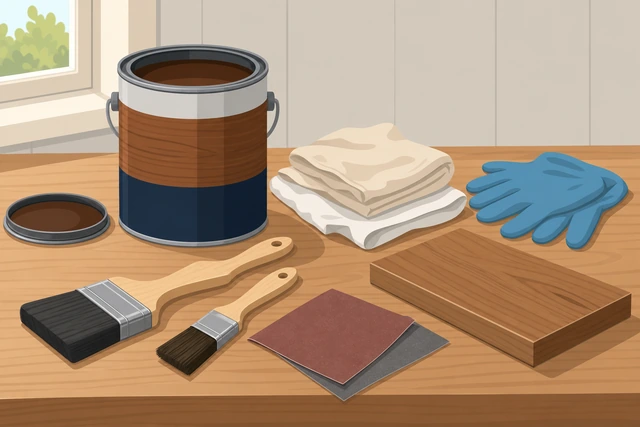
Stain on sealed/finished wood sits on top and looks blotchy or peels.
- Confirm the wood is unfinished (or fully stripped).
- Stage stain, gloves, lint-free rags, brush/foam, sandpaper.
- Open windows or work outdoors.
- Keep a scrap of the same wood for testing.
Supplies are ready and the piece is unfinished wood.
Sand with the grain through progressive grits; remove mill glaze.
Sand with grain · progressive grits · smooth to touch.
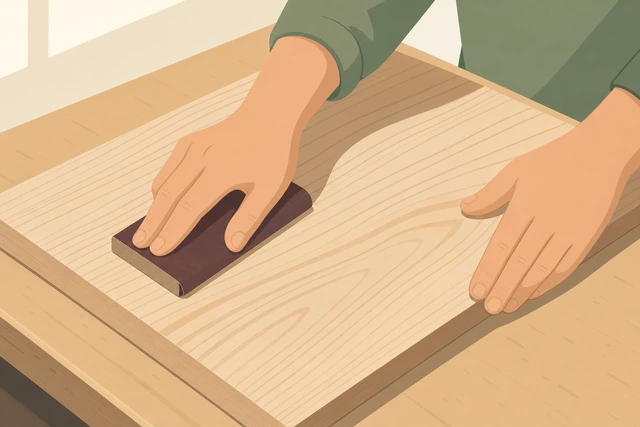
Unsanded mill glaze blocks even stain absorption.
- Start with a medium grit if rough, then finer (often 120→150/180).
- Sand with the grain.
- Ease sharp edges slightly.
- Do not polish so fine that hardwood will not take stain (stop before ultra-fine polish unless your stain says otherwise).
The surface feels evenly smooth with no shiny mill glaze patches.
Vacuum and wipe all dust with a tack cloth or slightly damp cloth; let dry.
Dust free · tack cloth · dry before stain.
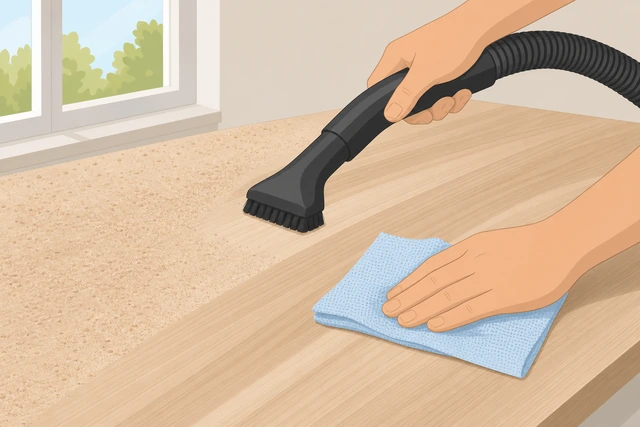
Dust under stain creates muddy freckles.
- Vacuum the piece and work area.
- Wipe with tack cloth or barely damp cloth.
- Let any moisture dry fully.
No visible dust remains on the wood.
Stir the stain; test on a scrap of the same wood.
Stir well · test scrap · judge dry color.
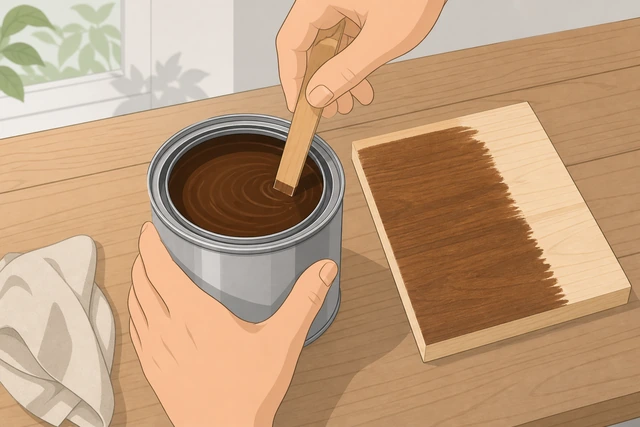
Can color and final wood color often differ — scrap tests prevent surprises.
- Stir (do not just shake) to remix pigments.
- Apply a small test on scrap.
- Wipe and let it dry enough to judge color.
- Adjust product or technique before the real piece.
You like the scrap result enough to continue.
Optional: apply wood conditioner on pine or blotch-prone woods; wipe and wait per label.
Conditioner on pine/softwoods · wait label time.
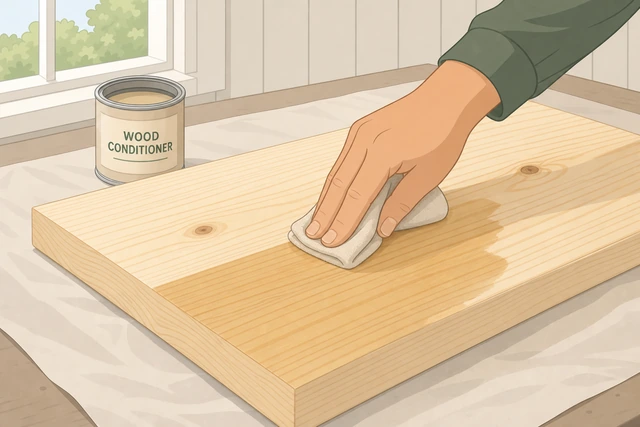
Conditioner slows uneven absorption that causes pine blotches.
- If the wood is pine, softwood, or known blotchy, apply conditioner.
- Wipe excess.
- Wait the time on the label before staining.
- Already blotchy later? → Blotchy pine.
Conditioner is done if needed, or you documented skipping it on stable hardwood.
Apply stain with the grain using a brush, foam brush, or rag.
Apply with grain · keep a wet edge · work manageable sections.
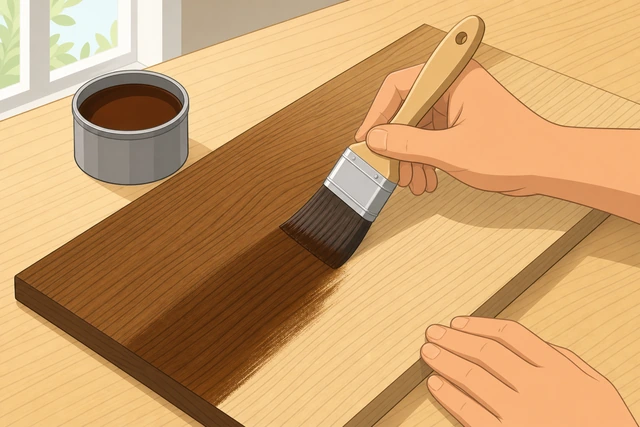
Working too large an area lets edges dry into lap marks.
- Wear gloves.
- Apply a generous even coat with the grain.
- Keep a wet edge as you move.
- Lap marks? → Lap marks.
The section is fully wet with stain.
Wipe off excess stain with a clean rag within the product’s open time.
Wipe excess · with grain · before it gets tacky.
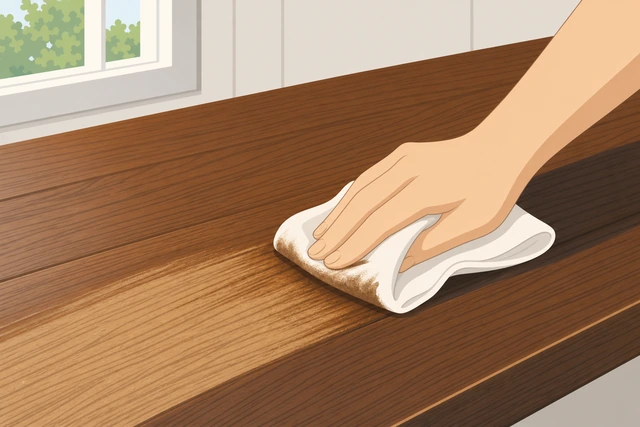
Leaving heavy excess makes sticky, muddy finishes.
- Wipe with a clean lint-free rag.
- Wipe with the grain.
- Flip to clean rag faces as they load up.
- Too dark already? → Too dark.
Excess is wiped; color looks even while still damp.
Inspect for blotches or missed spots and touch carefully while workable.
Inspect · light touch-ups · do not overwork drying stain.
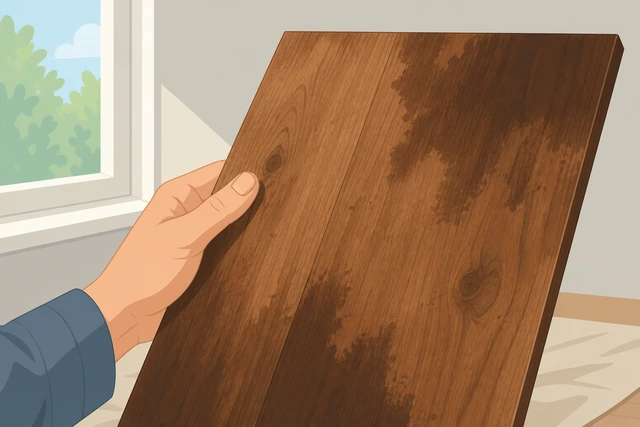
Heavy reworking of drying stain creates mud.
- Look across the surface in good light.
- Spot-apply and wipe lightly only where needed.
- Stop once even.
No obvious missed dry spots remain.
Let the stain dry fully per the can — often overnight.
Dry per label · ventilate · do not rush topcoat.
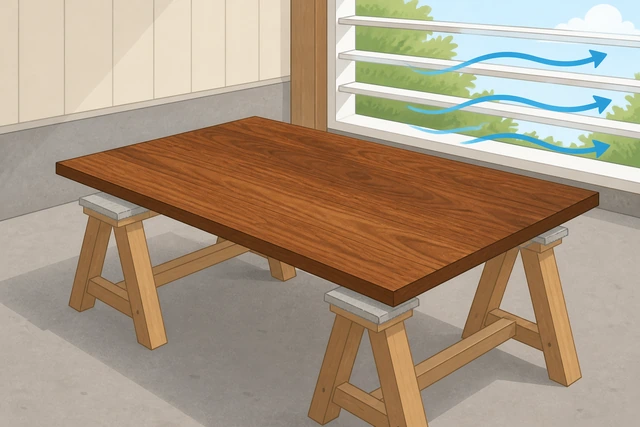
Topcoating sticky stain traps solvents and fails.
- Read dry time on the can.
- Keep dust off while drying.
- Wait longer in cool/humid rooms.
The surface is dry to the touch per the label guidance.
Optional second coat for deeper color — apply, wipe, dry again.
Second coat optional · wipe excess · dry again.
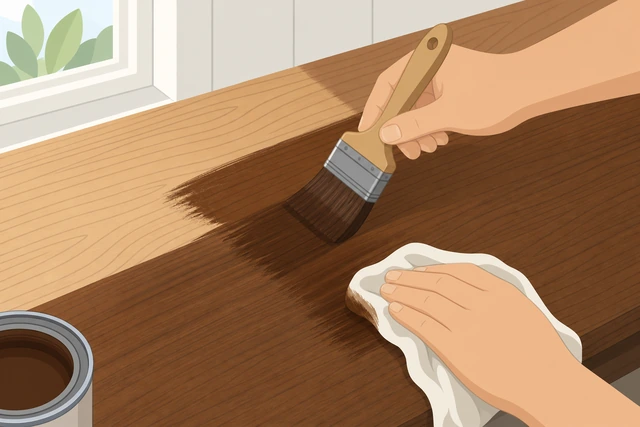
A second coat deepens color more safely than leaving puddles on the first.
- If you want darker, apply a second thin coat.
- Wipe excess again.
- Dry fully.
Color depth is where you want it after one or two coats.
If topcoating, lightly scuff-sand when fully dry and remove dust.
Light scuff · dust off · ready for clear coat.
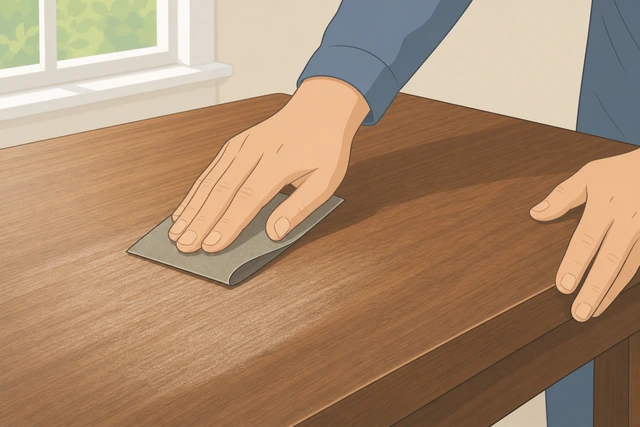
A light scuff helps clear finishes bond without cutting through color.
- Use a fine grit very lightly.
- Do not sand through the color.
- Remove all dust.
Surface is scuffed and clean for topcoat (or you are leaving stain as final if the product allows).
Apply a clear topcoat (polyurethane/wipe-on poly) when ready, following that product’s steps.
Clear topcoat · thin coats · dry between coats.
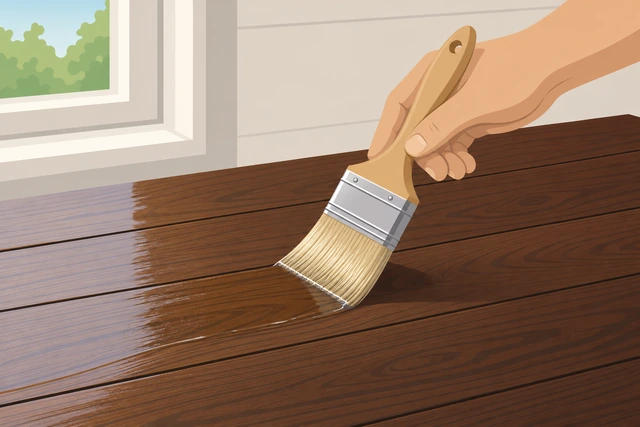
Most stained furniture needs protection from wear and moisture.
- Choose an appropriate clear finish.
- Apply thin coats with the grain.
- Sand lightly between coats if the product says to.
- Follow that can’s dry times.
At least the first protective clear coat is on (or you consciously chose stain-only for a non-wear piece).
Cleanup — seal leftover stain; handle oily rags safely (water soak / flat dry outdoors — fire risk).
Seal can · oily rags water-soaked or flat outdoors · never pile.
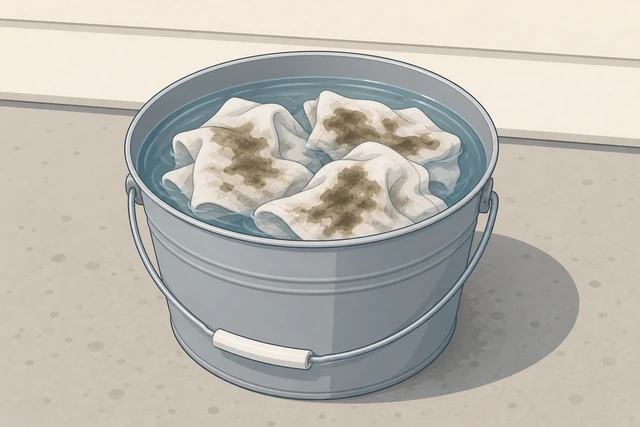
Oil-based stain rags can spontaneously combust in a pile.
- Cap the stain can tightly.
- Place oily rags in water in a metal can or lay flat outdoors to dry fully before disposal per local rules.
- Wash tools per product type (water vs mineral spirits).
Leftovers are sealed and rags are handled safely.
Blotchy pineSoftwood looks spotty after staining
Stop adding more stain coats hoping blotches will even out.
Stop layering · blotches rarely self-heal.
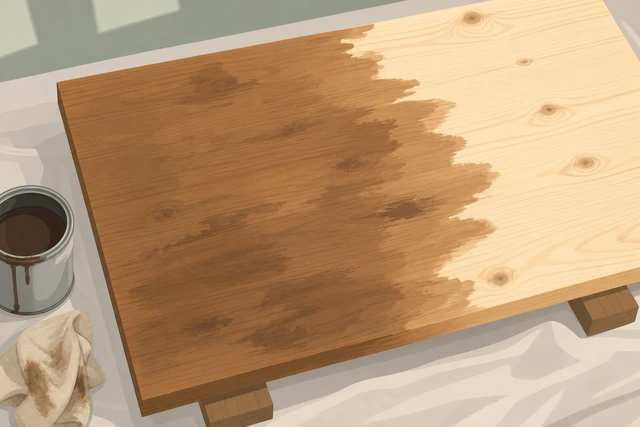
More pigment often makes contrast worse.
- Stop.
- Photograph the blotch pattern.
You stopped adding coats.
If still workable/wet, wipe hard to remove excess pigment from dark spots.
Wipe dark spots harder while wet.
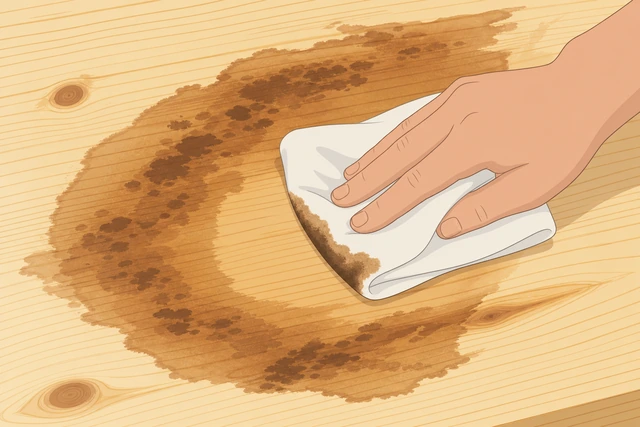
Wet stain can still be redistributed.
- Wipe dark areas firmly.
- Use clean rag faces.
Wet blotches look milder or stain has set.
For next attempt: sand back if cured, then use conditioner or a gel stain.
Sand back · conditioner or gel stain.
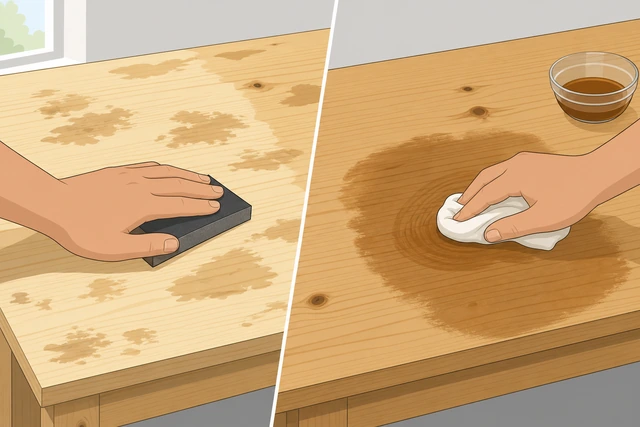
Gel stains sit more on the surface and blotch less on pine.
- Sand to reset if dry.
- Apply conditioner or switch to gel stain.
- Test on scrap again.
You have a blotch-control plan for the redo.
Apply thinner coats and wipe sooner on softwoods.
Thin coat · wipe sooner · smaller sections.
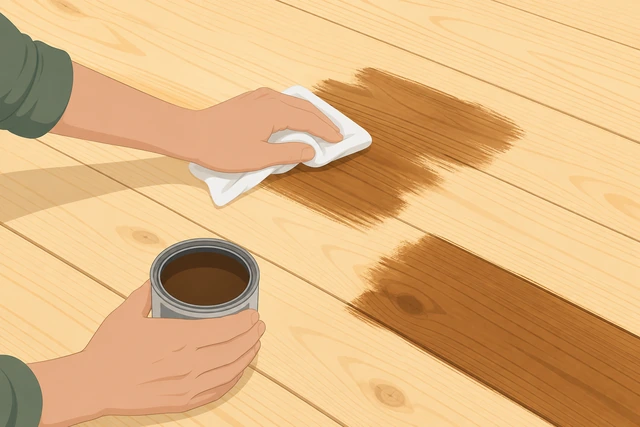
Long dwell times exaggerate pine blotching.
- Work smaller areas.
- Wipe sooner than on hardwood.
Technique is adjusted for softwood.
Consider a washcoat or pre-color dye system if you stain pine often.
Advanced systems for frequent pine work.
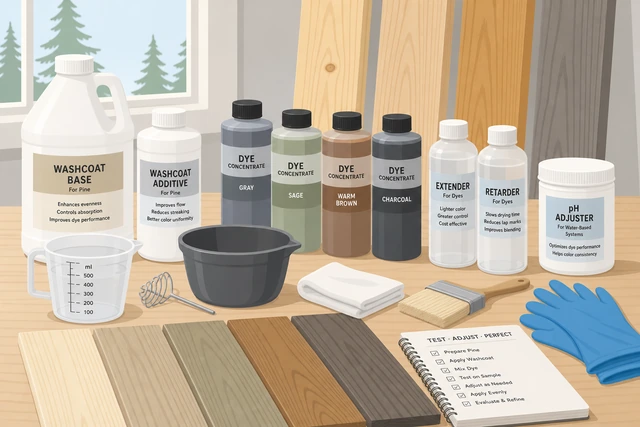
Some pine projects need more than basic wipe stain.
- Research washcoat/dye methods.
- Or choose hardwood for even color projects.
You have a longer-term pine strategy.
Lap marksDark stripes where sections overlapped dry
Identify dry-edge stripes vs true grain figure.
Find dry-edge stripes · different from grain.
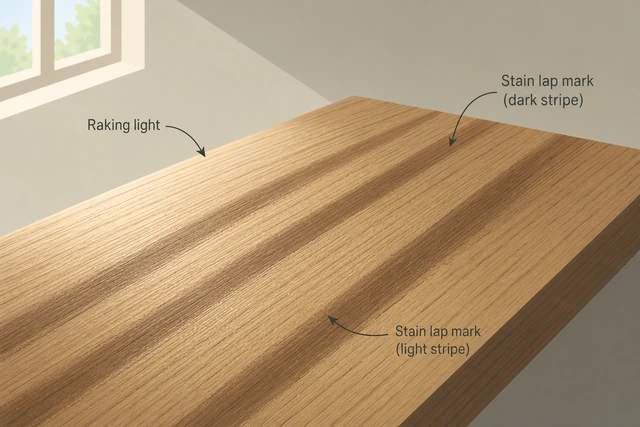
You fix technique only after you see the pattern.
- View in raking light.
- Note where you paused.
Lap marks are identified.
If still wet, feather wipe the stripe immediately.
Feather wipe while wet.
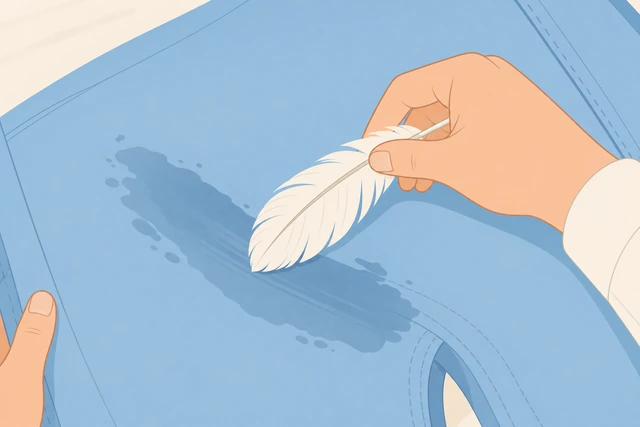
Wet edges can still blend.
- Wipe across the stripe.
- Blend into surrounding area.
Wet stripe is softened.
On the next section, work smaller and keep a wet edge.
Smaller sections · wet edge · continuous wipe.
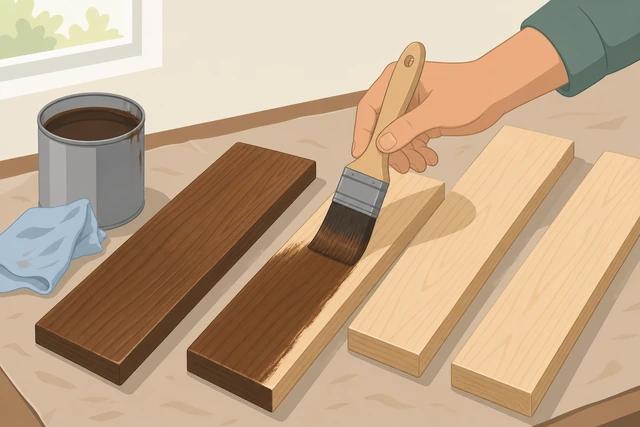
Large boards invite dry edges.
- Divide the board into zones.
- Apply and wipe without long pauses.
Next section uses wet-edge discipline.
If cured, lightly sand the marks and restain the whole face evenly.
Sand cured marks · restain whole face.
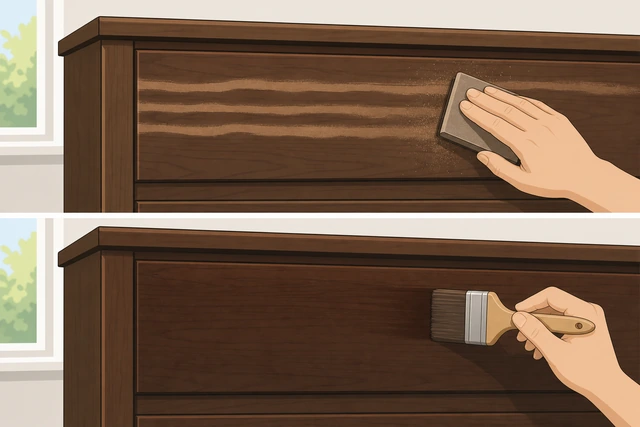
Spot dabbing cured lap marks often looks worse.
- Sand carefully.
- Restain the full surface.
- Wipe evenly.
The face is being corrected as a whole.
For future projects, practice timing on scrap the same size.
Practice timing on same-size scrap.
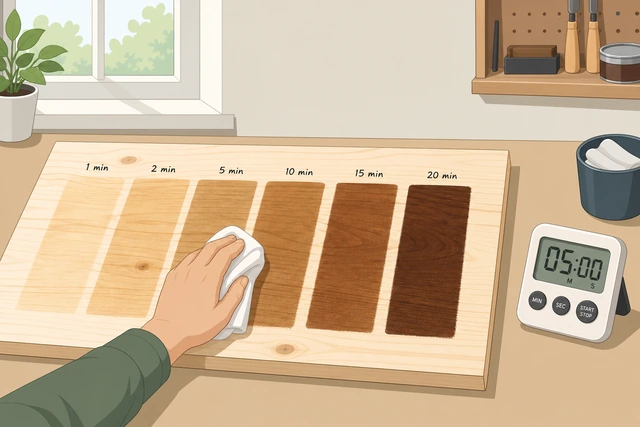
Open time varies by brand and temperature.
- Time your apply-to-wipe window on scrap.
- Write it down for that product.
You know your product’s workable window.
Too darkThe color came out darker than wanted
If still wet, wipe harder and longer to lift pigment.
Wipe harder while wet · lift pigment.
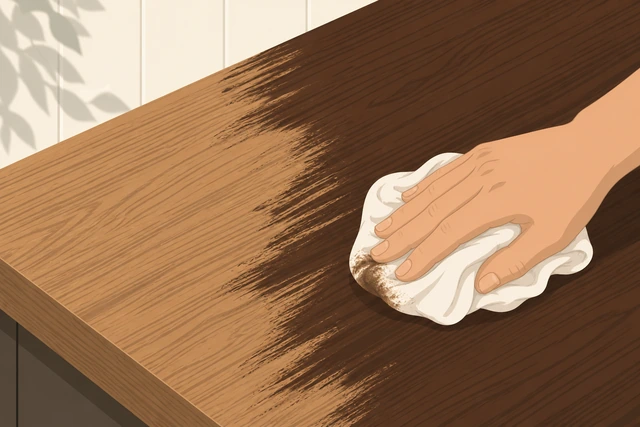
Wet stain is your best chance to lighten.
- Wipe firmly with clean rags.
- Continue until closer to target.
Wet color is lighter or stain has set.
Some oil stains can be lifted carefully with mineral spirits while fresh — test first.
Mineral spirits test on scrap/hidden spot first.
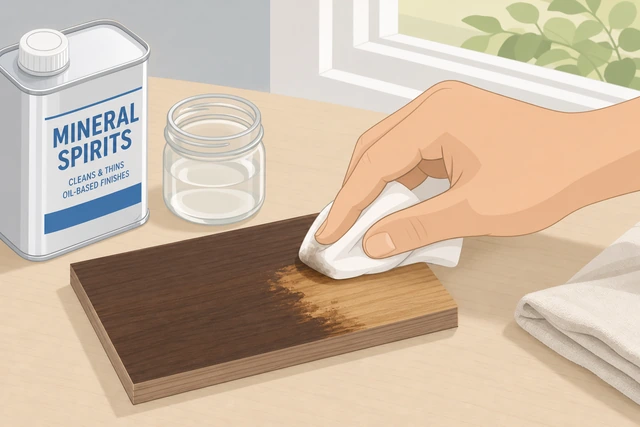
Wrong solvent on water-based products can smear badly.
- Check whether your stain is oil- or water-based.
- Test solvent on scrap.
- Lift gently if appropriate.
You tested before committing.
If cured, sand back toward bare wood and restain lighter / wipe sooner.
Sand back · restain lighter technique.
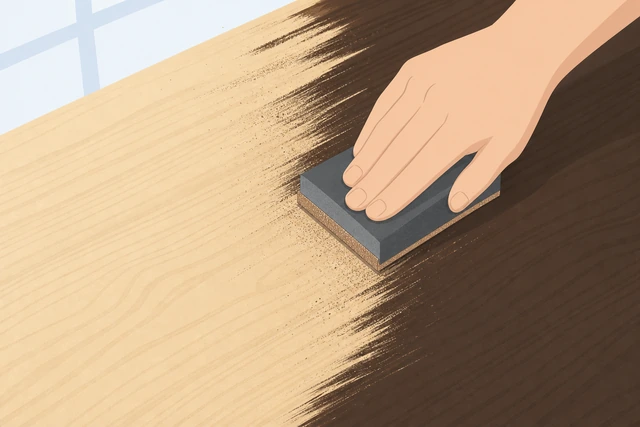
Cured dark stain will not wipe lighter meaningfully.
- Sand toward bare wood.
- Retest on scrap.
- Wipe sooner next time.
Surface is reset for a lighter attempt.
Choose a lighter stain color rather than fighting a dark one with thin coats only.
Pick a lighter product · do not only starve a dark stain.
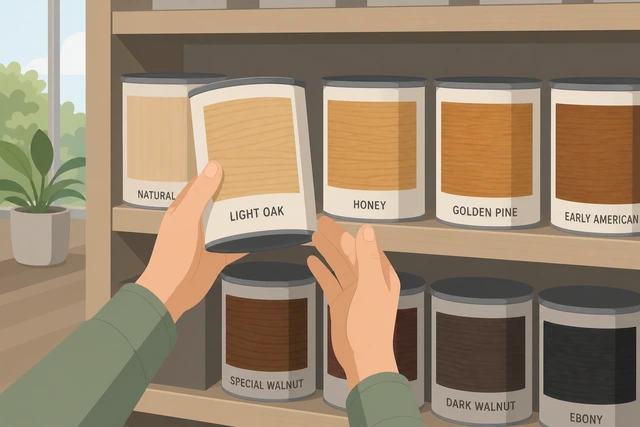
Starving dark stain often looks uneven.
- Buy a lighter shade.
- Test again on scrap.
A lighter product is selected if needed.
Accept that some woods (cherry, walnut) deepen as they age — plan for that.
Some woods darken with age · plan lighter start.
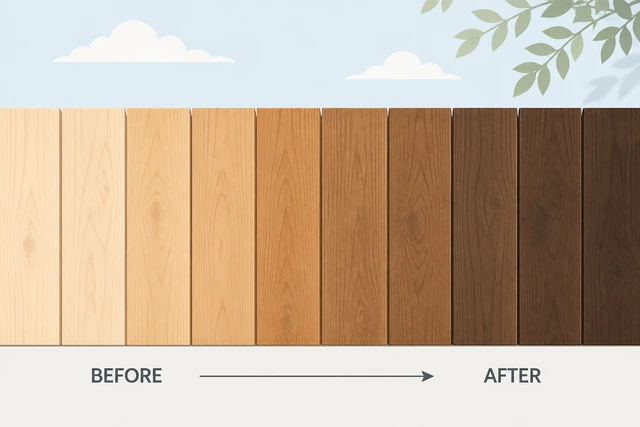
Fighting natural aging wastes effort.
- Start slightly lighter than final desire.
- Note aging expectations.
Aging expectation is factored in.
When to get help
- Large antiques or valuable pieces — consult a refinisher before sanding through veneer.
- If you feel dizzy from fumes — get fresh air immediately and rethink ventilation.
When This Doesn't Work
- Already finished factory furniture. Needs strip/sand first — not a wipe-stain over varnish job.
- Exterior decks. Use exterior deck products and weather rules.
- Food-contact surfaces. Follow food-safe finish guidance.
Warnings
- Oily rags can spontaneously combust — soak in water or dry flat outdoors, never leave in a pile.
- Ventilate; follow VOC/safety labels on the can.
- Wear gloves; keep stain off skin and out of eyes.
Tips
- Buy enough stain from the same batch/lot when possible.
- Warm rooms dry faster; cool humid rooms need more time.
- Wipe-on poly is beginner-friendly for many furniture pieces.
FAQ
Do I have to use conditioner?
It helps most on pine and blotch-prone softwoods. Many dense hardwoods can skip it after a scrap test.
Brush or wipe?
Either works. Many people brush/foam on, then wipe excess with a rag.
How long before topcoat?
Follow the stain can. Many want overnight; humidity can extend that.
Comments
Questions, corrections, and what worked for you. Comments are reviewed before they appear.