How to Crochet a Chain
Learn the crochet foundation chain: slip knot, yarn over, pull through, count the Vs, and keep tension even. Read one step at a time. Start with preflight. Tight slip knot? Slip knot too tight. Uneven? Uneven tension. Lost count? Lost count.
Tips for reading this guide
- One step at a time. Read the green caption, the Why line, then the bullets.
- Move on when the green done line is true — then go to the next step.
- Light-colored yarn makes the V stitches easier to see.
- Knot too tight? Slip knot too tight.
Things You'll Need
- Worsted-weight yarn (light color)
- Crochet hook ~ size H / 5 mm (or yarn-label match)
- Scissors
- Optional: stitch markers, yarn needle
Where are you stuck?
Start hereSlip knot → yarn over → pull through → count → even tension
Preflight — worsted-weight yarn, a matching hook (often size H / 5 mm), and scissors.
Worsted yarn · matching hook (~H/5mm) · scissors.
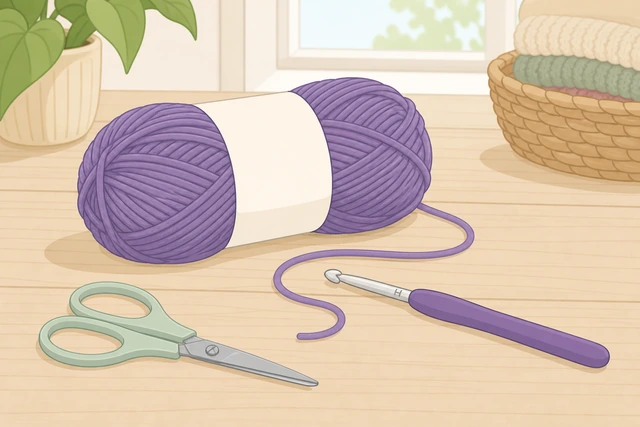
Hook and yarn that match make even chains easier for beginners than tiny thread.
- Choose a light-colored yarn so stitches show.
- Pick a medium hook labeled for that yarn (H/5mm is a common start).
- Have scissors ready to finish.
Yarn, hook, and scissors are within reach.
Make a slip knot and place it on the hook so it can slide.
Slip knot on hook · loop slides when you tug the working yarn.
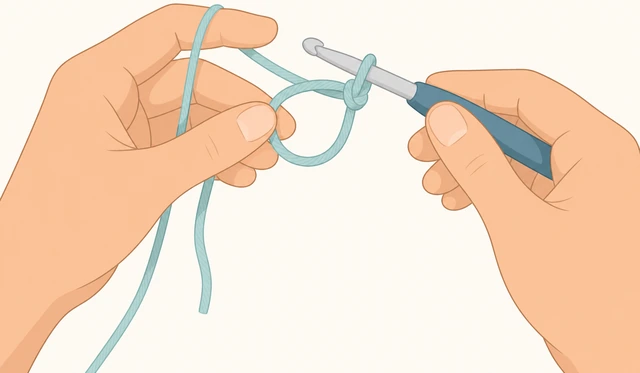
A locked knot that will not slide blocks every yarn-over that follows.
- Loop yarn; pull a second loop through; place on hook.
- Tighten gently until snug but movable.
- Too tight to move? → Slip knot too tight.
The loop on the hook slides when you pull the working yarn gently.
Hold the hook in your dominant hand and tension the yarn over your other hand’s fingers.
Hook in dominant hand · yarn tensioned on the other hand.
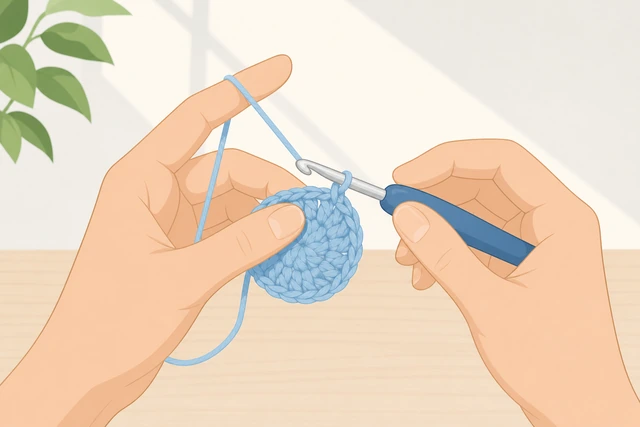
Consistent yarn feed is what keeps chain size even.
- Pencil or knife grip on the hook — whichever feels stable.
- Wrap working yarn over the non-dominant index finger.
- Keep the skein from rolling away.
You can yarn-over without dropping the hook or the yarn.
Yarn over: bring the working yarn over the hook from back to front.
Yarn over · wrap back-to-front over the hook.
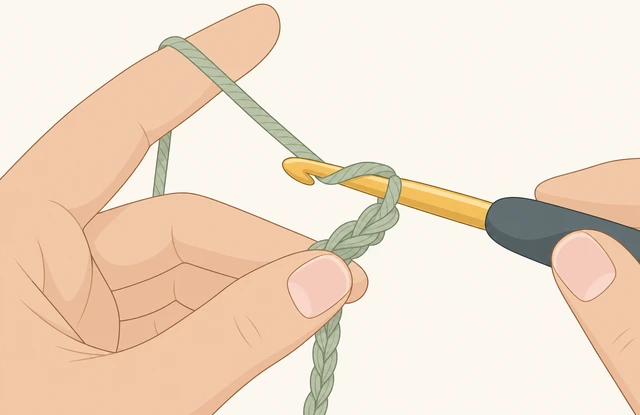
Yarn-over is the motion repeated for every chain stitch.
- Scoop or wrap the yarn onto the hook.
- Keep the original loop on the hook.
- Do not twist the wrap wildly.
There is one clear yarn wrap sitting on the hook above the slip-knot loop.
Pull the yarn-over through the loop already on the hook — that makes your first chain.
Pull YO through the loop · first chain made.
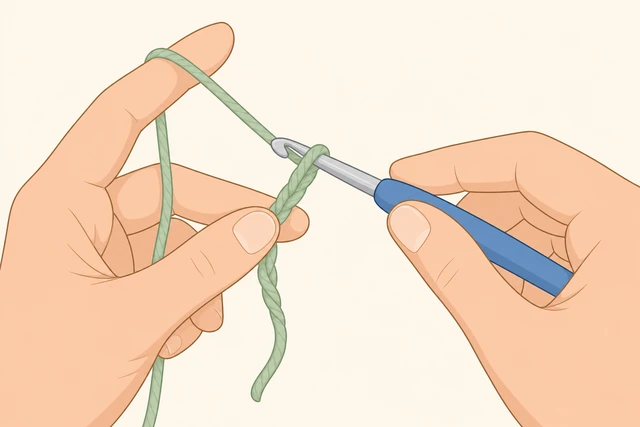
Each successful pull-through adds one chain stitch to the foundation.
- Draw the wrapped yarn through the loop on the hook.
- You should still have one loop left on the hook.
- That new stitch is chain #1 (some patterns do not count the slip knot).
You have one chain stitch and one loop remaining on the hook.
Repeat yarn-over and pull-through for each new chain.
Repeat YO + pull through · chain grows.
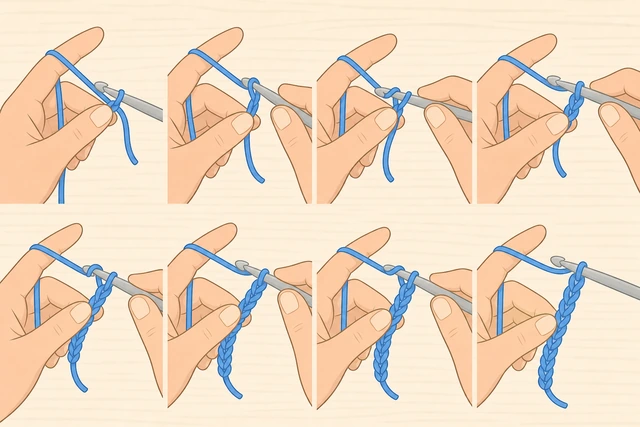
The same two motions build the entire foundation chain.
- Yarn over.
- Pull through the loop on the hook.
- Keep a calm rhythm.
- Stop if the work twists — untwist before continuing.
The chain is clearly longer than a single stitch.
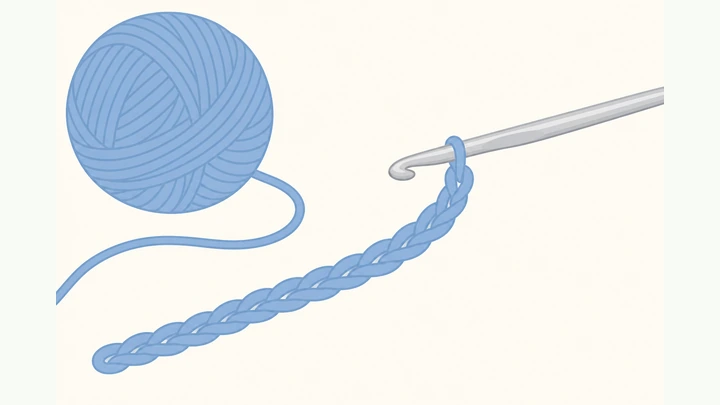
Count chains: each little V along the top usually equals one chain — make about 15 for practice.
Count the Vs · aim for ~15 practice chains.
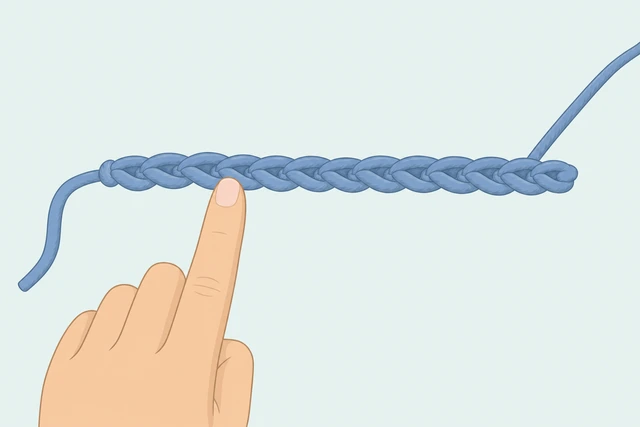
Patterns start from an exact chain count; learning to count now prevents ripped work later.
- Lay the chain flat.
- Count V shapes from the hook back toward the slip knot.
- Make about 15 total for practice.
- Lost count? → Lost count.
You can state how many chains you have (near 15).
Keep tension even — loops should look similar, not strangling-tight or floppy.
Even tension · similar loop size · not strangling.
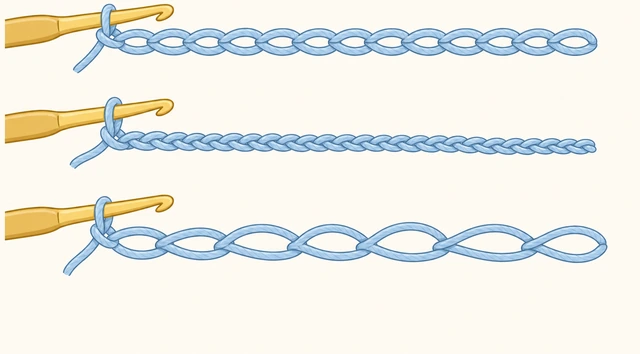
Wild tension makes the next row (later) impossible to poke into evenly.
- If stitches shrink to pinholes, loosen your yarn hand.
- If stitches look like big sloppy Os, add light finger tension.
- Still uneven? → Uneven tension.
Most chains in your sample look roughly the same size.
Let the chain hang or rest flat so it does not twist into a spiral as you work.
Keep the chain untwisted · flat Vs facing you.
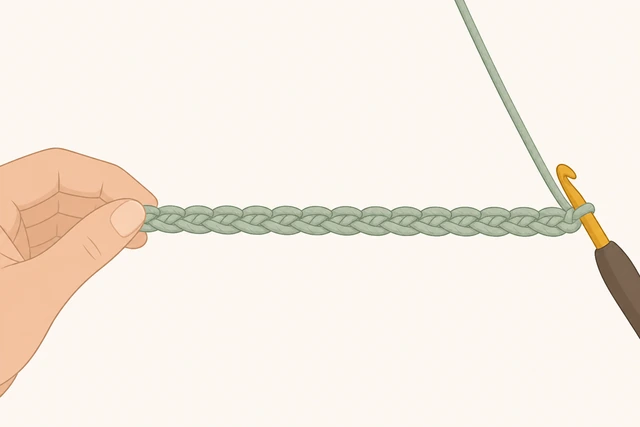
A twisted foundation chain fights every stitch of a first row.
- Pause and untwist if the fabric corkscrews.
- Work with the V side facing up consistently.
- Support long chains on your lap.
The chain lies flat without a spiral twist.
Practice undoing: pull the working yarn to frog (rip back) and remake a few chains.
Pull yarn to undo · remake a few chains · build confidence.
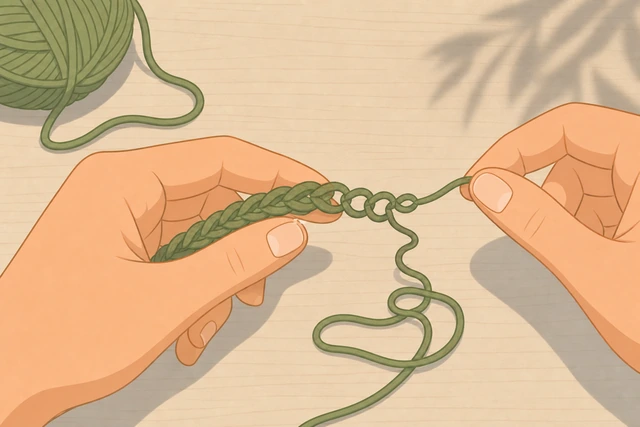
Fear of mistakes slows beginners more than bad tension does.
- Pull the working end to open stitches.
- Stop at the slip knot if you want a full restart.
- Remake 5–10 chains calmly.
You have undone and remade chains without panic.
To finish the practice piece: cut yarn, yarn-over with the tail, and pull the tail all the way through the last loop.
Cut yarn · pull tail through last loop · fasten off.
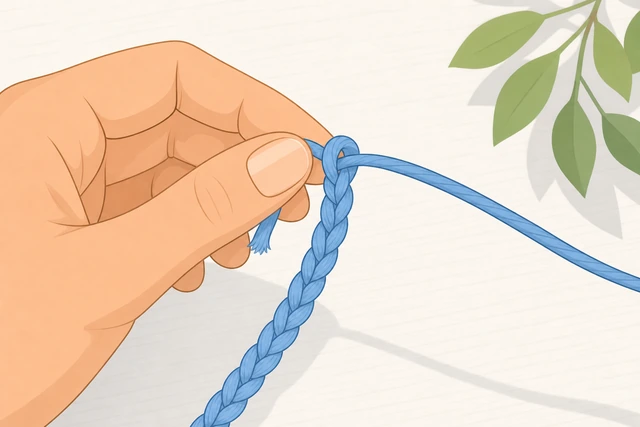
Pulling the tail through locks the last loop so the chain does not unravel in your bag.
- Leave a 4–6 inch tail.
- Pull it through the final loop and snug.
- Optional: weave the tail into the chain with a yarn needle later.
The practice chain is secured and will not run when tugged lightly.
Slip knot too tightRemake a looser starter loop
Remove the tight knot from the hook completely.
Take the tight knot off the hook.
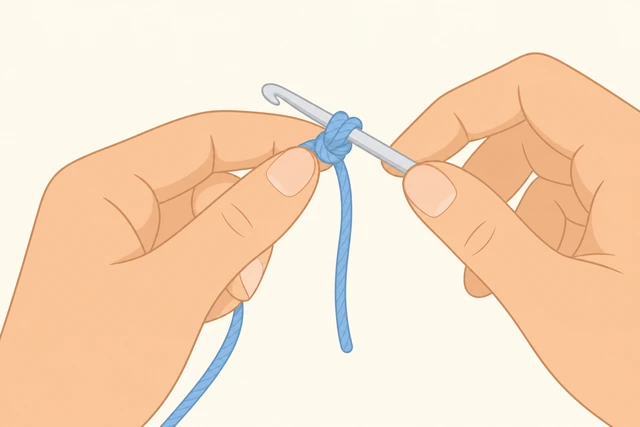
Fighting a locked loop wastes time.
- Slide it off.
- Untie if needed.
Hook is empty.
Remake the slip knot leaving a larger adjustable loop.
New slip knot · larger adjustable loop.
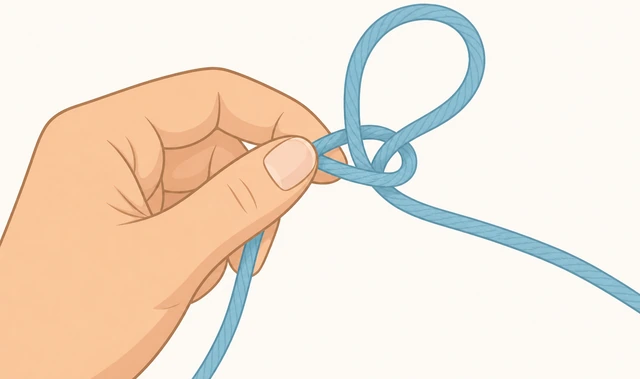
You need room for the hook throat to yarn-over.
- Form loop.
- Pull working yarn through.
- Place on hook loosely.
Loop looks roomy on the hook.
Tighten only until the knot hugs the hook — still slides.
Snug to hook · must still slide.
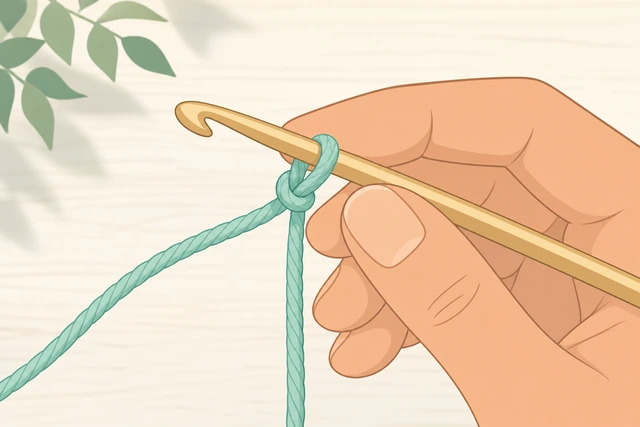
Snug ≠ welded.
- Pull tail gently.
- Test slide with working yarn.
Loop slides on command.
If it keeps cinching shut, try a hook one size larger for practice.
Try one size larger hook.
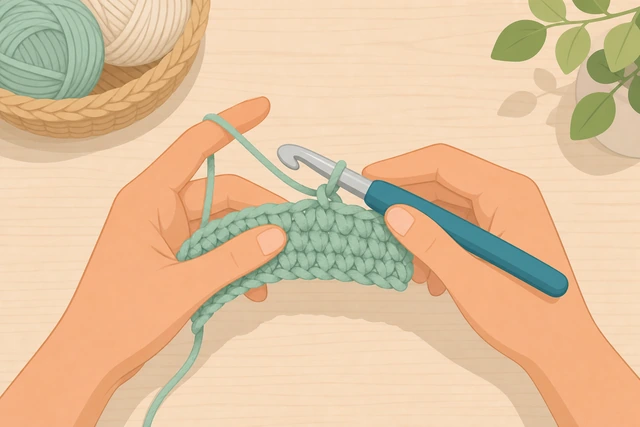
Tiny hooks amplify tight-hand habits.
- Swap hook.
- Remake slip knot.
- Retry YO.
YO is possible on the new setup.
Return to yarn-over and first chain steps.
Back to YO + first chain.
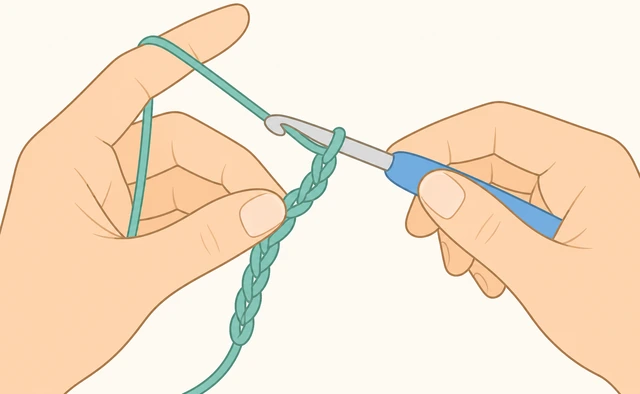
Starter loop is only the door — chaining is the skill.
- YO.
- Pull through.
- Continue.
First chain exists again.
Uneven tensionSlow down and lock a yarn-hand habit
Pause and frog back to an even section or the slip knot.
Undo the wonky part.
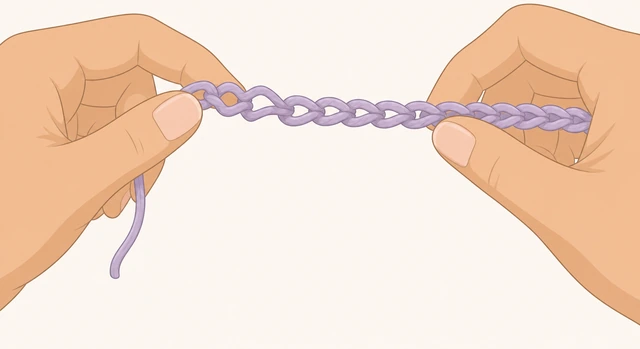
Building on chaos multiplies chaos.
- Pull yarn.
- Stop at even stitches.
You are back to an even base.
Hold the yarn the same way every stitch — pick one finger wrap and keep it.
Same yarn wrap every time.
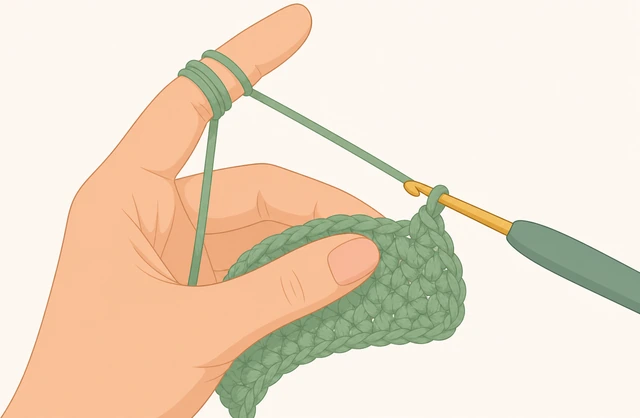
Changing wraps mid-chain changes loop size.
- Choose a wrap.
- Do 10 identical YOs slowly.
Hand position stays consistent.
Watch the loop on the hook — it should look similar before each pull-through.
Similar loop size before each pull.
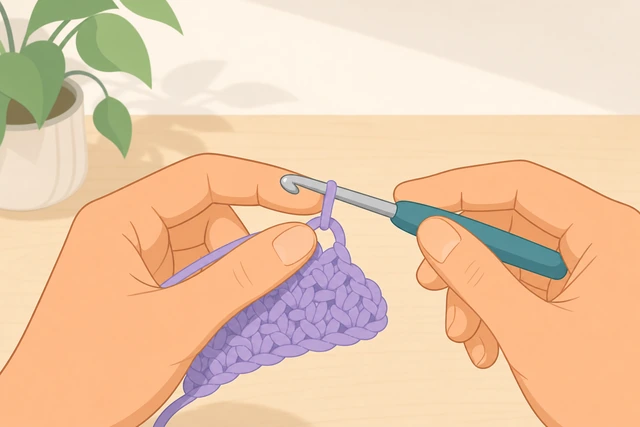
The loop on the hook predicts the next chain’s size.
- Glance each time.
- Adjust yarn hand before pulling.
Loops look related in size.
If yarn is splitty or very textured, switch to smooth worsted for learning.
Smooth worsted for learning.
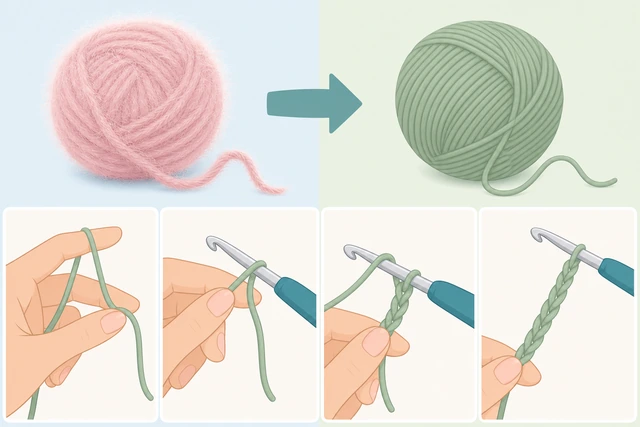
Fuzzy yarn hides stitch structure.
- Swap yarn.
- Remake a short chain.
Stitches are easier to see.
Accept beginner variance — aim for “mostly even,” not machine-perfect.
Mostly even is success.
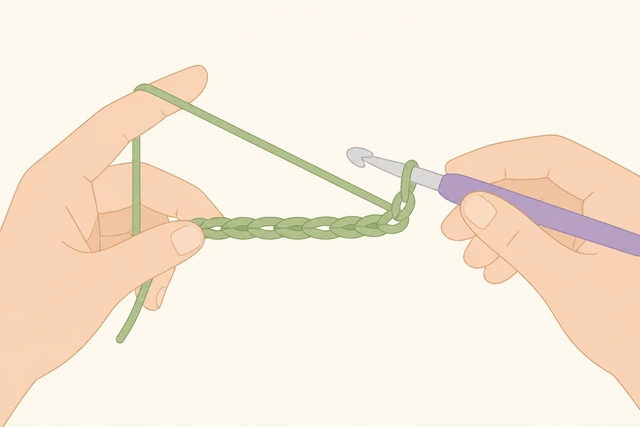
Perfectionism stops practice.
- Do one more 15-chain.
- Stop when usable.
You have a usable practice chain.
Lost countLay flat and count the Vs
Stop adding chains the moment you are unsure.
Stop · do not guess more stitches.
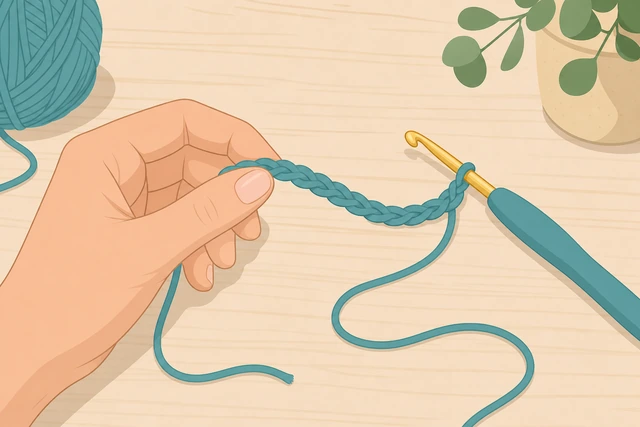
Guessing long creates the wrong foundation later.
- Park the hook.
- Lay work down.
You stopped without adding mystery stitches.
Lay the chain flat and count each V from the hook toward the start.
Flat · count each V.
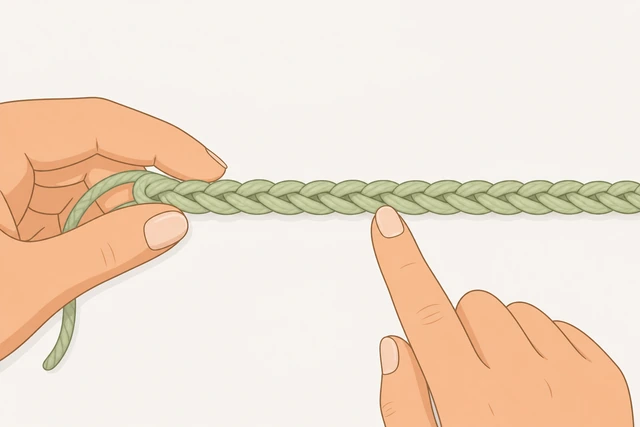
Counting in your hand misses twisted stitches.
- Point with a finger.
- Say numbers aloud.
You have a counted number.
Place a stitch marker or scrap yarn every 5 chains next time.
Mark every 5 chains.
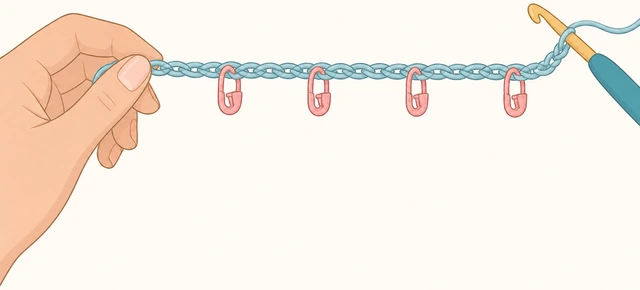
Markers turn long counts into small groups.
- Clip marker.
- Continue.
- Count markers × 5 + remainder.
Marking system is ready for the next try.
If you overshot, frog back to the target number.
Frog back to the exact count.
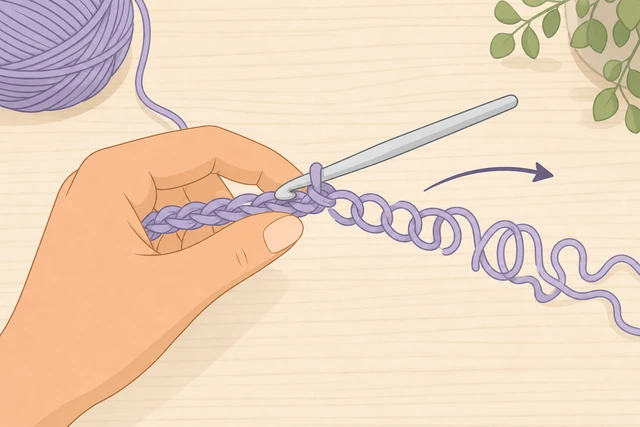
Extra chains throw off pattern math.
- Pull to target.
- Confirm count.
Count matches the goal.
Write the target number on a sticky note before you start any pattern chain.
Write the target before you start.
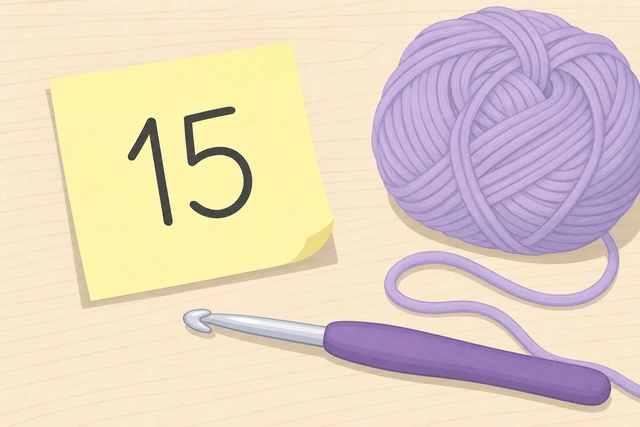
Memory fails mid-TV episode.
- Note the number.
- Check at midpoint.
Target is visible while you work.
When This Doesn't Work
- Tunisian crochet and knitting use different starters — this is standard crochet chain only.
- Thread crochet with steel hooks is harder for absolute beginners — start with worsted.
- Left-handed crocheters mirror the hand roles; the YO + pull-through logic is the same.
Warnings
- Keep hooks away from eyes when demonstrating to children.
- Do not leave long yarn tails where pets can swallow them.
- Take breaks if your hands cramp — tension worsens when you are strained.
Tips
- Short practice sessions beat one frustrated hour.
- If tutorials disagree on whether to count the slip knot, follow your pattern’s note — for practice, consistency matters most.
- Once chains feel easy, learn single crochet into the chain as your next skill.
FAQ
Does the slip knot count as a chain?
Patterns vary. For this practice guide, count the V stitches you make after the slip knot unless a pattern says otherwise.
Why are my chains twisted?
The work is rotating in your hand — pause and untwist so Vs face up.
What hook size should I buy first?
An H/5 mm with worsted acrylic is a friendly starter combo.
Comments
Questions, corrections, and what worked for you. Comments are reviewed before they appear.