How to Fry an Egg
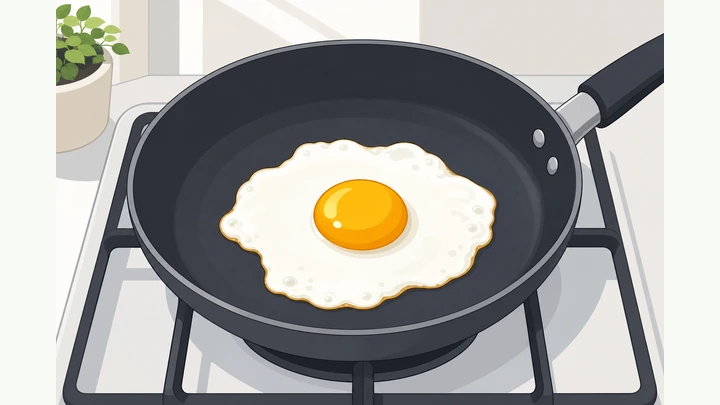
Fry a classic sunny-side-up egg in a nonstick skillet in about 10 minutes — melt a little fat, slide the egg in gently, and cook at a gentle heat until the white sets and the yolk stays soft. Read one step at a time and finish each before the next. Start with the 30-second preflight. Egg won't release from the pan? See stuck egg. Want the yolk cooked on both sides? Use the over-easy flip. White still see-through in the middle? Use the runny-white fix.
Tips for reading this guide
- One step at a time. Read the green caption, the Why line, then the bullets.
- Move on when the green done line is true — then go to the next step.
- Sunny-side-up means the egg cooks on one side only, with a soft, runny yolk facing up.
- Egg won't slide, flipped and broke, or white still runny? Jump to the matching branch below.
- Need a helper? Ask someone you trust to stand by for Steps 1–6 so a hot pan or hot fat is never handled alone.
Things You'll Need
- 1 fresh egg (cook more, one at a time, the same way)
- Nonstick skillet, 8–10 inches
- 1 tsp cooking oil or ½ tbsp butter
- Thin spatula
- Small bowl, for cracking the egg first (recommended)
- Plate for serving
- Salt and pepper (optional)
Where are you stuck?
Follow Start here for a first sunny-side-up egg. If it won't release, you want the yolk cooked through, or the white is still runny, jump to the matching branch.
Start hereNonstick skillet → gentle heat → sunny-side-up egg
30-second preflight — all three checks must be YES.
Fresh egg · nonstick skillet, spatula, oil or butter · plate ready.
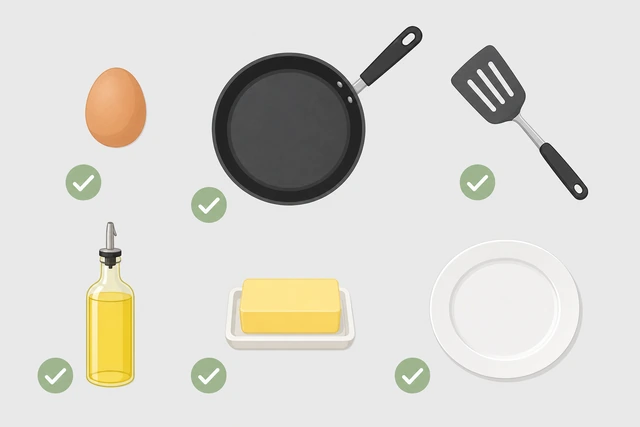
Checking supplies before the burner is on stops a mid-cook scramble — once the egg hits the pan you cannot pause to hunt for a spatula.
- Egg ready? One fresh egg, not cracked, within its use-by date.
- Tools out? Nonstick skillet (8–10"), thin spatula, oil or butter, and a plate.
- Stove clear? Burner unobstructed and nothing else cooking right now.
All three checks are YES — you are ready to add fat to the cold pan in Step 1.
All YES? Continue to Step 1.
Add oil or butter to the cold skillet and swirl to coat.
1 tsp oil or ½ tbsp butter, swirled into a thin, even film.
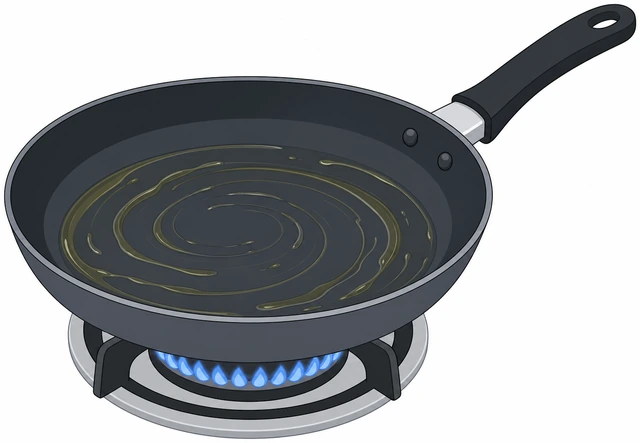
A thin, even layer of fat keeps the egg from welding to the pan and helps it slide free later without tearing.
- Set the nonstick skillet on a burner that is still off.
- Add 1 tsp oil or ½ tbsp butter to the center of the pan.
- Tilt and swirl the pan so the fat coats the whole bottom in a thin film.
A thin, glossy film of fat covers the entire bottom of the pan.
Heat the pan on medium-low until the fat shimmers.
Medium-low heat, 60–90 seconds, until oil shimmers or butter foam quiets.
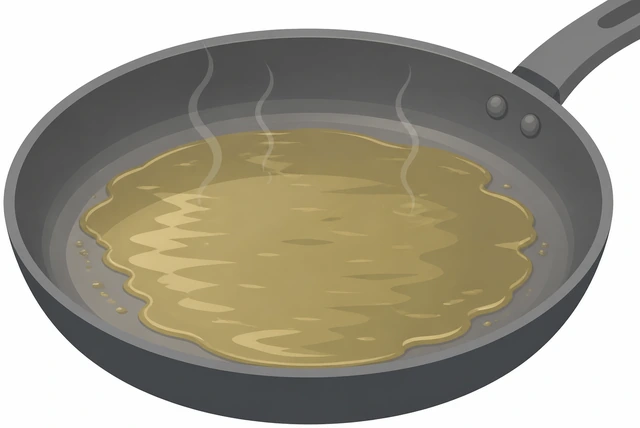
Medium-low heat gives the white time to set gently — high heat turns the edges crisp and rubbery before the yolk is ready.
- Turn the burner to medium-low — not high.
- Wait about 60–90 seconds for the fat to heat through.
- Watch for shimmer or quiet foam; stop if it starts to smoke.
The fat looks fluid and shimmering (or quietly foamy), with no smoke.
Crack the egg into a small bowl, then slide it into the pan.
Crack into a bowl first, check the yolk, then pour gently into the pan.
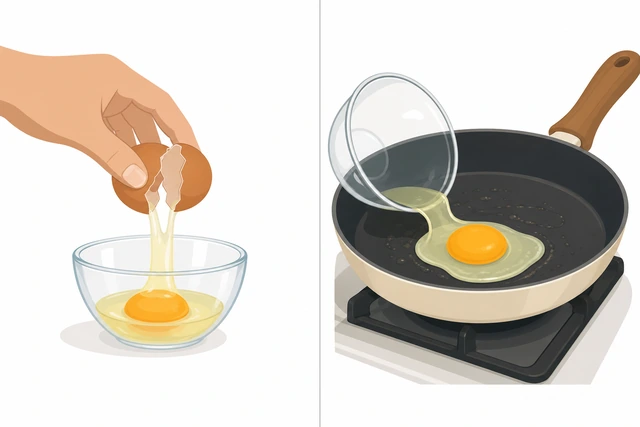
Cracking into a bowl first catches shell bits and a broken yolk before they hit the hot pan, so you can start over if needed.
- Crack the egg into a small bowl instead of directly over the pan.
- Check for shell pieces and confirm the yolk is intact.
- Tilt the bowl close to the pan and slide the egg in gently.
The egg is in the pan with an intact yolk centered and the white starting to spread.
Hold at medium-low heat and leave the yolk alone.
Do not poke the yolk — just watch the white edges turn opaque.
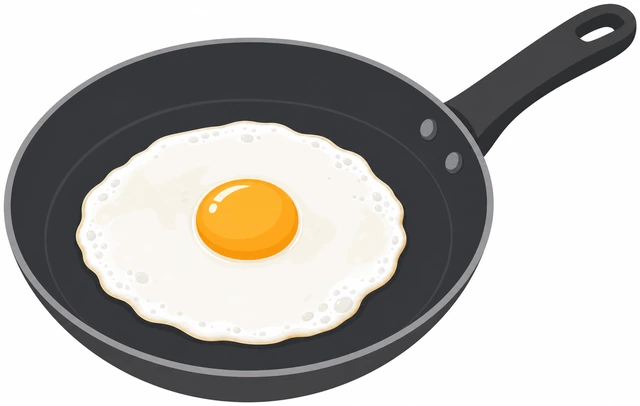
Poking or shaking the yolk now breaks it early — patience at this stage is what keeps sunny-side-up sunny.
- Keep the burner at the same medium-low setting.
- Leave the yolk untouched — no poking, no shaking the pan.
- Watch the outer edges of the white turn from clear to opaque.
The white's outer edges have turned solid white while the center is still soft.
Baste the white with hot fat, or cover briefly to set the top.
Spoon hot fat over the edges, or leave the lid ajar for 30–45 seconds.
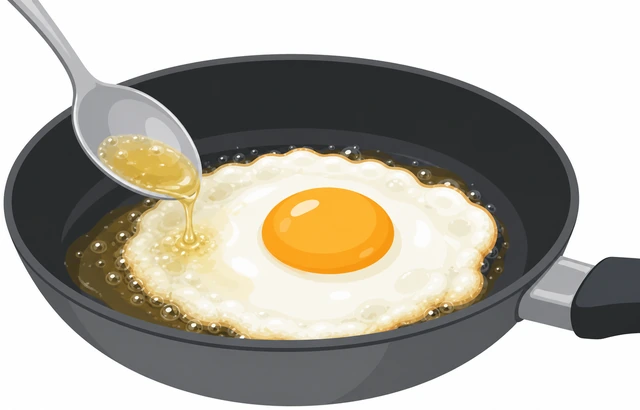
The top of the white sets slowly without direct heat — basting or trapped steam finishes it without overcooking the yolk.
- Tilt the pan and spoon a little hot fat over the white's edges.
- Or set a lid ajar over the pan for 30–45 seconds.
- Check that the yolk still looks glossy and soft, not clouded.
The top of the white looks set and matte, and the yolk is still glossy.
White still see-through in the middle? → Runny white fix.
Check that the egg releases, then slide a spatula underneath.
White fully opaque, edges lightly golden — nudge the spatula under the egg.
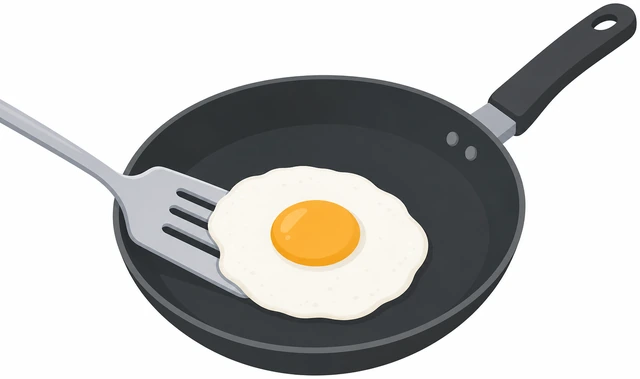
A properly set egg lifts away cleanly — forcing a spatula under an unset egg is the most common way to tear the white.
- Confirm the white is fully opaque with no clear patches.
- Look for the very edges turning a light golden color.
- Slide a thin spatula gently under the egg from one side.
The egg lifts away from the pan with a gentle nudge, in one piece.
Egg won't budge or starts to tear? → Stuck egg.
Tilt the pan and slide the egg onto a plate.
Tilt the pan toward the plate and let the egg slide off gently.
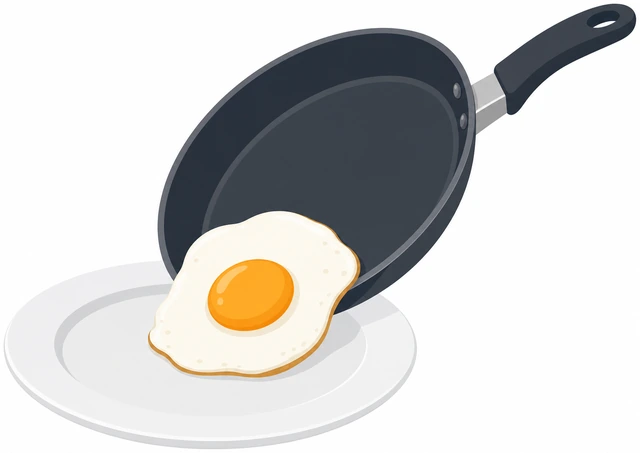
Sliding the egg off rather than flipping it keeps the yolk from breaking right before serving.
- Hold the plate close to the pan's edge.
- Tilt the skillet and guide the egg with the spatula as it slides.
- Let the egg settle flat on the plate, yolk facing up.
The egg is on the plate in one piece with the yolk intact and facing up.
Season with salt and pepper, or leave it plain, and serve right away.
A pinch of salt and pepper, or nothing at all — serve immediately.
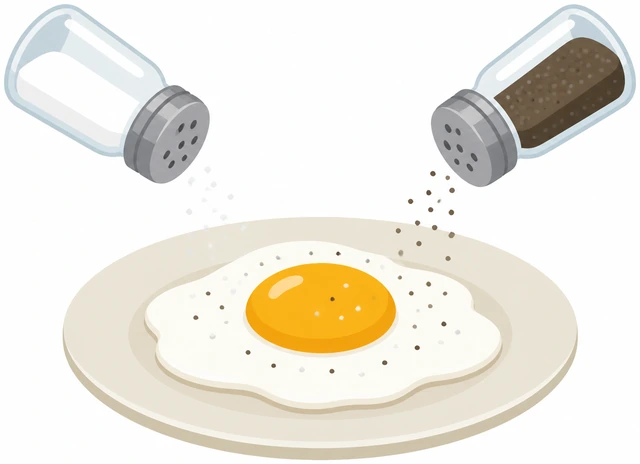
A fried egg is best eaten hot, right after the white sets and before the yolk cools and firms up further.
- Add a small pinch of salt and pepper, or skip seasoning entirely.
- Serve the egg right away while it is still hot.
- Pair with toast, rice, or vegetables as you prefer.
The egg is seasoned (or plain) and on its way to the table while still hot.
Turn the burner off and wipe the pan once it has cooled.
Burner OFF now — wipe the pan only after it is cool enough to touch.
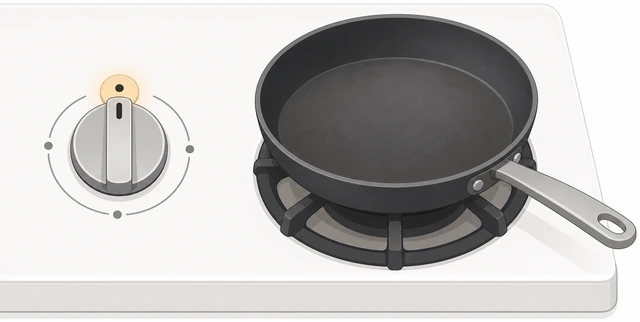
Turning the burner off right away removes the biggest kitchen hazard — a hot, unattended burner — before cleanup or distraction.
- Turn the stove burner completely off.
- Let the pan cool until it is safe to touch the handle.
- Wipe out any leftover fat with a paper towel.
The burner is off and the cooled pan has been wiped out.
Taste-check: tender-set white, still-runny yolk.
Cut in — the white should be tender, the yolk soft and runny.
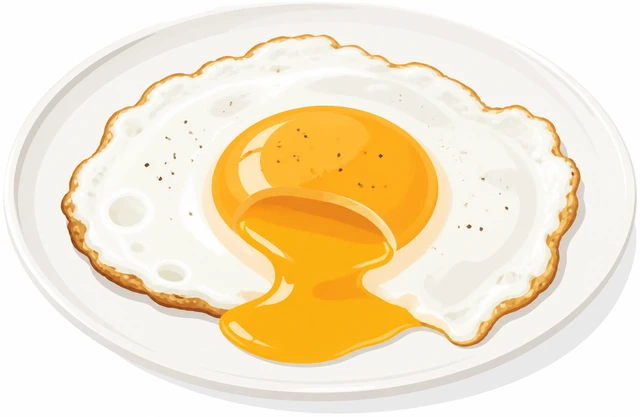
A final taste-and-texture check confirms you hit the sunny-side-up target, or tells you exactly which branch to use next time.
- Cut into the white — it should be tender-set, not rubbery.
- Cut into the yolk — it should flow softly, not sit firm throughout.
- Note anything off so you can adjust heat or timing next time.
The white is tender and fully set, and the yolk is soft and runny, matching the sunny-side-up target.
Wanted the yolk cooked through instead? Next time use the over-easy flip.
Egg won't release or is tearingAdd a little fat, lower the heat, and free it gently
Add a little more oil around the edges and lower the heat.
½ tsp more oil around the edges, burner down to low.
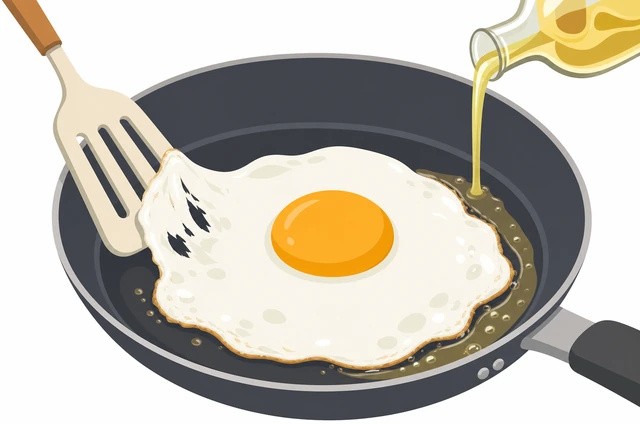
Extra fat can still work its way under a stuck egg, and lower heat stops the bottom from scorching while you wait.
- Turn the burner down to low.
- Drizzle about ½ tsp more oil or butter around the egg's edges.
- Let it sit undisturbed for a moment before trying the spatula again.
More fat sits around the egg's edges and the heat is turned down to low.
Wait 20 seconds, then free the edges before the center.
Wait 20 seconds, loosen the outer white first, then work toward the middle.
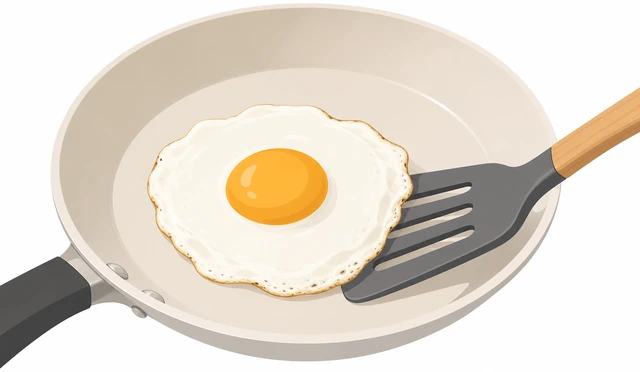
Working from the easier outer edges first breaks the weakest points of the stick before you risk tearing the center.
- Wait about 20 seconds for the added fat to loosen the bottom.
- Ease the spatula under the outer white edges first, not the yolk.
- Once the edges lift, work the spatula toward the center in one motion.
The egg lifts free from the pan without tearing, or only the outer white is affected.
Still welded after this? Serve it as a torn egg — it is still good to eat. Next time use more fat and a lower starting heat.
Want the yolk cooked on both sides (over-easy)Flip once, gently, near the end
When the white is mostly set, flip the egg once, gently.
White mostly opaque → slide spatula fully under → flip in one motion.
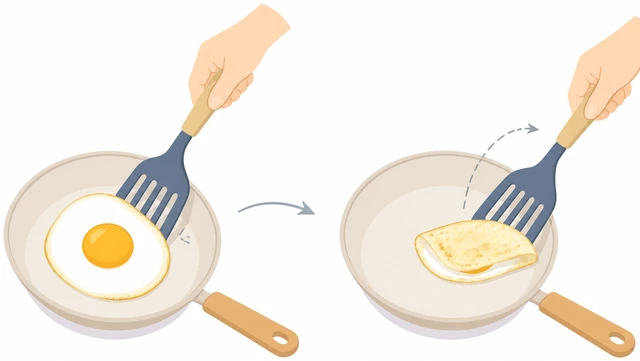
Flipping too early or too roughly is what breaks the yolk — waiting until the white is mostly set gives it more support.
- Wait until the white is mostly opaque, not just at the edges.
- Slide the spatula all the way under, supporting the whole egg.
- Flip in one smooth, confident motion rather than a slow tip.
The egg has flipped in one piece, yolk side now facing down.
Cook 15–30 seconds more, then plate.
15–30 more seconds on the second side, then slide onto the plate.
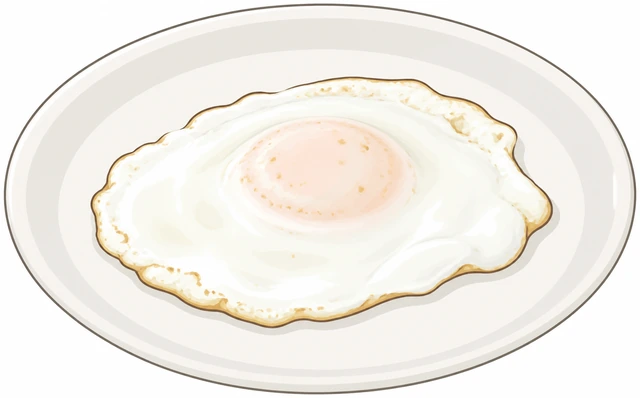
A short second-side cook firms the yolk just enough without turning it hard and chalky.
- Cook for 15–30 seconds on the flipped side.
- Check the yolk edge — slightly firmer, not hard, is the target.
- Slide the egg onto a plate as in main-path Step 7.
The egg is cooked on both sides with a firmer yolk and is on the plate.
Yolk broke during the flip? Still good to eat — plate it as a broken over-easy egg.
White still runny or see-through in the middleCover briefly or baste — do not raise the heat
Cover with a lid ajar for 30–45 seconds, or baste with hot fat.
Lid ajar for 30–45 seconds, or spoon hot fat over the pale center.
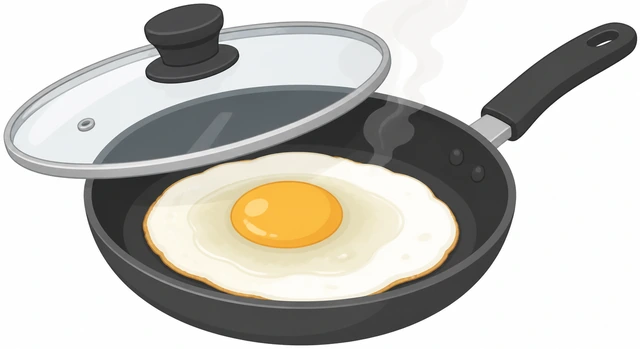
Trapped steam or a little extra hot fat finishes the white gently, without needing to blast the heat and risk the edges.
- Set a lid ajar — not sealed — over the pan.
- Wait 30–45 seconds, or spoon hot fat over the pale center.
- Check the white again; repeat once more if still translucent.
The center of the white has turned from translucent to solid white.
Keep the heat at medium-low — do not turn it up to rush it.
Stay at medium-low; raising the heat now cooks the yolk, not the white.
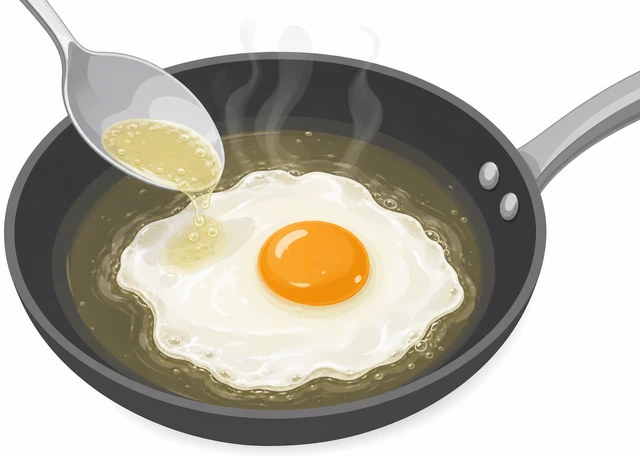
Turning up the heat cooks the yolk and browns the bottom before the thicker center of the white ever catches up.
- Keep the burner at medium-low the whole time.
- Give it another 30 seconds before checking again.
- A cold, fridge-cold egg may simply need a little longer overall.
The white is fully set using gentle heat, and the yolk is still soft.
Egg was ice-cold from the fridge? Next time let it sit at room temperature a few minutes before cracking it.
When to get help
- Ask a helper to stand by for Steps 1–6 if handling a hot pan, hot oil, or a stove alone feels unsteady.
- If oil or butter starts smoking heavily, turn off the burner and move the pan off the heat rather than trying to fix it while it cooks.
- If a grease fire starts, turn off the burner, cover the pan with a metal lid to smother it, and never use water on a grease fire.
When This Doesn't Work
- Cast-iron instead of nonstick. Use more fat and a longer preheat — cast iron needs a well-seasoned surface or the egg will stick even at the right heat.
- Ceramic or ceramic-coated pans. These often need slightly lower heat than nonstick Teflon-style pans to avoid sticking as the coating ages.
- Very fresh eggs with a thin, watery white. The white may spread thinner than expected — a smaller pan can help it hold its shape.
Warnings
- Never leave a heating pan unattended, especially with oil or butter in it.
- Turn the burner off as soon as you are done cooking — do not walk away with the stove on.
- Keep pan handles turned away from the front of the stove so they cannot be bumped.
- Let the pan cool before washing it — plunging a hot pan into cold water can warp it or cause a steam burn.
Tips
- Crack the egg into a small bowl first if you are new to frying — it catches shell bits and stops a broken yolk from reaching the pan.
- Let a cold egg sit at room temperature for a few minutes before cooking for slightly more even results.
- A splash of water instead of a lid can also steam the top of the white if you don't have a lid that fits your pan.
FAQ
What heat should I fry an egg on?
Medium-low. High heat browns and crisps the edges quickly while leaving the white rubbery and the yolk overcooked before the center sets.
Do I need a nonstick pan?
It is the easiest option for beginners. A well-seasoned cast-iron or carbon-steel pan works too, but usually needs a bit more fat and a slightly longer preheat.
How do I know the egg is done?
The white should look fully opaque with no clear or shiny patches, and the edges may just start turning light gold. The yolk stays glossy and soft for sunny-side-up.
Comments
Questions, corrections, and what worked for you. Comments are reviewed before they appear.