Skip to steps

How to Connect a Canon PIXMA Printer to Wi-Fi

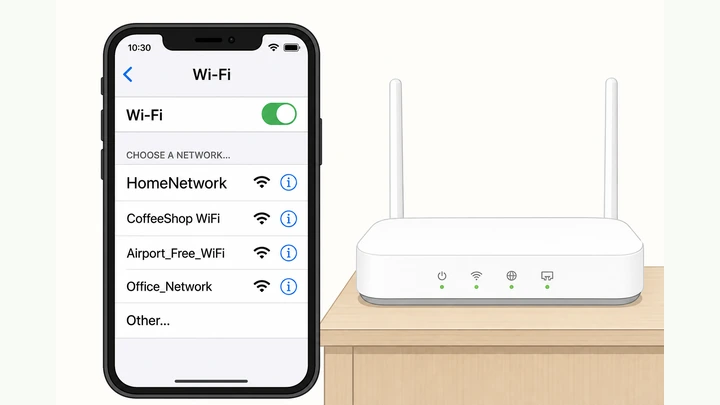
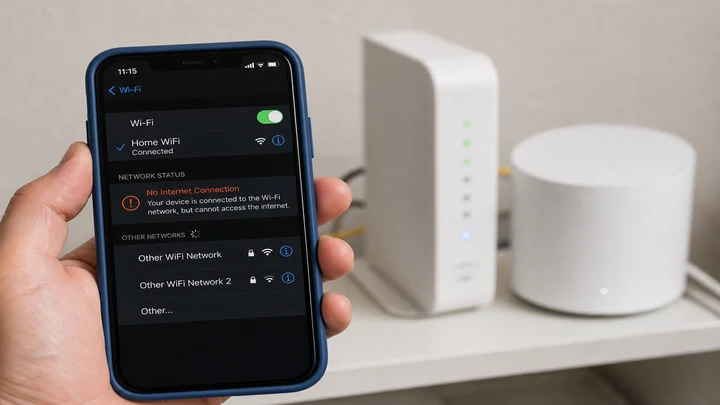
Read one step at a time — finish each before the next. This guide connects a Canon PIXMA inkjet printer to your home Wi‑Fi so phones and laptops can print without a USB cable. Start with the four quick checks, then follow Steps 1–8 using the Canon PRINT app (works on iPhone and Android). Router has a WPS button and no LCD on the printer? Jump to the WPS branch. Network missing or app can't find the printer? Use the branches below instead of repeating the same step. Not sure what the Wi‑Fi lamp means? Scroll to the lamp atlas and compatibility table on this page — then follow the steps.

Tips for reading this guide

  • One step at a time. Read the green caption, look at the picture, then do the bullets.
  • Keep your phone nearby. The app walks you through most of the setup.
  • Write down your Wi‑Fi password before you start — you'll need it in Step 6.
  • Still stuck? See when to call Canon support.
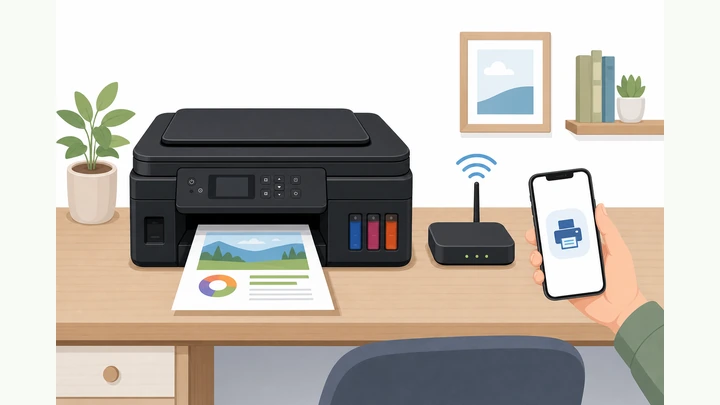
Illustration: Canon PIXMA printer on desk with phone showing Canon PRINT app and home router nearby

Things You'll Need

  • Canon PIXMA printer (TS, TR, MG, or similar series)
  • Smartphone on the same home Wi‑Fi you want the printer to join
  • Home router powered on — know the network name and Wi‑Fi password
  • Plain letter/A4 paper loaded in the printer
  • Canon PRINT Inkjet/SELPHY app (free from App Store or Google Play)

What's your situation?

First-time Wi‑Fi setup? Run Start here. Branches cover WPS-only routers, missing networks, and app discovery failures.

First: which PIXMA do you have?

  • LCD screen + Wi‑Fi button — follow Start here (Canon PRINT app).
  • Small screen, Setup menu only — same app path; use Setup → Wireless LAN → Easy wireless connect.
  • No screen, only buttons — try WPS if your router has a WPS button; otherwise use a USB cable once to run setup from a laptop.

Lamp states, decision branches, and compatibility rows compiled by QuickMethodLab from Canon setup manuals, home-router patterns, and our SOLVE framework. July 2026.

Wi‑Fi lamp state atlas

Look at the Wi‑Fi lamp on your PIXMA, then match the row below.

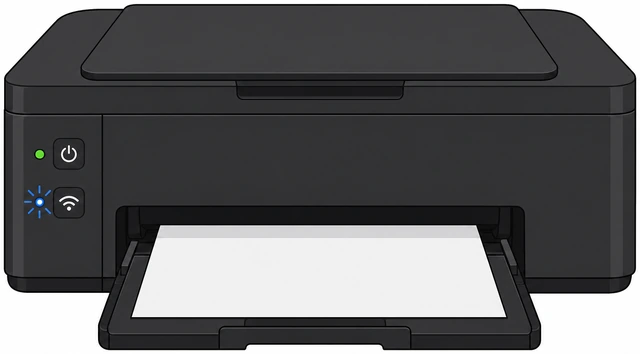
Blue — flashing

Printer with flashing blue Wi-Fi lamp ready for setup

Means: Wireless setup mode. Printer is waiting for the Canon PRINT app or WPS pairing.

Do next: Open Canon PRINT → Register printer, or start WPS on router within 2 minutes.

Jump to steps →

Blue — solid

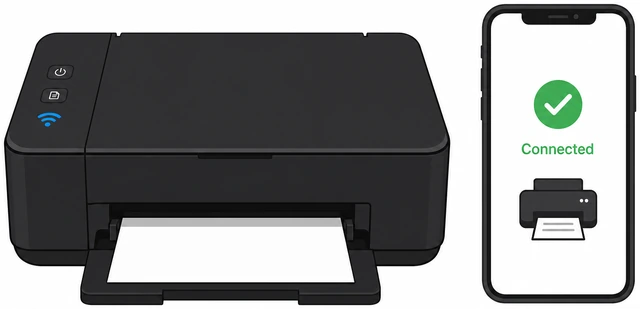
Printer with solid blue Wi-Fi lamp and app showing connected

Means: Connected to your home Wi‑Fi router. Ready to print from phone or computer.

Do next: Print a test page from the app to confirm. Add Mac/Windows if needed.

Jump to steps →

Orange — flashing

Wi-Fi button on printer control panel

Means: Setup failed, wrong password, unsupported network, or printer stuck in old settings.

Do next: Hold Wi‑Fi 3 sec to reset wireless, then retry. Check 2.4 GHz network and password.

Jump to steps →

Orange + blue — alternating

Phone showing Canon direct Wi-Fi network

Means: Direct connection mode (printer hotspot). Phone may be on Canon_xxx instead of home Wi‑Fi.

Do next: Switch phone back to home Wi‑Fi, power-cycle printer, restart app registration.

Jump to steps →

Setup decision map

Pick your situation — each box links to the matching section on this page.

Router compatibility matrix

Check your router type before you start — or use this if setup already failed once.

Router / network typeWorks?Best pathCommon fail
Single-band 2.4 GHz only Works Canon PRINT app — 8 steps Wrong Wi‑Fi password Go →
Dual-band, one merged SSID Caution Enable separate 2.4 GHz name first Printer sees 5 GHz only or wrong band Go →
Guest / isolated network Not supported Use main home network, not guest Device isolation blocks printer Go →
WPA3-only security Caution Set WPA2/WPA3 mixed mode temporarily Authentication failed in app Go →
WPA2-Enterprise (username login) Not supported Not supported on most home PIXMA No password-only field in app Go →
Router with WPS button Works WPS push-button branch WPS timed out — move printer closer Go →

PIXMA series — Step 3 entry paths

TS / TR (touch LCD)

LCD: Yes

Step 3: Setup → Wireless LAN → Easy wireless connect

Fallback: Canon PRINT app

Open steps →

MG / older inkjet

LCD: No

Step 3: Hold Wi‑Fi until lamp flashes blue

Fallback: WPS if no screen

Open steps →

Wi‑Fi button only

LCD: No

Step 3: Press & hold Wi‑Fi 3 sec → blue flash

Fallback: Canon PRINT app on phone

Open steps →

Start hereCanon PRINT app — eight steps

Before you start

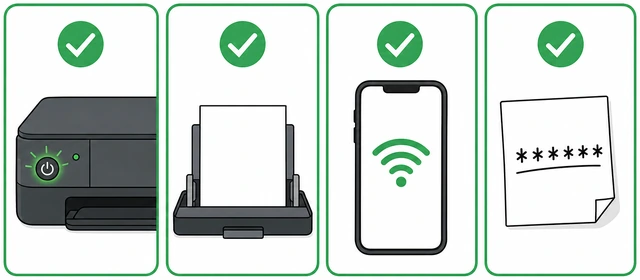
Four quick checks — all must be YES before Step 1.

Printer on · phone Wi‑Fi on · router on · password written down.

Illustration: printer powered on, phone with Wi-Fi on, router nearby, password on paper — all green checks
  1. Printer plugged in and ON? Power light solid — not blinking error.
  2. Paper loaded? At least a few sheets in the rear tray.
  3. Phone on home Wi‑Fi? Not cellular data only — join your home network first.
  4. Wi‑Fi password ready? Copy from router sticker before Step 6.

Guest networks and phone hotspots usually won't work for setup — use your main home Wi‑Fi.

Step 1

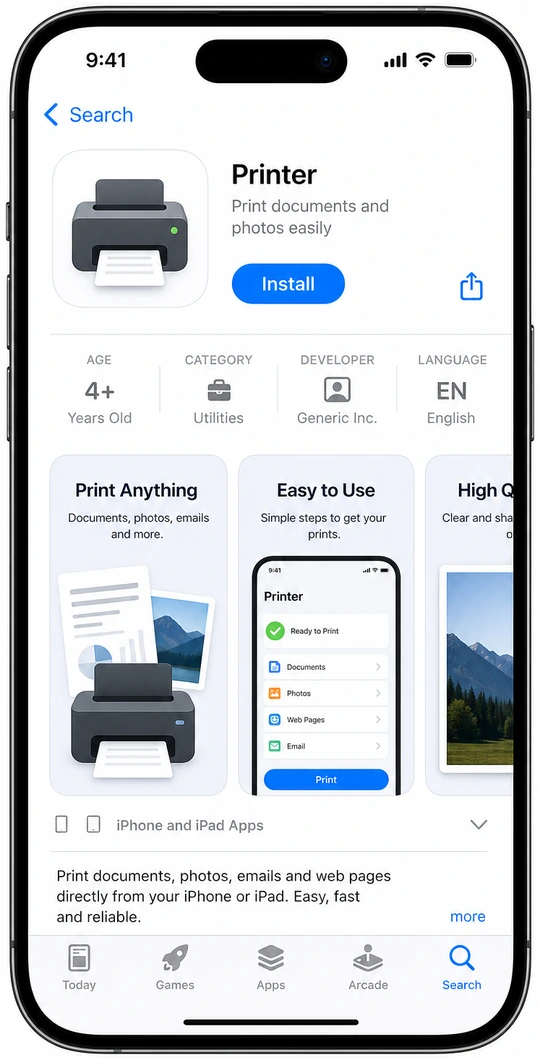
Install Canon PRINT Inkjet/SELPHY on your phone.

Search "Canon PRINT" — publisher is Canon Inc.

Illustration: phone app store showing Canon PRINT Inkjet SELPHY install button
  1. Open the App Store (iPhone) or Google Play (Android).
  2. Search Canon PRINT Inkjet/SELPHY.
  3. Tap Install or Get and open the app when done.
Step 2

Power on the printer and wait for the ready state.

Flashing blue Wi‑Fi lamp = ready for setup. Flashing orange = error or wrong mode.

Illustration: Canon PIXMA printer with solid power light and Wi-Fi lamp flashing blue
  1. Press the power button once — wait until it stops initializing.
  2. Load plain paper if the tray is empty.
  3. If the Wi‑Fi lamp flashes orange, hold the Wi‑Fi button 3 seconds to reset wireless settings.
Step 3

Start wireless setup on the printer.

Wi‑Fi lamp should flash blue — printer is waiting for the app.

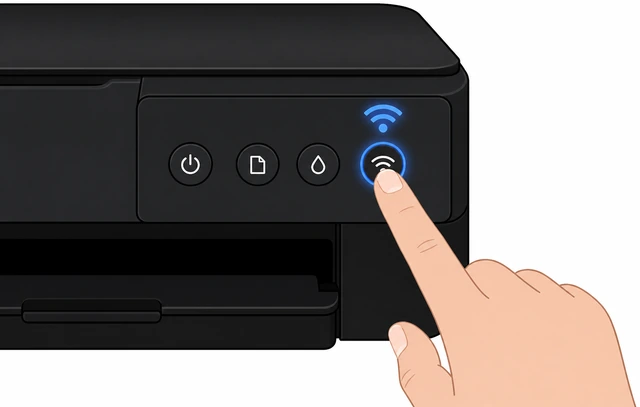
Illustration: finger pressing Wi-Fi button on Canon PIXMA control panel
  1. Press and hold the Wi‑Fi button until the lamp flashes blue.
  2. LCD models: tap SetupWireless LANEasy wireless connect.
  3. Wait — do not connect a USB cable.

Some models say "Connection mode" on screen — choose via wireless router.

Step 4

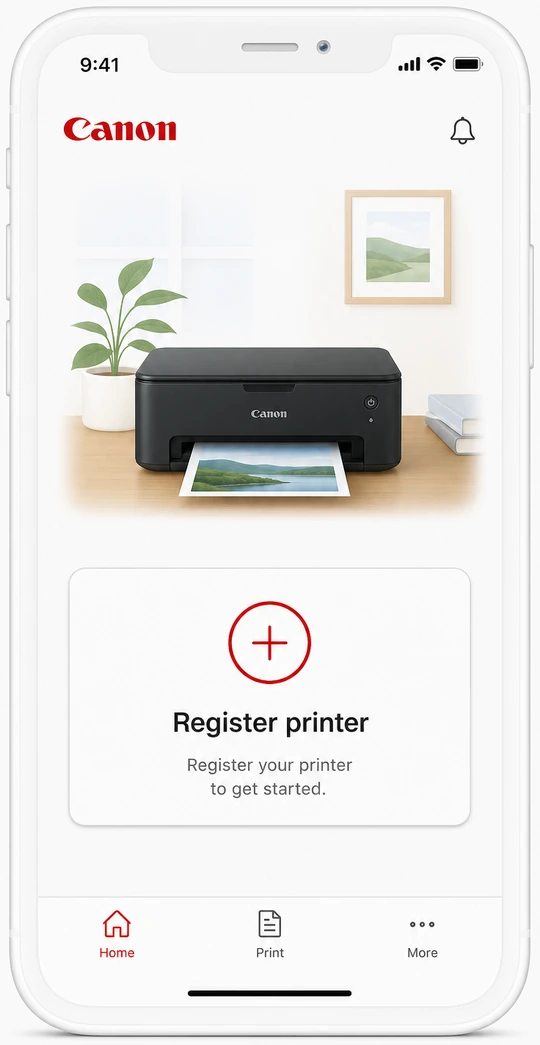
In the app, tap Register printer.

Allow Bluetooth and local network access if the phone asks.

Illustration: Canon PRINT app home screen with Register printer button highlighted
  1. Open Canon PRINT.
  2. Tap Register printer or the + icon.
  3. If prompted, turn on Bluetooth — it helps the app find the printer nearby.

Printer not listed? → App can't find printer.

Step 5

Select your home Wi‑Fi network name.

Pick the same network your phone uses — usually ends without "-5G".

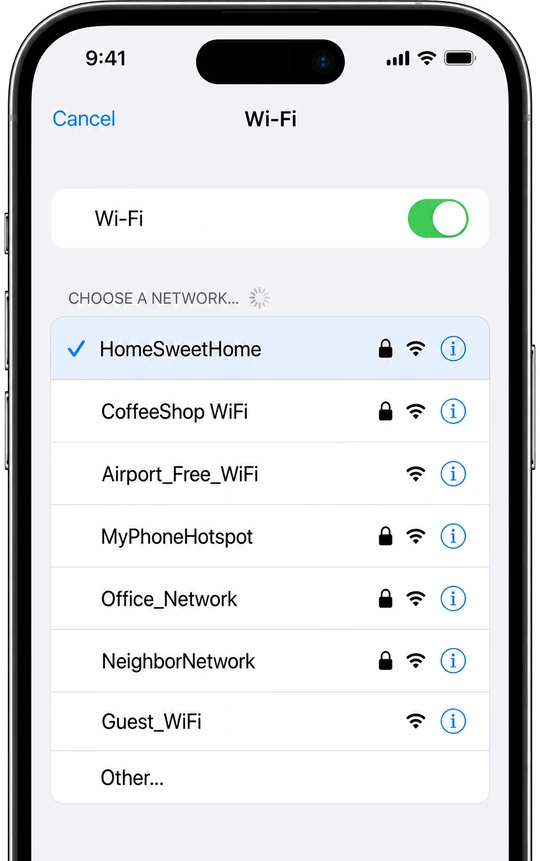
Illustration: app screen listing home Wi-Fi network names with home network selected
  1. The app shows nearby networks the printer can see.
  2. Tap your home network name — match your router sticker.
  3. Don't pick a guest network unless that's your only option.

Network missing? → Network not listed.

Step 6

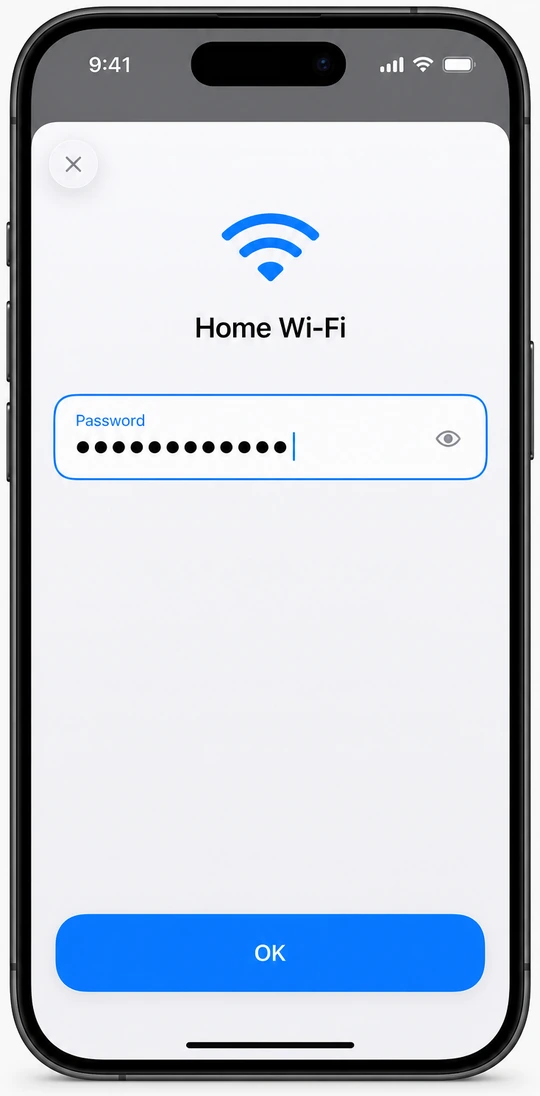
Enter your Wi‑Fi password and tap OK.

Type from your paper copy — capitals and symbols must match exactly.

Illustration: phone password field for Wi-Fi network with OK button
  1. Type the password carefully — show password if available.
  2. Tap OK or Connect.
  3. Wait 1–2 minutes — the printer links to the router.
Step 7

Confirm Connected in the app or on the printer.

Solid blue Wi‑Fi lamp = success. App shows printer name with no error icon.

Illustration: Canon PRINT app showing printer connected with solid blue Wi-Fi lamp on printer
  1. App should say setup complete or show your printer model name.
  2. On the printer, the Wi‑Fi lamp turns solid blue (not flashing).
  3. If it fails, note the error code on the LCD and retry from Step 3.
Step 8

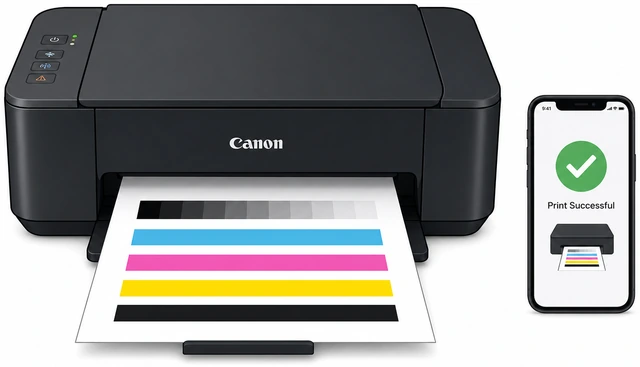
Print a test page from the app.

Photo print or document print both prove the link works.

Illustration: test page printing from Canon PIXMA with phone showing print success
  1. In Canon PRINT, tap Print or pick a photo to print.
  2. Confirm paper size matches what's loaded.
  3. Need laptop printing too? → Add on Mac/Windows.

If your router has WPSPush-button pairing — no app required

Use when the printer has a Wi‑Fi button but you prefer not to use the app, and your router shows a WPS or WPS-PBC button.

Step 1

Press WPS on the router within two minutes of the printer.

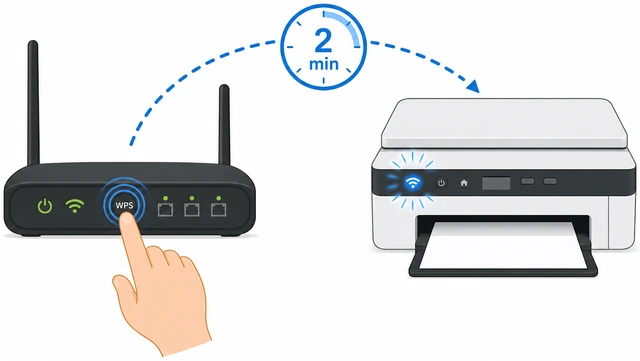
Order matters: printer first, then router — within 2 minutes.

Illustration: finger pressing WPS button on home router with timer arrow to printer
  1. On the printer, hold Wi‑Fi until the lamp flashes blue.
  2. Within 2 minutes, press the router's WPS button (often on the back).
  3. Wait up to 2 minutes — Wi‑Fi lamp should turn solid blue.

WPS only joins the router's main 2.4 GHz band — you can't pick a guest SSID.

Step 2

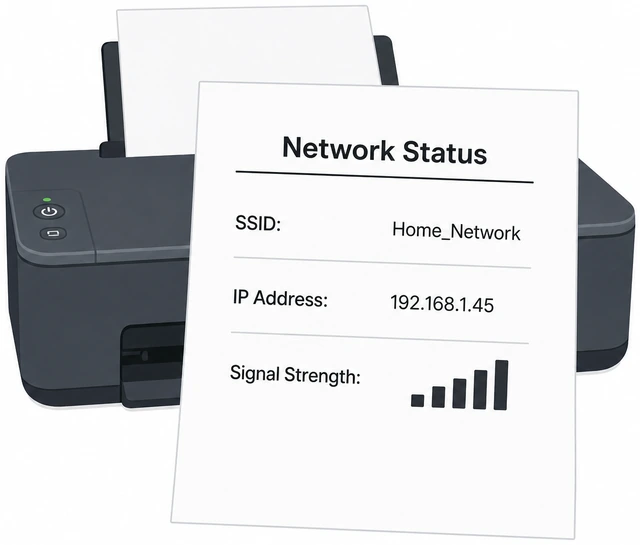
Print a network status page to confirm the SSID.

Hold Resume/Cancel on some models to print LAN details.

Illustration: printed network status page showing connected SSID and IP address
  1. Print the network settings page from the printer menu or button combo in your manual.
  2. Check that SSID matches your home network name.
  3. Then add the printer on your computer — see Mac/Windows branch.

If your Wi‑Fi name never appearsList is empty or only shows neighbor networks

Use at Step 5 when the Canon app or printer LCD can't see your home SSID.

Try this

Move the printer within 15 feet of the router.

Weak signal at setup often hides the network from the printer.

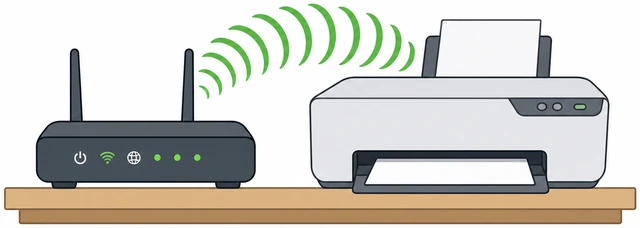
Illustration: printer moved close to router with strong signal bars
  1. Unplug and replug the printer closer to the router temporarily.
  2. Retry setup from Step 3.
  3. Move back after connected — Wi‑Fi lamp stays solid when signal is OK.
Try this

Join the 2.4 GHz network name, not 5 GHz only.

Most PIXMA models need 2.4 GHz — look for a name without "-5G" or "_5G".

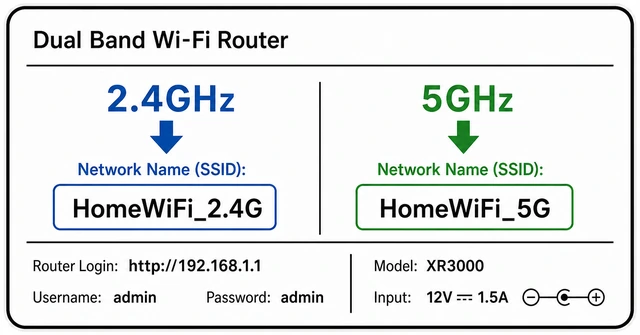
Illustration: router label showing 2.4 GHz and 5 GHz network names side by side
  1. Check the router sticker for a separate 2.4 GHz SSID.
  2. If the router broadcasts one combined name, enable 2.4 GHz in router settings.
  3. Disable "AP isolation" or "guest network isolation" during setup.

Mesh systems: stand next to the primary node, not a bedroom satellite.

If the app can't find the printerRegister printer spins or shows no devices

Use at Step 4 when Canon PRINT never lists your PIXMA model.

Try this

Turn off VPN and connect phone to printer direct mode briefly.

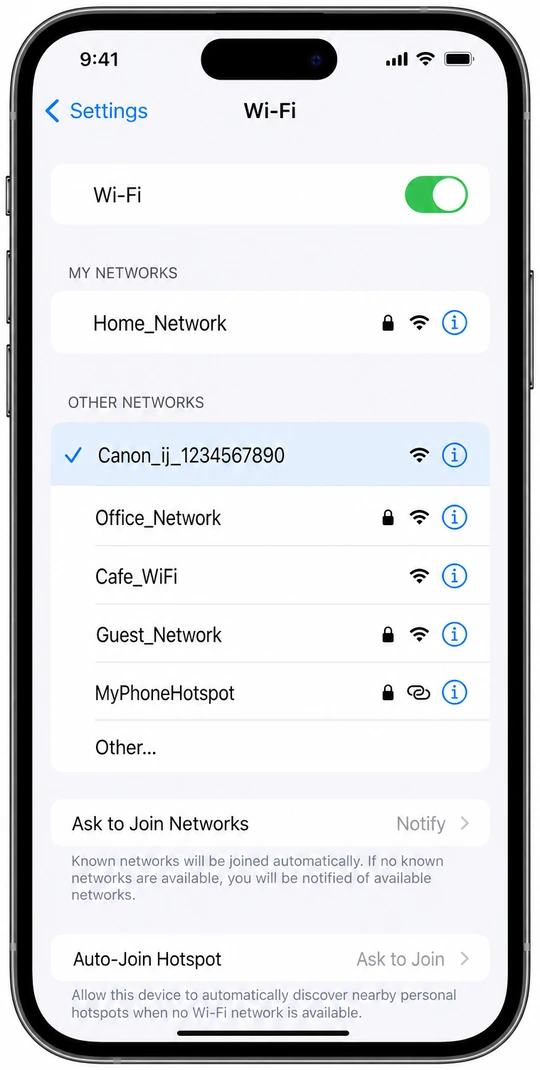
Direct mode SSID often starts with "Canon_ij_" — temporary only.

Illustration: phone Wi-Fi settings showing Canon direct network name
  1. Turn off VPN apps on the phone.
  2. On the printer, start setup again so direct mode broadcasts.
  3. In phone Wi‑Fi settings, join the Canon_ij_XXXX network if the app asks.

The app switches you back to home Wi‑Fi after setup — that's normal.

Try this

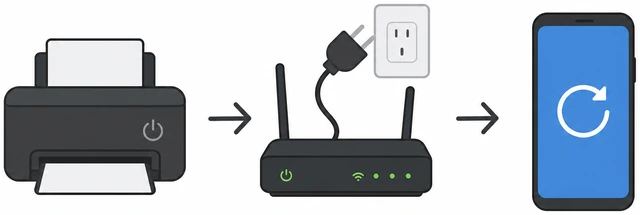
Restart phone, printer, and router — then retry.

Full power cycle clears stuck discovery states.

Illustration: power cycle sequence printer then router with wait arrows
  1. Power off the printer, unplug the router for 30 seconds, plug back in.
  2. Wait 2 minutes, power on printer, restart the Canon PRINT app.
  3. Retry from Step 3.

Add the printer on Mac or WindowsWi‑Fi already works — computer doesn't see it yet

Use after Step 7 when the phone prints fine but your laptop can't find the printer.

Step 1

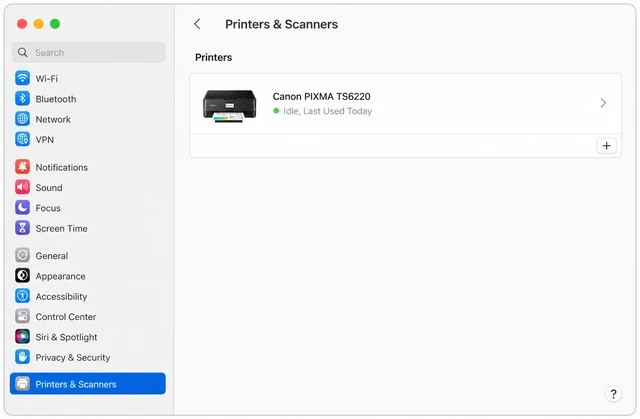
Mac — open System Settings → Printers & Scanners.

Click + and pick your PIXMA — same Wi‑Fi network required.

Illustration: Mac System Settings Printers and Scanners with Canon PIXMA listed
  1. Ensure the Mac is on the same Wi‑Fi as the printer.
  2. Click + → select your Canon model → Add.
  3. If missing, download drivers from Canon's support site for your OS version.
Step 2

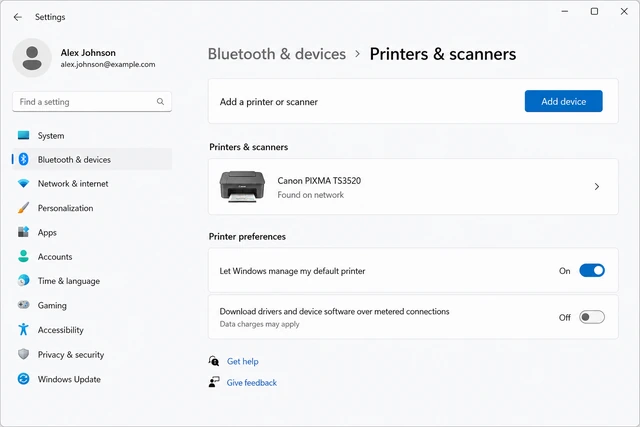
Windows — Settings → Bluetooth & devices → Printers.

Add device should find the printer automatically on the same LAN.

Illustration: Windows 11 Add printer dialog showing Canon PIXMA on network
  1. Open SettingsBluetooth & devicesPrinters & scanners.
  2. Click Add device and wait for your Canon model.
  3. If not found, click Add manually → TCP/IP → use the IP from the network status page.

When to call Canon support

  • Ask a family member if any step feels confusing — no rush.
  • Wi‑Fi lamp keeps flashing orange after three full setup attempts.
  • App says "authentication failed" with a password you're sure is correct — router may use WPA3-only; check router security mode.
  • Printer was previously on a guest network — factory-reset network settings (see manual: hold Wi‑Fi or Resume) and start over.

When This Doesn't Work

  1. Office or school networks with login portals — PIXMA home setup won't pass captive portals; use USB or ask IT.
  2. Printer only supports 2.4 GHz but router is 5 GHz-only — enable 2.4 GHz band or use a travel router.
  3. Corporate WPA2-Enterprise (username login) — home PIXMA setup expects a simple Wi‑Fi password; not supported on most models.

Warnings

  • Don't press the router's Reset pinhole during printer setup — that wipes router settings, not the printer.
  • Guest Wi‑Fi often blocks printer-to-phone discovery — use the main home SSID.
  • Third-party ink won't block Wi‑Fi, but firmware updates may require official Canon drivers on computers.

Tips

  • Rename your 2.4 GHz network something simple (no emoji) if the printer drops the SSID during setup.
  • After moving the printer, run a test print — weak signal shows as slow jobs or offline status.
  • Write the printer's IP address from the network status page on a sticky note for Windows manual add.
  • Canon PRINT can scan and copy on many PIXMA models once Wi‑Fi is working — explore the app home screen.

FAQ

Does Canon PIXMA work on 5 GHz Wi‑Fi?

Most home PIXMA models are 2.4 GHz only. If your router merges bands under one name, enable a separate 2.4 GHz SSID or temporarily disable 5 GHz during setup.

Can I set up without a smartphone?

Yes if your router has WPS — see the WPS branch. Otherwise use a Windows or Mac laptop with a USB cable once, run Canon's IJ Network Tool, then unplug USB.

Why does the Wi‑Fi lamp flash orange?

Orange usually means setup failed or the printer lost the network. Hold the Wi‑Fi button to reset wireless settings and start from Step 3.

Phone prints but my laptop says offline?

The laptop is probably on a different band or guest network. Join the same SSID as the printer, then add the printer in system settings — see the Mac/Windows branch.
Comments

Questions, corrections, and what worked for you. Comments are reviewed before they appear.