How to Check Tire Pressure
Check pressure when the tires are cold, then use the recommended PSI on the driver-door sticker—not the tire sidewall. Start with the preflight. If the dashboard warning is lit, use the TPMS branch; if a tire will not hold air, use the leak branch. Need to replace a flat? See How to Change a Tire.
Tips for reading this guide
- One step at a time. Read the green caption, the Why line, then the bullets.
- Move on when the green done line is true — then go to the next step.
- Work on one tire at a time. Complete the green Done line before moving on.
- Use the door sticker. The large number molded into the tire sidewall is a maximum rating, not the normal fill target.
- Ask for help when needed. A tire shop or station attendant can handle an awkward valve, air hose, or heavy spare.
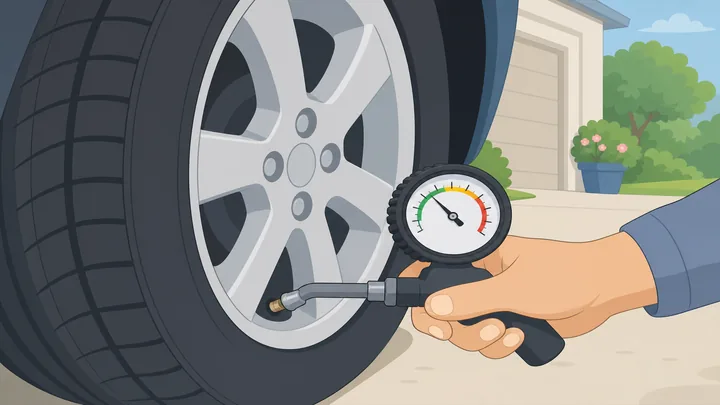
Things You'll Need
- Tire pressure gauge (pencil or digital)
- Vehicle keys to open the driver door
- Paper and pen or a phone note for readings
- Air pump, station hose, or portable compressor if a tire is low
- A small amount of soapy water if you suspect a leak
What do you need to handle?
For a routine check, follow the main path. Choose a branch when a warning light stays on or a tire loses air.
Start hereCold tires · door-sticker PSI · one tire at a time
Preflight — make sure these four things are ready.
Working gauge · door label · level parking · cold-tire plan.
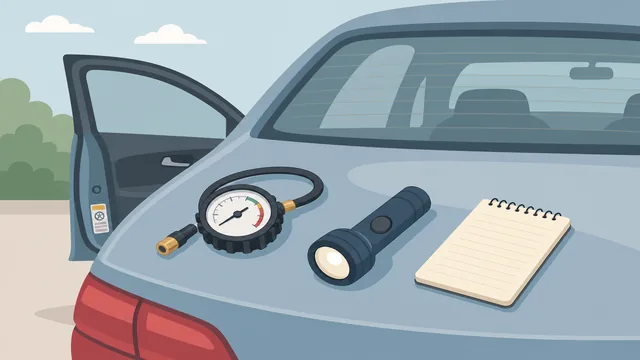
A prepared check is safer and gives a useful reading instead of a number distorted by heat or a faulty gauge.
- Park safely. Stop on level ground, set the parking brake, and keep clear of traffic.
- Bring a gauge. Turn on a digital gauge or make sure a pencil gauge slides freely.
- Know where to look. The recommended pressure label is usually on the driver-door jamb.
- Plan for low tires. Have access to an air pump or note which tires need a station visit.
You have a working gauge, a safe place to check, and access to the driver-door label.
Continue with Step 1; Step 2 confirms the tires are cold enough for an accurate reading.
Find the recommended cold PSI on the driver-door sticker.
Read front and rear cold PSI—not the maximum PSI on the tire sidewall.
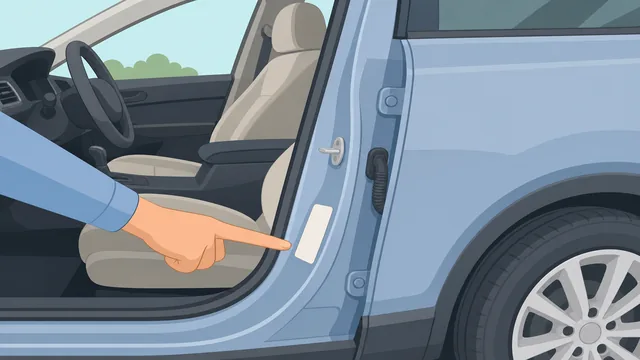
The vehicle maker sets this pressure for the car's weight, handling, and tire wear; the sidewall number is only a tire maximum.
- Open the driver door and look along the door jamb or door edge.
- Find the tire-and-loading label with a pressure value in PSI.
- Write down the cold PSI for the front and rear tires; they may be different.
You know the recommended cold PSI for the front and rear tires.
Confirm that the tires are cold.
Best time: parked for 3 hours or driven less than 1 mile.
Driving warms the air inside a tire and makes the gauge read higher than the cold target on the sticker.
- Use this reading if the car has been parked for at least 3 hours.
- It is also acceptable if you drove less than about 1 mile slowly to the checking spot.
- If the tires are hot from a longer drive, wait until they cool; do not lower pressure to a cold-sticker number while they are hot.
The tires are cold, or you have decided to wait and check them cold.
If you must add air to a hot tire, add only enough to make it safe, then recheck cold later.
Choose a starting tire and remove its valve cap.
Start in a memorable order and keep the small cap safe.
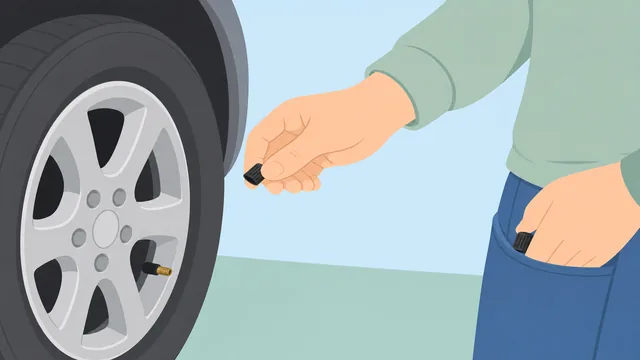
Following one order prevents skipped tires, and the cap keeps grit and moisture out of the valve stem.
- Start at the front-left tire, or choose another order you can remember.
- Twist the valve cap counterclockwise until it comes off.
- Put the cap in a pocket, cup it in your hand, or set it where it cannot roll away.
The valve stem is uncovered and its cap is safely stored.
Seat the gauge straight on the valve and read the PSI.
A brief hiss is normal; a straight, firm press makes the seal.
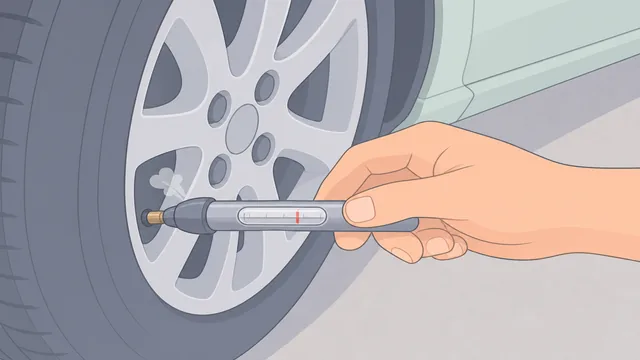
An angled or loose gauge leaks air and can produce a false low or zero reading.
- Center the gauge opening over the valve stem.
- Press it straight and firmly until the hissing stops or becomes very brief.
- Read the PSI on the display, dial, or pencil-gauge scale.
You have a clear PSI reading for the first tire.
A long hiss or an unclear reading means the gauge was not sealed; lift it off and try again.
Compare that reading with the door-sticker target.
Compare this tire with its front or rear target.
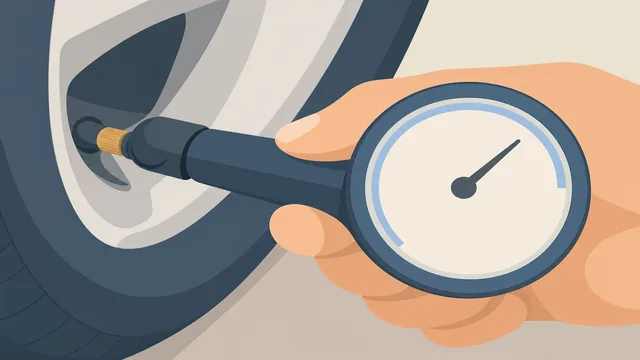
Knowing whether the tire is low, high, or close to target tells you whether air must be added or released.
- Use the front target for front tires and the rear target for rear tires.
- Mark the tire as low, high, or close to the target.
- If the reading is far below target or the tire looks soft, inspect it before driving.
You know whether this tire needs air, needs a little air released, or is already near target.
If the pressure drops again after filling, go to the leak branch.
Add or release air to match the sticker.
Use short bursts, then measure again with your own gauge.
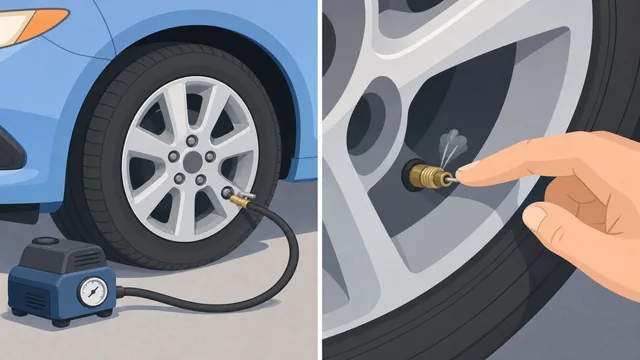
Short adjustments help you avoid overfilling and keep the final pressure within about 1–2 PSI of the recommended value.
- If low, add air in short bursts with a station hose or portable compressor.
- Remove the hose and recheck with your gauge after each burst.
- If slightly high, use the small bleed pin on the gauge or valve tool briefly, then recheck.
The tire is within about 1–2 PSI of its door-sticker target.
If it will not gain or keep pressure, stop and use the leak branch.
Recheck the final PSI and replace the valve cap.
One final gauge reading, then tighten the cap with your fingers.
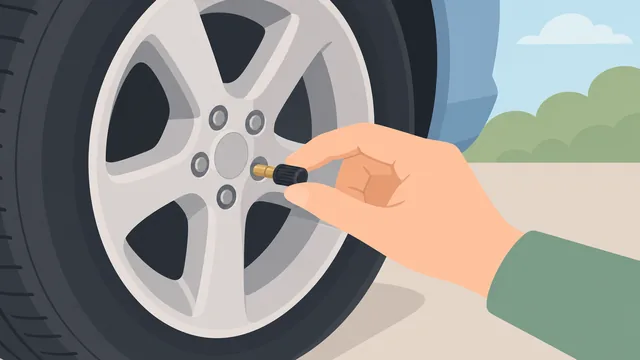
A final reading confirms the adjustment, and the cap protects the valve core from dirt and moisture.
- Press the gauge on once more and confirm the final PSI.
- Screw the cap clockwise until it is finger-tight.
- Do not use pliers or overtighten the cap.
This tire has its final reading and its valve cap is back on.
Repeat the same check for the remaining road tires.
Measure, compare, adjust, recheck, and recap every road tire.
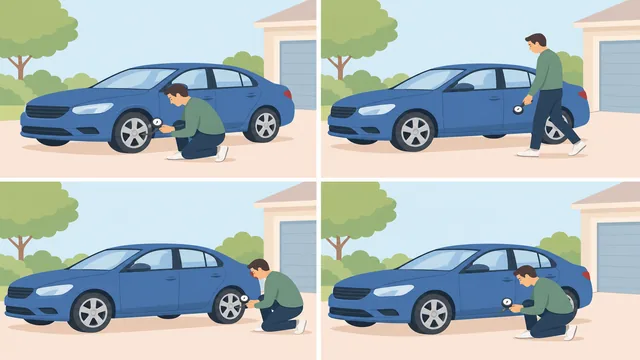
Each tire can lose air at a different rate, so checking only one tire cannot confirm that the car is safe and balanced.
- Move around the car in the same order you chose in Step 3.
- Use the correct front or rear target for each position.
- Measure, adjust if needed, recheck, and replace the cap before moving to the next tire.
All four road tires are checked, adjusted as needed, and capped.
Check the spare tire if you can reach it.
Look under the trunk floor or at the rear carrier; use the spare's own label.
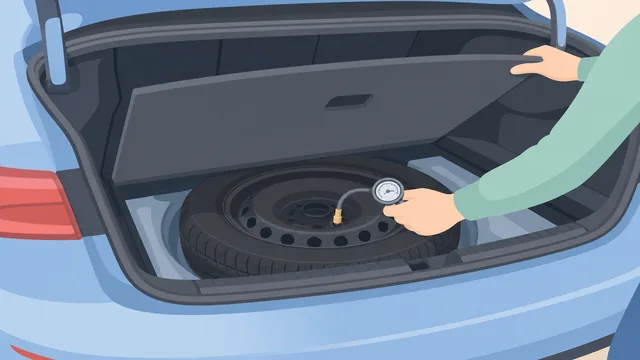
A spare often needs a much higher pressure than the road tires and is useless in an emergency if it has slowly gone flat.
- Check the trunk floor, cargo area, or rear carrier if the spare is accessible.
- Read the pressure on the spare label or in the vehicle information; do not assume it matches the road tires.
- Fill it to its listed target, or note it for a shop if reaching it is difficult.
The accessible spare is at its labeled pressure, or you have noted that it needs service.
Make a plan for a TPMS warning light.
Correct cold pressures first, then allow a short drive cycle.
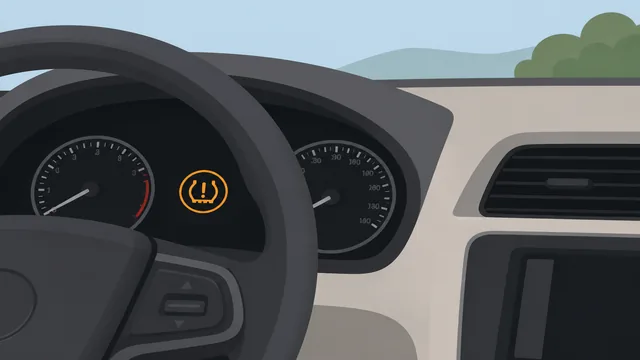
Many TPMS systems need a short drive after the pressures are corrected before they update and turn the warning light off.
- If the light was on, confirm all four road tires match the cold door-sticker targets.
- Drive normally for about 10–20 minutes so the system can update.
- If the light remains on or flashes, use the TPMS branch and arrange service if needed.
You know whether the warning light cleared after driving or needs further attention.
TPMS light stays onRecheck cold pressures, then drive and escalate if needed
Use this branch when the dashboard tire-pressure warning stays on after a routine check, or flashes when you start the car.
Recheck all four road tires cold and secure the caps.
Check all four cold; do not rely on a visual inspection alone.
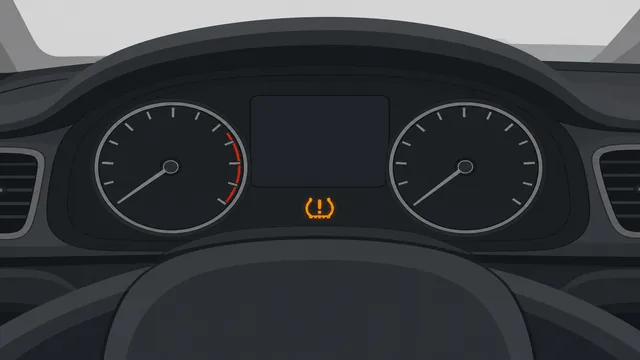
The warning can be caused by one tire that is only modestly low, and correct pressure must be confirmed with a gauge.
- After the car has cooled, measure all four road tires again.
- Adjust each one to its correct front or rear door-sticker PSI.
- Replace each valve cap and look for one tire that is much lower than the others.
All four cold readings match their targets and the valve caps are secure.
Drive 10–20 minutes, then arrange sensor service if needed.
A steady light may clear after driving; a flashing or persistent light needs service.
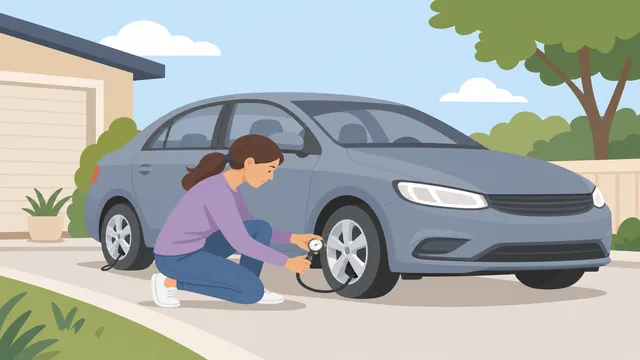
A drive cycle lets many systems recognize the corrected pressures, while a persistent or flashing light can indicate a sensor, battery, or system fault.
- Drive normally for 10–20 minutes after correcting cold pressure.
- If the light goes out, recheck pressure again in a few days or after the next cold morning.
- If it stays on, flashes, or returns with correct pressure, book a tire shop or dealer visit for TPMS diagnosis.
The light has cleared, or you have arranged service for a possible TPMS fault.
A tire will not hold airFind likely bubbles and avoid driving far on a soft tire
Use this branch when pressure falls again, you hear steady hissing, or the tire needs air repeatedly.
Check the valve and tread with soapy water.
Bubbles at the valve, tread, or sidewall point to escaping air.
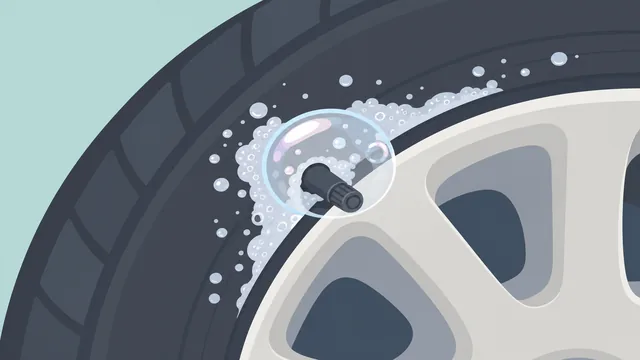
Soapy water makes a small leak visible without putting your hands near a moving wheel or relying only on sound.
- Inflate the tire enough to inspect safely, then listen near the valve stem and tread.
- Spray or dab soapy water around the valve stem, valve core area, and any visible nail or screw.
- Watch for growing bubbles; do not pull out an object stuck in the tread.
You have identified a likely leak area or confirmed that the tire is still losing air without an obvious source.
Limit driving and have the tire repaired.
A leaking tire needs prompt repair; do not drive far on it.
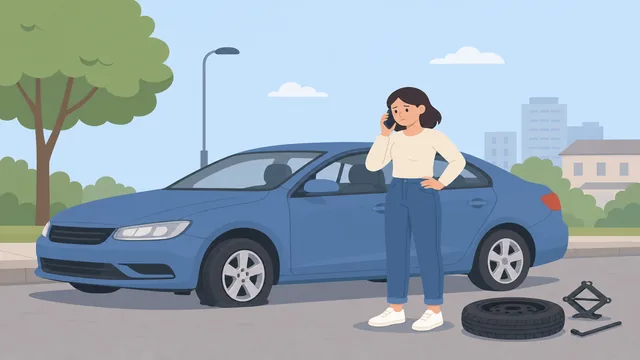
Driving on a low tire can damage the sidewall, turn a repairable puncture into a replacement, and reduce control of the car.
- If the tire is visibly soft, loses air quickly, or has sidewall damage, do not drive it far.
- Use the spare or arrange roadside assistance if it is not safe to drive to a shop.
- Ask a tire shop to inspect and repair the puncture or valve; replace the tire if the damage is not repairable.
The leaking tire is protected from further driving damage and a repair or replacement plan is in place.
When to get help
- Ask a station attendant or tire shop for help if kneeling, reaching the valve, or using the air hose is difficult.
- Have a shop inspect a tire that loses more than a few PSI overnight, has a visible nail, or bubbles with soapy water.
- Do not drive far on a tire that looks flat, has a bulging sidewall, or cannot reach the recommended PSI.
Warnings
- Do not use the maximum PSI molded into the tire sidewall as the everyday target; use the cold PSI on the driver-door sticker.
- Do not release air from tires that are hot after driving just to match the cold-sticker number.
- Do not drive far on a visibly flat tire, a tire with a bulging sidewall, or a tire that cannot hold air.
Tips
- Check pressure about once a month and before long trips.
- Keep a reliable pencil or digital gauge in the glove box; station gauges can be inaccurate.
- Write down a recurring low tire so a slow leak is easier to spot.
FAQ
Should the front and rear tires have the same PSI?
Only if the driver-door sticker lists the same number. Many vehicles use a different front and rear recommendation.
How much difference from the sticker is acceptable?
Aim for the listed cold PSI. Being about 1–2 PSI away is generally close enough while you are checking, but correct larger differences.
Why did the TPMS light stay on after I added air?
The system may need a 10–20 minute drive to update. If it stays on or flashes after all four cold pressures are correct, have the TPMS checked.
Do I need to check the spare tire?
Yes, if it is accessible. A spare can lose air unnoticed and often has a different, higher PSI printed on its own label.
Comments
Questions, corrections, and what worked for you. Comments are reviewed before they appear.