How to Ride a Bike
Read one step at a time — finish each before the next. Most people skip balance and fight the bike with pedaling too early. This guide walks you through seat → glide → pedal → steer → brake in order. Start with the 30-second preflight. Pick your situation below: first-time child, adult who never learned, or ready to remove training wheels.
Reading tips
- One step at a time. Read the green caption, the Why line, then the bullets.
- Move on when you finish the bullets — then go to the next step.
- Use the sidebar links to jump one section at a time.
- Stop after Step 2 if balance isn't steady yet — that's normal.
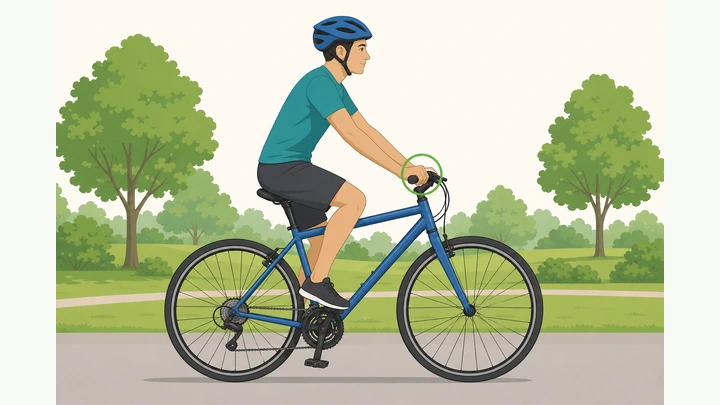
Things You'll Need
- Bicycle sized for the rider (feet should nearly touch ground on the seat)
- Helmet — level on the head, chin strap snug (two fingers under strap)
- Closed-toe shoes — no flip-flops or loose laces
- Flat open space (empty parking lot, quiet path, or driveway)
- Optional: knee and elbow pads for young beginners
- Optional: wrench or quick-release to lower the seat
Who is learning to ride?
Most riders use the eight-step path. Jump to a branch if you're an adult beginner or removing training wheels.
Start hereEight steps from balance to confident pedaling
Four quick checks — one picture.
YES to all four — then start Step 1.
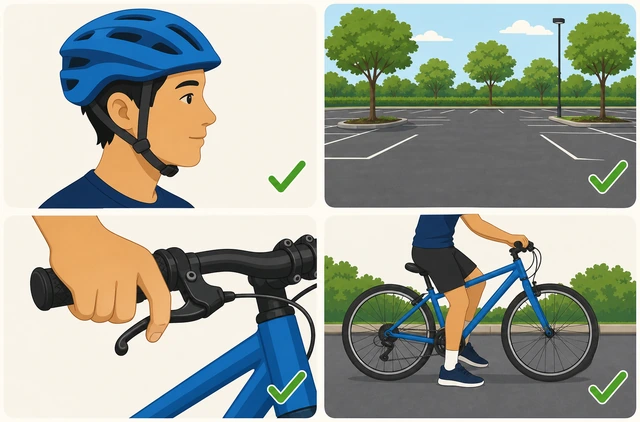
A thirty-second check prevents most crashes before the first push.
- Helmet on and level? Chin strap snug — two fingers under it.
- Flat open space and working brakes? Squeeze both levers — wheels stop.
- Seat low enough? Both feet flat on ground while sitting.
Set the seat so both feet touch the ground flat.
You should feel stable — not on tiptoes.
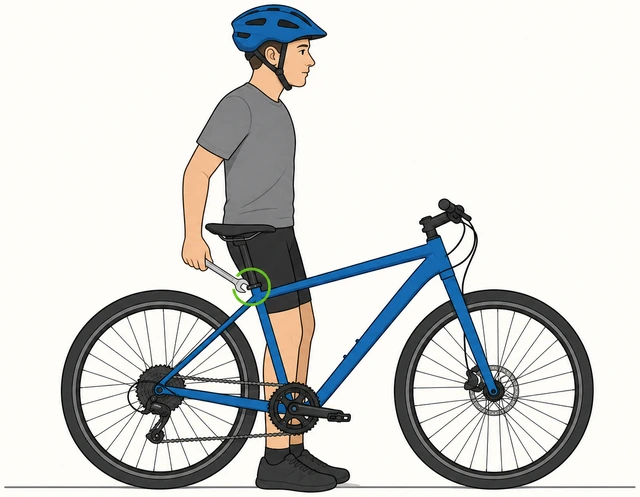
Feet flat on the ground let you catch a tip-over instantly while the seat is still high in your mind.
- Open the quick-release or loosen the seat bolt.
- Lower until hips are level and both feet reach the ground.
- Tighten firmly — push down on the saddle to confirm it won't slip.
Raise the seat later when you can start without stopping — not on day one.
Scoot and glide — pedals off or legs up.
Goal: coast five to ten feet with both feet up.
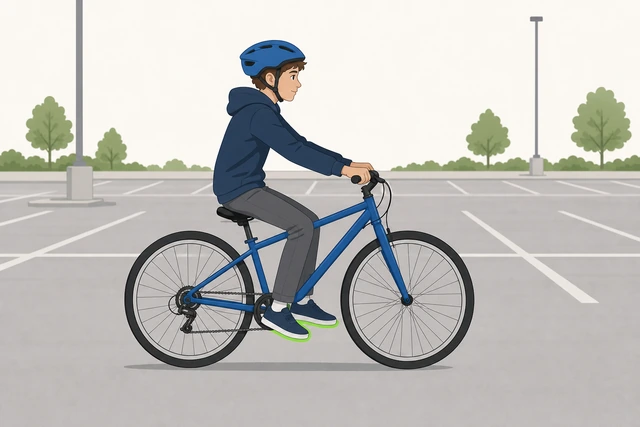
Gliding without pedals teaches balance alone — most wobbles come from adding pedaling too soon.
- Push off with both feet and let the bike roll.
- Lift feet an inch off the ground for one to two seconds.
- Look forward — not at the front wheel.
- Repeat until glides feel steady before pedaling.
Place one foot on the forward pedal (two o'clock).
Strong foot on the forward pedal — other foot pushes off the ground.
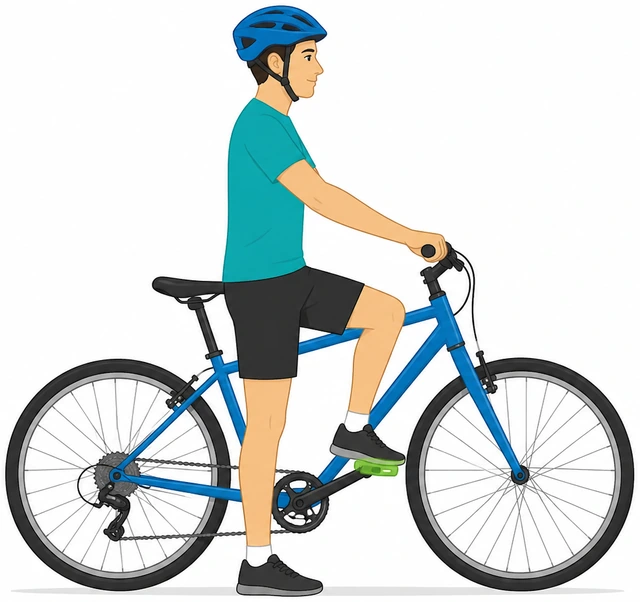
A pedal at two o'clock gives a strong downward push; at six o'clock you stall before you move.
- Stop the bike and turn the pedal to the two-o'clock spot.
- Press down hard on that pedal while pushing off with the other foot.
- Bring the second foot up as the bike starts rolling.
Keep pedaling in smooth circles.
Light grip on the bars — elbows slightly bent.
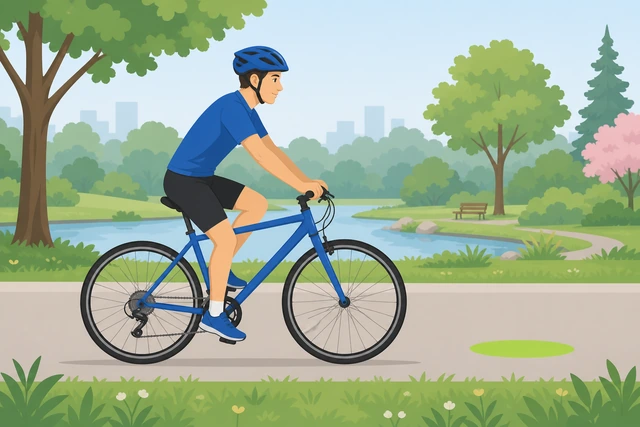
Smooth circles keep speed steady — one hard stomp is what makes the front wheel wobble.
- Pedal continuously; don't stomp once and coast.
- Sit centered on the saddle.
- If you wobble, glide again without pedaling for two more passes.
Steer by looking where you want to go.
Your bike follows your eyes — pick a spot ahead.
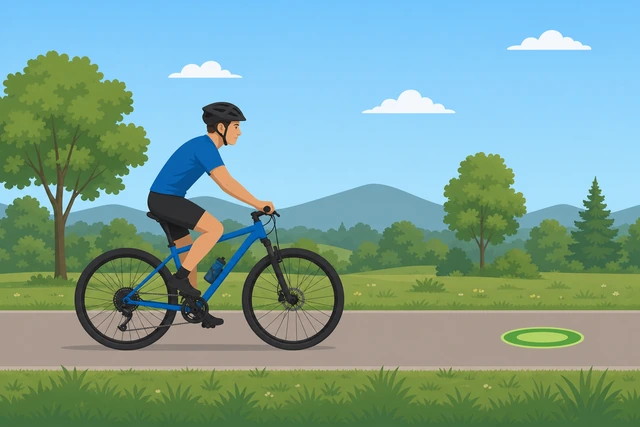
The bike goes where your eyes go — staring at the front wheel pulls you off line.
- Small handlebar movements — don't over-steer.
- Keep shoulders relaxed.
- Practice straight lines before turns.
Practice braking before you need to stop.
Rear brake first, then both — never grab front brake alone at speed.
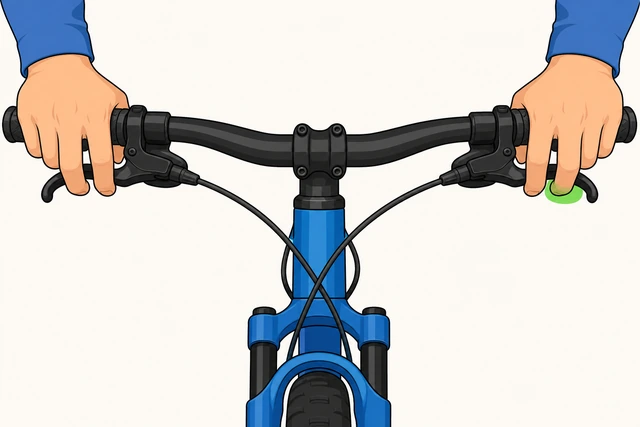
Both brakes share stopping force so one wheel does not lock and skid out alone.
- Coast slowly; squeeze rear brake gently.
- Add front brake lightly with both hands.
- Put one foot down after the bike stops.
- Repeat five times before longer rides.
Coaster brake (pedal backward): Practice stopping in an empty lot before road riding.
Ride slow figure-8 turns.
Wide loops first — tighten them over several sessions.
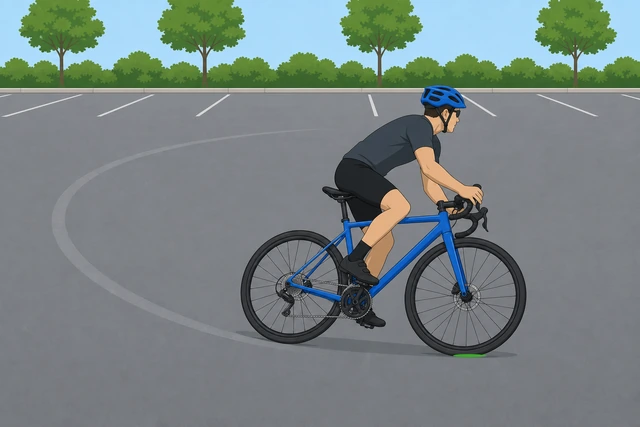
Wide slow turns build lean confidence before you need sharp corners near traffic.
- Look through the turn — lean slightly, don't jerk the bars.
- Slow down before the turn; pedal after you exit.
- Stop while steering still feels controlled.
Build distance in short sessions.
Fifteen minutes of good practice beats an hour of frustration.
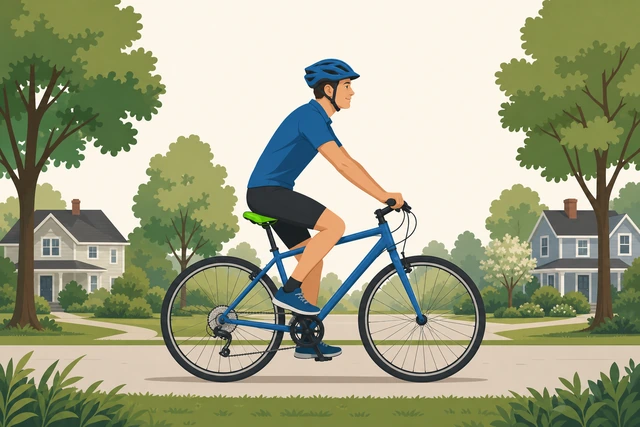
Stopping while it still feels fun locks in good habits — overtired practice ends in hard falls.
- Add one new skill per session — don't combine hills and traffic on day one.
- End on a success (one clean glide or turn).
- Raise the seat slightly when starts feel easy.
If you're an adult beginnerLower seat, walk-balance, then glide
Use when pedaling felt impossible or fear of falling stopped progress.
Lower the seat until you can walk the bike like a scooter.
No shame in a low seat — it shortens the fall distance to zero.
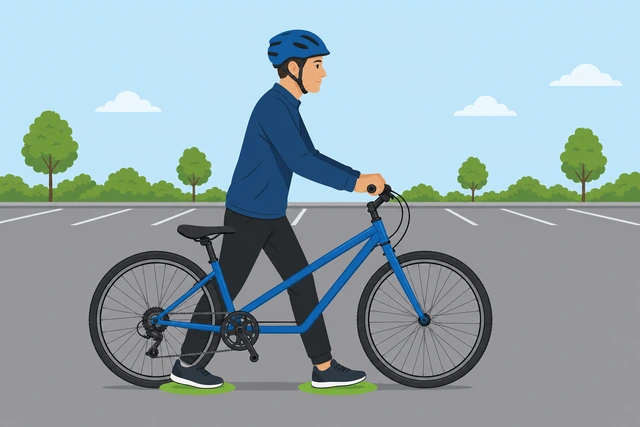
Walking the bike builds balance with zero fall distance — same skill, less fear than pedaling first.
- Remove pedals temporarily if glides still feel wobbly (left pedal threads reverse).
- Walk forward straddling the bike for ten yards.
- Progress to longer glides with feet up before reinstalling pedals.
Return to the main path at Step 3 once you glide ten feet.
Adults often learn in one or two sessions once balance clicks.
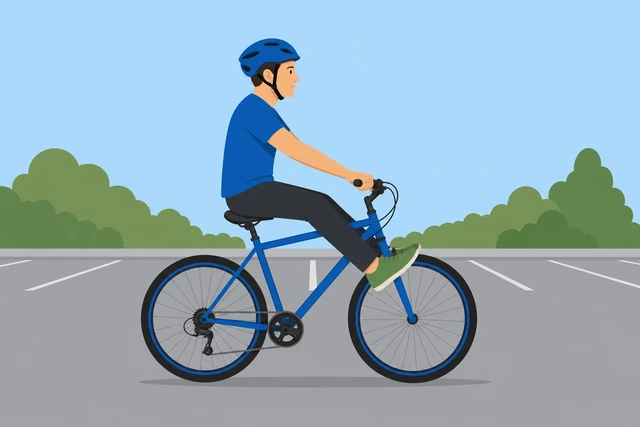
A solid ten-foot glide proves balance is ready; pedaling before that usually means another wobble.
- Reinstall pedals (right = clockwise, left = counterclockwise).
- Use the two-o'clock pedal start from Step 3.
- Practice in grass first if pavement feels too hard.
If training wheels are coming offGlide first — don't skip balance
Use when a child rode with training wheels but can't balance alone yet.
Remove training wheels and lower the seat one notch.
Run alongside for glides only — don't hold the handlebars while pedaling.
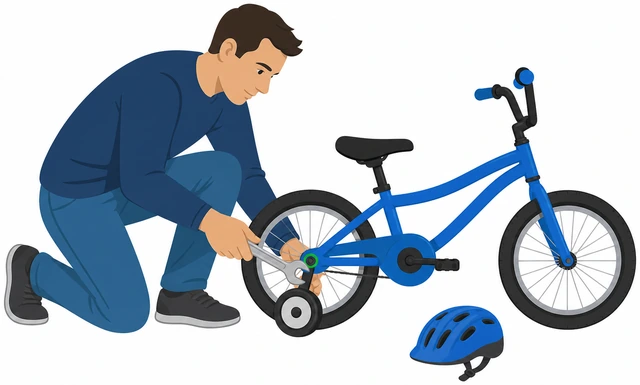
Training wheels teach pedaling but not balance — glides replace what the child never had to learn.
- Pick grass or smooth pavement.
- Hold the back of the saddle lightly for balance glides — let go as they coast.
- Celebrate glides before asking for pedals.
Add pedaling when glides reach ten feet.
Short sessions — five good tries, then a break.
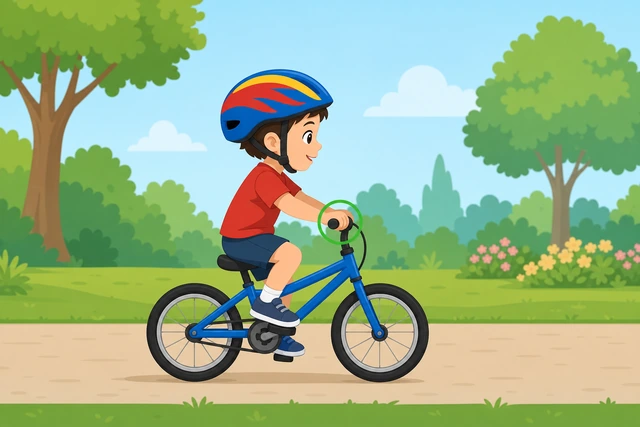
Pedaling only after glides work avoids the crash-and-quit cycle many kids hit on the first day.
- One strong push on the forward pedal.
- Keep sessions under twenty minutes.
- Re-add training wheels only if everyone is miserable — try again next week.
When to get help from a coach or bike shop
- Ask a friend to run alongside for the first glide if balance feels scary — one session is enough for many riders.
- Visit a bike shop if brakes don't stop the wheel, the chain skips, or the seat won't stay put.
- Stop if you feel dizzy, sharp knee pain, or panic — try again another day on softer grass first.
- Adaptive bikes or professional lessons are worth it if coordination or mobility makes the standard path unsafe.
Warnings
- Always wear a helmet — most serious bike injuries involve the head.
- Never ride in traffic until stopping, starting, and signaling are automatic.
- Check brakes and tire pressure before every ride.
- Avoid loose laces, scarves, or backpack straps that can catch in the wheel or chain.
Tips
- Practice when you're rested — frustration makes wobbles worse.
- Soft grass hurts less for falls but is harder to pedal on; pavement is better once glides work.
- A balance bike or pedal removal teaches the same glide skill without extra weight.
- Inflate tires to the pressure printed on the sidewall — soft tires feel unstable.
FAQ
What age can a child learn to ride?
Many kids are ready between four and six with a low seat and glides first. There's no rush — coordination matters more than age.
How long does it take to learn?
Some people pedal on day one; others need three to five short sessions. Balance usually clicks suddenly after repeated glides.
Should I hold the seat or handlebars while they learn?
Light contact on the saddle for glides is fine. Holding handlebars while pedaling teaches leaning wrong — avoid it.
Is it too late to learn as an adult?
No. Lower the seat, skip the shame, and use the adult branch. Most adults progress faster than they expect once balance is isolated.
Comments
Questions, corrections, and what worked for you. Comments are reviewed before they appear.